目录
一. 参数传递
1.前期准备工作(替换pom.xml中的部分依赖)
1.1将log4j替换成为slf4j(将打印语句替换成为日志文件输出结果)
2.正式操作
1.基础传参
1.1创建方法,用于验证传参
1.2构建界面回显
1.3设置访问路径(localhost:8080/param/hello1?bname=狂飙&bid=2)
3.复杂类型
2.1创建方法用于验证
2.2设置访问路径(localhost:8080/param/hello2?bname=狂飙&bid=2)
4.RequestParam注解传递参数
3.1创建方法用于验证
3.2设置访问路径(localhost:8080/param/hello3?bname=狂飙&bid=2)
5.路径传参
4.1创建方法用于验证
4.2设置访问路径(localhost:8080/param/hello4/2)
6.RequestBody传参(专门用来接收json字符串)
6.1导入依赖
6.2创建方法用于验证
6.3通过aplikt测试
6.4补充
7.@RequestHeader(获取请求头)
7.1创建方法用于验证
7.2设置访问路径(localhost:8080/param/hello7)
8.复合行
二.返回值
1.void型
2.String+model类型
3.ModelAndView
三.页面跳转
前言:
小编带大家了解了,spring mvc 以及spring mvc的入门和配置spring mvc的环境以及对于静态子资源的处理。
一. 参数传递
1.前期准备工作(替换pom.xml中的部分依赖)
1.1将log4j替换成为slf4j(将打印语句替换成为日志文件输出结果)
<log4j2.version>2.9.1</log4j2.version>
<log4j2.disruptor.version>3.2.0</log4j2.disruptor.version>
<slf4j.version>1.7.13</slf4j.version>
<dependency><groupId>org.slf4j</groupId><artifactId>slf4j-api</artifactId><version>${slf4j.version}</version>
</dependency>
<dependency><groupId>org.slf4j</groupId><artifactId>jcl-over-slf4j</artifactId><version>${slf4j.version}</version><scope>runtime</scope>
</dependency><!--核心log4j2jar包-->
<dependency><groupId>org.apache.logging.log4j</groupId><artifactId>log4j-api</artifactId><version>${log4j2.version}</version>
</dependency>
<dependency><groupId>org.apache.logging.log4j</groupId><artifactId>log4j-core</artifactId><version>${log4j2.version}</version>
</dependency>
<!--用于与slf4j保持桥接-->
<dependency><groupId>org.apache.logging.log4j</groupId><artifactId>log4j-slf4j-impl</artifactId><version>${log4j2.version}</version>
</dependency>
<!--web工程需要包含log4j-web,非web工程不需要-->
<dependency><groupId>org.apache.logging.log4j</groupId><artifactId>log4j-web</artifactId><version>${log4j2.version}</version><scope>runtime</scope>
</dependency><!--需要使用log4j2的AsyncLogger需要包含disruptor-->
<dependency><groupId>com.lmax</groupId><artifactId>disruptor</artifactId><version>${log4j2.disruptor.version}</version>
</dependency>2.正式操作
1.基础传参
1.1创建方法,用于验证传参
package com.lz.web;import lombok.extern.slf4j.Slf4j;
import org.springframework.stereotype.Controller;
import org.springframework.web.bind.annotation.RequestMapping;/*** @author lz* @create 2023-09-05 14:42*/
@Controller
@Slf4j
@RequestMapping("/param")
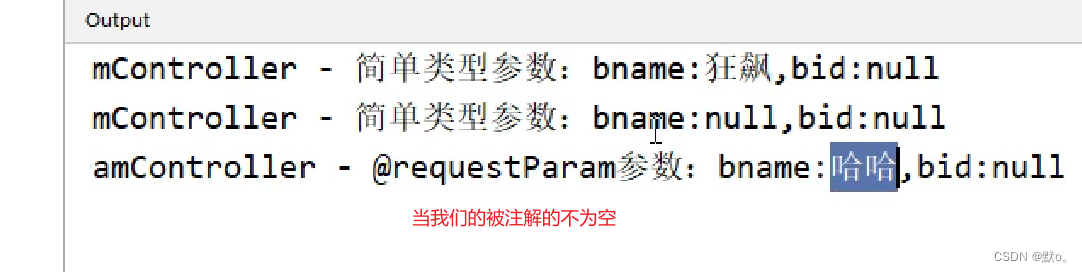
public class ParmController {@RequestMapping("/hello1 ")public String index(String bname,Integer bid){log.info("简单类型参数:bname:{},bid:{}",bname,bid);return "index";}}
1.2构建界面回显
<%--Created by IntelliJ IDEA.User: lzzxqDate: 2023/9/5Time: 14:44To change this template use File | Settings | File Templates.
--%>
<%@ page contentType="text/html;charset=UTF-8" language="java" %>
<html>
<head><title>Title</title>
</head>
<body>
<h1>刘兵最喜欢吃锅巴</h1>
</body>
</html>
1.3设置访问路径(localhost:8080/param/hello1?bname=狂飙&bid=2)

3.复杂类型
2.1创建方法用于验证
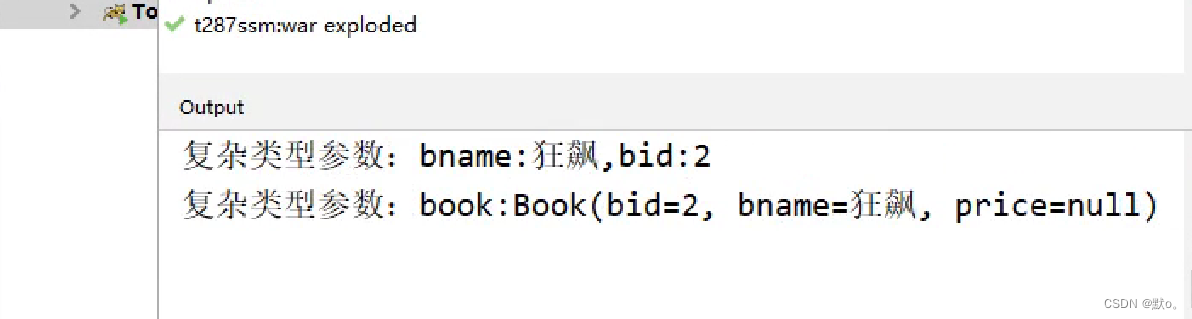
@RequestMapping("/hello2")public String hello2(Book book, HttpServletRequest request){log.info("复杂类型参数:bname:{},bid:{}",request.getParameter("bname"),request.getParameter("bid"));log.info("复杂类型参数:book:{}",book.toString() );return "index";}2.2设置访问路径(localhost:8080/param/hello2?bname=狂飙&bid=2)
4.RequestParam注解传递参数
3.1创建方法用于验证
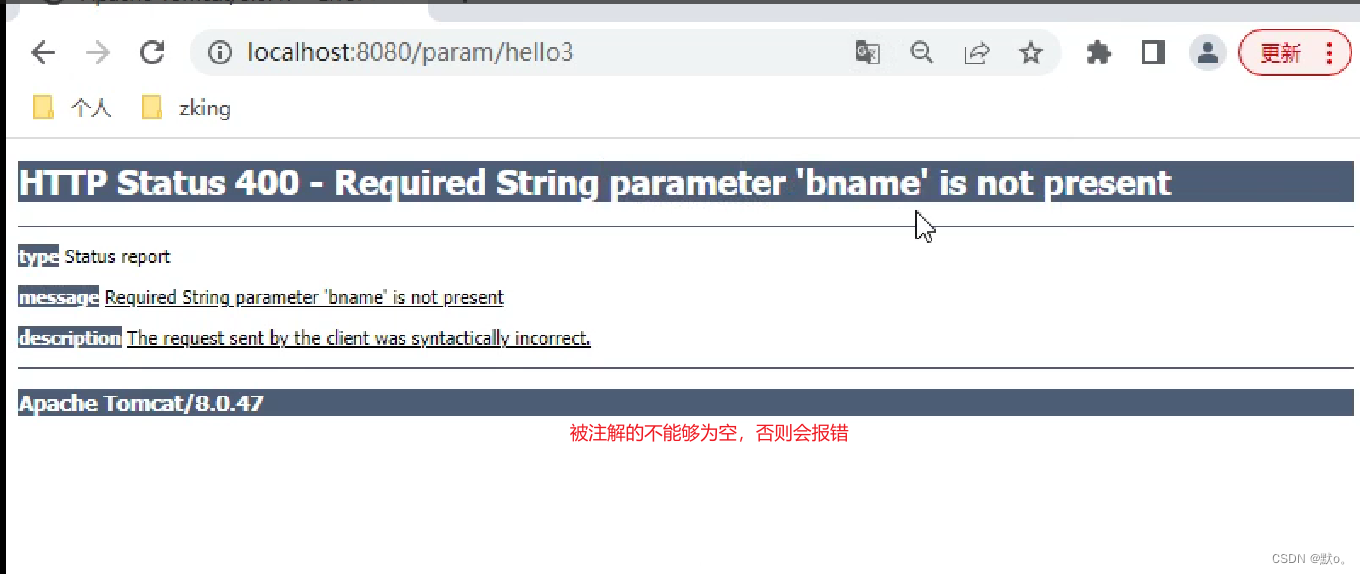
@RequestMapping("/hello3")public String toHello3(@RequestParam Integer bid,@RequestParam(required = false,value = "price") Integer bookPrice,@RequestParam("bookName") String bname){log.info(">>>> 使用@RequestParam注解传递参数:{},{},{}", bid,bname,bookPrice);return "index";}3.2设置访问路径(localhost:8080/param/hello3?bname=狂飙&bid=2)
5.路径传参
4.1创建方法用于验证
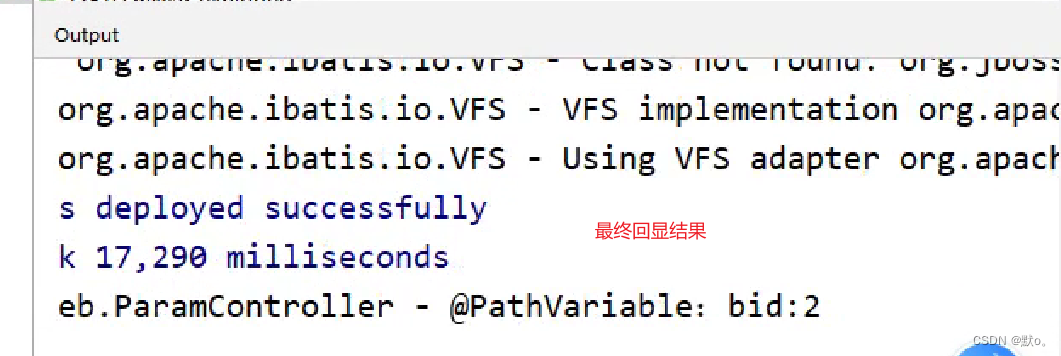
@RequestMapping("/hello4/{bid}")public String hello4(@PathVariable("bid") Integer bid){log.info("简单类型参数:bid:{}",bid);return "index";}4.2设置访问路径(localhost:8080/param/hello4/2)
6.RequestBody传参(专门用来接收json字符串)
6.1导入依赖
<jackson.version>2.9.3</jackson.version> <dependency><groupId>com.fasterxml.jackson.core</groupId><artifactId>jackson-databind</artifactId><version>${jackson.version}</version></dependency><dependency><groupId>com.fasterxml.jackson.core</groupId><artifactId>jackson-core</artifactId><version>${jackson.version}</version></dependency><dependency><groupId>com.fasterxml.jackson.core</groupId><artifactId>jackson-annotations</artifactId><version>${jackson.version}</version></dependency>6.2创建方法用于验证
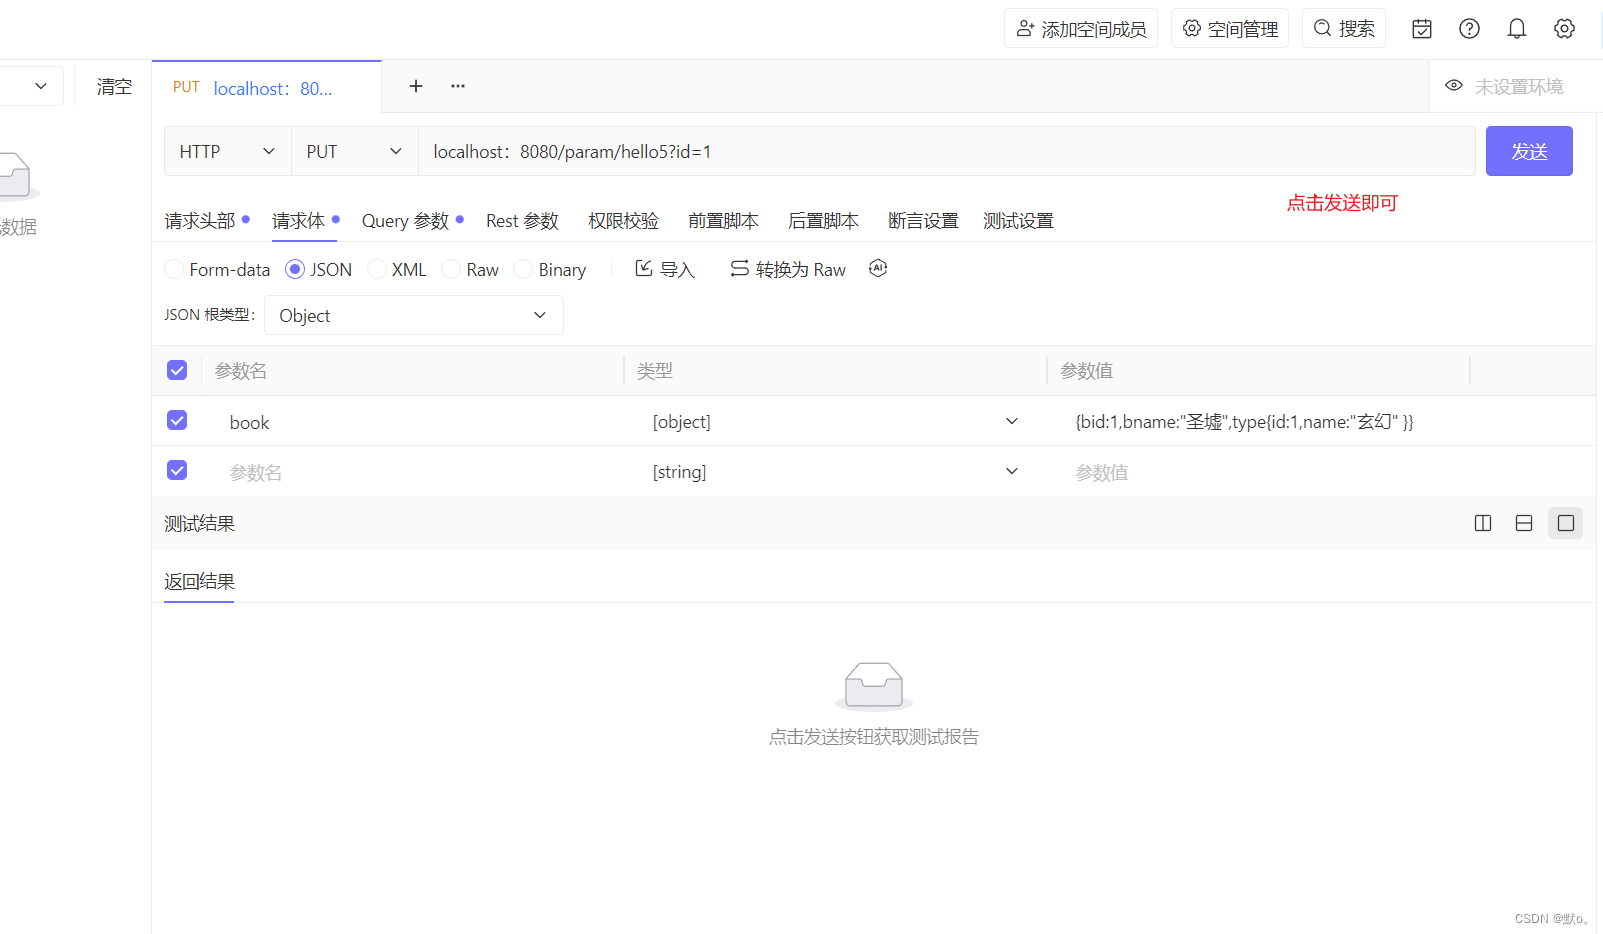
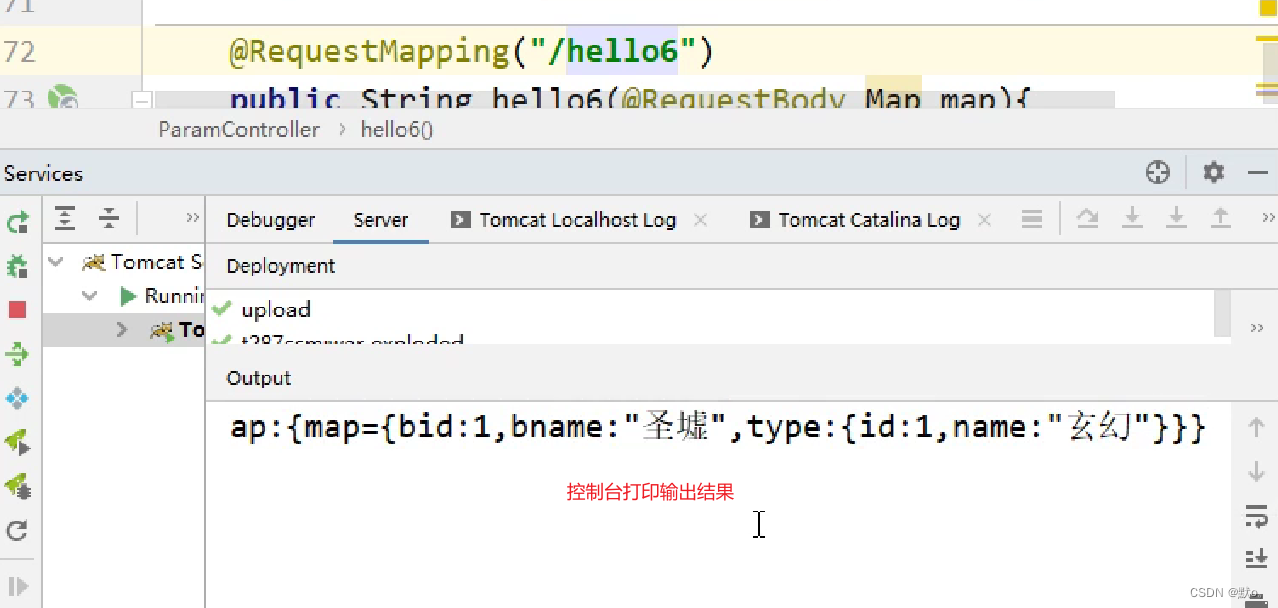
@RequestMapping("/hello5")public String hello5(Map map){log.info("@RequestBody:map:{}",map);return "index";}@RequestMapping("/hello6")public String hello6(@RequestBody Map map){log.info("@RequestBody:map:{}",map);return "index";}
6.3通过aplikt测试
6.4补充
reqiuestmapper(不安全,不具备标识意义)+=GetMapping+DeleteMappin+PutMapping+PostMapping
//增加@PostMappingpublic String type1(){System.out.println("PostMapping");return "index";}//修改@PutMappingpublic String type2(){System.out.println("PutMapping");return "index";}//输出@DeleteMappingpublic String type3(){System.out.println("PutMapping");return "index";}@GetMappingpublic String type4 (){System.out.println("PutMapping");return "index";}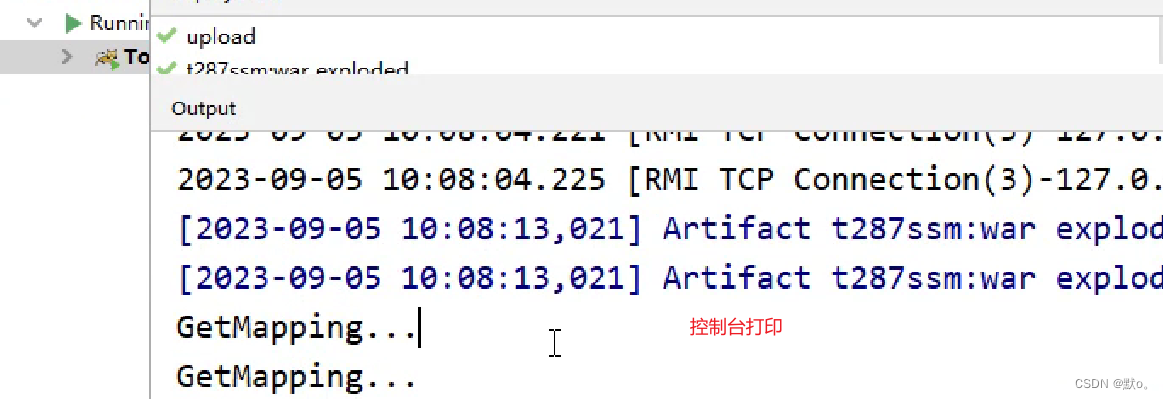
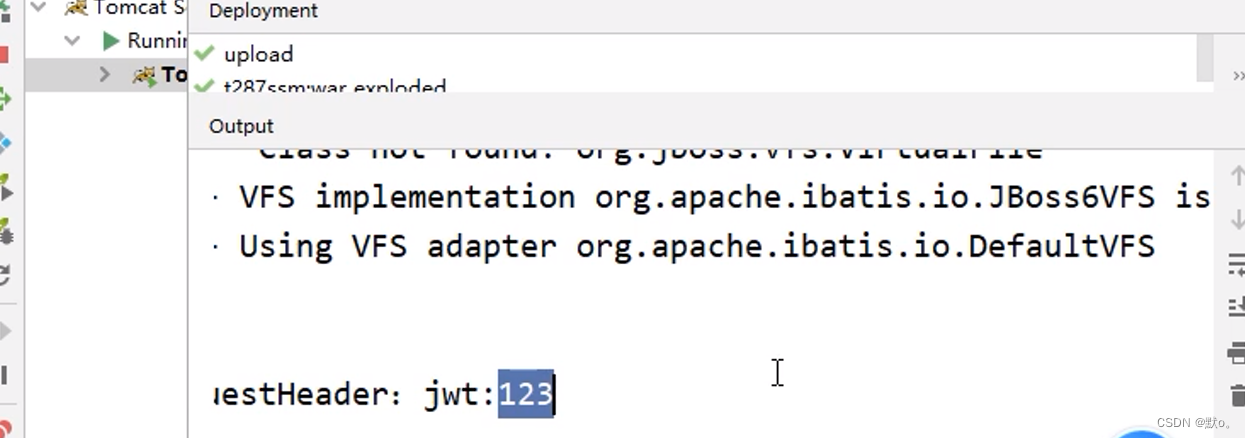
7.@RequestHeader(获取请求头)
7.1创建方法用于验证
@RequestMapping("/hello7")public String hello6(@RequestHeader("jwt") String jwt){log.info("@RequestBody:jwt:{}",jwt);return "index";}7.2设置访问路径(localhost:8080/param/hello7)
8.复合行
@RequestMapping("/hello8")public String hello8(Book book,@RequestBody Map map,@RequestHeader("jwt") String jwt){log.info("@RequestBody:book:{}",book);log.info("@RequestBody:map:{}",map);log.info("@RequestBody:jwt:{}",jwt);return "index";} 
二.返回值
1.void型
@RequestMapping("/hello1")public void hello1(HttpServletResponse response){Map<String,Object> map=new HashMap<>();map.put("code",200);map.put("msg","成功添加");try {ResponseUtil .writeJson(response,map);} catch (Exception e) {e.printStackTrace();}}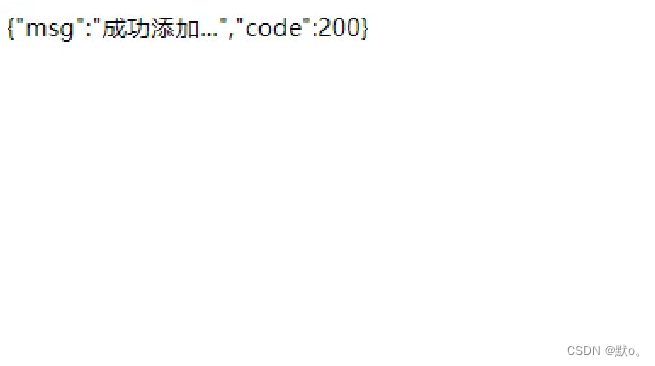
2.String+model类型
 @RequestMapping("/hello4")public  String hello5(Model  model, HttpServletRequest  request){model.addAttribute("currentName","永州鸭");request.setAttribute("location","来自于道州的");return    "index";
}
3.ModelAndView
@RequestMapping("/hello5")public ModelAndView hello5(){ModelAndView mv = new ModelAndView();//填充模型数据mv.addObject("sign","头脑灵范...");mv.setViewName("index");//逻辑视图名return mv;} 
三.页面跳转
转发(forward:path)和重定向(redirect:path)这两种跳转方式将会绕开视图解析器的前缀和后缀;还有就是如果是在同一controller中则不用使用"/"从根目录开始,而如果是在不同的controller则一定要从根目录开始。
path为请求处理方法名,而非逻辑视图名。
-
转发(地址栏不变)
@RequestMapping("/hello1")public String hello1(){System.out.println("hell1");return "forward:index";}它相当于“request.getRequestDispatcher("url").forward(request,response)”。使用转发,既可以转发到jsp, 也可以转发到其他的控制器方法。
-
重定向(地址栏改变)
@RequestMapping("/hello2")public String /hello2(){System.out.println("/hello2");return "redirect:index";}它相当于“response.sendRedirect(url)”。需要注意的是,如果重定向到jsp页面,则jsp页面不能写在WEB-INF目录中,否则无法找到。