| 🚀 Neo4j 🚀 |
🌲 算法刷题专栏 | 面试必备算法 | 面试高频算法 🍀
🌲 越难的东西,越要努力坚持,因为它具有很高的价值,算法就是这样✨
🌲 作者简介:硕风和炜,CSDN-Java领域优质创作者🏆,保研|国家奖学金|高中学习JAVA|大学完善JAVA开发技术栈|面试刷题|面经八股文|经验分享|好用的网站工具分享💎💎💎
🌲 恭喜你发现一枚宝藏博主,赶快收入囊中吧🌻
🌲 人生如棋,我愿为卒,行动虽慢,可谁曾见我后退一步?🎯🎯
| 🚀 Neo4j 🚀 |


🍔 目录
- 🌟 知识回顾
- 🌟 Spring Data Neo4j官方指导手册
- 🌟 Docker启动Neo4j
- 🌟 Spring Boot集成Neo4J配置信息
- 🍤 新创建一个SpringBoot项目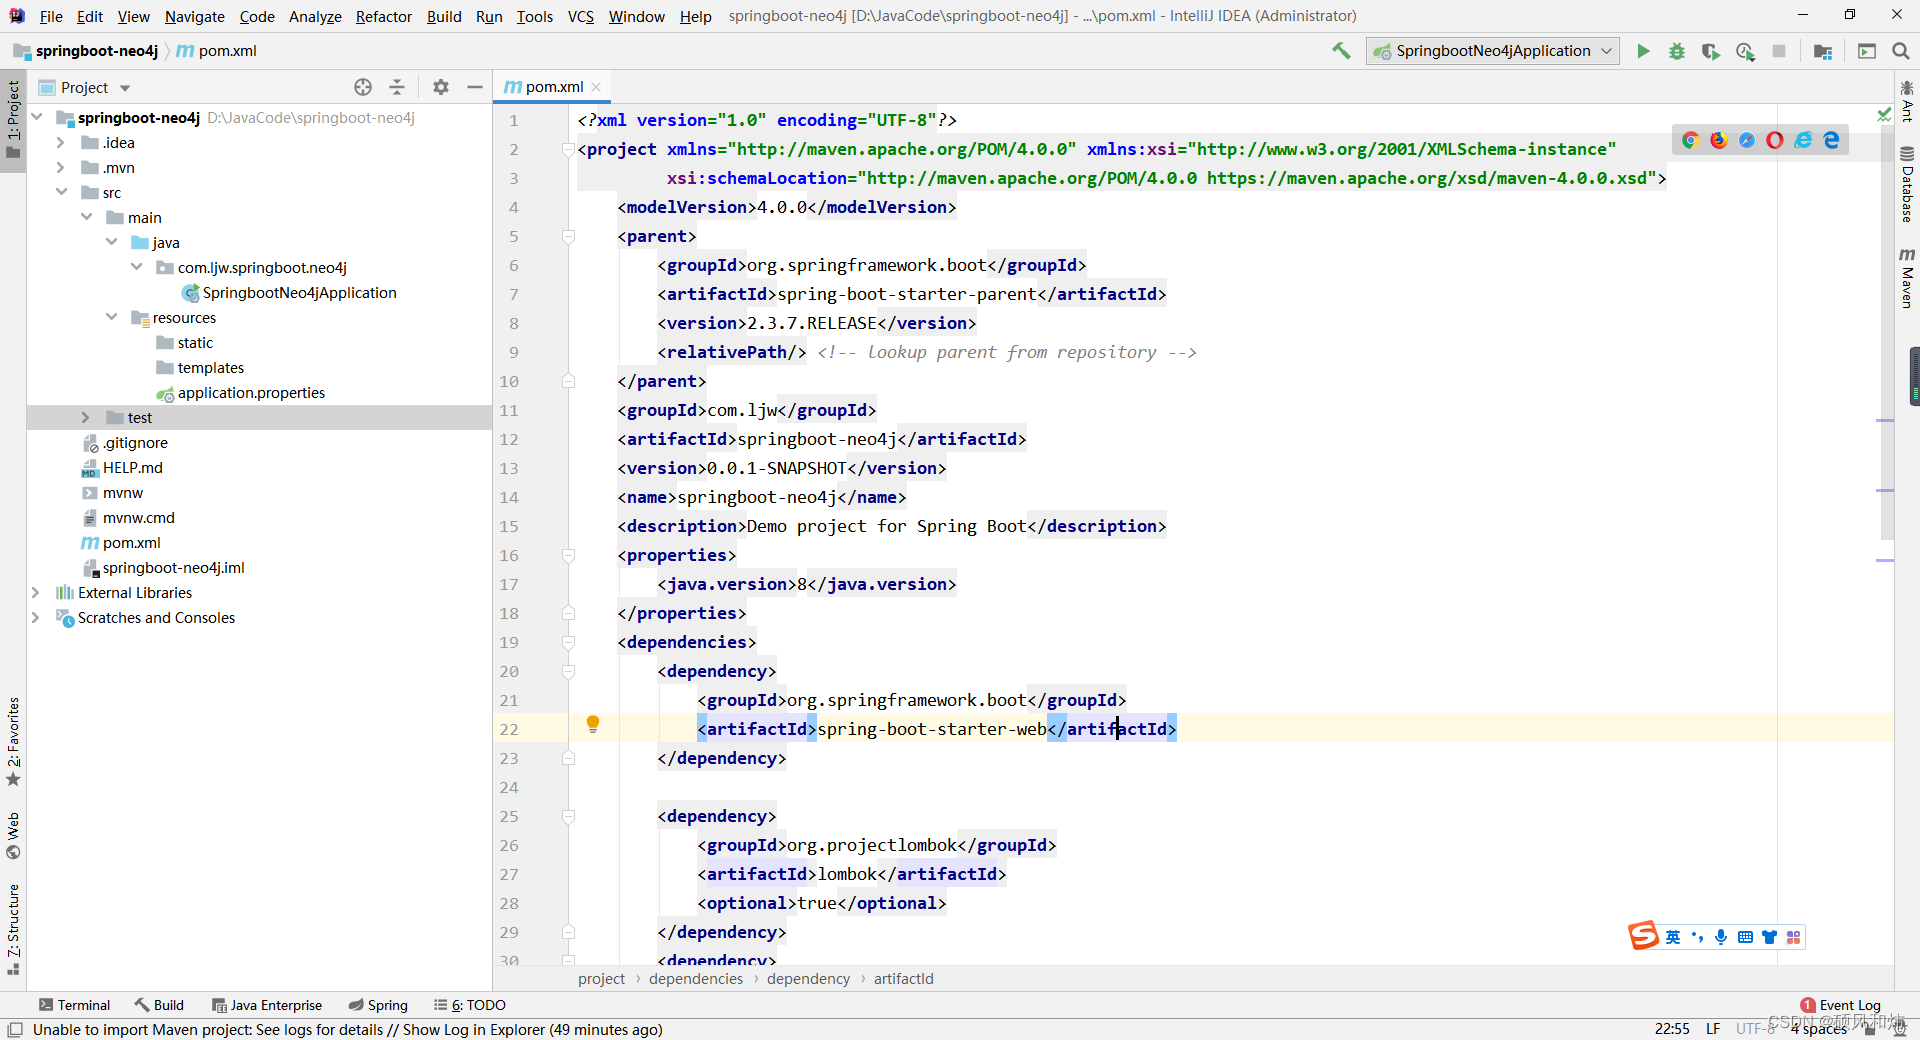
- 🍤 导入spring-boot-starter-data-neo4j依赖
- 🍤 配置neo4j相关的连接信息
- 🌟 Spring Boot集成Neo4J案例实操
- 🍤 创建对应的Person实体信息
- 🍤 创建对应的Repository接口
- 🍤 创建节点访问测试
- 🌟 Spring Boot集成Neo4J案例实操2
- 🍤 创建对应的PersonRelation实体信息
- 🍤 Person实体中增加对应的构造方法
- 🍤 创建对应的PersonRelationRepository接口
- 🍤 创建节点访问测试
- 🌟 总结
- 💬 共勉
🌟 知识回顾
大家根据自己情况的情况自行选择之前的文章进行学习
【Docker安装部署Neo4j保姆级教程】
【使用Neo4j进行图数据可视化】
【Neo4j教程之CQL命令基本使用】
【Neo4j教程之CQL函数基本使用】
🌟 Spring Data Neo4j官方指导手册
Spring Data Neo4j官方指导手册
第一步进入Spring官方,选择SpringData模块
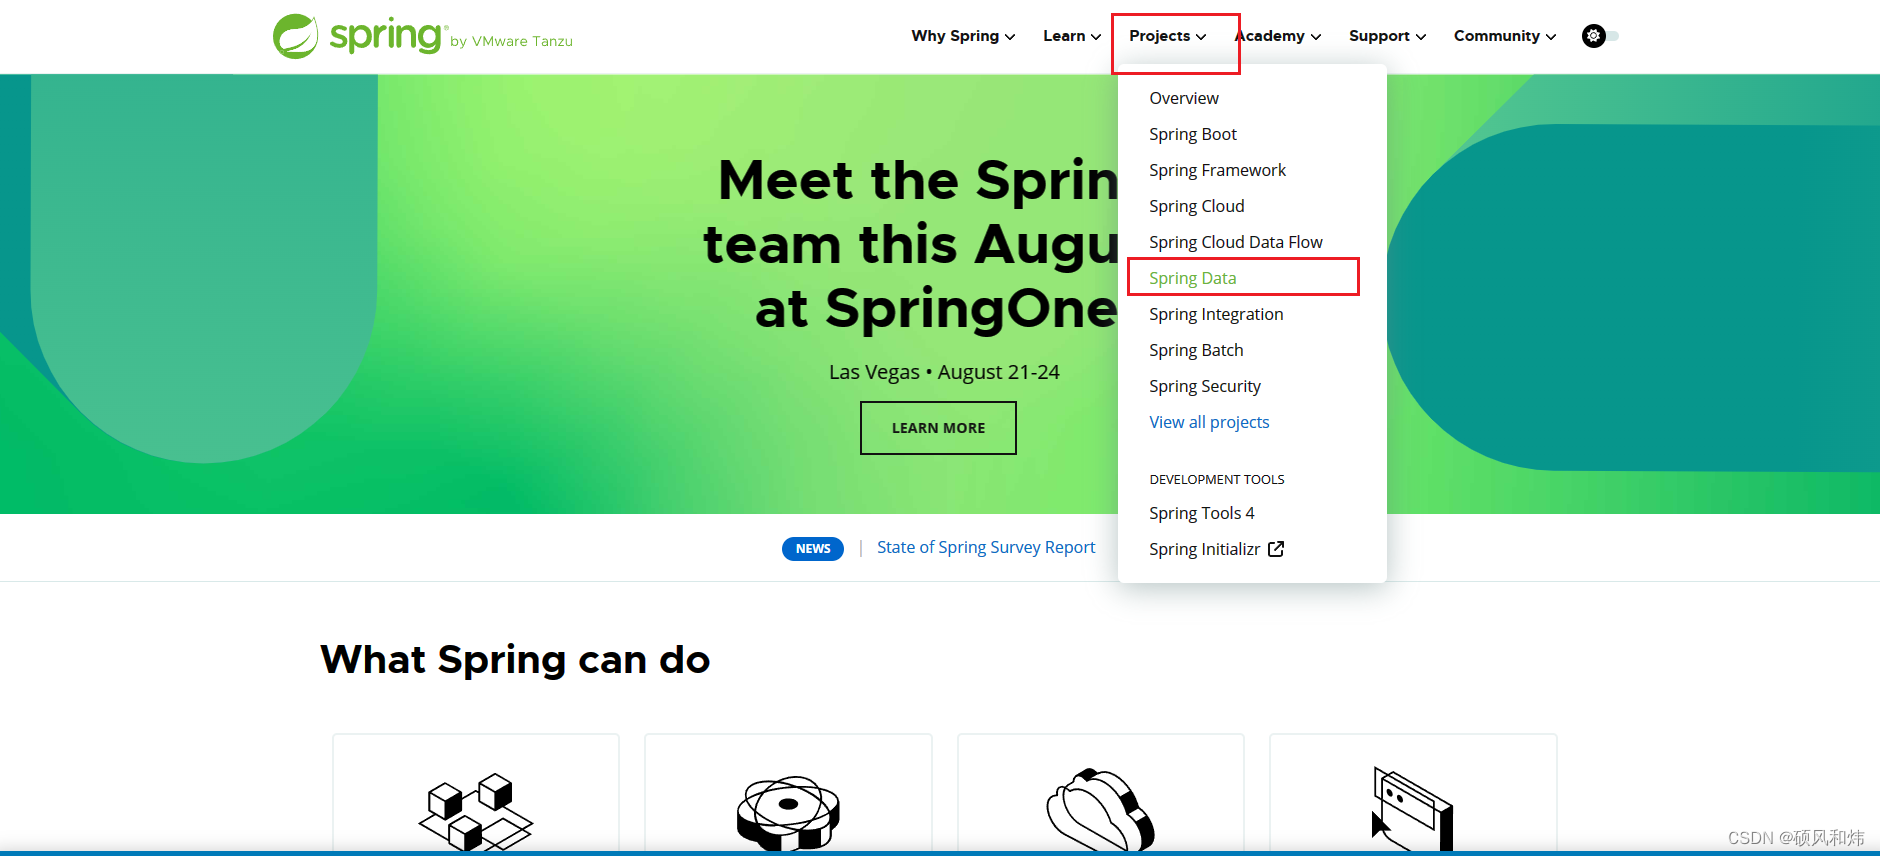
第二步选择Spring Data Neo4j
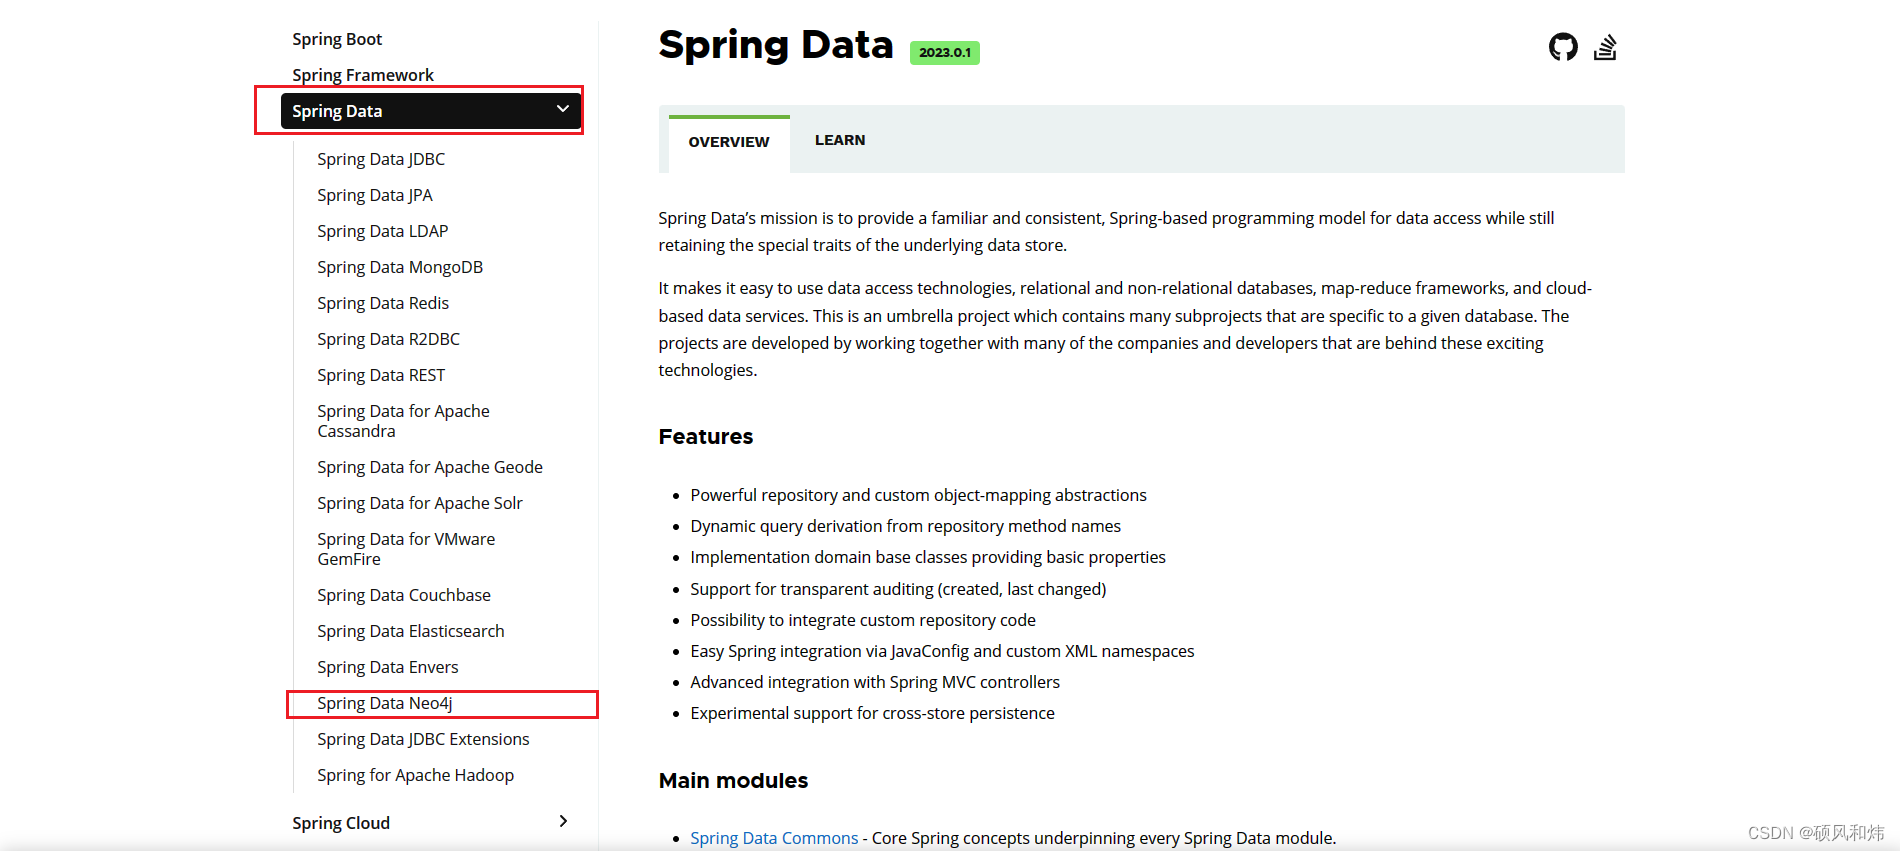
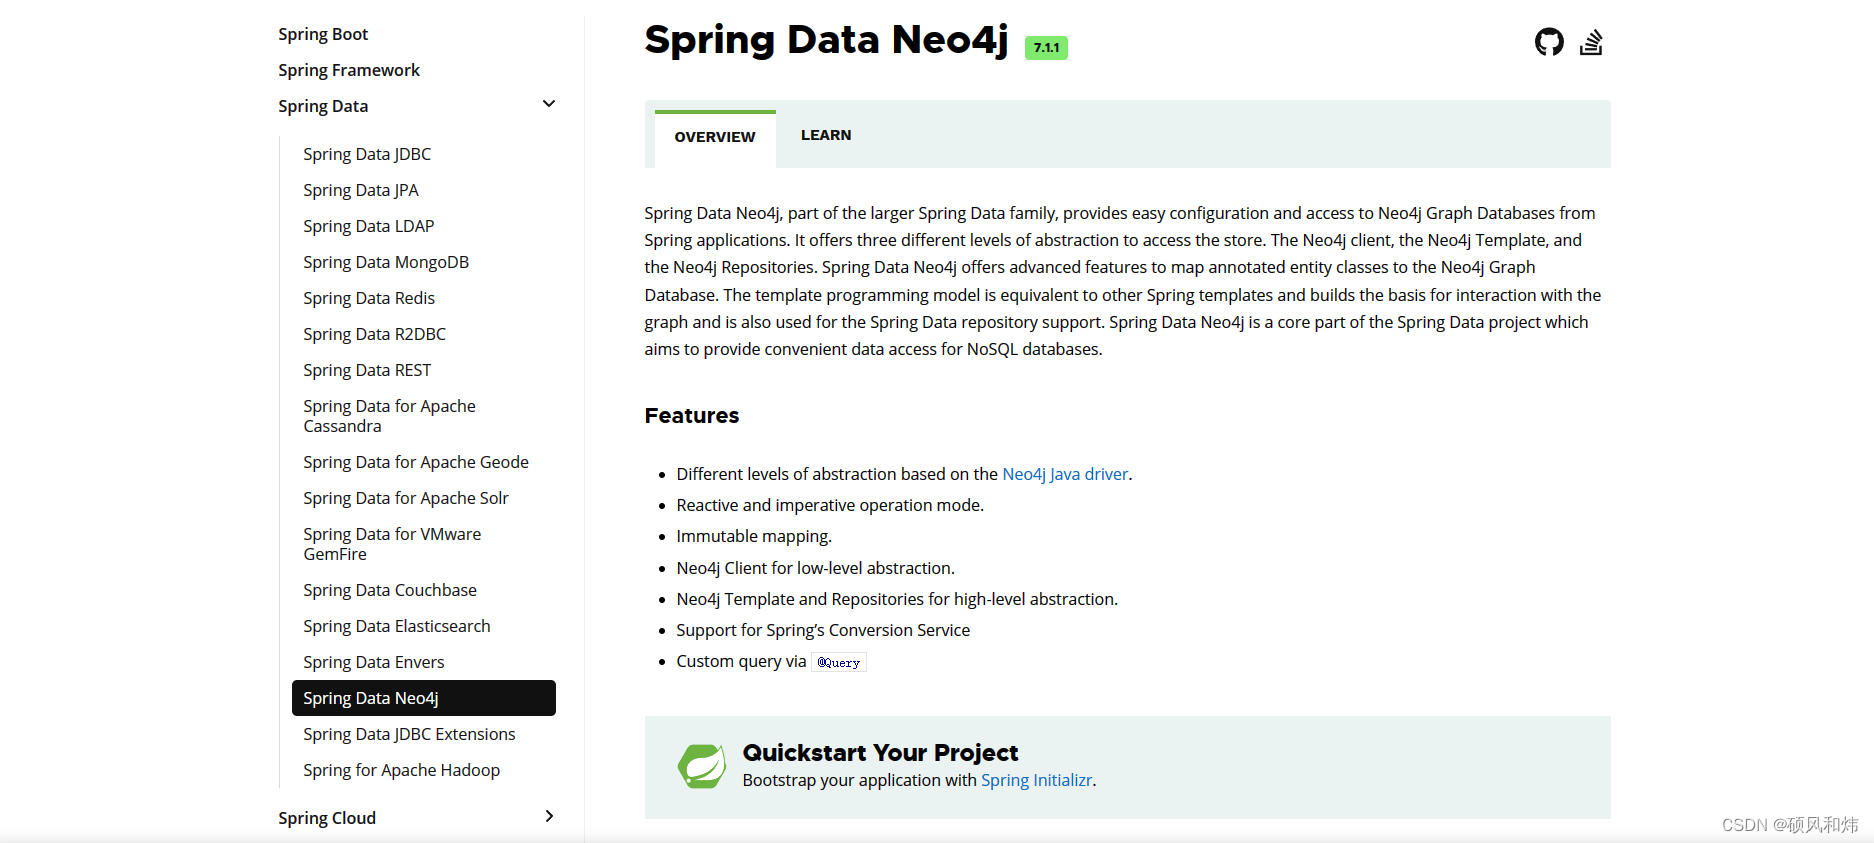
第三步查看Spring Data Neo4j指导手册相关的内容
🌟 Docker启动Neo4j
注意:此处我们直接通过Docker来启动Neo4j,前面的教程中也有,不会的同学可以先去学习
docker start neo4j

🌟 Spring Boot集成Neo4J配置信息
🍤 新创建一个SpringBoot项目
🍤 导入spring-boot-starter-data-neo4j依赖
添加对应的依赖
<dependency><groupId>org.springframework.boot</groupId><artifactId>spring-boot-starter-data-neo4j</artifactId>
</dependency>
🍤 配置neo4j相关的连接信息
添加对应的配置文件
spring.data.neo4j.uri= bolt://localhost:7687
spring.data.neo4j.username=neo4j
spring.data.neo4j.password=123456
🌟 Spring Boot集成Neo4J案例实操
🍤 创建对应的Person实体信息
import lombok.Data;
import org.neo4j.ogm.annotation.GeneratedValue;
import org.neo4j.ogm.annotation.Id;
import org.neo4j.ogm.annotation.NodeEntity;
import org.neo4j.ogm.annotation.Property;/*** 创作一个对应 Person 实体对象 -> 对应我们 Neo4j数据库中的 Node 对象*/
@Data
@NodeEntity("Person")
public class Person {@Id@GeneratedValueprivate Long id;@Propertyprivate String name;
}
🍤 创建对应的Repository接口
import entity.Person;
import org.springframework.data.neo4j.repository.Neo4jRepository;
import org.springframework.stereotype.Repository;@Repository
public interface PersonRepository extends Neo4jRepository<Person,Long> {
}
🍤 创建节点访问测试
代码案例
import dao.PersonRepository;
import entity.Person;
import org.junit.jupiter.api.Test;
import org.springframework.beans.factory.annotation.Autowired;
import org.springframework.boot.test.context.SpringBootTest;@SpringBootTest
class SpringbootNeo4jApplicationTests {@Autowiredprivate PersonRepository personRepository;@Testvoid contextLoads() {Person person = new Person();person.setName("硕风和炜");personRepository.save(person);}
}
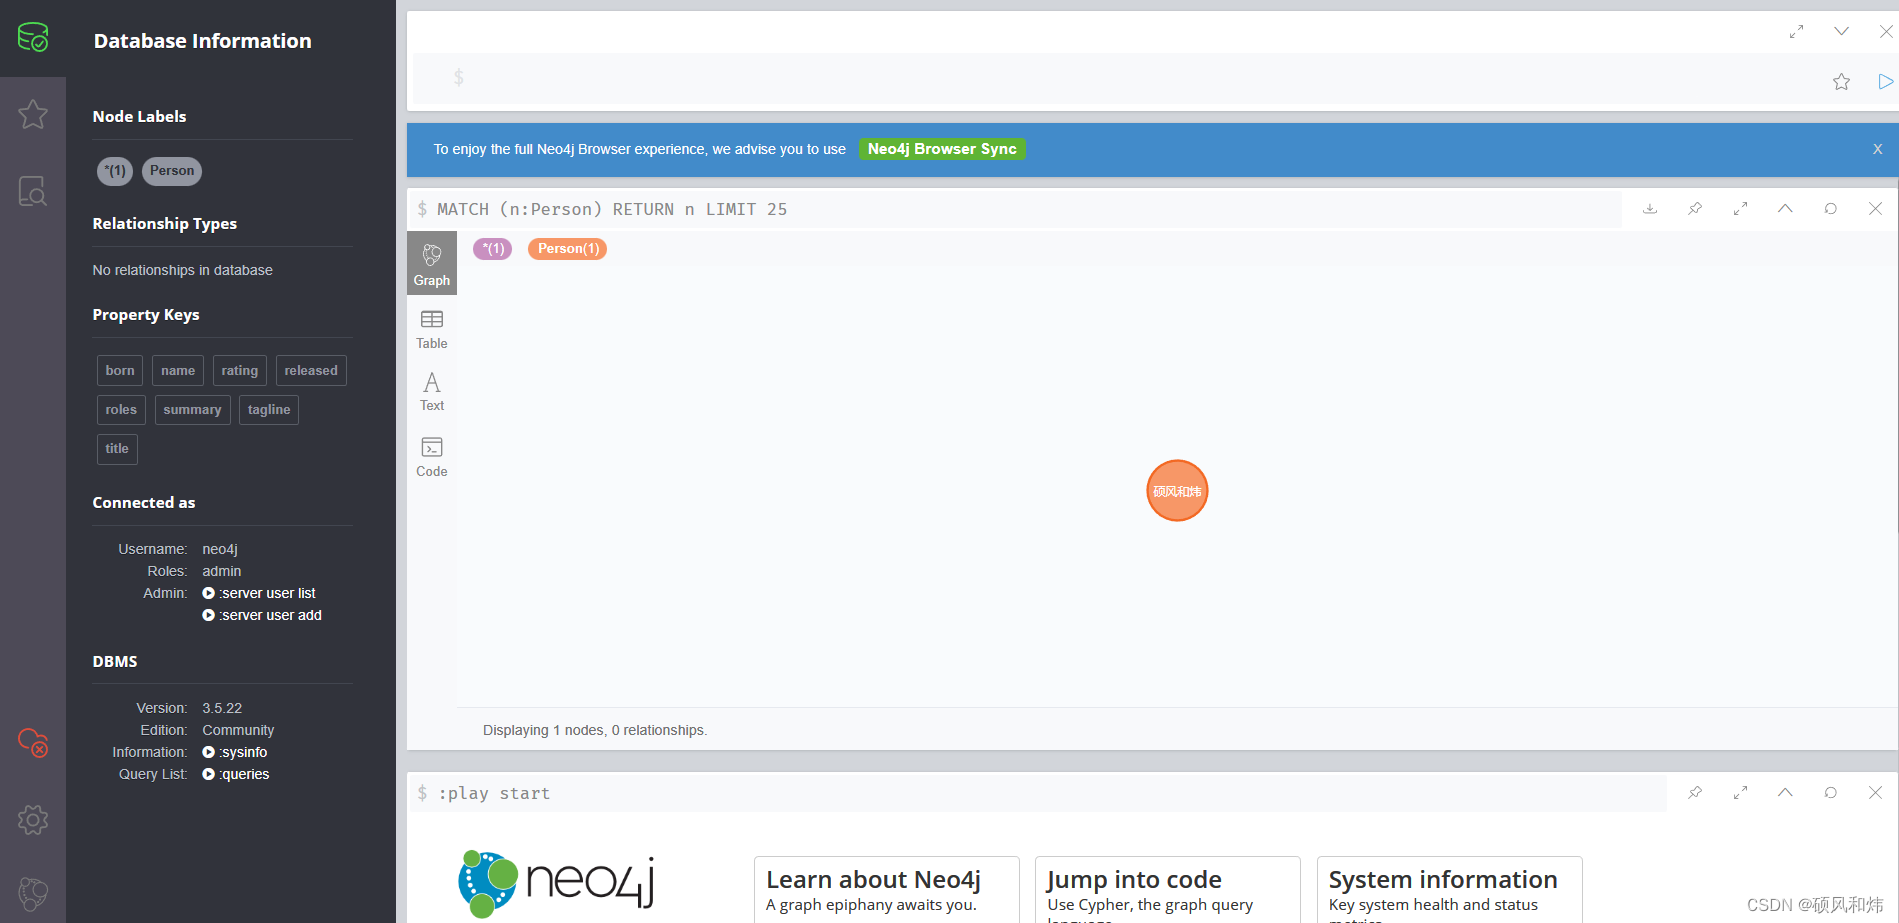
访问测试
🌟 Spring Boot集成Neo4J案例实操2
🍤 创建对应的PersonRelation实体信息
import lombok.Data;
import org.neo4j.ogm.annotation.*;import java.io.Serializable;@Data
@RelationshipEntity(type = "徒弟")
public class PersonRelation implements Serializable {@Id@GeneratedValueprivate Long id;@StartNodeprivate Person parent;@EndNodeprivate Person child;@Propertyprivate String relation;public PersonRelation(Person parent, Person child, String relation) {this.parent = parent;this.child = child;this.relation = relation;}
}
🍤 Person实体中增加对应的构造方法
import lombok.Data;
import org.neo4j.ogm.annotation.GeneratedValue;
import org.neo4j.ogm.annotation.Id;
import org.neo4j.ogm.annotation.NodeEntity;
import org.neo4j.ogm.annotation.Property;/*** 创作一个对应 Person 实体对象 -> 对应我们 Neo4j数据库中的 Node 对象*/
@Data
@NodeEntity("Person")
public class Person {@Id@GeneratedValueprivate Long id;@Propertyprivate String name;@Propertyprivate Integer age;public Person() {}public Person(String name, Integer age) {this.name = name;this.age = age;}
}
🍤 创建对应的PersonRelationRepository接口
import com.ljw.springboot.neo4j.entity.PersonRelation;
import org.springframework.data.neo4j.repository.Neo4jRepository;
import org.springframework.stereotype.Repository;@Repository
public interface PersonRelationRepository extends Neo4jRepository<PersonRelation,Long> {}
🍤 创建节点访问测试
代码案例
import com.ljw.springboot.neo4j.dao.PersonRelationRepository;
import com.ljw.springboot.neo4j.dao.PersonRepository;
import com.ljw.springboot.neo4j.entity.Person;
import com.ljw.springboot.neo4j.entity.PersonRelation;
import org.junit.jupiter.api.Test;
import org.springframework.beans.factory.annotation.Autowired;
import org.springframework.boot.test.context.SpringBootTest;@SpringBootTest
class SpringbootNeo4jApplicationTests {@Autowiredprivate PersonRelationRepository personRelationRepository;@Testvoid nodeRelation(){Person p1 = new Person("唐僧",4321);Person p2 = new Person("孙悟空",3421);Person p3 = new Person("猪八戒",2413);Person p4 = new Person("沙僧",1234);PersonRelation pr1 = new PersonRelation(p1,p2,"徒弟");PersonRelation pr2 = new PersonRelation(p1,p3,"徒弟");PersonRelation pr3 = new PersonRelation(p1,p4,"徒弟");personRelationRepository.save(pr1);personRelationRepository.save(pr2);personRelationRepository.save(pr3);}}
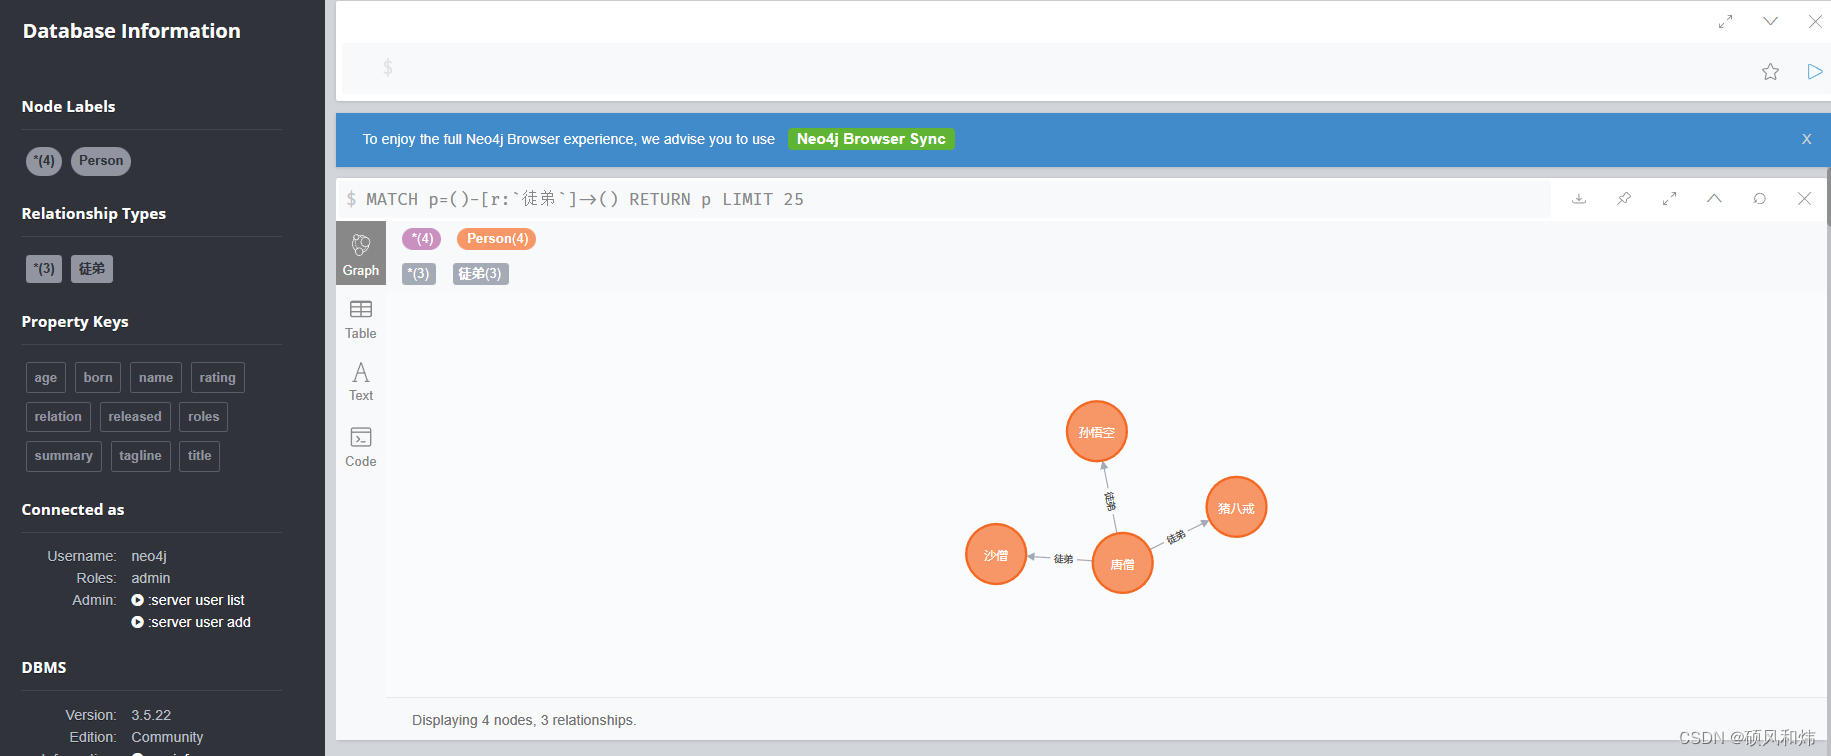
访问测试
🌟 总结
本文展示了如何使用Neo4J和Spring Boot整合,如何在Spring Boot应用程序中使用Neo4J数据库来持久化数据、使用CQL语言进行高效的查询操作,并提供了一个非常简单的例子以演示如何使用Neo4J数据库。相信通过本文的学习,读者已经掌握了如何使用Neo4J和Spring Boot整合,并且具备将此应用于实际项目的能力。
💬 共勉
| 最后,我想和大家分享一句一直激励我的座右铭,希望可以与大家共勉! |


