代码:
//驱动程序
#include<linux/init.h>
#include<linux/module.h>
#include<linux/of.h>
#include<linux/of_gpio.h>
#include<linux/gpio.h>
#include<linux/timer.h>struct device_node *dnode;
//unsigned int gpiono;
char kbuf[128] = {0};
//定义定时器对象
struct timer_list mytimer;
struct gpio_desc *gpiono;int major;
struct class *cls;
struct device *dev;
int mycdev_open(struct inode *inode, struct file *file)
{printk("%s:%s:%d\n", __FILE__, __func__, __LINE__);return 0;
}ssize_t mycdev_write(struct file *file, const char *ubuf, size_t size, loff_t *lof)
{printk("%s:%s:%d\n", __FILE__, __func__, __LINE__);int ret=copy_from_user(kbuf,ubuf,size);if(ret){printk("copy_from_user filed\n");return -EIO;}printk("%d\n",kbuf[0] - 48);gpiod_set_value(gpiono,kbuf[0] - 48);return 0;
}
int mycdev_close(struct inode *inode, struct file *file)
{printk("%s:%s:%d\n", __FILE__, __func__, __LINE__);return 0;
}// 定义操作方法结构体变量并赋值
struct file_operations fops = {.open = mycdev_open,.write = mycdev_write,.release = mycdev_close,
};void handler(struct timer_list *timer)
{printk("hello world\n");mod_timer(timer,jiffies + 5 * HZ);
}static int __init mycdev_init(void)
{dnode = of_find_node_by_path("/myled");if(NULL == dnode){printk("解析设备节点信息失败\n");return  -ENXIO;}//获取LED1 GPIO编号gpiono = gpiod_get_from_of_node(dnode,"led1-gpio",0,GPIOD_OUT_LOW,NULL);if(IS_ERR(gpiono)){printk("申请gpio信息失败\n");return -PTR_ERR(gpiono);}//初始化定时器对象timer_setup(&mytimer,handler,0);mytimer.expires = jiffies + HZ;//注册定时器add_timer(&mytimer);major = register_chrdev(0, "mychrdev", &fops);if (major < 0){printk("字符设备驱动注册失败\n");return major;}printk("字符设备驱动注册成功:major=%d\n", major);// 向上提交目录cls = class_create(THIS_MODULE, "mychrdev");if (IS_ERR(cls)){printk("向上提交目录失败\n");return -PTR_ERR(cls);}printk("向上提交目录成功\n");// 向上提交设备节点信息int i; // 向上提交三次设备节点信息for (i = 0; i < 3; i++){dev = device_create(cls, NULL, MKDEV(major, i), NULL, "myled%d", i);if (IS_ERR(dev)){printk("向上提交设备节点失败\n");return -PTR_ERR(dev);}}printk("向上提交设备节点成功\n");return 0;
}static void __exit mycdev_exit(void)
{del_timer(&mytimer);//gpio_free(gpiono);gpiod_put(gpiono);// 销毁设备节点信息int i;for (i = 0; i < 3; i++){device_destroy(cls, MKDEV(major, i));}// 销毁目录class_destroy(cls);// 注销字符设备驱动unregister_chrdev(major, "mychrdev");
}module_init(mycdev_init);
module_exit(mycdev_exit);
MODULE_LICENSE("GPL");
//应用程序
#include<stdio.h>
#include<stdlib.h>
#include<sys/ioctl.h>
#include<string.h>
#include<sys/stat.h>
#include<sys/types.h>
#include<unistd.h>
#include<fcntl.h>
int main(int argc, char const *argv[])
{char buf[128] = {0};int fd = open("/dev/myled0",O_RDWR);while(1){printf("请输入>>>");scanf("%s",buf);write(fd,buf,1);}return 0;
}
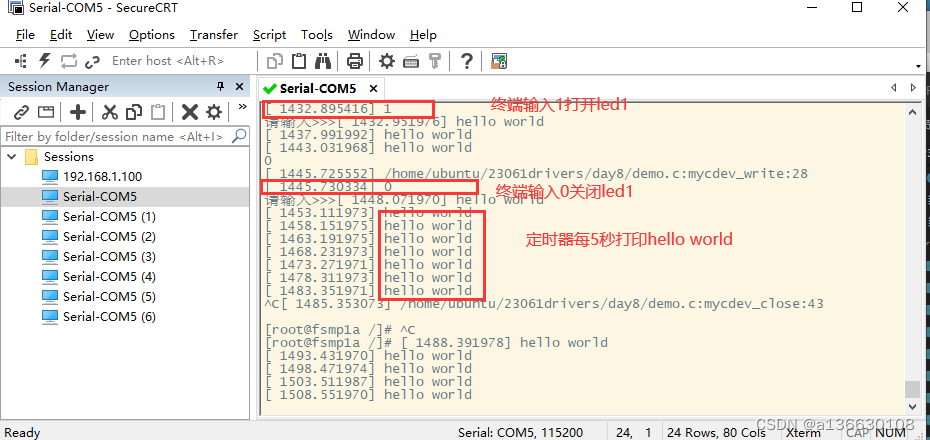
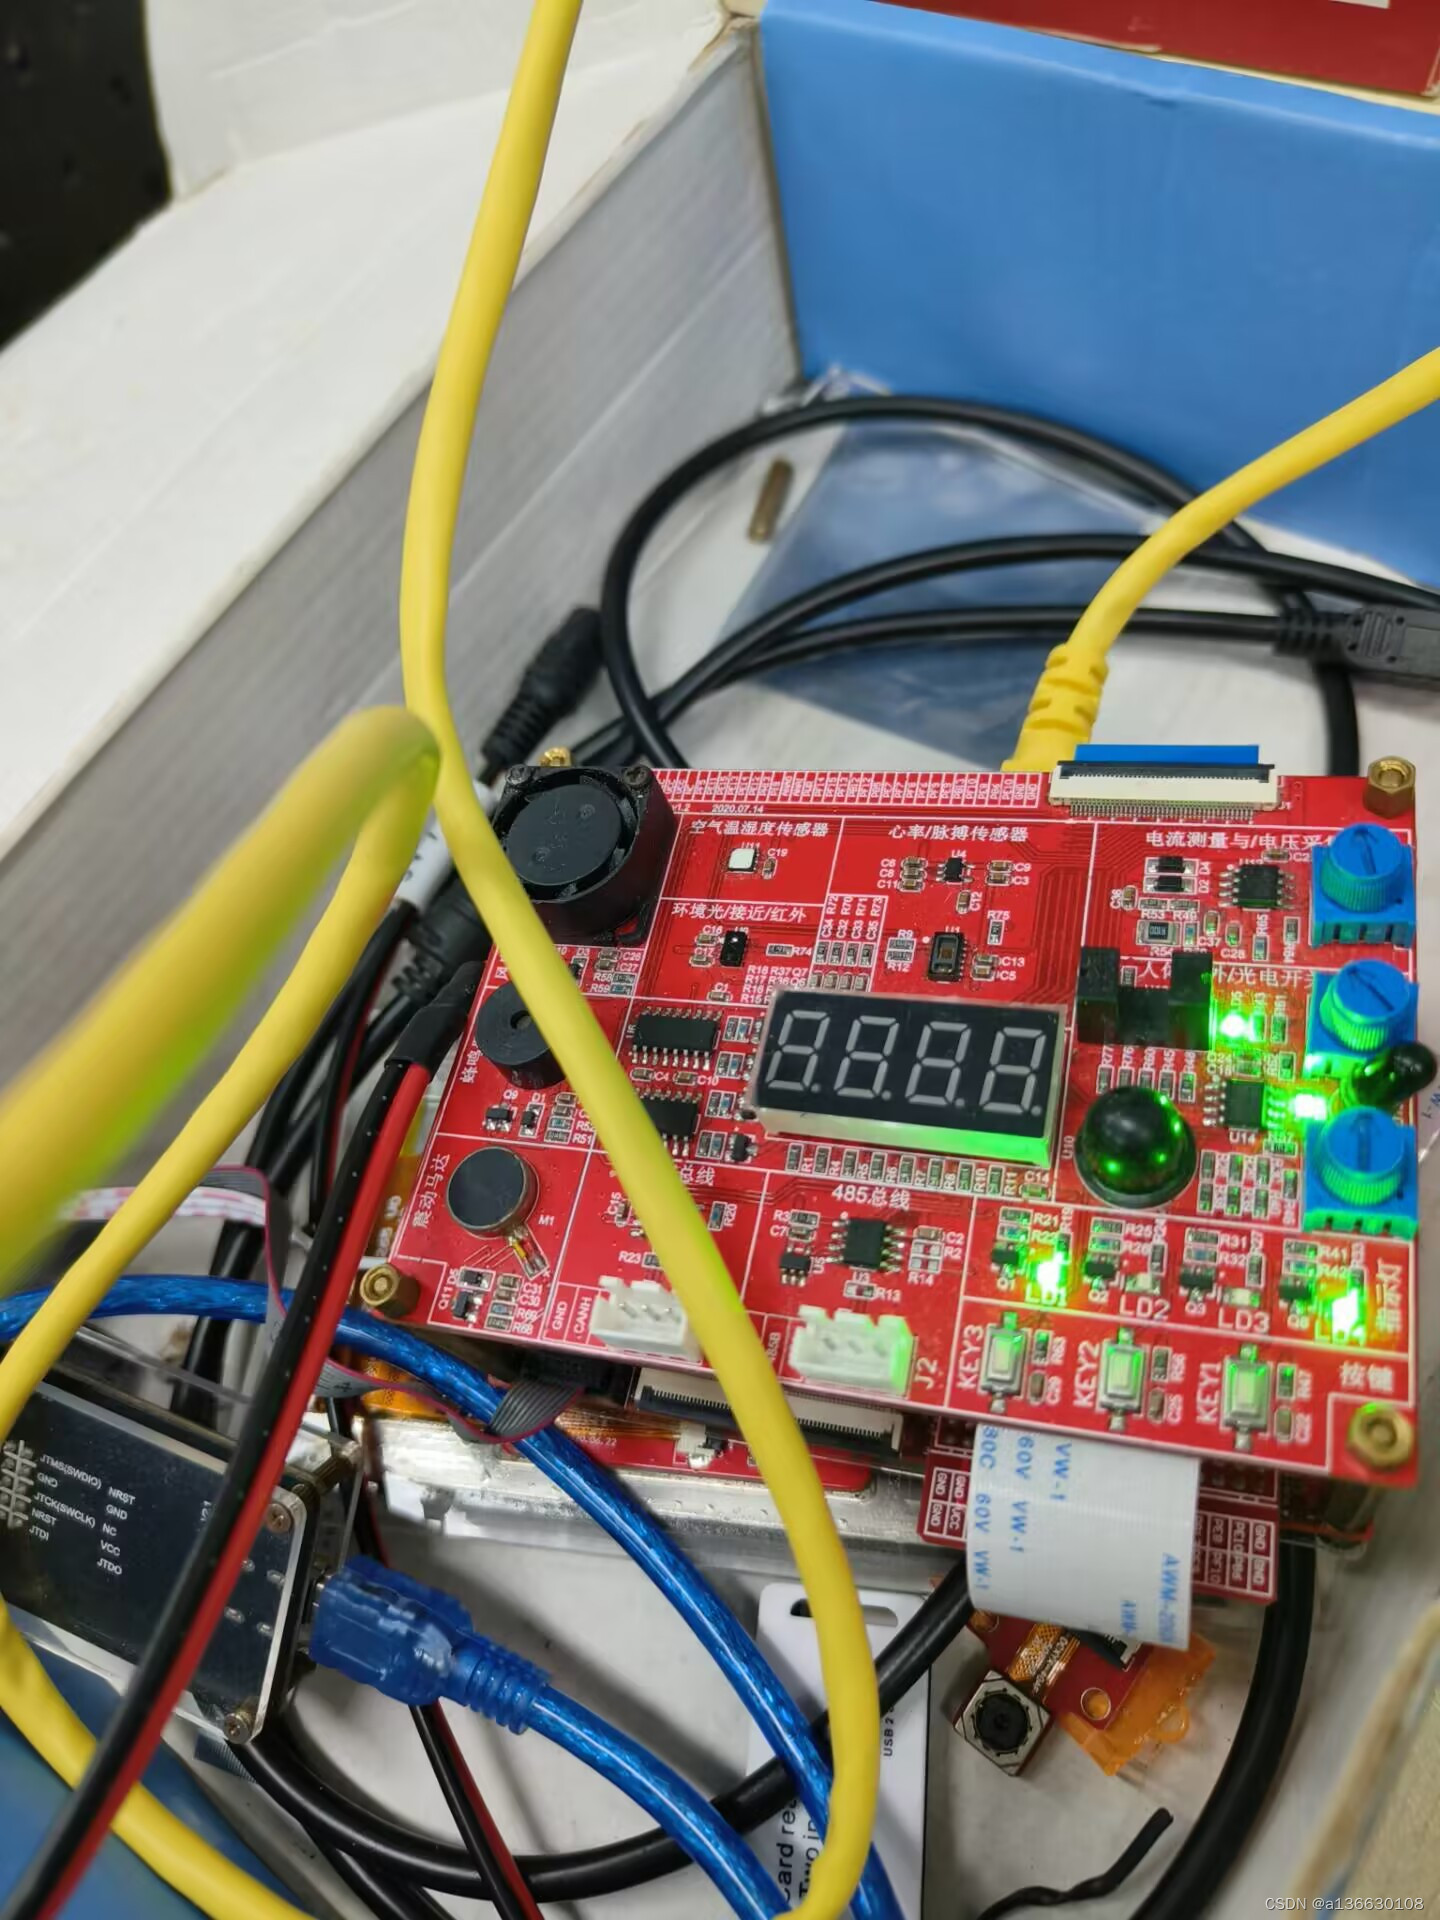
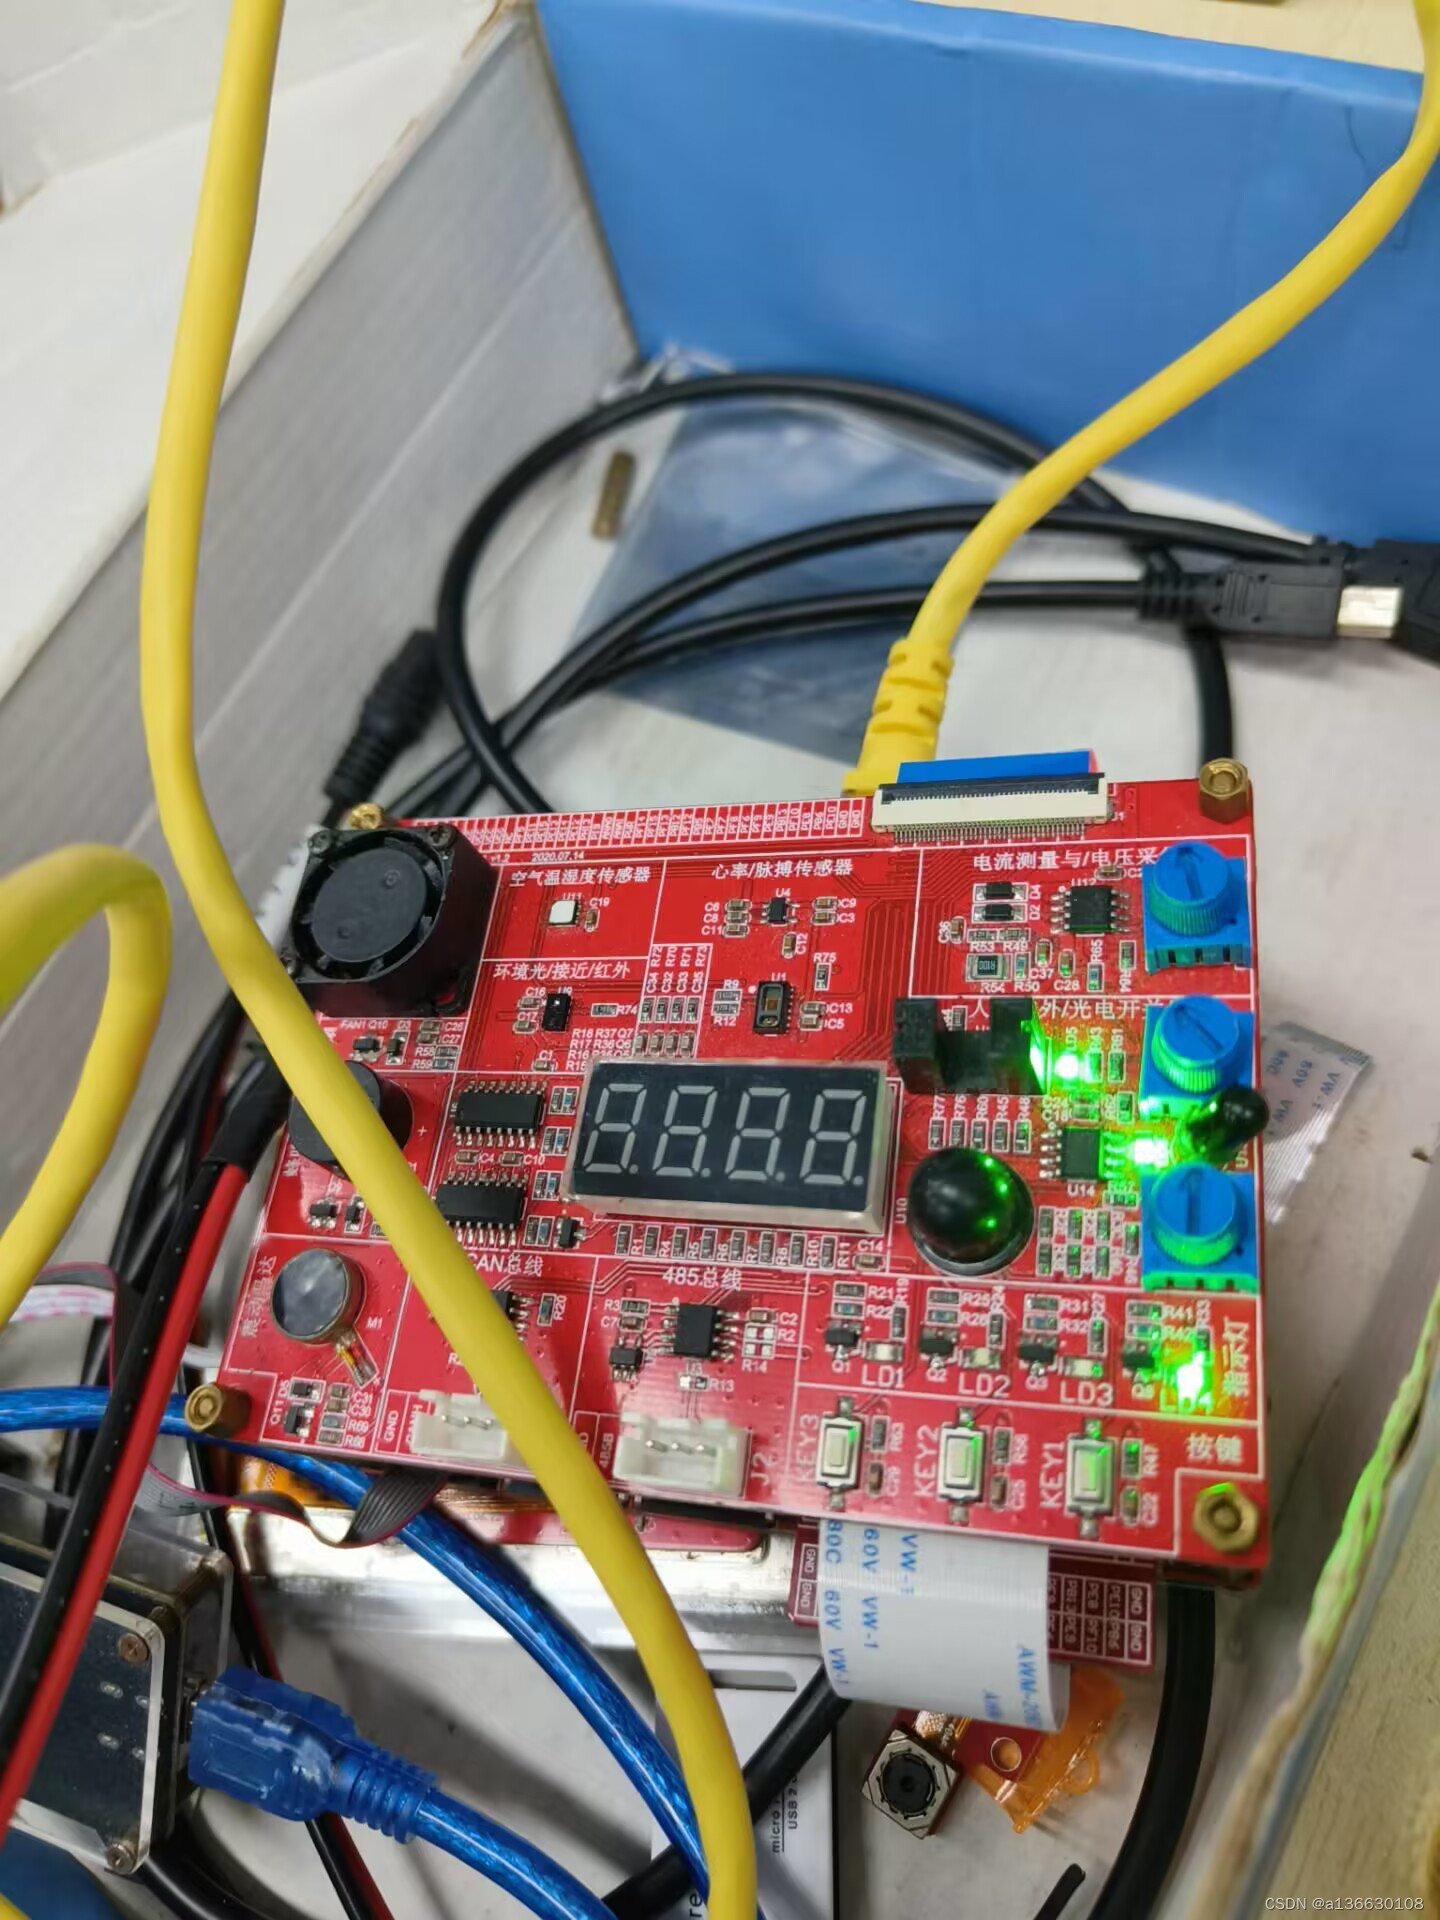
实验现象:


![P1494 [国家集训队] 小 Z 的袜子](https://img-blog.csdnimg.cn/ffca3ec7b46e4fc9ba95099a6c31dce5.png)

