目录
介绍
效果
效果1
效果2
效果3
效果4
模型信息
项目
代码
下载
其他
介绍
github地址:https://github.com/navervision/mlsd
M-LSD: Towards Light-weight and Real-time Line Segment Detection
Official Tensorflow implementation of "M-LSD: Towards Light-weight and Real-time Line Segment Detection" (AAAI 2022 Oral session)
Geonmo Gu*, Byungsoo Ko*, SeoungHyun Go, Sung-Hyun Lee, Jingeun Lee, Minchul Shin (* Authors contributed equally.)
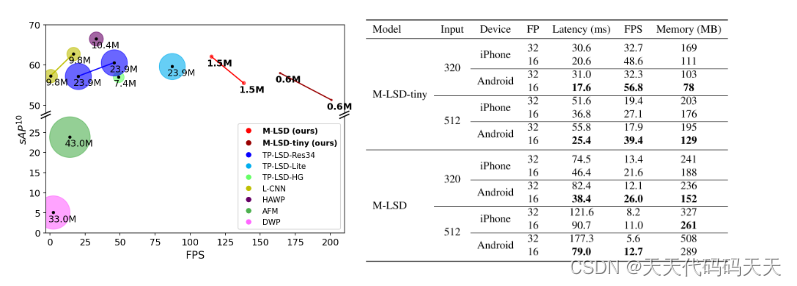
First figure: Comparison of M-LSD and existing LSD methods on GPU. Second figure: Inference speed and memory usage on mobile devices.
We present a real-time and light-weight line segment detector for resource-constrained environments named Mobile LSD (M-LSD). M-LSD exploits extremely efficient LSD architecture and novel training schemes, including SoL augmentation and geometric learning scheme. Our model can run in real-time on GPU, CPU, and even on mobile devices.
效果
效果1

效果2

效果3
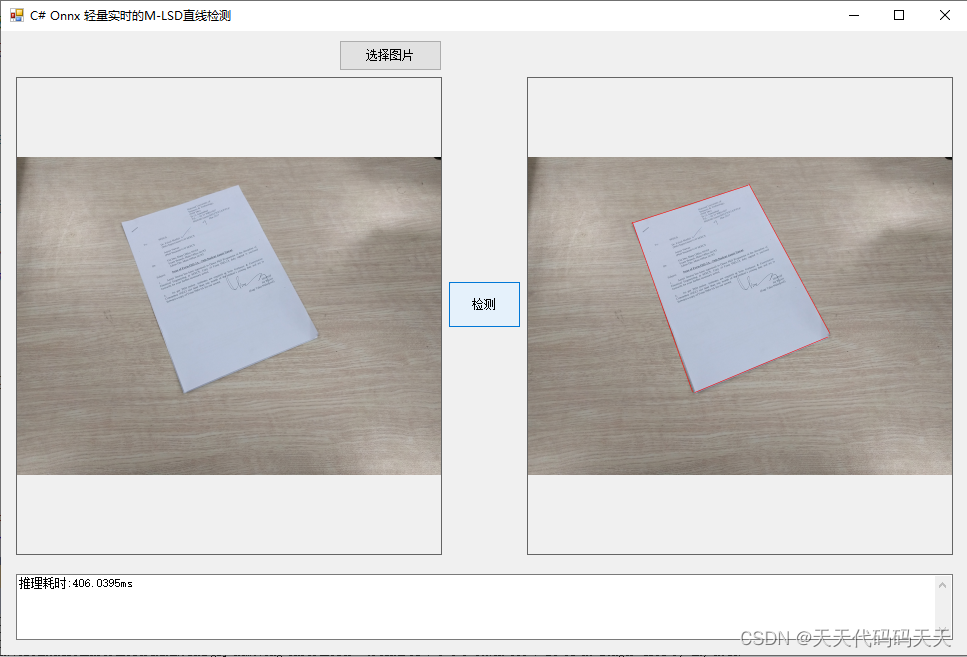
效果4
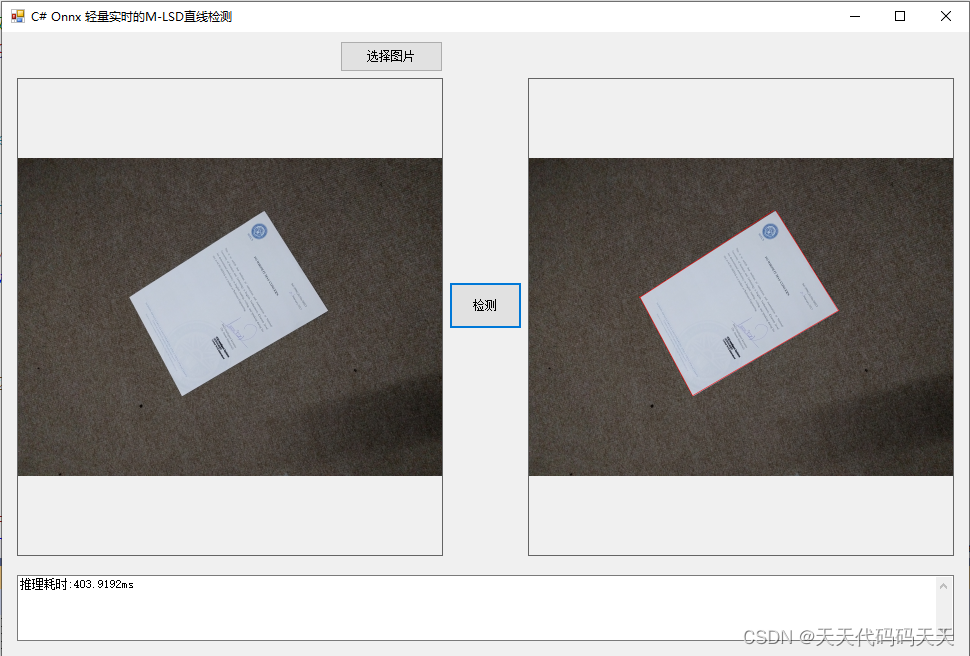
模型信息
Inputs
-------------------------
name:input_image_with_alpha:0
tensor:Float[1, 512, 512, 4]
---------------------------------------------------------------
Outputs
-------------------------
name:Identity
tensor:Int32[1, 200, 2]
name:Identity_1
tensor:Float[1, 200]
name:Identity_2
tensor:Float[1, 256, 256, 4]
---------------------------------------------------------------
项目
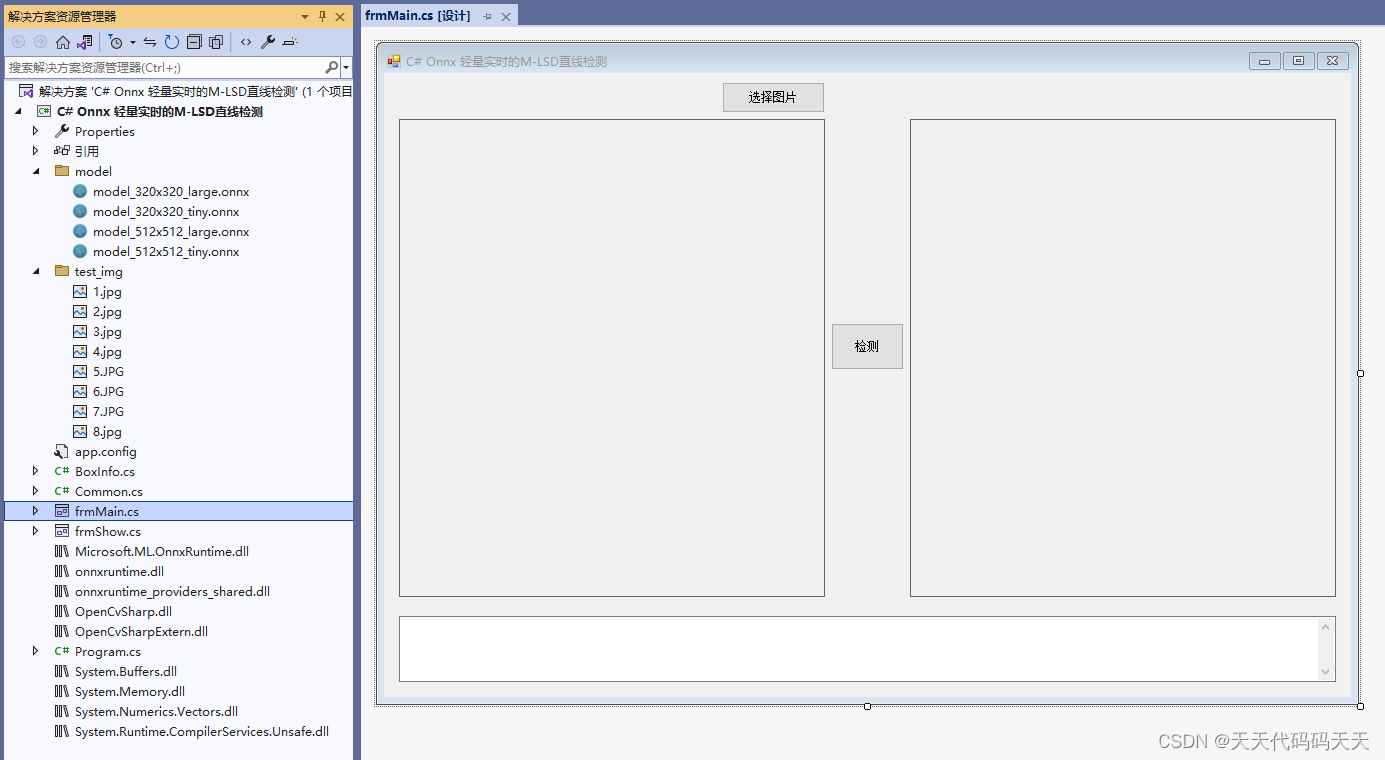
VS2022
.net framework 4.8
OpenCvSharp 4.8
Microsoft.ML.OnnxRuntime 1.16.2
代码
using Microsoft.ML.OnnxRuntime.Tensors;
using Microsoft.ML.OnnxRuntime;
using OpenCvSharp;
using System;
using System.Collections.Generic;
using System.Windows.Forms;
using System.Linq;
using System.Drawing;namespace Onnx_Demo
{public partial class frmMain : Form{public frmMain(){InitializeComponent();}string fileFilter = "*.*|*.bmp;*.jpg;*.jpeg;*.tiff;*.tiff;*.png";string image_path = "";DateTime dt1 = DateTime.Now;DateTime dt2 = DateTime.Now;int inpWidth;int inpHeight;Mat image;string model_path = "";SessionOptions options;InferenceSession onnx_session;Tensor<float> input_tensor;Tensor<float> mask_tensor;List<NamedOnnxValue> input_ontainer;IDisposableReadOnlyCollection<DisposableNamedOnnxValue> result_infer;DisposableNamedOnnxValue[] results_onnxvalue;float conf_threshold = 0.5f;float dist_threshold = 20.0f;private void button1_Click(object sender, EventArgs e){OpenFileDialog ofd = new OpenFileDialog();ofd.Filter = fileFilter;if (ofd.ShowDialog() != DialogResult.OK) return;pictureBox1.Image = null;pictureBox2.Image = null;textBox1.Text = "";image_path = ofd.FileName;pictureBox1.Image = new System.Drawing.Bitmap(image_path);image = new Mat(image_path);}private void Form1_Load(object sender, EventArgs e){// 创建输入容器input_ontainer = new List<NamedOnnxValue>();// 创建输出会话options = new SessionOptions();options.LogSeverityLevel = OrtLoggingLevel.ORT_LOGGING_LEVEL_INFO;options.AppendExecutionProvider_CPU(0);// 设置为CPU上运行// 创建推理模型类,读取本地模型文件model_path = "model/model_512x512_large.onnx";inpWidth = 512;inpHeight = 512;onnx_session = new InferenceSession(model_path, options);// 创建输入容器input_ontainer = new List<NamedOnnxValue>();image_path = "test_img/4.jpg";pictureBox1.Image = new Bitmap(image_path);}private unsafe void button2_Click(object sender, EventArgs e){if (image_path == ""){return;}textBox1.Text = "检测中,请稍等……";pictureBox2.Image = null;System.Windows.Forms.Application.DoEvents();image = new Mat(image_path);Mat resize_image = new Mat();Cv2.Resize(image, resize_image, new OpenCvSharp.Size(512, 512));float h_ratio = (float)image.Rows / 512;float w_ratio = (float)image.Cols / 512;int row = resize_image.Rows;int col = resize_image.Cols;float[] input_tensor_data = new float[1 * 4 * row * col];int k = 0;for (int i = 0; i < row; i++){for (int j = 0; j < col; j++){for (int c = 0; c < 3; c++){float pix = ((byte*)(resize_image.Ptr(i).ToPointer()))[j * 3 + c];input_tensor_data[k] = pix;k++;}input_tensor_data[k] = 1;k++;}}input_tensor = new DenseTensor<float>(input_tensor_data, new[] { 1, 512, 512, 4 });//将 input_tensor 放入一个输入参数的容器,并指定名称input_ontainer.Add(NamedOnnxValue.CreateFromTensor("input_image_with_alpha:0", input_tensor));dt1 = DateTime.Now;//运行 Inference 并获取结果result_infer = onnx_session.Run(input_ontainer);dt2 = DateTime.Now;//将输出结果转为DisposableNamedOnnxValue数组results_onnxvalue = result_infer.ToArray();int[] pts = results_onnxvalue[0].AsTensor<int>().ToArray();float[] pts_score = results_onnxvalue[1].AsTensor<float>().ToArray();float[] vmap = results_onnxvalue[2].AsTensor<float>().ToArray();List<List<int>> segments_list = new List<List<int>>();int num_lines = 200;int map_h = 256;int map_w = 256;for (int i = 0; i < num_lines; i++){int y = pts[i * 2];int x = pts[i * 2 + 1];float disp_x_start = vmap[0 + y * map_w * 4 + x * 4];float disp_y_start = vmap[1 + y * map_w * 4 + x * 4];float disp_x_end = vmap[2 + y * map_w * 4 + x * 4];float disp_y_end = vmap[3 + y * map_w * 4 + x * 4];float distance = (float)Math.Sqrt(Math.Pow(disp_x_start - disp_x_end, 2) + Math.Pow(disp_y_start - disp_y_end, 2));if (pts_score[i] > conf_threshold && distance > dist_threshold){float x_start = (x + disp_x_start) * 2 * w_ratio;float y_start = (y + disp_y_start) * 2 * h_ratio;float x_end = (x + disp_x_end) * 2 * w_ratio;float y_end = (y + disp_y_end) * 2 * h_ratio;List<int> line = new List<int>() { (int)x_start, (int)y_start, (int)x_end, (int)y_end };segments_list.Add(line);}}Mat result_image = image.Clone();for (int i = 0; i < segments_list.Count; i++){Cv2.Line(result_image, new OpenCvSharp.Point(segments_list[i][0], segments_list[i][1]), new OpenCvSharp.Point(segments_list[i][2], segments_list[i][3]), new Scalar(0, 0, 255), 3);}pictureBox2.Image = new System.Drawing.Bitmap(result_image.ToMemoryStream());textBox1.Text = "推理耗时:" + (dt2 - dt1).TotalMilliseconds + "ms";}private void pictureBox2_DoubleClick(object sender, EventArgs e){Common.ShowNormalImg(pictureBox2.Image);}private void pictureBox1_DoubleClick(object sender, EventArgs e){Common.ShowNormalImg(pictureBox1.Image);}}
}
下载
源码下载
其他
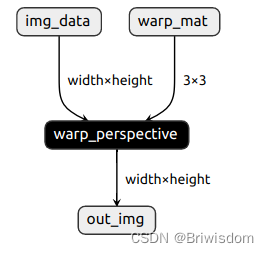
结合透视变换可实现图像校正,图像校正参考
C# OpenCvSharp 图像校正_天天代码码天天的博客-CSDN博客
C# OpenCvSharp 透视变换(图像摆正)Demo-CSDN博客
