1.RabbitMq的数据源配置文件
# 数据源配置
spring:rabbitmq:host: 127.0.0.1port: 5672username: rootpassword: root#消息发送和接收确认publisher-confirms: truepublisher-returns: truelistener:direct:acknowledge-mode: manualsimple:acknowledge-mode: manualretry:enabled: true #是否开启消费者重试max-attempts: 5 #最大重试次数initial-interval: 2000 #重试间隔时间(单位毫秒)
2.maven依赖
<!-- rabbitmq -->
<dependency><groupId>org.springframework.boot</groupId><artifactId>spring-boot-starter-amqp</artifactId>
</dependency>
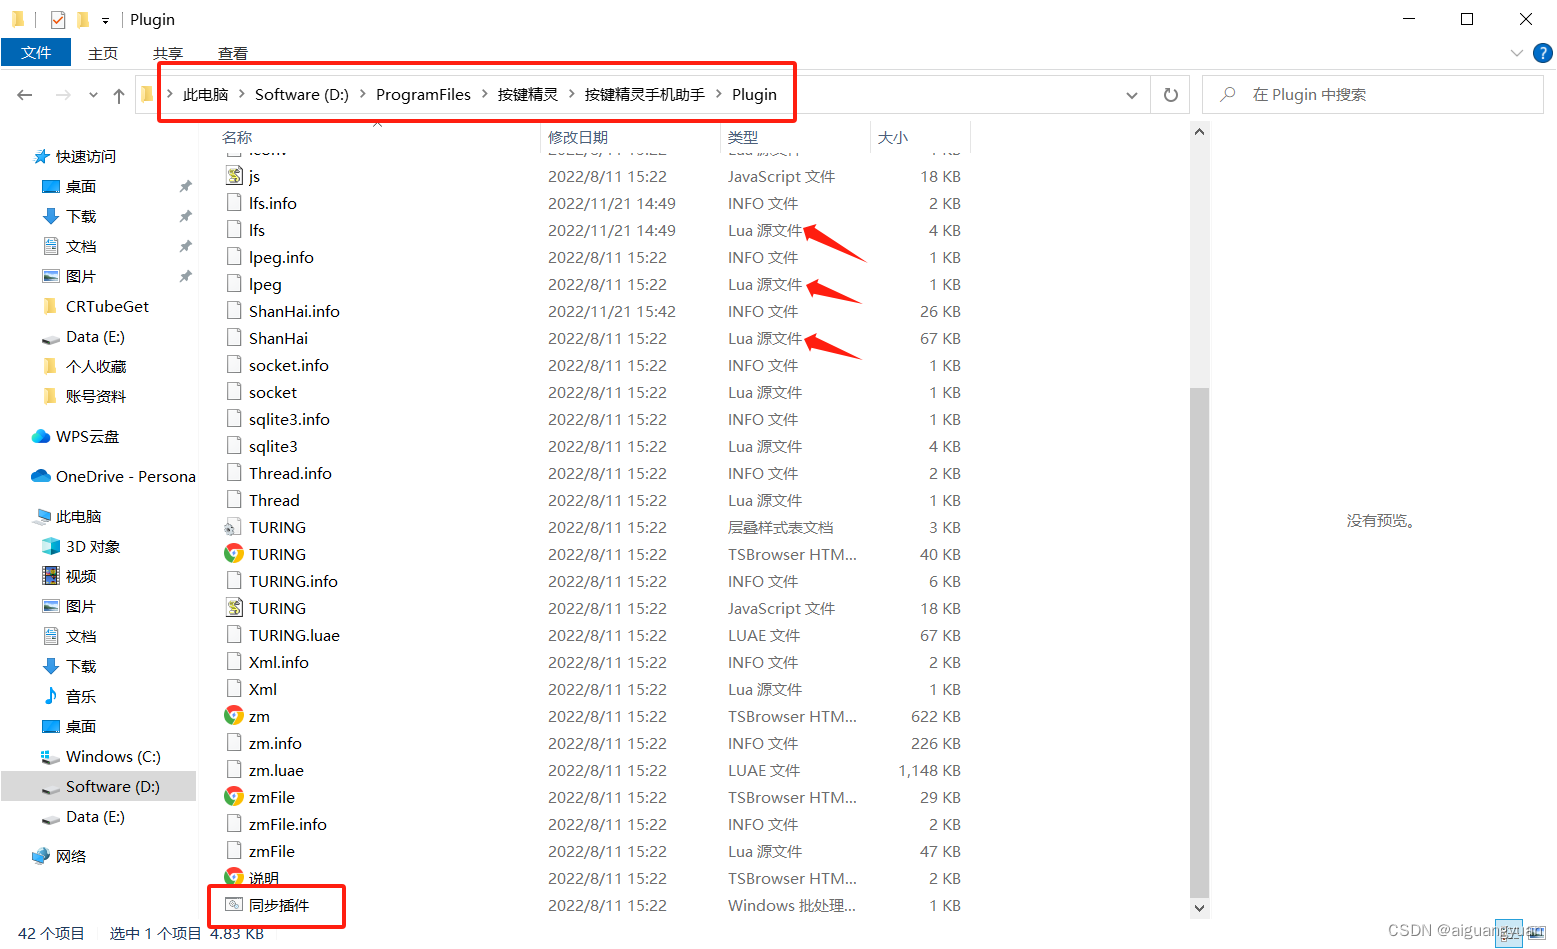
3.RabbitMq文件目录预览

4. RabbitMq的Action文件
package com.zq.cnz.mq.constant;public enum Action {ACCEPT, // 处理成功RETRY, // 可以重试的错误REJECT, // 无需重试的错误
}
5.RabbitMq的QueueContent文件
package com.zq.cnz.mq.constant;/*** @ClassName: QueueContent* @Description: 消息队列名称* @author 吴顺杰* @date 2023年11月15日**/
public class QueueContent {/*** 测试消息队列*/public static final String TEST_MQ_QUEUE = "test_mq_queue";/*** 测试消息队列交换机*/public static final String TEST_MQ_QUEUE_EXCHANGE = "test_mq_queue_exchange";/*** 测试消息延迟消费队列*/public static final String TEST_MQ_QUEUE_TIME_DELAY_EXCHANGE = "test_mq_queue_time_delay_exchange";}
6.消息队列生产者MessageProvider方法
package com.zq.cnz.mq;import com.alibaba.fastjson.JSONObject;
import com.zq.common.utils.IdUtils;
import org.slf4j.Logger;
import org.slf4j.LoggerFactory;
import org.springframework.amqp.AmqpException;
import org.springframework.amqp.core.Message;
import org.springframework.amqp.core.MessagePostProcessor;
import org.springframework.amqp.rabbit.connection.CorrelationData;
import org.springframework.amqp.rabbit.core.RabbitTemplate;
import org.springframework.stereotype.Component;/*** 消息队列生产*/
@Component
public class MessageProvider implements RabbitTemplate.ConfirmCallback {static Logger logger = LoggerFactory.getLogger(MessageProvider.class);/*** RabbitMQ 模版消息实现类*/protected RabbitTemplate rabbitTemplate;public MessageProvider(RabbitTemplate rabbitTemplate) {this.rabbitTemplate = rabbitTemplate;this.rabbitTemplate.setMandatory(true);this.rabbitTemplate.setConfirmCallback(this);}private String msgPojoStr;/*** 推送消息至消息队列** @param msg* @param queueName*/public void sendMqMessage(String queueName,String msg) {try {JSONObject object = JSONObject.parseObject(msg);String msgId = IdUtils.fastUUID().toString();object.put("msgId", msgId);msg = object.toString();msgPojoStr = msg;logger.info("推送消息至" + queueName + "消息队列,消息内容" + msg);rabbitTemplate.convertAndSend(queueName, msg);} catch (AmqpException e) {e.printStackTrace();logger.error("推送消息至消息队列异常 ,msg=" + msg + ",queueName=" + queueName, e);}}/*** 推送广播消息** @param exchangeName* @param msg*/public void sendFanoutMsg(String exchangeName, String msg) {try {JSONObject object = JSONObject.parseObject(msg);String msgId = IdUtils.fastUUID().toString();object.put("msgId", msgId);msg = object.toString();msgPojoStr = msg;logger.info("推送广播消息至交换机" + exchangeName + ",消息内容" + msg);rabbitTemplate.convertAndSend(exchangeName, "", msg);} catch (AmqpException e) {e.printStackTrace();logger.error("推送广播至交换机异常 ,msg=" + msg + ",exchangeName=" + exchangeName, e);}}/*** 发送延时消息** @param queueName* @param msg*/public void sendTimeDelayMsg(String queueName, String exchangeName, String msg, Integer time) {try {JSONObject object = JSONObject.parseObject(msg);String msgId = IdUtils.fastUUID().toString();object.put("msgId", msgId);msg = object.toString();msgPojoStr = msg;logger.info("推送延时消息至" + exchangeName + "," + queueName + "消息队列,消息内容" + msg + ",延时时间" + time + "秒");rabbitTemplate.convertAndSend(exchangeName, queueName, msg, new MessagePostProcessor() {@Overridepublic Message postProcessMessage(Message message) throws AmqpException {message.getMessageProperties().setHeader("x-delay", time * 1000);return message;}});} catch (AmqpException e) {e.printStackTrace();logger.error("推送消息至消息队列异常 ,msg=" + msg + ",exchangeName=" + exchangeName + ",queueName=" + queueName+ ",time=" + time, e);}}@Overridepublic void confirm(CorrelationData correlationData, boolean ack, String cause) {if (ack) {logger.info(msgPojoStr + ":消息发送成功");} else {logger.warn(msgPojoStr + ":消息发送失败:" + cause);}}}
7.消息队列消费者RabbitMqConfiguration文件配置
package com.zq.cnz.mq;import com.zq.cnz.mq.constant.QueueContent;
import org.springframework.amqp.core.*;
import org.springframework.amqp.rabbit.connection.ConnectionFactory;
import org.springframework.amqp.rabbit.core.RabbitAdmin;
import org.springframework.beans.factory.annotation.Autowired;
import org.springframework.context.annotation.Bean;
import org.springframework.context.annotation.Configuration;import javax.annotation.Resource;
import java.util.HashMap;
import java.util.Map;@Configuration
public class RabbitMqConfiguration {@ResourceRabbitAdmin rabbitAdmin;// 创建初始化RabbitAdmin对象@Beanpublic RabbitAdmin rabbitAdmin(ConnectionFactory connectionFactory) {RabbitAdmin rabbitAdmin = new RabbitAdmin(connectionFactory);// 只有设置为 true,spring 才会加载 RabbitAdmin 这个类rabbitAdmin.setAutoStartup(true);return rabbitAdmin;}/*** 测试消息队列** @return*/@Beanpublic Queue TEST_QUEUE() {return new Queue(QueueContent.TEST_MQ_QUEUE);}/*** 测试交换机** @return*/@BeanFanoutExchange TEST_MQ_QUEUE_EXCHANGE() {return new FanoutExchange(QueueContent.TEST_MQ_QUEUE_EXCHANGE);}/*** 测试延迟消费交换机** @return*/@Beanpublic CustomExchange TEST_MQ_QUEUE_TIME_DELAY_EXCHANGE() {Map<String, Object> args = new HashMap<>();args.put("x-delayed-type", "direct");return new CustomExchange(QueueContent.TEST_MQ_QUEUE_TIME_DELAY_EXCHANGE, "x-delayed-message", true, false, args);}/*** 测试延迟消费交换机绑定延迟消费队列** @return*/@Beanpublic Binding banTestQueue() {return BindingBuilder.bind(TEST_QUEUE()).to(TEST_MQ_QUEUE_TIME_DELAY_EXCHANGE()).with(QueueContent.TEST_MQ_QUEUE).noargs();}// 创建交换机和对列,跟上面的Bean的定义保持一致@Beanpublic void createExchangeQueue() {//测试消费队列rabbitAdmin.declareQueue(TEST_QUEUE());//测试消费交换机rabbitAdmin.declareExchange(TEST_MQ_QUEUE_EXCHANGE());//测试延迟消费交换机rabbitAdmin.declareExchange(TEST_MQ_QUEUE_TIME_DELAY_EXCHANGE());}}
8.TestQueueConsumer 消息队列消费+延迟消费
package com.zq.cnz.mq.MessageConsumer;import com.alibaba.druid.util.StringUtils;
import com.alibaba.fastjson.JSONObject;
import com.rabbitmq.client.Channel;
import com.zq.cnz.mq.MessageProvider;
import com.zq.cnz.mq.constant.Action;
import com.zq.cnz.mq.constant.QueueContent;
import com.zq.common.utils.IdUtils;
import com.zq.common.utils.RedisUtils;
import com.zq.common.utils.spring.SpringUtils;
import org.slf4j.Logger;
import org.slf4j.LoggerFactory;
import org.springframework.amqp.core.Message;
import org.springframework.amqp.rabbit.annotation.RabbitHandler;
import org.springframework.amqp.rabbit.annotation.RabbitListener;
import org.springframework.beans.factory.annotation.Autowired;
import org.springframework.stereotype.Component;import java.io.IOException;/*** 测试消息队列消费*/
@Component
@RabbitListener(queues = QueueContent.TEST_MQ_QUEUE)
public class TestQueueConsumer {@Autowiredprivate RedisUtils redisUtils;static final Logger logger = LoggerFactory.getLogger(TestQueueConsumer.class);@RabbitHandlerpublic void handler(String msg, Channel channel, Message message) throws IOException {if (!StringUtils.isEmpty(msg)) {JSONObject jsonMsg = JSONObject.parseObject(msg);
//            logger.info("TestQueueConsumer:"+jsonMsg.toJSONString());Action action = Action.RETRY;
//			获取消息IDString msgId = jsonMsg.getString("msgId");
//			消费次数+1redisUtils.incr("MQ_MSGID:" + msgId, 1);redisUtils.expire("MQ_MSGID:" + msgId, 60);try {logger.info("测试消费队列消费成功啦,消费信息:"+jsonMsg.getString("test"));action = Action.ACCEPT;} catch (Exception e) {logger.error("MQ_MSGID:" + msgId + ",站控权限请求关闭接口异常,msg=" + msg, e);} finally {// 通过finally块来保证Ack/Nack会且只会执行一次if (action == Action.ACCEPT) {channel.basicAck(message.getMessageProperties().getDeliveryTag(), false);} else if (action == Action.RETRY) {
//					判断当前消息消费次数,已经消费3次则放弃消费if ((Integer) redisUtils.get("MQ_MSGID:" + msgId) >= 3) {logger.error("MQ_MSGID:" + msgId + ",异步处理超出失败次数限制,msg=" + msg);channel.basicNack(message.getMessageProperties().getDeliveryTag(), false, false);} else {
//						回归队列重新消费channel.basicNack(message.getMessageProperties().getDeliveryTag(), false, true);}} else {channel.basicNack(message.getMessageProperties().getDeliveryTag(), false, false);}}}}
}
9.TestExchangeConsumer 交换机广播模式
package com.zq.cnz.mq.MessageConsumer;import com.alibaba.fastjson.JSON;
import com.alibaba.fastjson.JSONArray;
import com.alibaba.fastjson.JSONObject;
import com.alibaba.fastjson.serializer.SerializerFeature;
import com.rabbitmq.client.Channel;
import com.zq.cnz.mq.constant.Action;
import com.zq.cnz.mq.constant.QueueContent;
import com.zq.common.utils.IdUtils;
import com.zq.common.utils.RedisUtils;
import com.zq.common.utils.StringUtils;
import com.zq.common.utils.spring.SpringUtils;
import org.slf4j.Logger;
import org.slf4j.LoggerFactory;
import org.springframework.amqp.core.ExchangeTypes;
import org.springframework.amqp.core.Message;
import org.springframework.amqp.rabbit.annotation.*;
import org.springframework.beans.factory.annotation.Autowired;
import org.springframework.stereotype.Component;import javax.annotation.Resource;
import java.io.IOException;
import java.util.List;/*** 测试交换机消费*/
@Component
@RabbitListener(bindings = @QueueBinding(value = @Queue(), exchange = @Exchange(value = QueueContent.TEST_MQ_QUEUE_EXCHANGE, type = ExchangeTypes.FANOUT)))
public class TestExchangeConsumer {static final Logger logger = LoggerFactory.getLogger(TestExchangeConsumer.class);@Resourceprivate RedisUtils redisUtils;@RabbitHandlerpublic void handler(String msg, Channel channel, Message message) throws IOException {if (!StringUtils.isEmpty(msg)) {
//            logger.info("接收交换机生产者消息:{}", msg);Action action = Action.ACCEPT;// 请求参数JSONObject jsonMsg = JSONObject.parseObject(msg);
//			获取消息IDString msgId = jsonMsg.getString("msgId");//			消费次数+1redisUtils.incr("MQ_MSGID:" + msgId, 1);redisUtils.expire("MQ_MSGID:" + msgId, 60);try {Integer CMD = jsonMsg.getInteger("cmd");if (CMD==1) {logger.info("cmd1测试消费队列消费成功啦,消费信息:"+jsonMsg.getString("test"));}else if(CMD==2){logger.info("cmd2测试消费队列消费成功啦,消费信息:"+jsonMsg.getString("test"));}action = Action.ACCEPT;} catch (Exception e) {action = Action.REJECT;e.printStackTrace();} finally {// 通过finally块来保证Ack/Nack会且只会执行一次if (action == Action.ACCEPT) {channel.basicAck(message.getMessageProperties().getDeliveryTag(), false);} else if (action == Action.RETRY) {
//					判断当前消息消费次数,已经消费3次则放弃消费if ((Integer) redisUtils.get("MQ_MSGID:" + msgId) >= 3) {logger.error("MQ_MSGID::" + msgId + ",换电失败消息队列消费了三次,msg=" + msg);channel.basicNack(message.getMessageProperties().getDeliveryTag(), false, false);} else {
//						回归队列重新消费channel.basicNack(message.getMessageProperties().getDeliveryTag(), false, true);}} else {channel.basicNack(message.getMessageProperties().getDeliveryTag(), false, false);}}}}
}
运行项目 调用RabbitmqTestController生产RabbitMq消息体, TestExchangeConsumer和TestQueueConsumer自动消费
package com.zq.web.controller.tool;
import com.alibaba.fastjson.JSONObject;
import com.zq.cnz.mq.MessageProvider;
import com.zq.cnz.mq.constant.QueueContent;
import com.zq.common.utils.IdUtils;
import org.springframework.web.bind.annotation.GetMapping;
import org.springframework.web.bind.annotation.RequestMapping;
import org.springframework.web.bind.annotation.RestController;
import javax.annotation.Resource;/*** 消息队列测试*/
@RestController
@RequestMapping("/test/mq")
public class RabbitmqTestController {@Resourceprivate MessageProvider messageProvider;/*** 查询储能站信息列表*/@GetMapping("/putMq")public void putMq(){JSONObject obj=new JSONObject();obj.put("test","测试数据");//推送消息至消息队列messageProvider.sendMqMessage(QueueContent.TEST_MQ_QUEUE,obj.toString());obj.put("cmd",1);obj.put("test","这是广播消费");//推送广播消息messageProvider.sendFanoutMsg(QueueContent.TEST_MQ_QUEUE_EXCHANGE,obj.toString());//发送延时消息obj.put("cmd",2);obj.put("test","这是延迟消费");messageProvider.sendTimeDelayMsg(QueueContent.TEST_MQ_QUEUE,QueueContent.TEST_MQ_QUEUE_TIME_DELAY_EXCHANGE,obj.toString(),2*60);}
}


