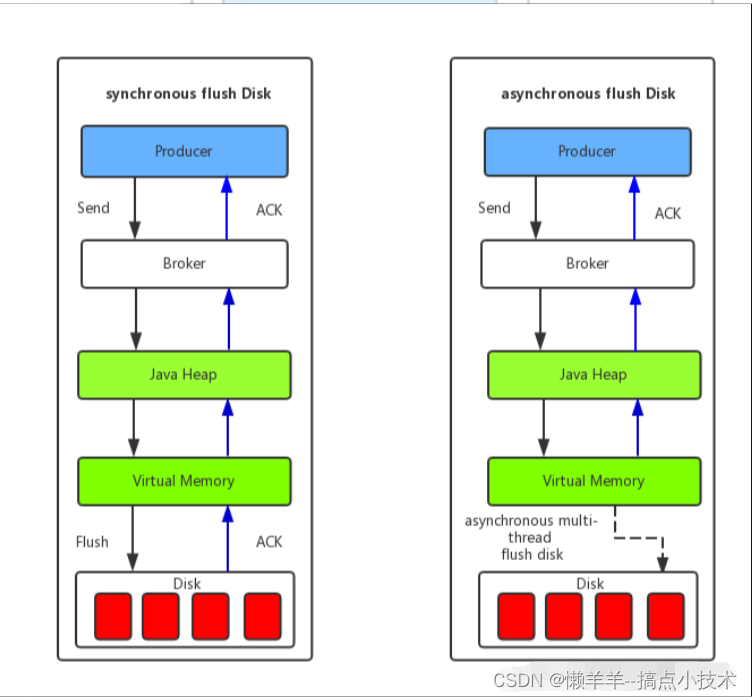
这里用的是授权码模式
搭建:Spring Authorization Server
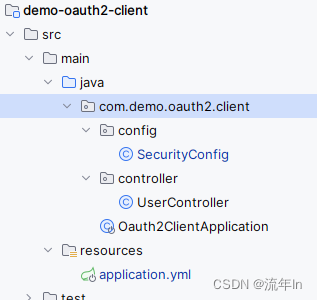
代码结构如下:
代码实现
添加依赖
<dependency>                                                                        <groupId>org.springframework.boot</groupId>                                     <artifactId>spring-boot-starter-web</artifactId>
</dependency>
<dependency>                                                                        <groupId>org.springframework.boot</groupId>                                     <artifactId>spring-boot-starter-security</artifactId>
</dependency>
<dependency>                                                                        <groupId>org.springframework.boot</groupId>                                     <artifactId>spring-boot-starter-oauth2-client</artifactId>
</dependency>
application.yml
server:port: 7100spring:security:oauth2:client:registration:demo-client-name:provider: democlient-id: demo-clientclient-secret: demo-secretauthorization-grant-type: authorization_coderedirect-uri: "{baseUrl}/login/oauth2/code/{registrationId}"scope: openid, profileclient-name: demo-client-nameprovider:demo:# 注意:这里写的是localhost, 不是127.0.0.1, 127有点问题issuer-uri: http://localhost:7000
UserController
@RestController
@RequestMapping("/user")
public class UserController {@GetMappingpublic Map<String, Object> hello() {Map<String, Object> map = new HashMap<>(4);map.put("name", "zhangsan");return map;}}
SecurityConfig
import org.springframework.context.annotation.Bean;
import org.springframework.security.config.Customizer;
import org.springframework.security.config.annotation.web.builders.HttpSecurity;
import org.springframework.security.config.annotation.web.configuration.EnableWebSecurity;
import org.springframework.security.oauth2.client.OAuth2AuthorizedClientManager;
import org.springframework.security.oauth2.client.OAuth2AuthorizedClientProvider;
import org.springframework.security.oauth2.client.OAuth2AuthorizedClientProviderBuilder;
import org.springframework.security.oauth2.client.registration.ClientRegistrationRepository;
import org.springframework.security.oauth2.client.web.DefaultOAuth2AuthorizedClientManager;
import org.springframework.security.oauth2.client.web.OAuth2AuthorizedClientRepository;
import org.springframework.security.web.SecurityFilterChain;/*** TODO description** @author qiudw* @date 7/11/2023*/
@EnableWebSecurity(debug = true)
public class SecurityConfig {@BeanOAuth2AuthorizedClientManager authorizedClientManager(ClientRegistrationRepository clientRegistrationRepository,OAuth2AuthorizedClientRepository authorizedClientRepository) {OAuth2AuthorizedClientProvider authorizedClientProvider =OAuth2AuthorizedClientProviderBuilder.builder().authorizationCode().refreshToken().clientCredentials().build();DefaultOAuth2AuthorizedClientManager authorizedClientManager = new DefaultOAuth2AuthorizedClientManager(clientRegistrationRepository, authorizedClientRepository);authorizedClientManager.setAuthorizedClientProvider(authorizedClientProvider);return authorizedClientManager;}@Beanpublic SecurityFilterChain securityFilterChain(HttpSecurity http) throws Exception {http.authorizeRequests(authorizeRequests ->authorizeRequests.anyRequest().authenticated())// 没有登录会重定向到这个地址.oauth2Login(oauth2Login ->oauth2Login.loginPage("/oauth2/authorization/demo-client-name")).oauth2Client(Customizer.withDefaults());return http.build();}}
浏览器访问:http://127.0.0.1:7100/user,会跳转到Spring Authorization Server,登录成功后重定向回来
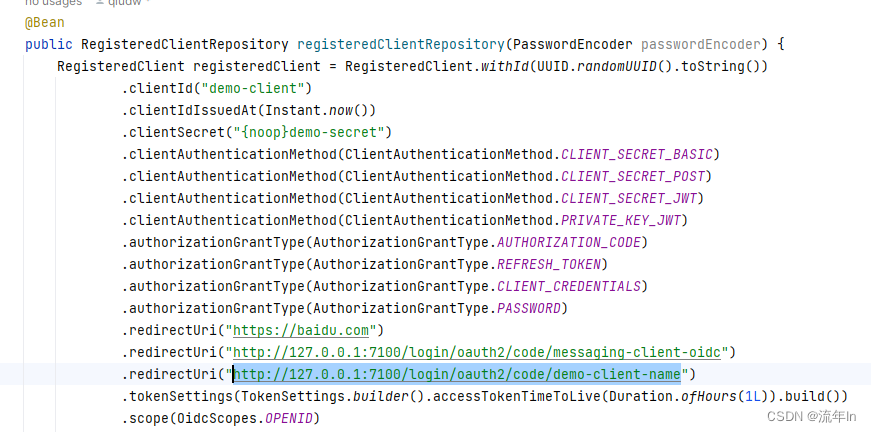
OAuth2加上客户端重定向地址http://127.0.0.1:7100/login/oauth2/code/demo-client-name
客户端流程分析
-
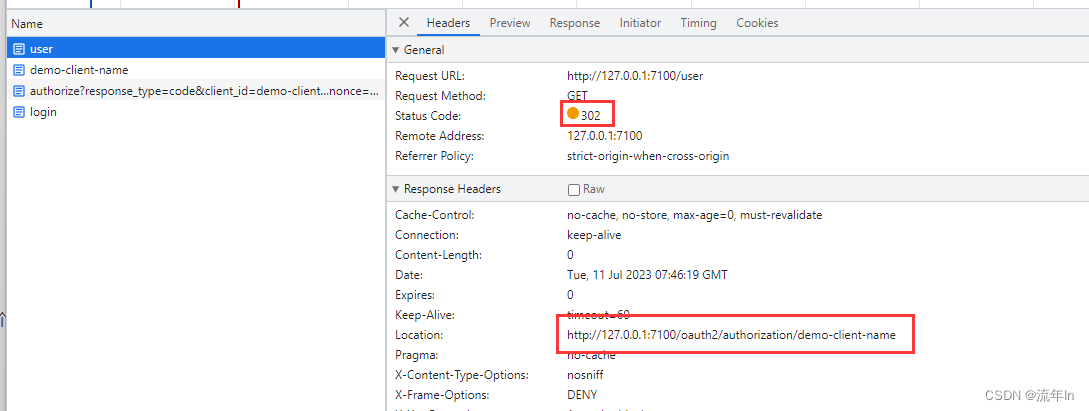
浏览器访问:
http://127.0.0.1:7100/user
这里发现没有登录,重定向到:http://127.0.0.1:7100/oauth2/authorization/demo-client-name,这个地址就是loginPage配置的那个
-
浏览器重定向访问:
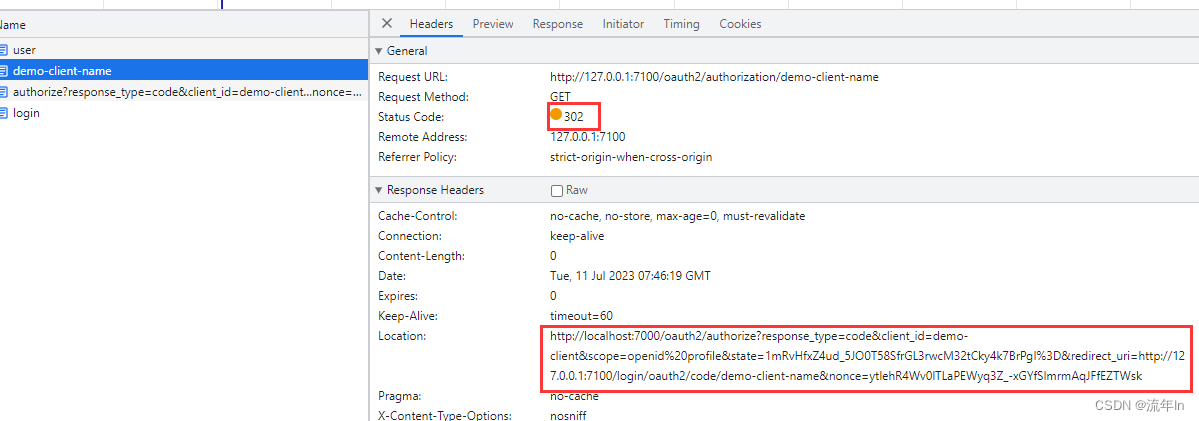
http://127.0.0.1:7100/oauth2/authorization/demo-client-name
过滤器里面根据demo-client-name获取配置信息, client_id、client_secret等, 并拼接重定向地址
-
浏览器重定向访问:
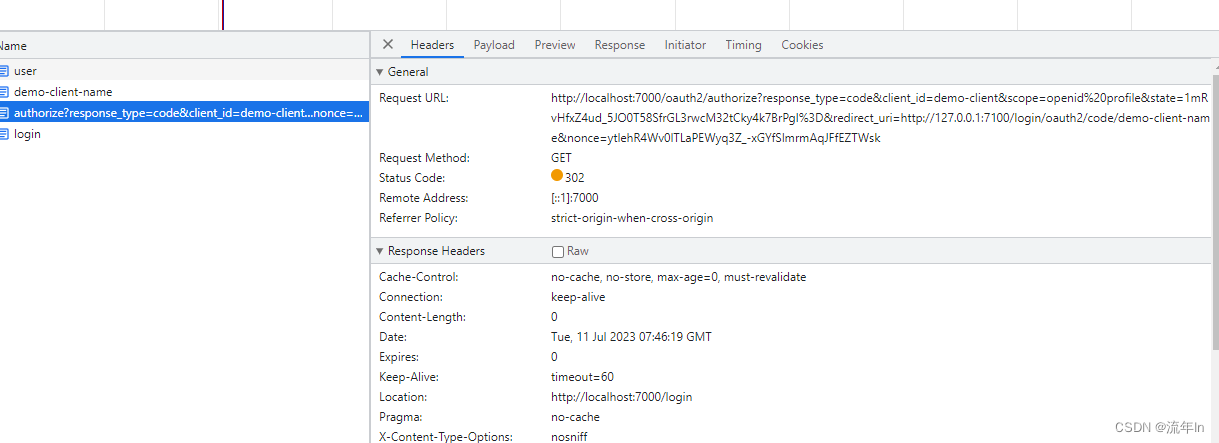
http://localhost:7000/oauth2/authorize?response_type=code&client_id=demo-client&scope=openid%20profile&state=1mRvHfxZ4ud_5JO0T58SfrGL3rwcM32tCky4k7BrPgI%3D&redirect_uri=http://127.0.0.1:7100/login/oauth2/code/demo-client-name&nonce=ytlehR4Wv0lTLaPEWyq3Z_-xGYfSlmrmAqJFfEZTWsk
这个地址就是授权码模式获取授权码的那个地址,OAuth server发现没有登录,则重定向到登录页面
-
浏览器重定向访问:
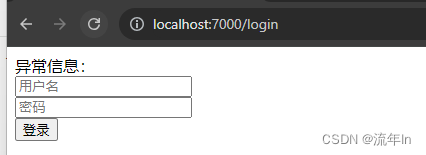
http://localhost:7000/login
-
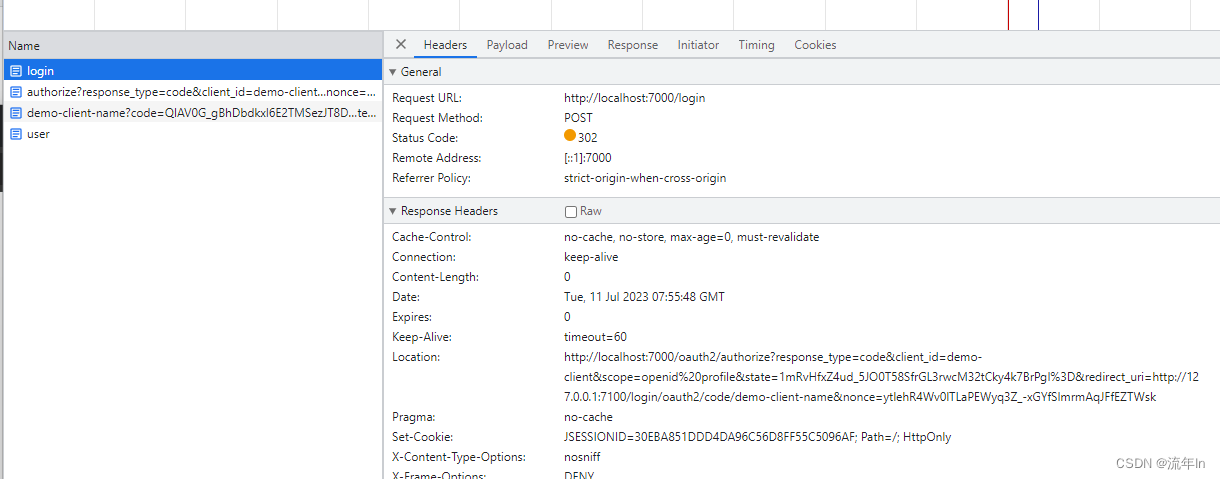
用户名密码认证
在OAuth2 Server端完成登录后, 重定向回客户端
-
浏览器重定向访问:
http://127.0.0.1:7100/login/oauth2/code/demo-client-name?code=QIAV0G_gBhDbdkxl6E2TMSezJT8DViNVNDa-3zZAYvAI5oCoLczRpKIjhqQSsMYaMekA0smpjUFRReCyQrXASL8KHg5jq1ge9UWmaTLqX7dZbv4QM30ZVfOwdwXU8pem&state=1mRvHfxZ4ud_5JO0T58SfrGL3rwcM32tCky4k7BrPgI%3D
这个code就是携带的授权码

-
客户端内部使用授权码换取token
-
重定向到
/user,未登录时访问的地址
