我们在开发中用到的数据存储工具有许多种,我们常见的数据存储工具包括:
- 关系性数据库:使用表格来存储数据,支持事务和索引。(如:MySQL,Oracle,SQL Server等)。
- NoSQL数据库:不使用表格来存储数据,而是使用键值对、文档、或者图形等方式来存储数据,适合处理高并发和大规模数据。(Redis,MongoDB,Cassandra等)
- 文件存储:将数据存储在本地或者远程服务器文件中,常用与存储较小的文件。(FTP,SFTP,AWS C3等)
- 云存储:数据存储在云端,方便多人协作和备份。(Google Drive,Dropbox,OneDriver等)
- 内存存储 :将数据存储在内存中,提供快速的读写速度,但是不适用存储持久化数据(Redis,Memcache等)。
- 缓存:将数据存储在缓存中,提高访问速度,减少数据库压力。(Apc,Memcache,Redis等)
- 队列:将任务分发到不同的队列中进行处理,提高系统的可靠性和可拓展性。(RabbitMQ,Kafka等)
这篇我们将围绕MongoDB进行,MongoDB是一个开源的,面向文档的NoSQL数据库管理系统,使用类似JSON的BSON(二进制JSON)格式来存储数据,具有灵活的数据模型和强大的查询功能。
与传统的关系型数据库不同的是,MongoDB不使用表和行的结构,而是使用集合和文档进行的,一个集合就相当于关系型数据库里边的表,一个文档就相当于表中的一行数据,每个文档都是一个键值对的集合,可以包含不同类型的数据。
MongoDB的特点:
- 面向文档:MongoDB使用灵活的文档模型,可以存储不同结构的数据,无需事先定义表结构。
- 可扩展性:MongoDB支持水平扩展,可以通过添加更多的服务器来处理大规模的数据和高并发访问。
- 高性能:MongoDB具有快速的读写性能,支持索引和复杂查询。
- 强大的查询语言:MongoDB支持丰富的查询语言,包括条件查询、范围查询、正则表达式查询等。
- 数据复制和故障恢复:MongoDB支持数据复制和自动故障恢复,可以提供高可用性和数据安全性。
- 地理空间索引:MongoDB支持地理空间索引,可以进行地理位置相关的查询和分析。
- 开源和活跃的社区:MongoDB是开源的,拥有庞大的用户社区和活跃的开发者社区。
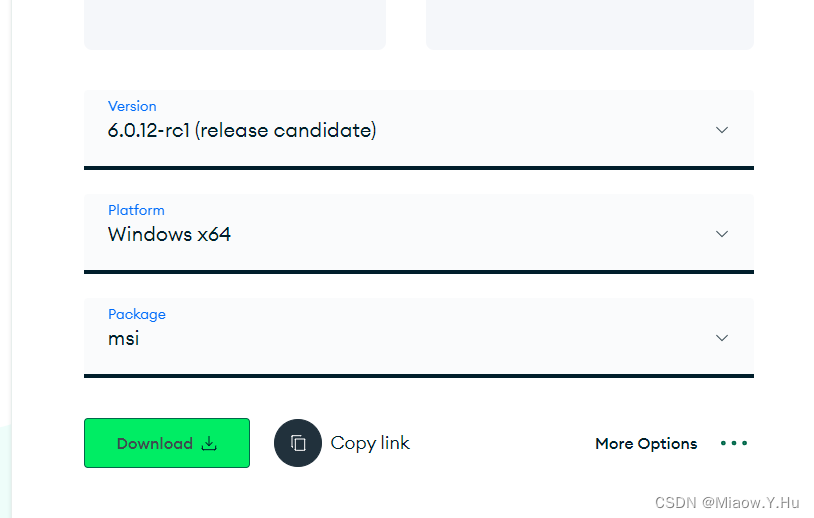
首先在我们测试MongoDB之前,我们需要安装MongoDB,MongoDB下载网站:https://www.mongodb.com/try/download/community
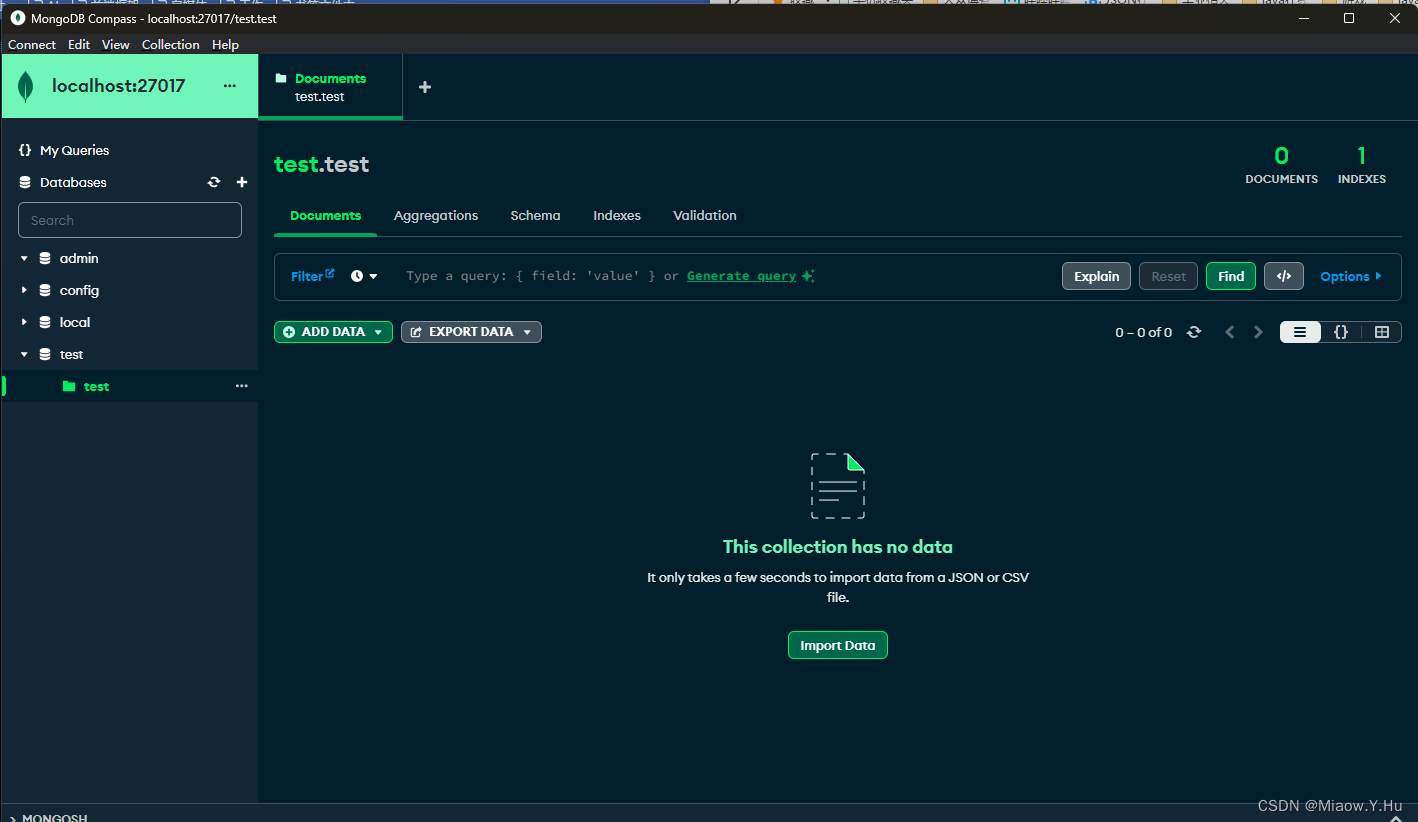
 之后安装后,创建一个test数据库:
引入相关依赖:
<dependency><groupId>org.springframework.boot</groupId><artifactId>spring-boot-starter-web</artifactId></dependency><dependency><groupId>org.springframework.boot</groupId><artifactId>spring-boot-starter-data-mongodb</artifactId></dependency><dependency><groupId>org.projectlombok</groupId><artifactId>lombok</artifactId><scope>provided</scope></dependency><dependency><groupId>org.springframework.boot</groupId><artifactId>spring-boot-starter-test</artifactId><scope>test</scope></dependency>
在application.properties中配置相关连接:
spring.data.mongodb.uri=mongodb://localhost:27017/testserver.port=7723创建一个实体类User
public class User {@Idprivate Long id;private String username;private Integer age;public Long getId() {return id;}public void setId(Long id) {this.id = id;}public String getUsername() {return username;}public void setUsername(String username) {this.username = username;}public Integer getAge() {return age;}public void setAge(Integer age) {this.age = age;}public User() {}public User(Long id, String username, Integer age) {this.id = id;this.username = username;this.age = age;}
}
实现用户实体User的数据访问对象
public interface UserRepository extends MongoRepository<User, Long> {User findByUsername(String username);}
接下来创建一个单元测试用例:
@SpringBootTest(classes = Application.class)
public class ApplicationTests {@Autowiredprivate UserRepository userRepository;@Testpublic void test() throws Exception {userRepository.deleteAll();// 创建三个User,并验证User总数userRepository.save(new User(1L, "麻衣**", 22));userRepository.save(new User(2L, "娜*", 24));userRepository.save(new User(3L, "玩偶**", 26));Assertions.assertEquals(3, userRepository.findAll().size());// 删除一个User,再验证User总数User u = userRepository.findById(1L).get();userRepository.delete(u);Assertions.assertEquals(2, userRepository.findAll().size());// 删除一个User,再验证User总数u = userRepository.findByUsername("娜*");userRepository.delete(u);Assertions.assertEquals(1, userRepository.findAll().size());}}
控制台输出
2023-11-17 15:39:39.655  INFO 15808 --- [           main] org.mongodb.driver.cluster               : Cluster created with settings {hosts=[localhost:27017], mode=SINGLE, requiredClusterType=UNKNOWN, serverSelectionTimeout='30000 ms'}
2023-11-17 15:39:39.737  INFO 15808 --- [localhost:27017] org.mongodb.driver.connection            : Opened connection [connectionId{localValue:2, serverValue:26}] to localhost:27017
2023-11-17 15:39:39.737  INFO 15808 --- [localhost:27017] org.mongodb.driver.connection            : Opened connection [connectionId{localValue:1, serverValue:27}] to localhost:27017
2023-11-17 15:39:39.737  INFO 15808 --- [localhost:27017] org.mongodb.driver.cluster               : Monitor thread successfully connected to server with description ServerDescription{address=localhost:27017, type=STANDALONE, state=CONNECTED, ok=true, minWireVersion=0, maxWireVersion=17, maxDocumentSize=16777216, logicalSessionTimeoutMinutes=30, roundTripTimeNanos=58204100}
2023-11-17 15:39:39.963  INFO 15808 --- [           main] c.miaow.demo.ApplicationTests   : Started ApplicationTests in 2.079 seconds (JVM running for 2.619)
2023-11-17 15:39:40.106  INFO 15808 --- [           main] org.mongodb.driver.connection            : Opened connection [connectionId{localValue:3, serverValue:28}] to localhost:27017
2023-11-17 15:39:40.184  INFO 15808 --- [extShutdownHook] org.mongodb.driver.connection            : Closed connection [connectionId{localValue:3, serverValue:28}] to localhost:27017 because the pool has been closed.
2023-11-17 15:39:40.184  INFO 15808 --- [extShutdownHook] o.s.s.concurrent.ThreadPoolTaskExecutor  : Shutting down ExecutorService 'applicationTaskExecutor'
注意,MongoDB的语法有所区别,具体的如下:
查询语法:
插入文档:db.collection.insertOne(document) 或 db.collection.insertMany(documents)
查询文档:db.collection.find(query, projection)
更新文档:db.collection.updateOne(filter, update) 或 db.collection.updateMany(filter, update)
删除文档:db.collection.deleteOne(filter) 或db.collection.deleteMany(filter)
条件查询:db.collection.find({ field: value })
范围查询:db.collection.find({ field: { $gt: value1, $lt: value2 } })
正则表达式查询:db.collection.find({ field: /pattern/ })
排序:db.collection.find().sort({ field: 1 })(1表示升序,-1表示降序)
分页:db.collection.find().skip(offset).limit(limit)
聚合查询:db.collection.aggregate(pipeline)
在Java中的相关操作:
连接MongoDB:使用MongoClient类来连接MongoDB数据库。
普通连接方式,如果是Spring Boot中就是配置一下
MongoClient mongoClient = new MongoClient("localhost", 27017);
MongoDatabase database = mongoClient.getDatabase("mydatabase");
获取集合:使用getCollection方法获取集合对象。
MongoCollection<Document> collection = database.getCollection("mycollection");
插入文档:
Document document = new Document("name", "miaow").append("age", 24).append("email", "miaow@example.com");
collection.insertOne(document);
查询文档:
FindIterable<Document> result = collection.find(new Document("name", "miaow"));
for (Document document : result) {// 处理查询结果
}
更新文档:
collection.updateOne(eq("name", "miaow"), new Document("$set", new Document("age", 24)));
删除文档:
collection.deleteOne(eq("name", "miaow"));