指定GPU运行:
#方式一 (两行必须放在import  torch前面)
#import os
# os.environ['CUDA_VISIBLE_DEVICES'] = '5'#方式二(第一种不生效用这种,我这边这种可以生效)
#import torch
#torch.cuda.set_device(5)
1、InternLM-Chat-7B书生模型
参考:
https://huggingface.co/internlm/internlm-chat-7b ##模型下载
https://github.com/InternLM/InternLM ## web demo使用代码参考下载
gpu测试需求:大于15g(正常15g对话对轮后也会显存不够)
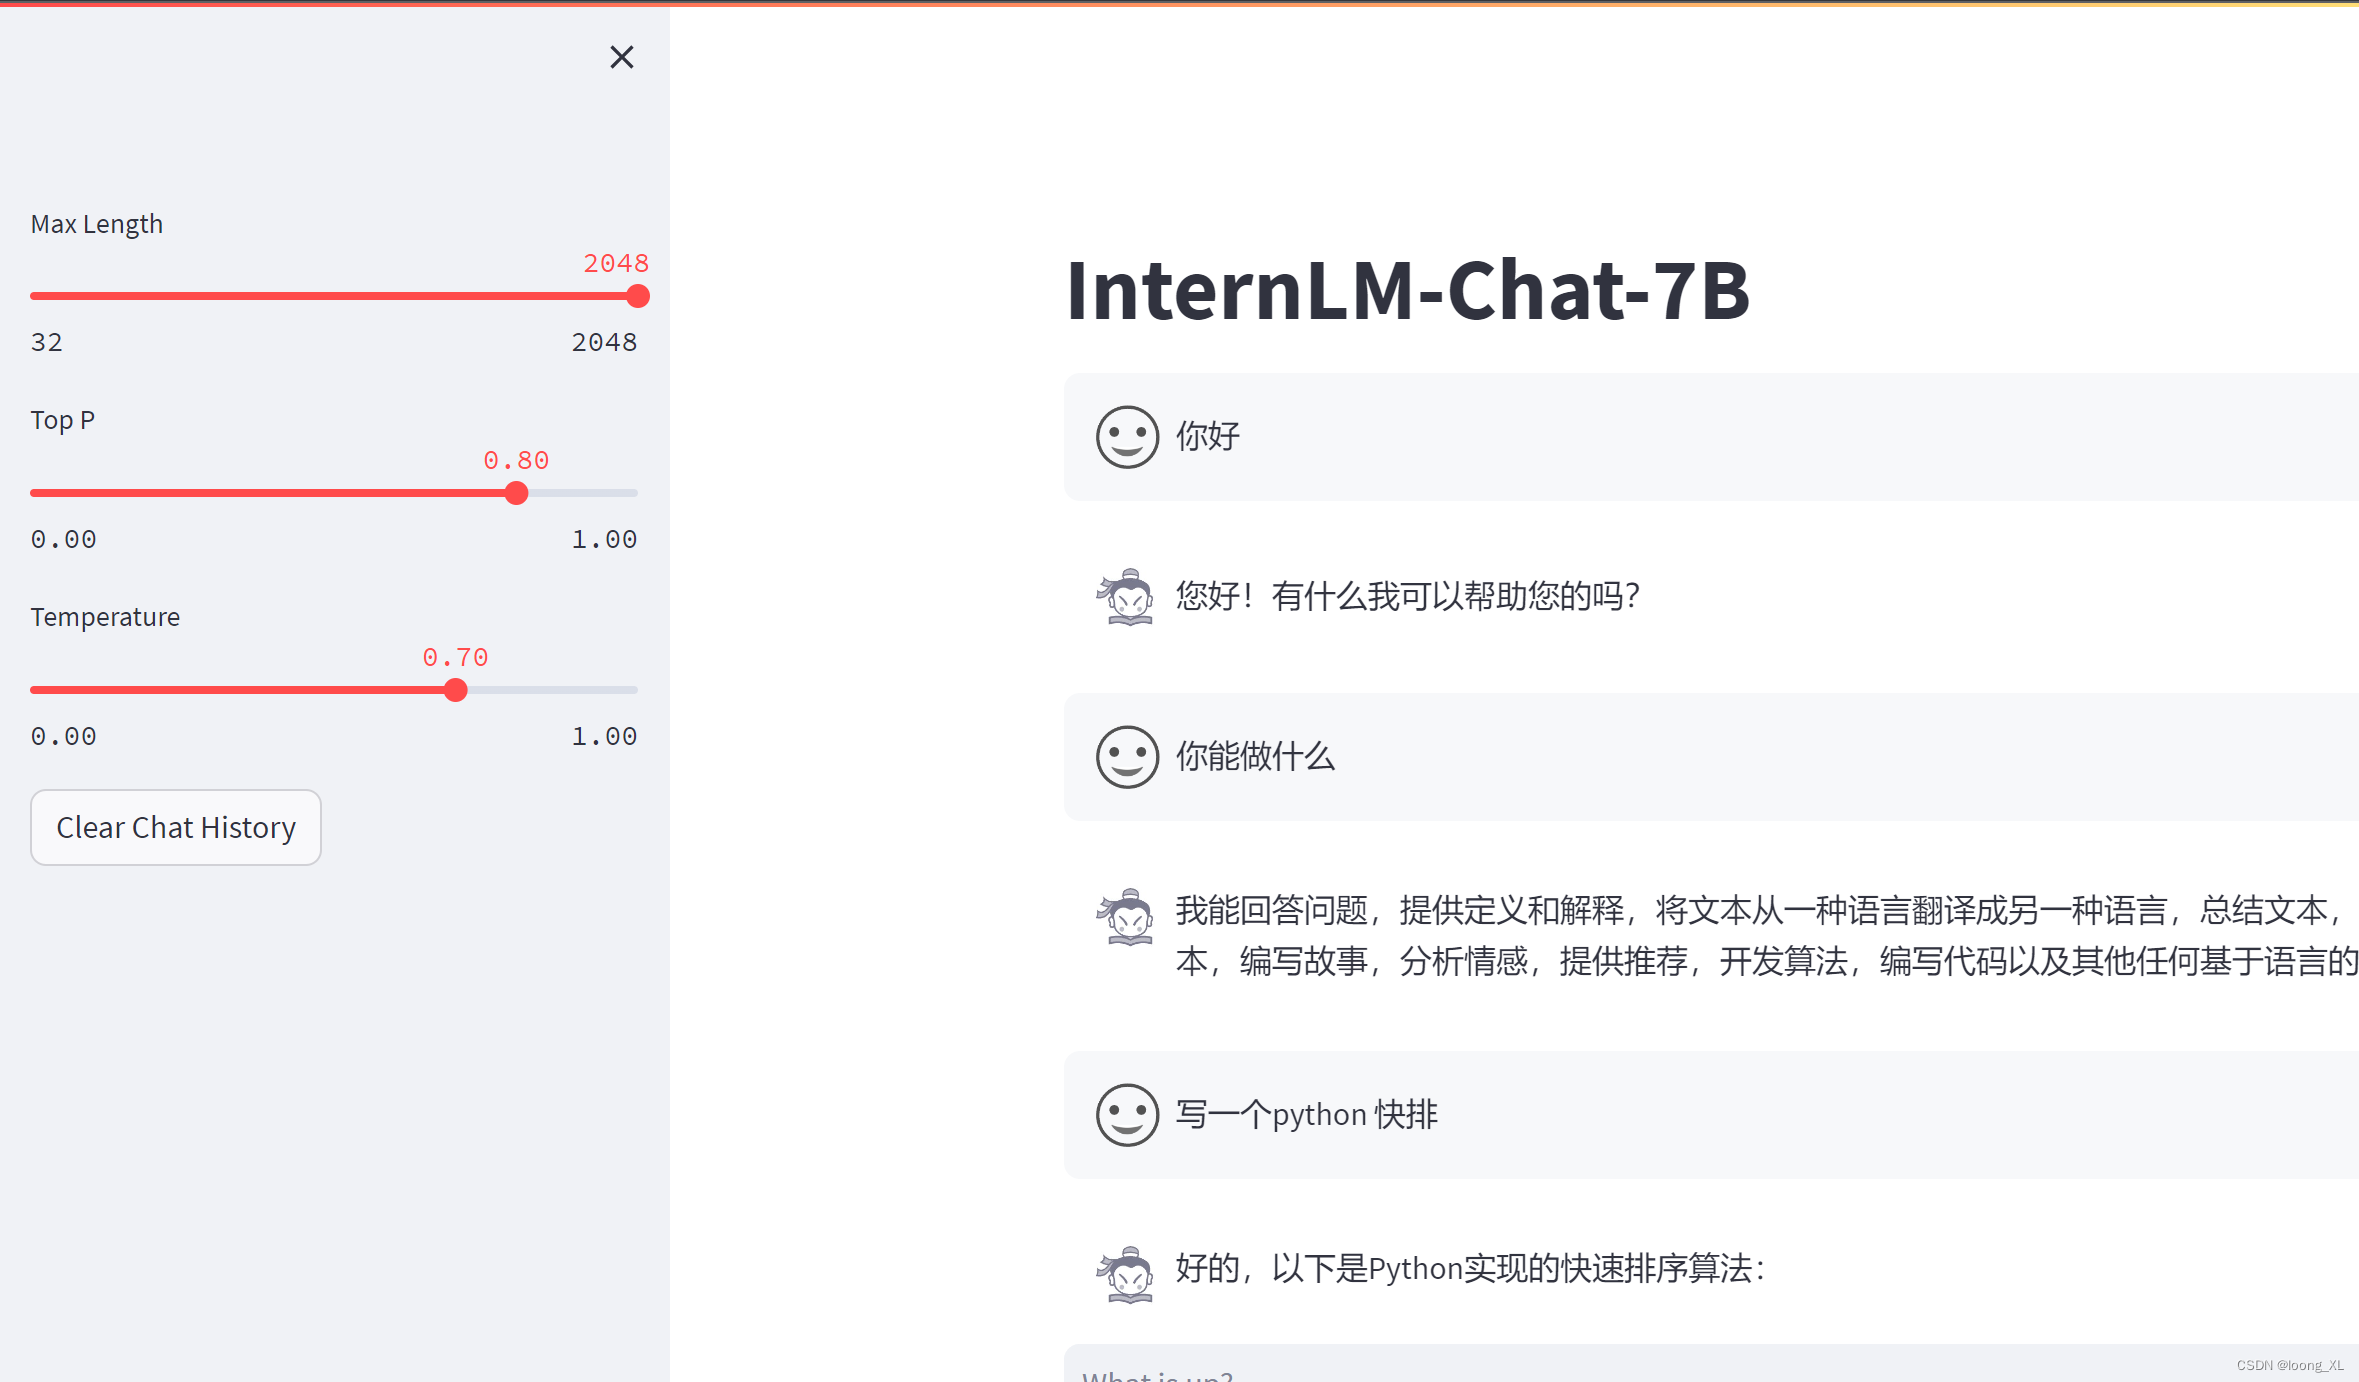
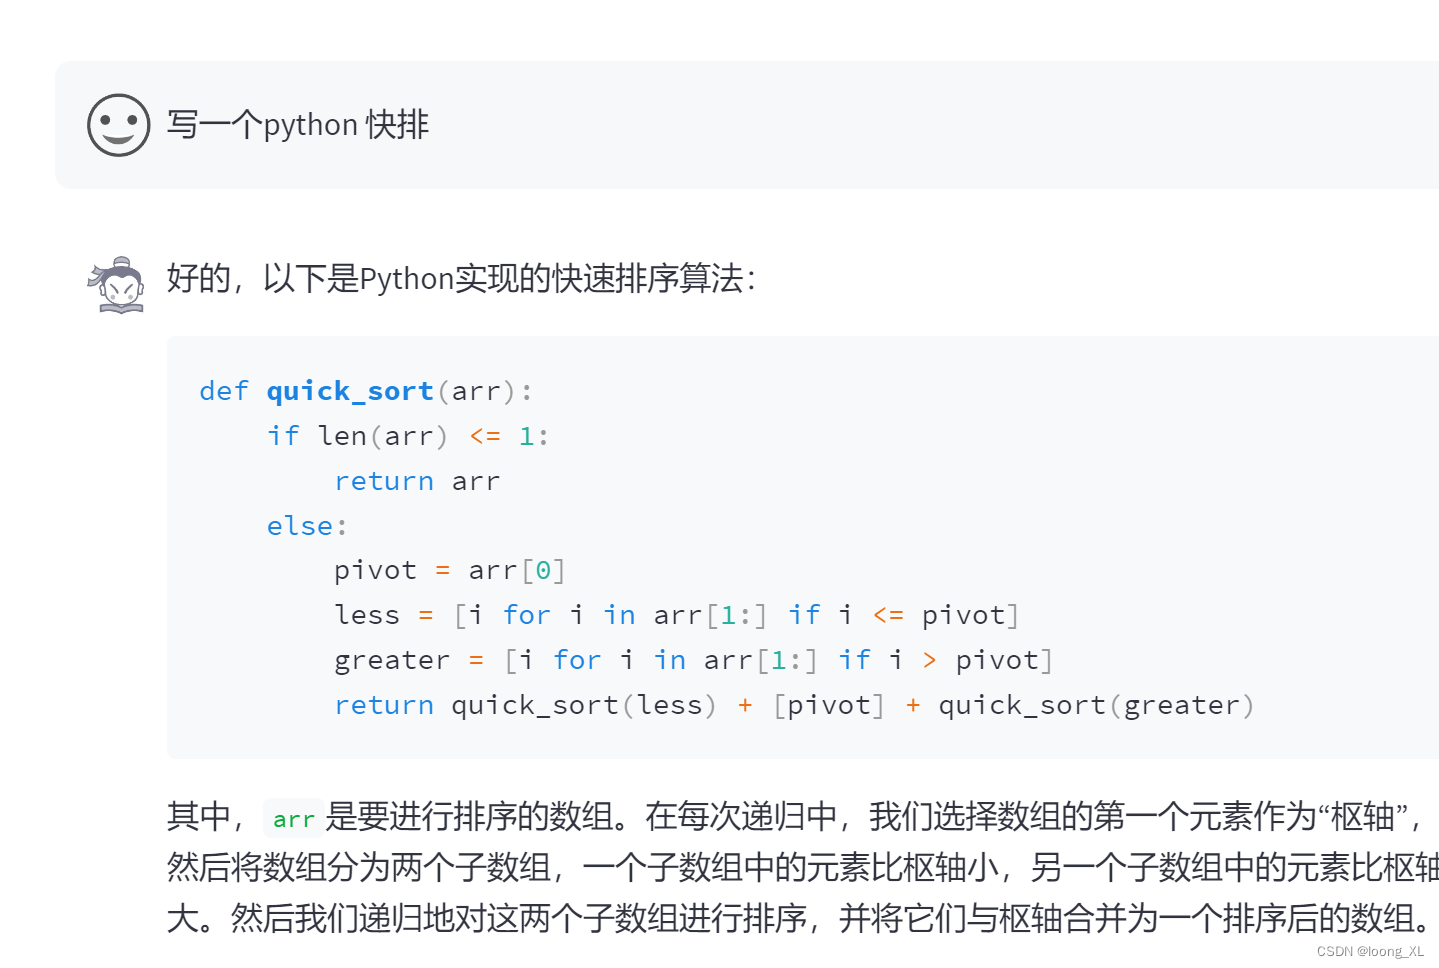
streamlit demo代码写得效果挺不错
 from transformers import AutoTokenizer, AutoModelForCausalLMtokenizer = AutoTokenizer.from_pretrained("internlm/internlm-chat-7b", trust_remote_code=True)
model = AutoModelForCausalLM.from_pretrained("internlm/internlm-chat-7b", trust_remote_code=True).cuda()model = model.eval()
response, history = model.chat(tokenizer, "你好", history=[])
>>> print(response)
你好!有什么我可以帮助你的吗?
response, history = model.chat(tokenizer, "请提供三个管理时间的建议。", history=history)
>>> print(response)
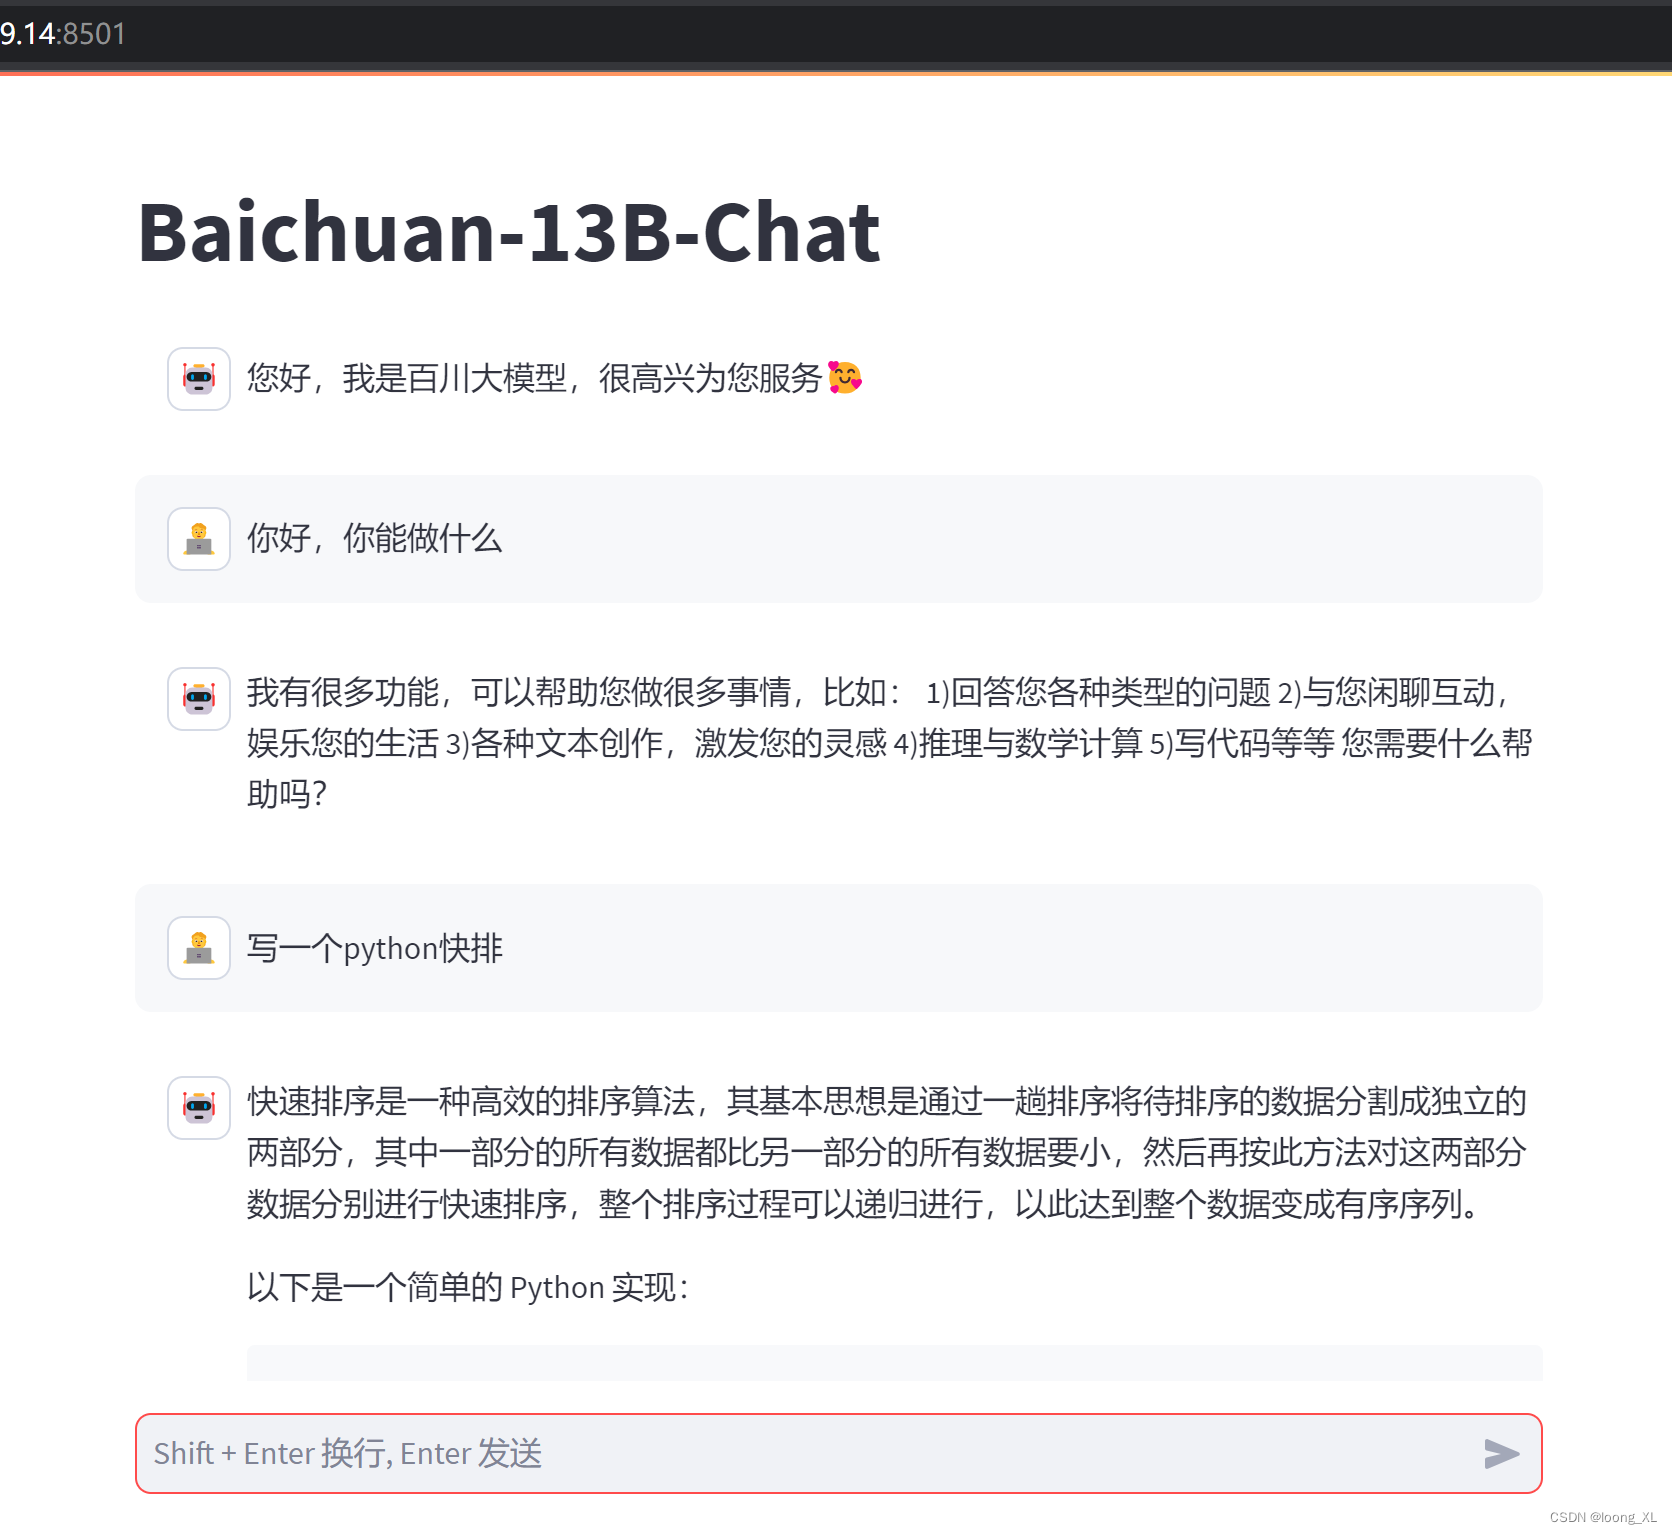
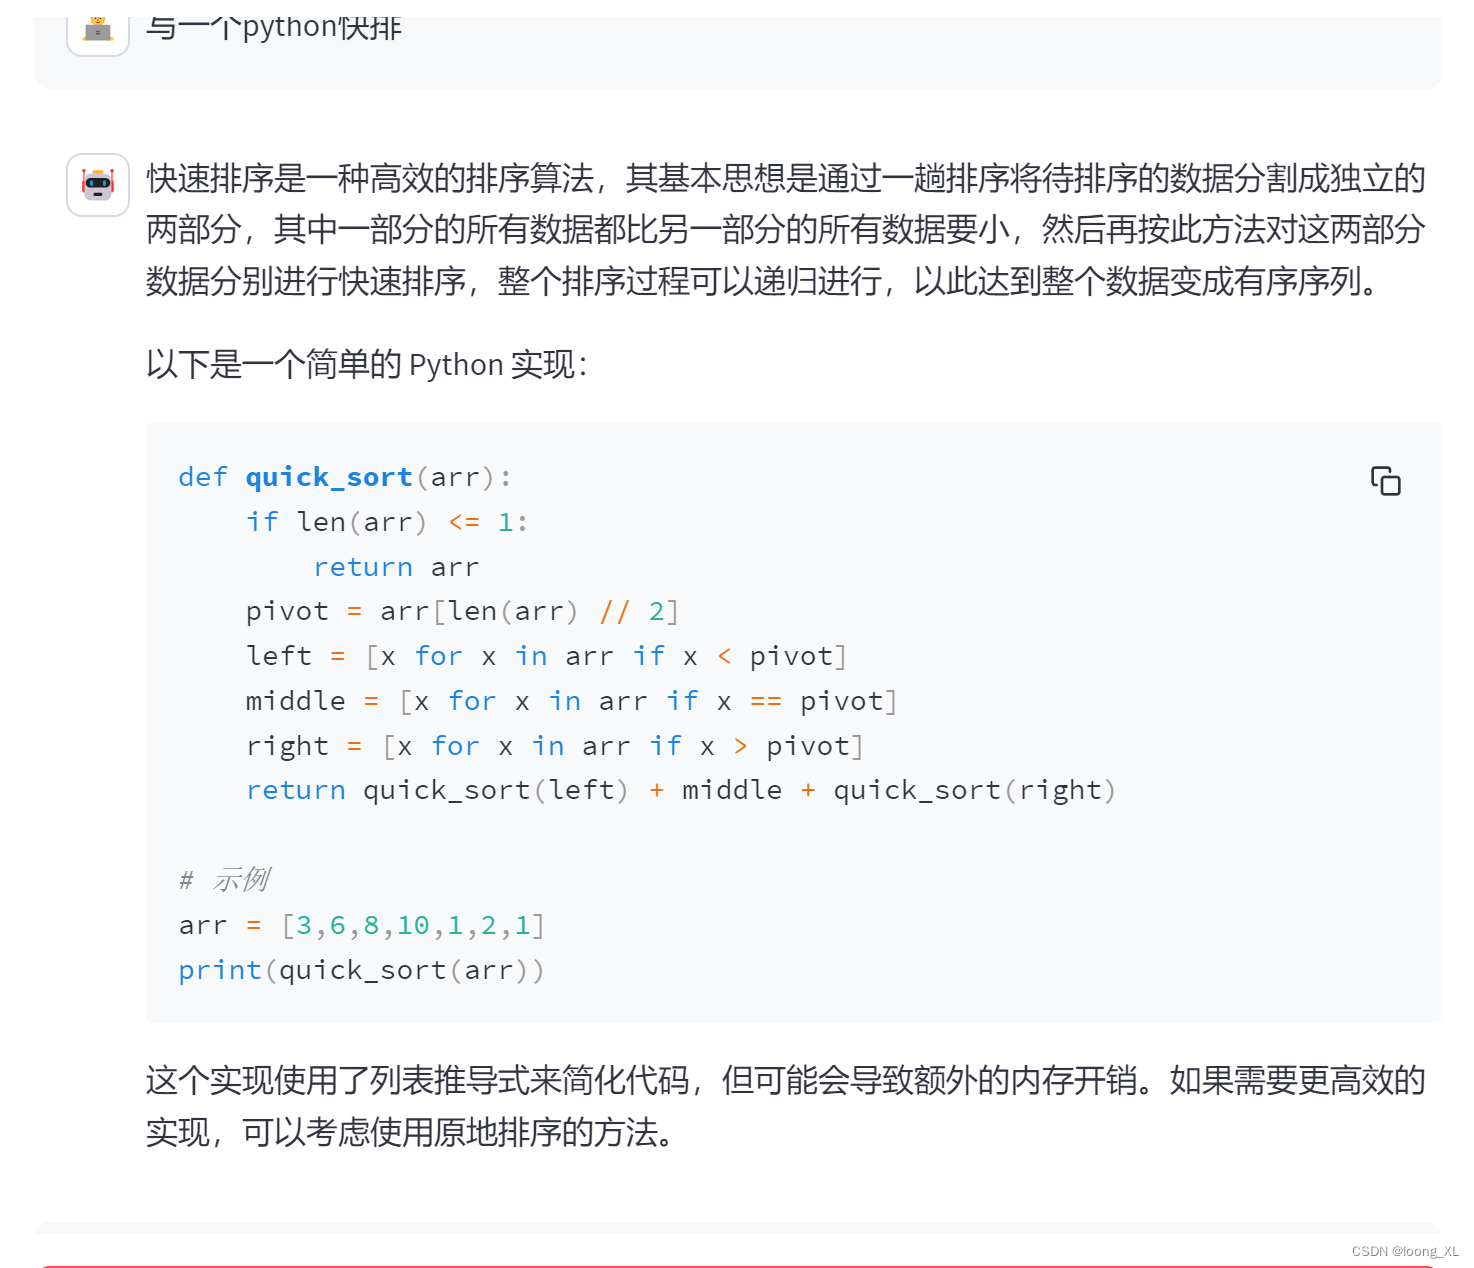
2、Baichuan-13B-Chat百川模型简单使用
参考:
https://huggingface.co/baichuan-inc/Baichuan-13B-Chat ##模型下载
https://github.com/baichuan-inc/Baichuan-13B ## web demo使用代码参考下载
gpu测试需求:大于20g(这量化使用前提也是要先用20多g显存加载进来再量化)
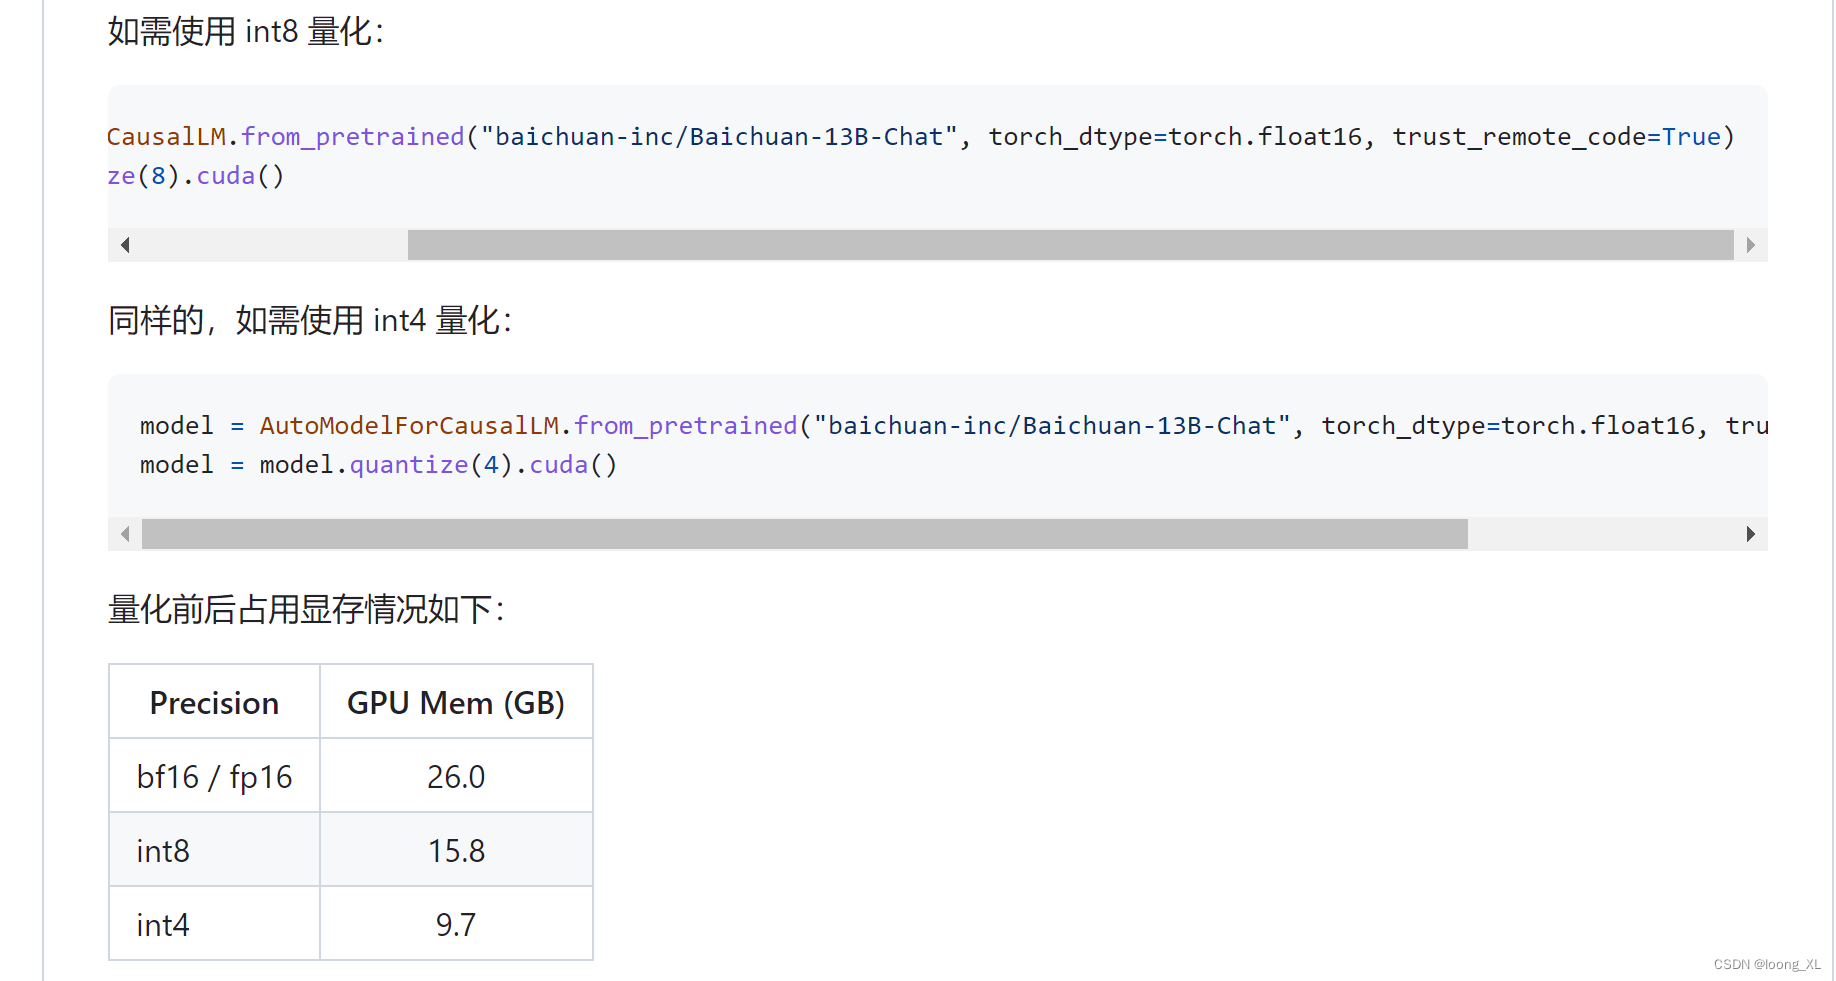
在代码中,模型加载指定 device_map=‘auto’,会使用所有可用显卡。如需指定使用的设备,可以使用类似 export CUDA_VISIBLE_DEVICES=0,1(使用了0、1号显卡)的方式控制。
import torch
from transformers import AutoModelForCausalLM, AutoTokenizer
from transformers.generation.utils import GenerationConfig
tokenizer = AutoTokenizer.from_pretrained("baichuan-inc/Baichuan-13B-Chat", use_fast=False, trust_remote_code=True)
model = AutoModelForCausalLM.from_pretrained("baichuan-inc/Baichuan-13B-Chat", device_map="auto", torch_dtype=torch.float16, trust_remote_code=True)
model.generation_config = GenerationConfig.from_pretrained("baichuan-inc/Baichuan-13B-Chat")
messages = []
messages.append({"role": "user", "content": "Which moutain is the second highest one in the world?"})
response = model.chat(tokenizer, messages)
print(response)