VMware安装包和Linux系统镜像:
链接:https://pan.baidu.com/s/1UwF4DT8hNXp_cV0NpSfTww?pwd=xnoh
提取码:xnoh
这个学期做计网课程设计【简单FTP客户端软件开发】需要在Linux上配置
ftp服务器,故此用VMware安装了Linux虚拟机,参考原博客:
【VMware虚拟机安装Linux教程(超详细)】
http://t.csdnimg.cn/KNh4Q
原博客安装的是桌面版本,我的轻薄本用着太卡了,后面又自己琢磨安装
了命令行版本的,写个博客记录一下。
一、创建虚拟机
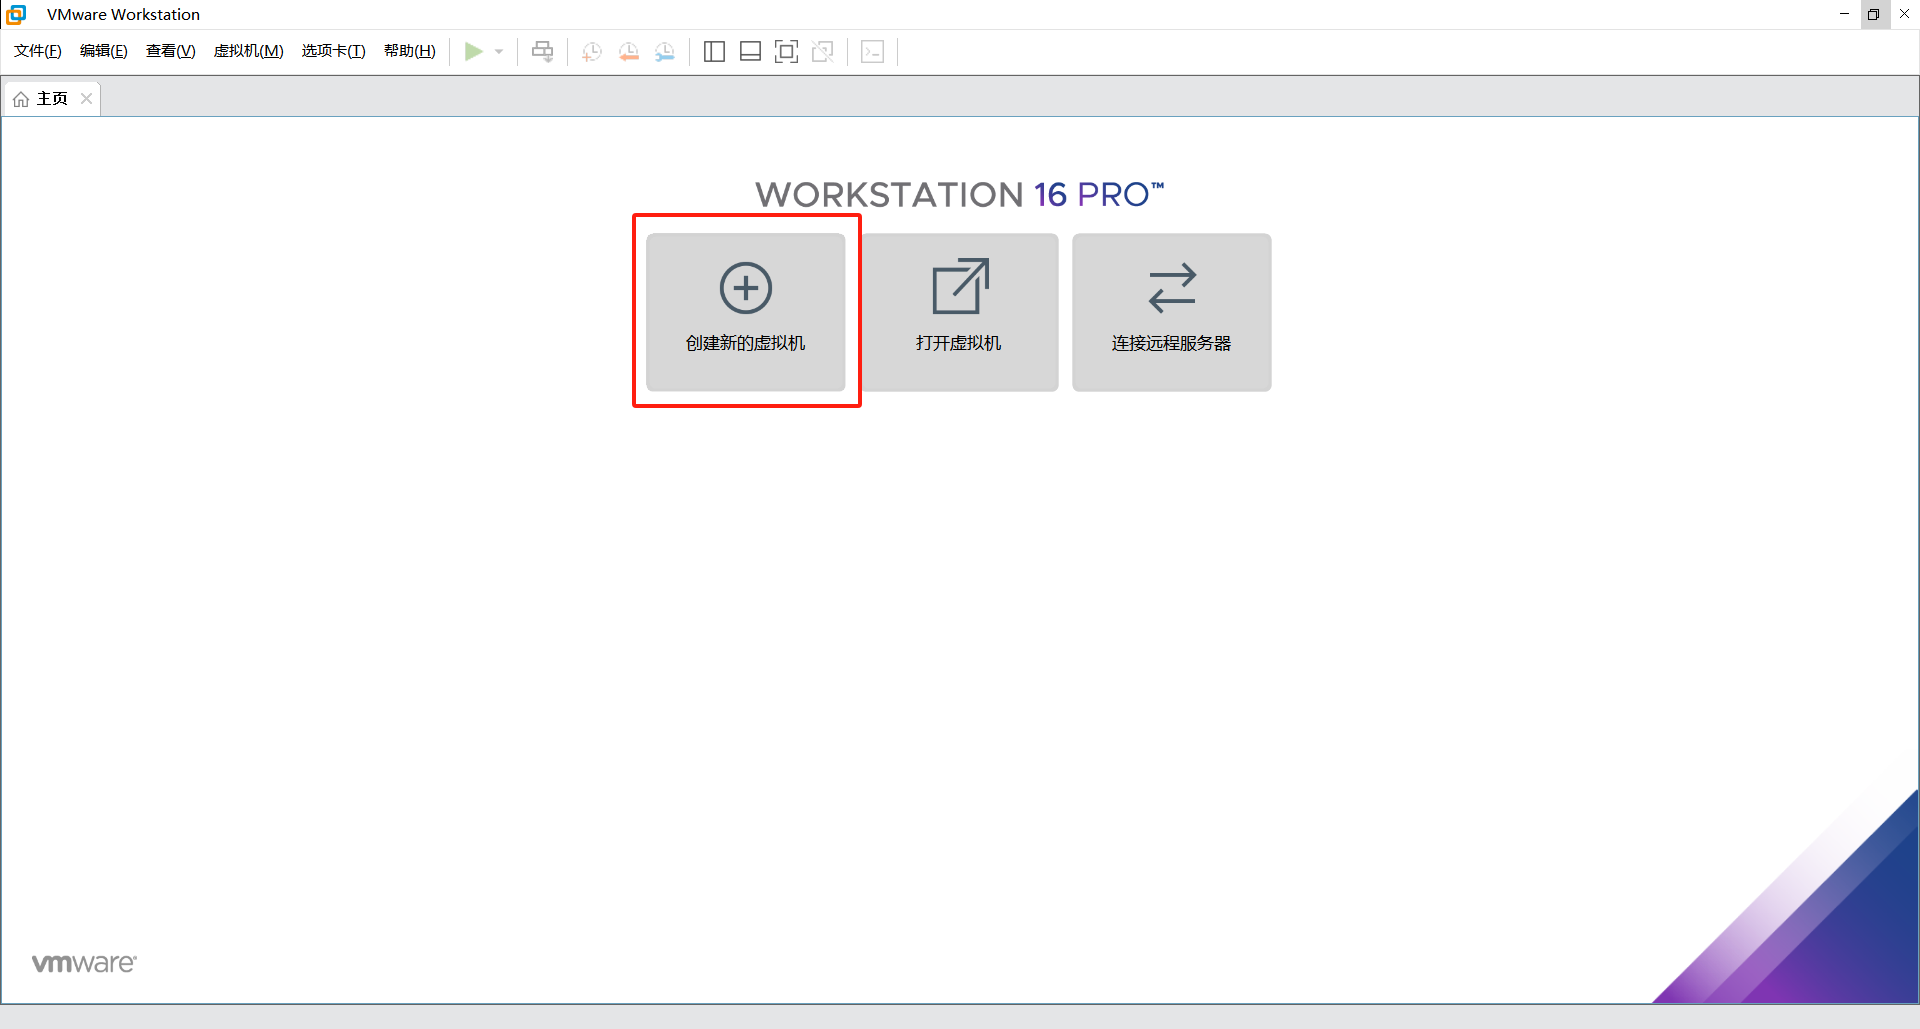
1.进入VMware,点击创建新的虚拟机
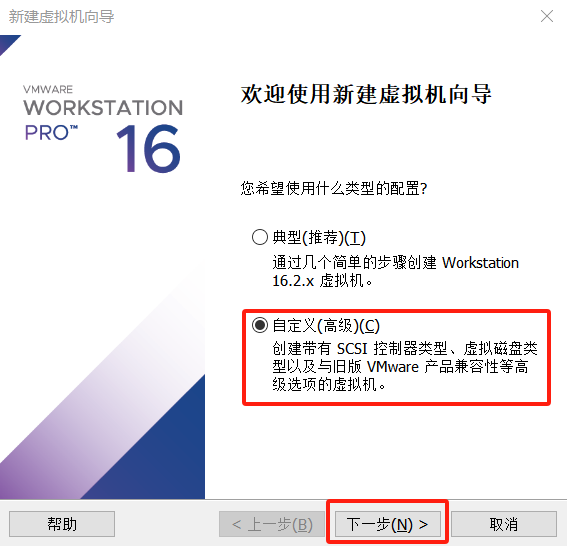
2.选择自定义(高级),点击下一步
3.硬件兼容性选择如下,点击下一步

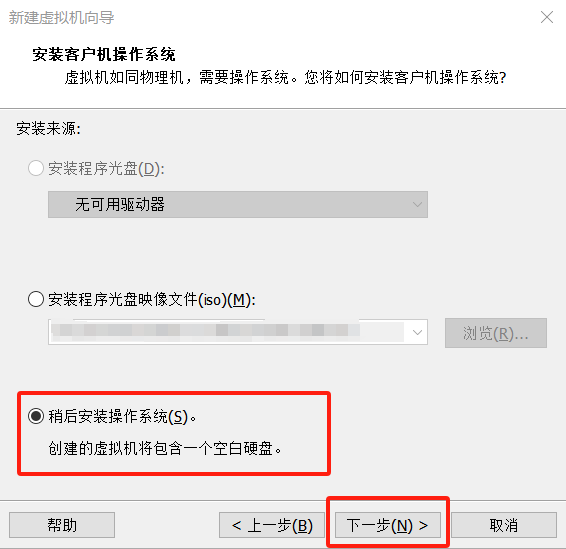
4.选择稍后安装操作系统,点击下一步
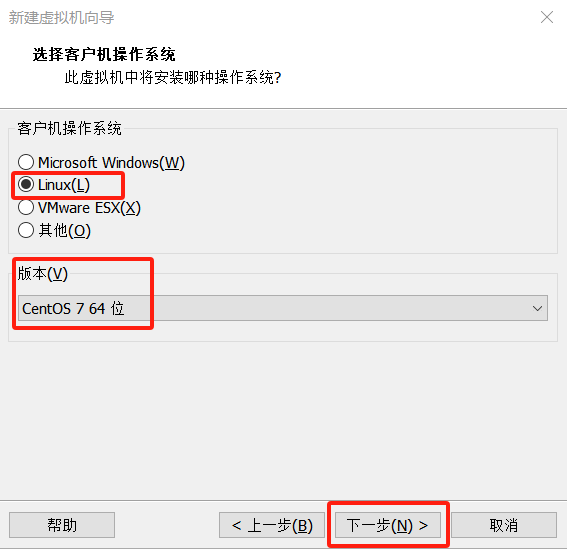
5.客户机操作系统选择Linux,版本选择CentOS 7 64位,点击下一步
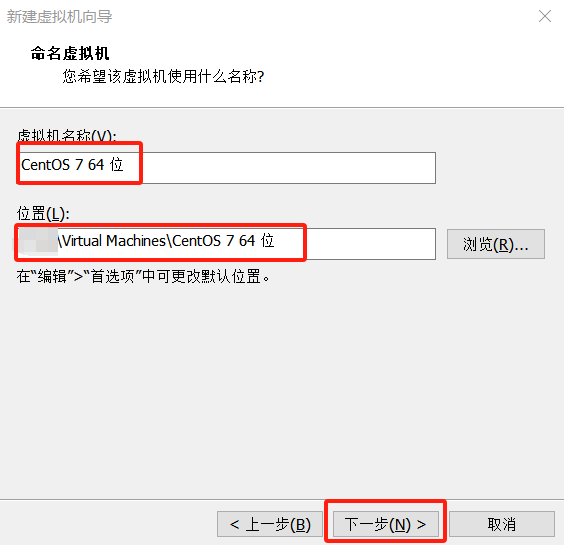
6.自定义虚拟机名称,选择虚拟机安装位置,点击下一步
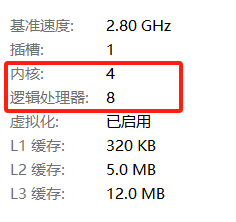
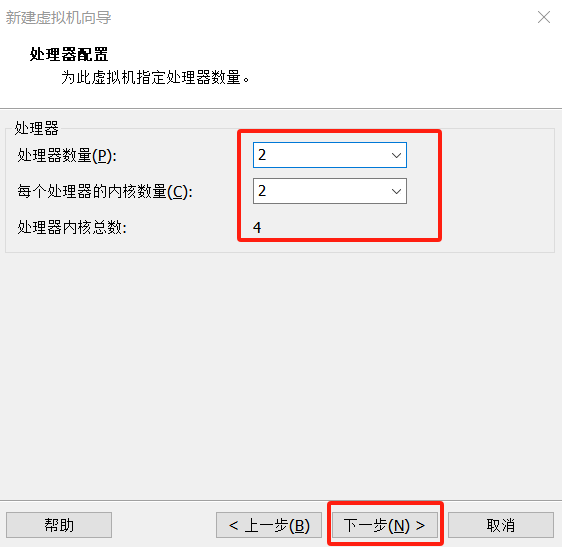
7.设置处理器数量和每个处理器内核数量,我的电脑是4核8线程,设置的处理器内核总数为4(之前乱设置成8好像也没什么问题),点击下一步
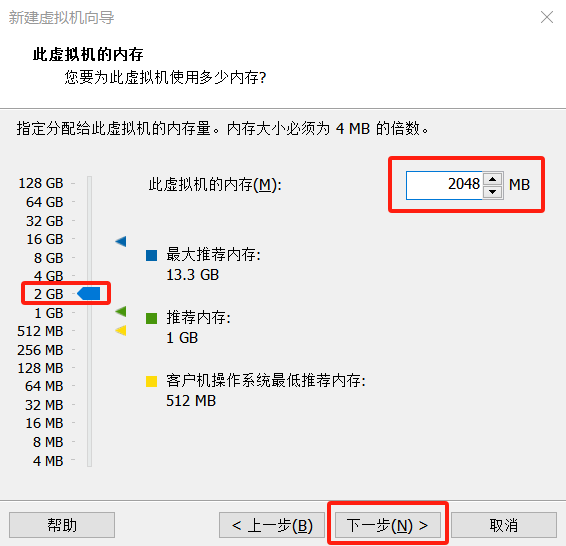
8.设置虚拟机内存,点击下一步
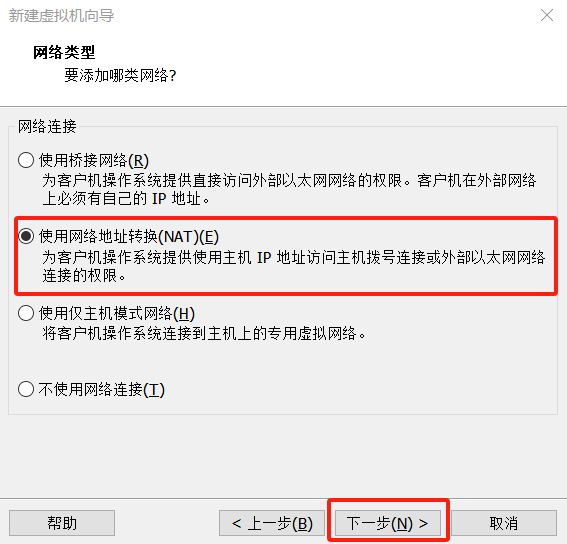
9.选择网络地址转换,点击下一步
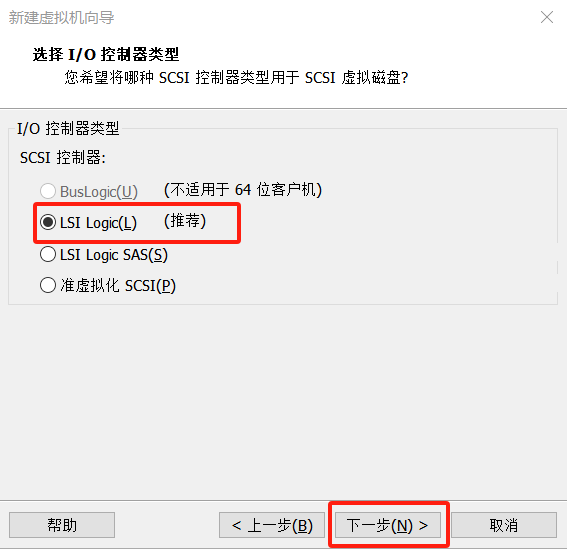
10.选择LSI Logic,点击下一步
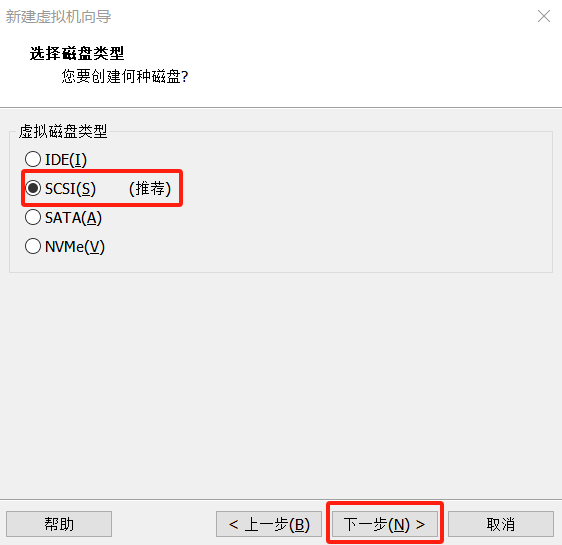
11.选择SCSI,点击下一步
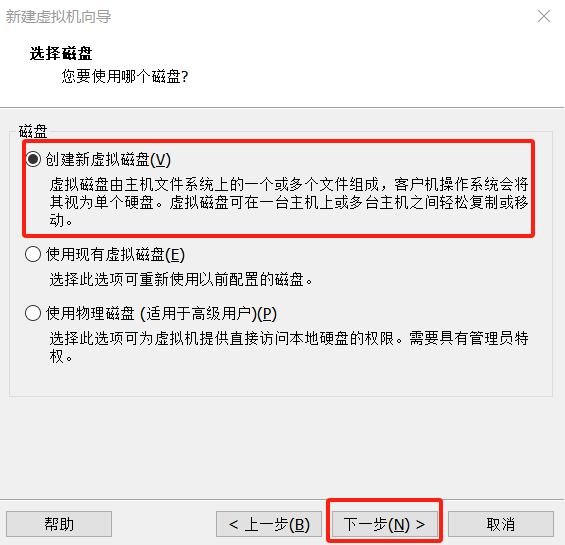
12.选择创建新虚拟磁盘,点击下一步
13.设置磁盘大小,点击下一步
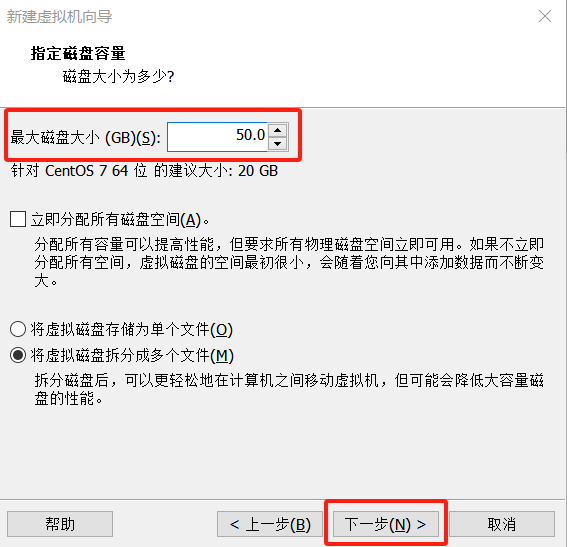
14.点击下一步

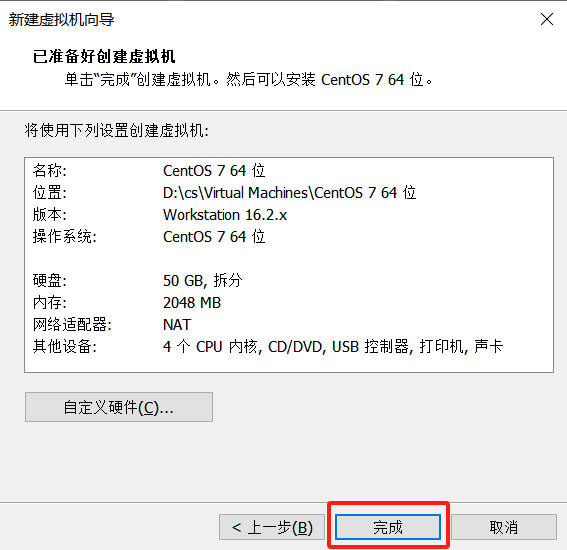
15.点击完成
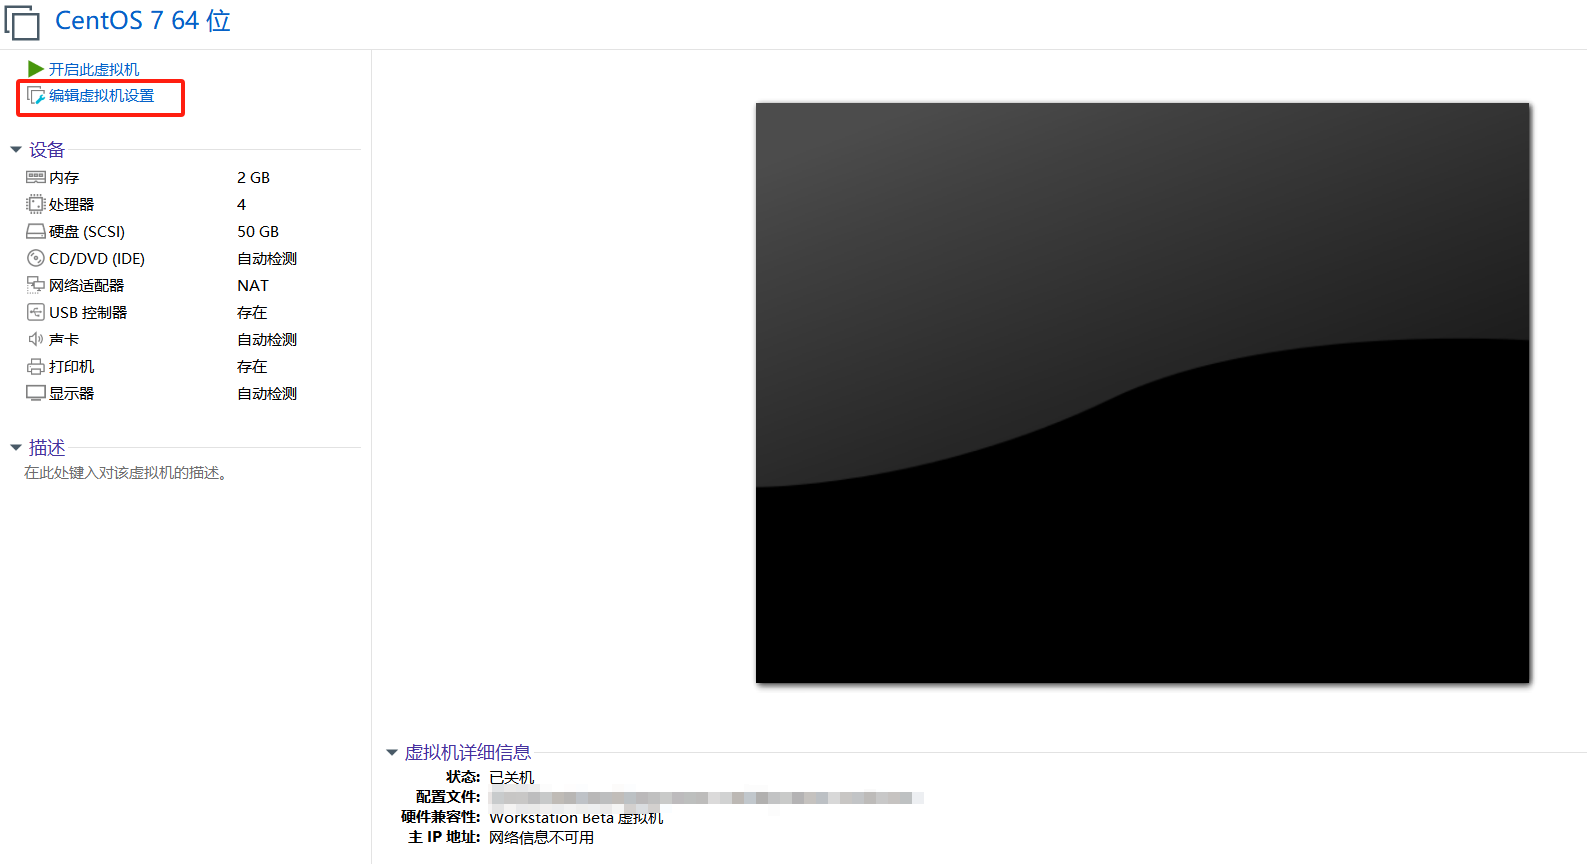
二、安装操作系统
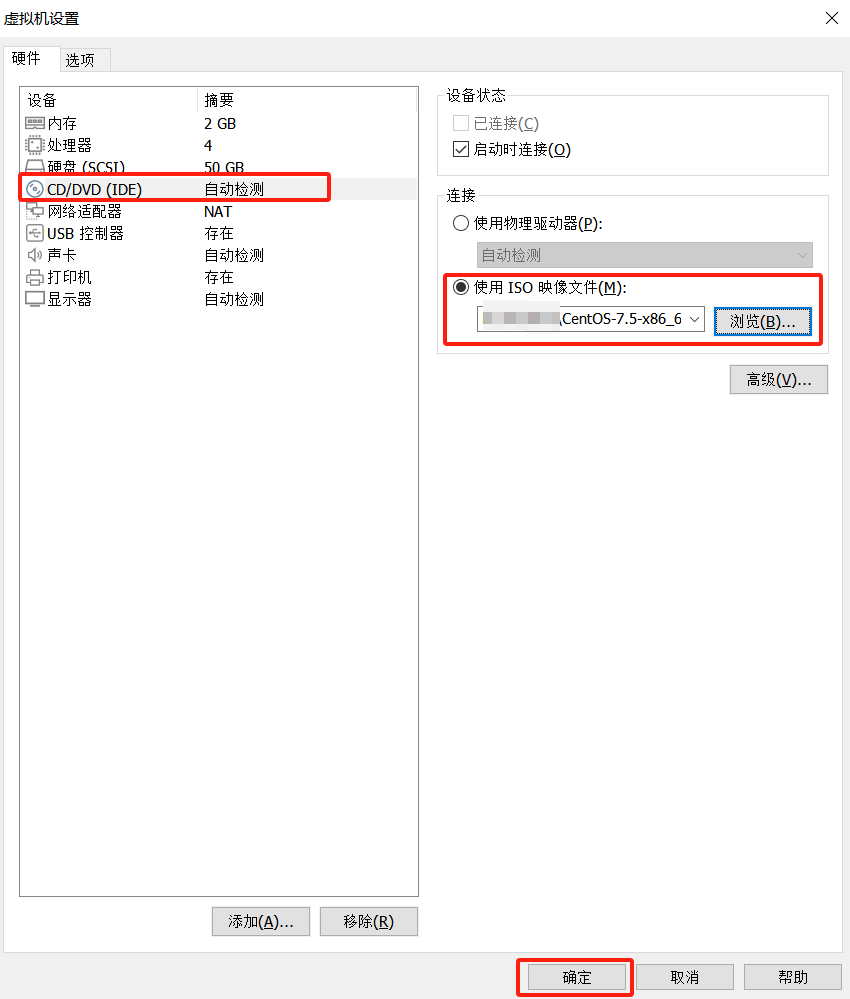
1.点击编辑虚拟机设置
2.点击CD/DVD(IDE),选择使用ISO映像文件,选择下载好的Linux系统镜像,点击确定
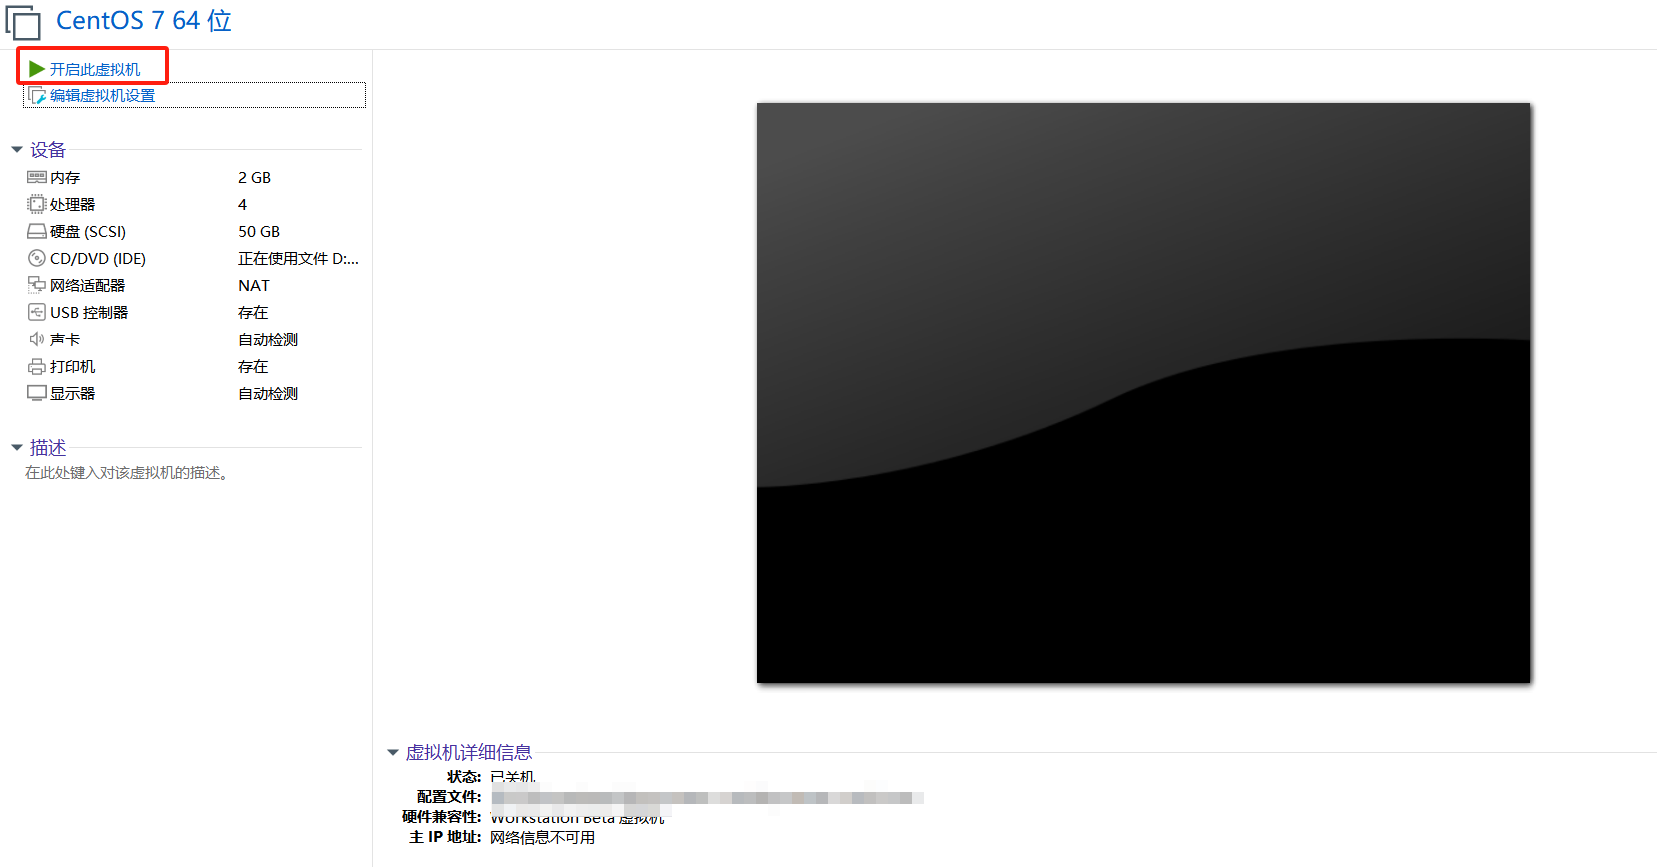
3.点击开启此虚拟机
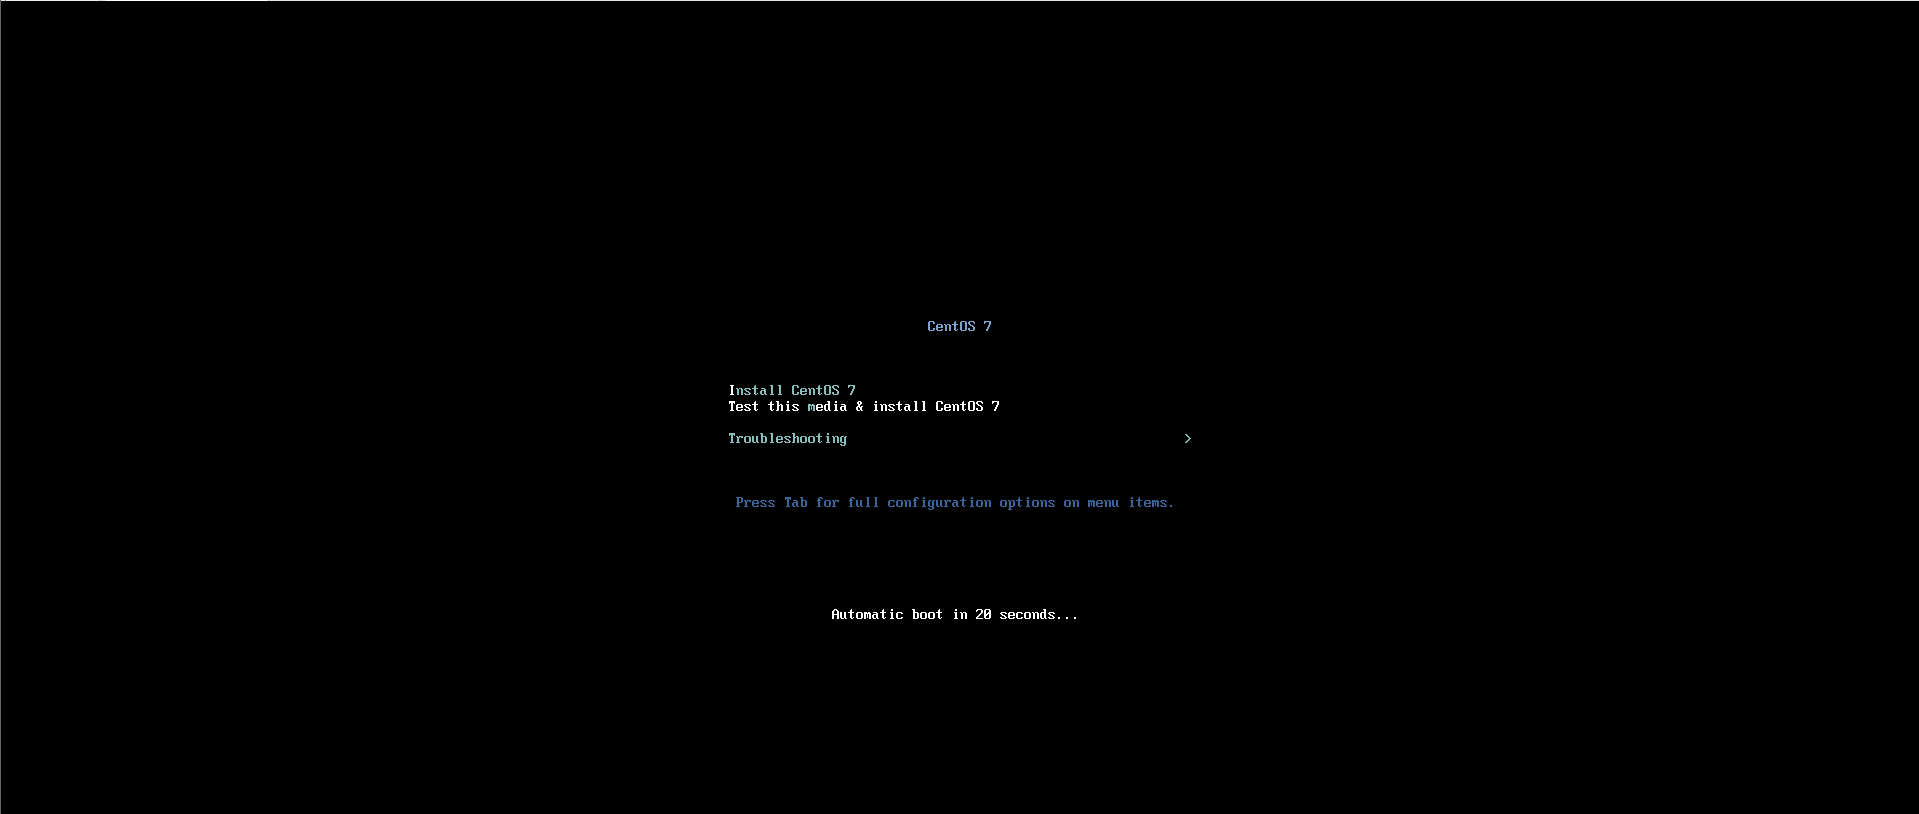
4.等
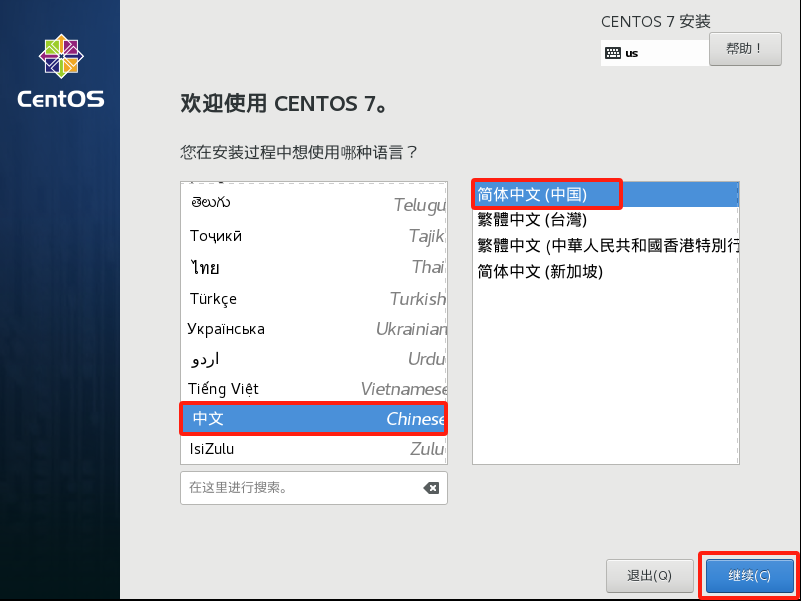
5.选择中文,简体中文,点击继续
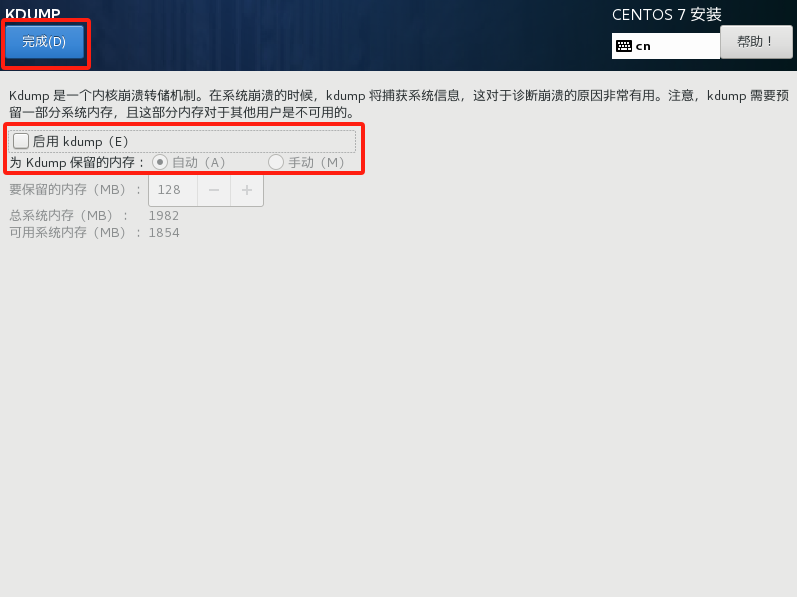
6.点击KDUMP

7.取消启用kdump,点击完成
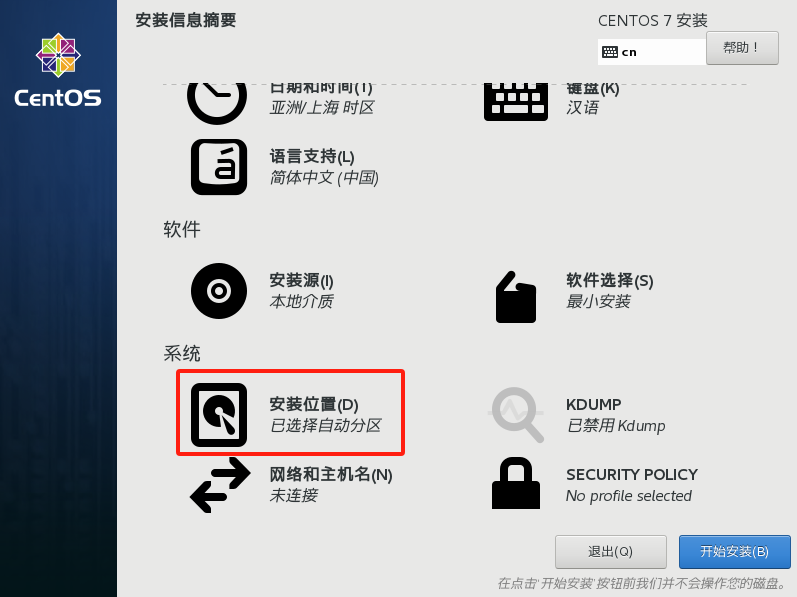
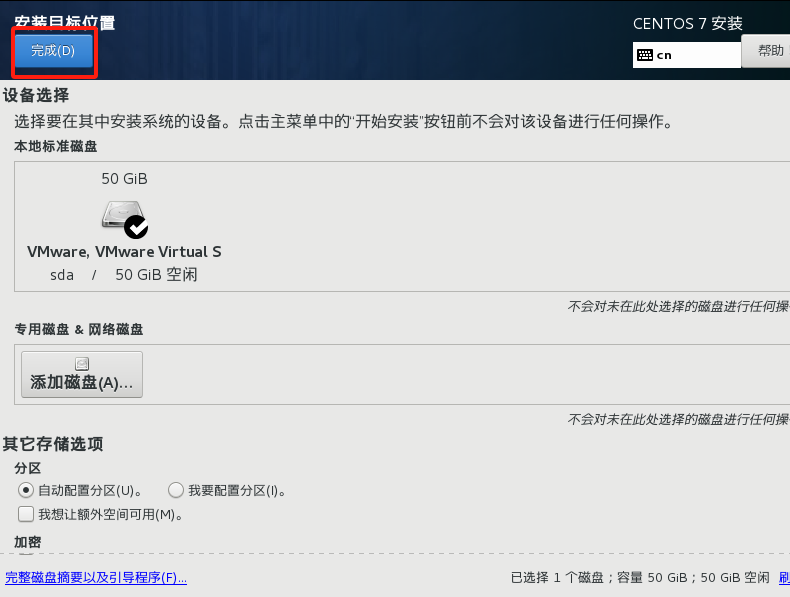
8.安装位置点进去,点击完成
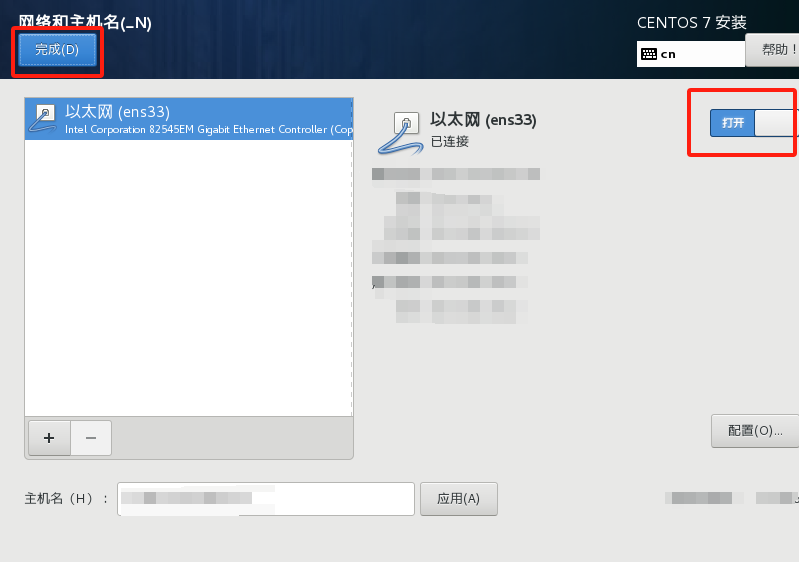
9.点击网络和主机名
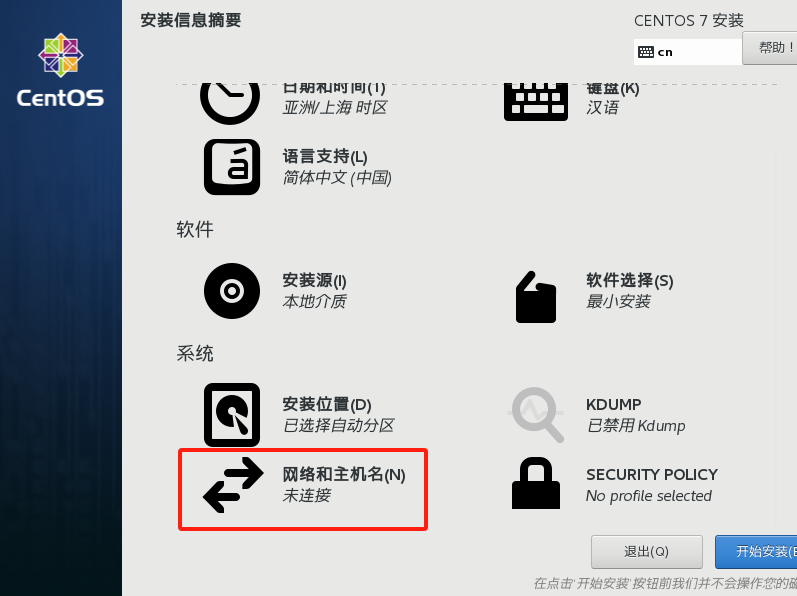
10.打开以太网,点击完成
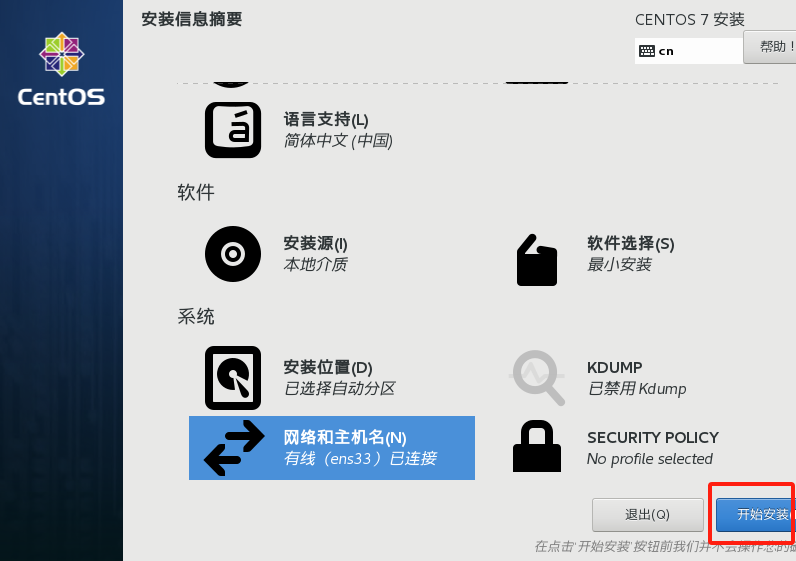
11.点击开始安装
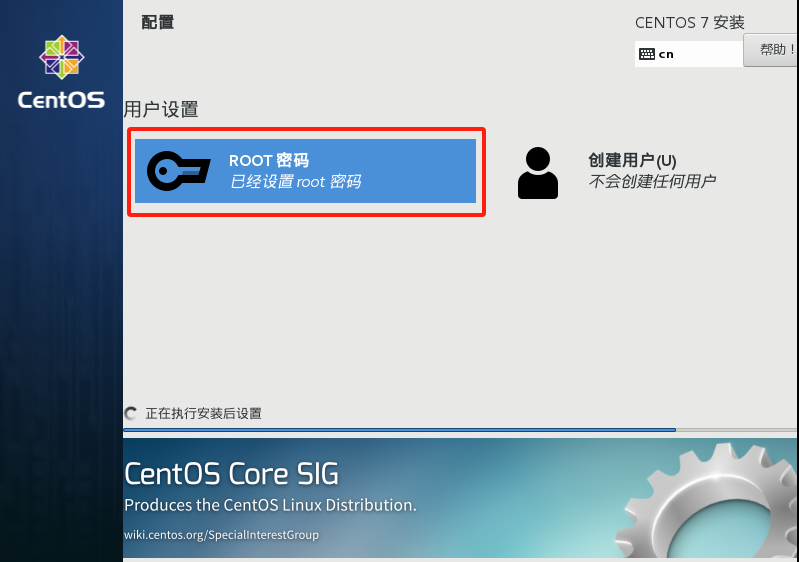
12.设置root密码
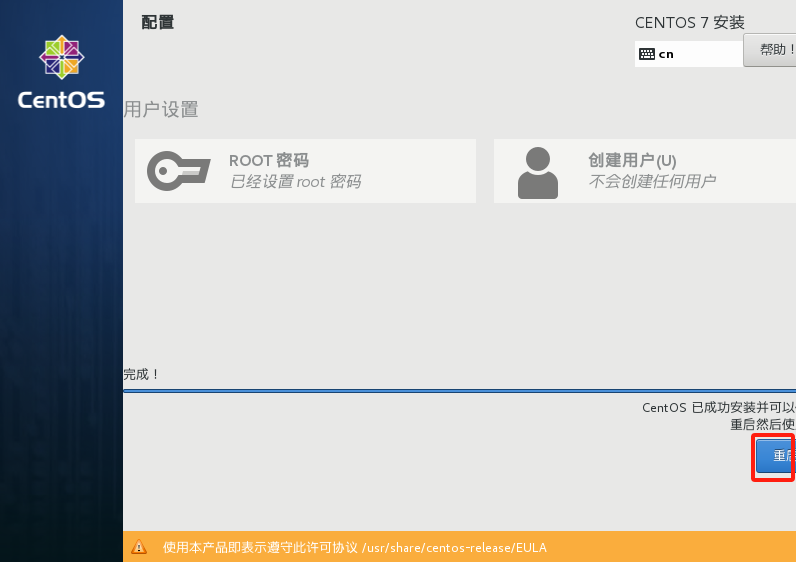
13.安装完点击重启
14.安装成功

15.登录,输入root,回车

16.输入之前设置的root密码,回车

17.登录成功