参考文章:
Docker安装MySQL(含open | D-y Blog
第一步、拉取镜像
docker pull mysql:5.7docker pull mysql:latest安装你的需求去安装版本
第二步、docker代码
docker run -d --name mysql -p 3306:3306 --privileged=true -v /usr/local/mysql/log:/var/log/mysql -v /usr/local/mysql/data:/var/lib/mysql -v /usr/local/mysql/conf:/etc/mysql/conf.d -e MYSQL_ROOT_PASSWORD=123456 mysql:latest/usr/local/mysql/ 本地文件根目录
/usr/local/mysql/conf 配置修改地址
/usr/local/mysql/data 数据保存位置
第三步、修改my.cnf
vim /usr/local/mysql/conf/my.cnf# For advice on how to change settings please see
# http://dev.mysql.com/doc/refman/5.7/en/server-configuration-defaults.html
# *** DO NOT EDIT THIS FILE. It's a template which will be copied to the
# *** default location during install, and will be replaced if you
# *** upgrade to a newer version of MySQL.
[client]
default-character-set=utf8
[mysqld]
# Remove leading # and set to the amount of RAM for the most important data
# cache in MySQL. Start at 70% of total RAM for dedicated server, else 10%.
# innodb_buffer_pool_size = 128M# Remove leading # to turn on a very important data integrity option: logging
# changes to the binary log between backups.
# log_bin
# These are commonly set, remove the # and set as required.
# basedir = .....
# datadir = .....
# port = .....
# server_id = .....
# socket = .....
# Remove leading # to set options mainly useful for reporting servers.
# The server defaults are faster for transactions and fast SELECTs.
# Adjust sizes as needed, experiment to find the optimal values.
# join_buffer_size = 128M
# sort_buffer_size = 2M
# read_rnd_buffer_size = 2M
default-storage-engine=InnoDB
character-set-server=utf8mb4
collation-server=utf8mb4_general_ci
sql_mode=NO_ENGINE_SUBSTITUTION,STRICT_TRANS_TABLES完成第三步后重启容器
docker restart mysql第四步、登录MySQL
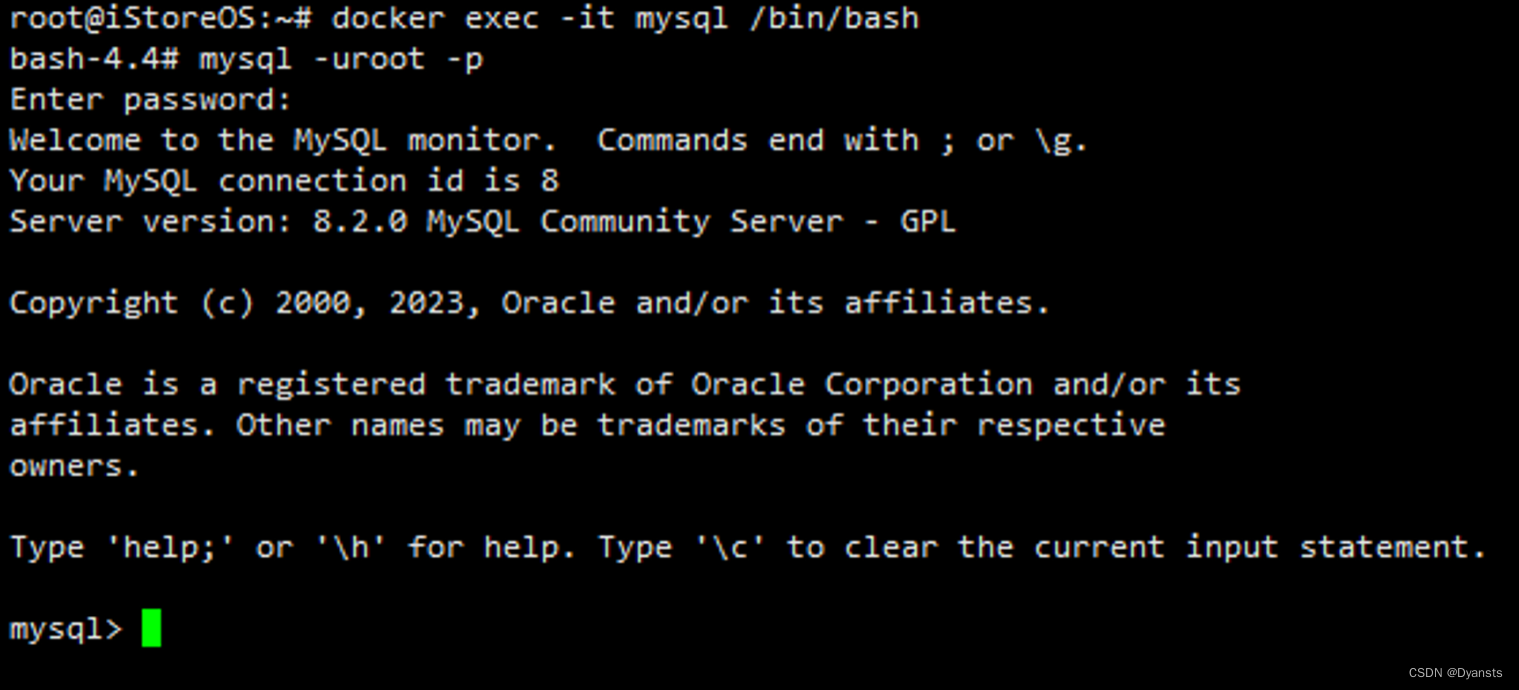
docker exec -it mysql /bin/bash登录MySQL
mysql -uroot -p密码:123456
MYSQL_ROOT_PASSWORD=123456 #可以自定义
查看字符集
show variables like 'character%'; 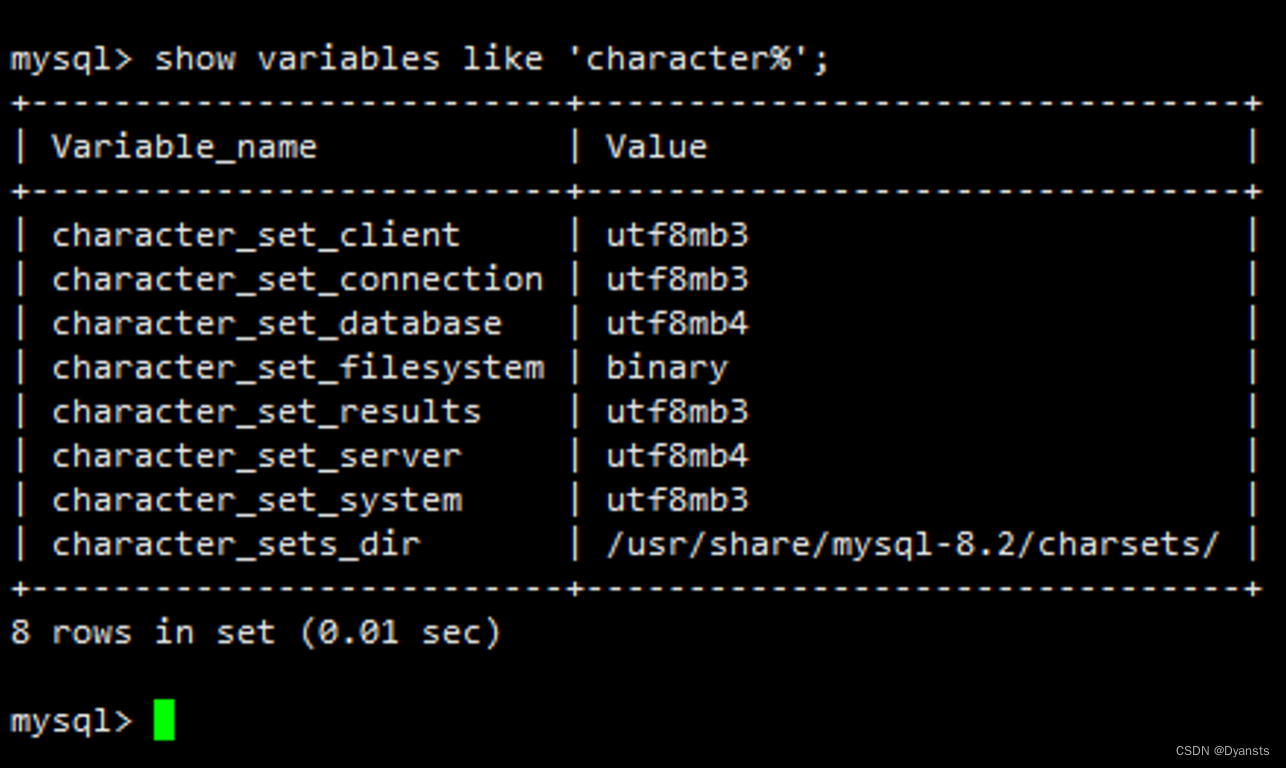
使用Navicat Premium 15连接
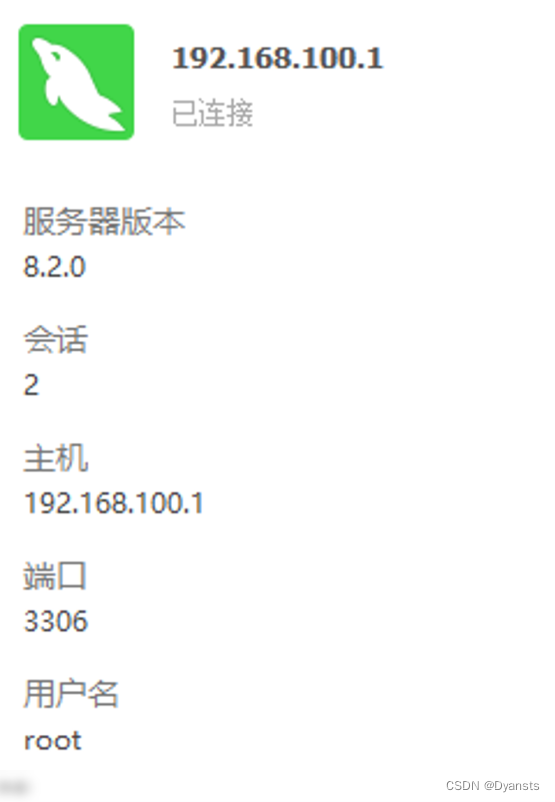
更多MySQL相关设置
Linux安装MySQL5.7.x | D-y Blog


