先上效果图:


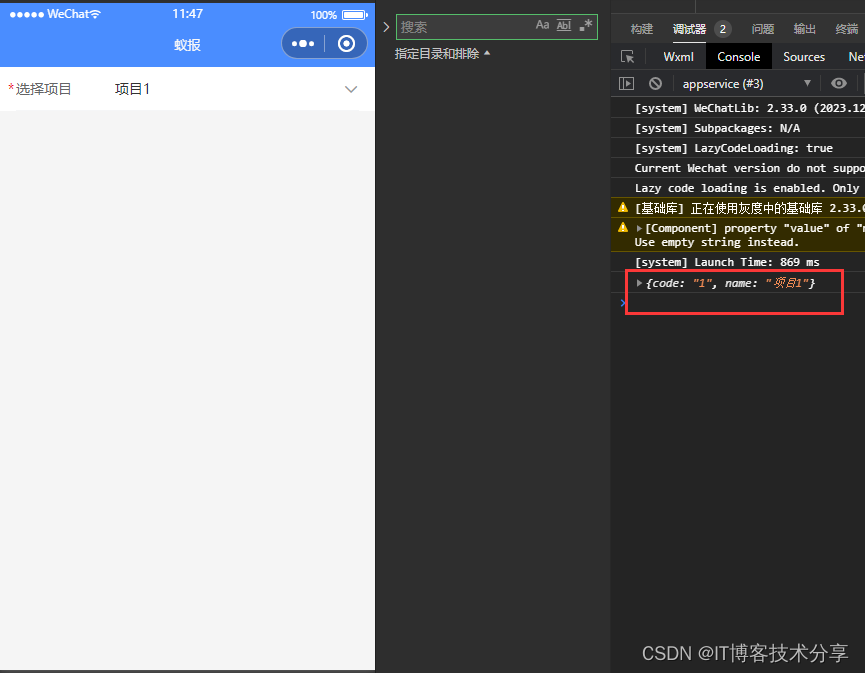
主要是用vant 小程序组件封装的:vant 小程序ui网址:vant-weapp
主要代码如下:
先封装子组件: select-popup 放在 components 文件夹里面

select-popup.wxml:
<!--pages/select-popup/select-popup.wxml-->
<van-field label="{{label}}" required model:value="{{ value }}" placeholder="{{place}}" border="{{ true }}" readonlyright-icon="{{icon}}" bindtap="tap" />
<van-popup show="{{ popShow }}" position="bottom" custom-style="height: 50%;overflow:hidden"><van-picker value-key="{{valueKeyName}}" id="picker" show-toolbar title="{{label}}" columns="{{ columns }}" bind:cancel="onCancel" bind:confirm="onConfirm" />
</van-popup>
select-popup.js:
// pages/select-popup/select-popup.js
Component({/*** 组件的属性列表*/properties: {label: String, // 输入框标签place: String, // 输入框提示columns: Array, // 选择器 选项valueKeyName:{ // 选择器 选项数组中 对象的value的默认keytype: String,value: 'text'}},/*** 组件的初始数据*/data: {popShow: false,icon:'arrow-down'  // 下拉箭头},/*** 组件的方法列表*/methods: {// 点击输入框触发tap() {this.setData({popShow: true,icon:'arrow-up'})},// 点击取消onCancel() {this.setData({popShow: false,icon:'arrow-down'})},// 点击确认onConfirm(e) {let pic, valuepic = this.selectComponent('#picker')// 获取当前选中项的值  改值为对象value = pic.getValues()this.setData({value: value[0][this.data.valueKeyName],  // 设置输入框为选择器选中的值})this.triggerEvent('confirm', {  // 传递到组件外事件 , 返回当前选中项 对象value: value[0]})this.onCancel()}}
})
select-popup.json
{"component": true,"usingComponents": {"van-field": "@vant/weapp/field/index","van-popup": "@vant/weapp/popup/index","van-picker": "@vant/weapp/picker/index"}
}
父组件调用:
<!-- 下拉框选项组件 --><select-popup label="选择项目" place="请选择项目" columns="{{list}}" bind:confirm="getSelectProject" valueKeyName="name"></select-popup>js:
data: {// 下拉框选项组件list:[{code:'1',name:'项目1'},{code:'2',name:'项目2'},{code:'3',name:'项目3'},{code:'4',name:'项目4'}]
},
// 获取选中的项目getSelectProject: function(e) {// 打印选中项console.log(e.detail.value);},
{"usingComponents": {"select-popup": "/components/select-popup/select-popup"}
}

