目录
1.环境信息
2.搭建过程
2.1 安装Docker源
2.2 安装Docker
2.3 安装kubeadm,kubelet和kubectl
2.4 部署Kubernetes Master(node1)
2.5 安装Pod网络插件(CNI)
2.6 加入Kubernetes Node
2.7 测试kubernetes集群
3.部署 Dashboard
3.1 在node1上新建文件:kubernetes-dashboard.yaml
3.2 Docker拉去镜像
1.环境信息
阿里云服务器每台服务器可有两个IP,一个是供外网直接访问,另一个内网,我的服务器配置是:
172.16.247.250 node1
172.16.247.248 node2
172.16.247.249 node3
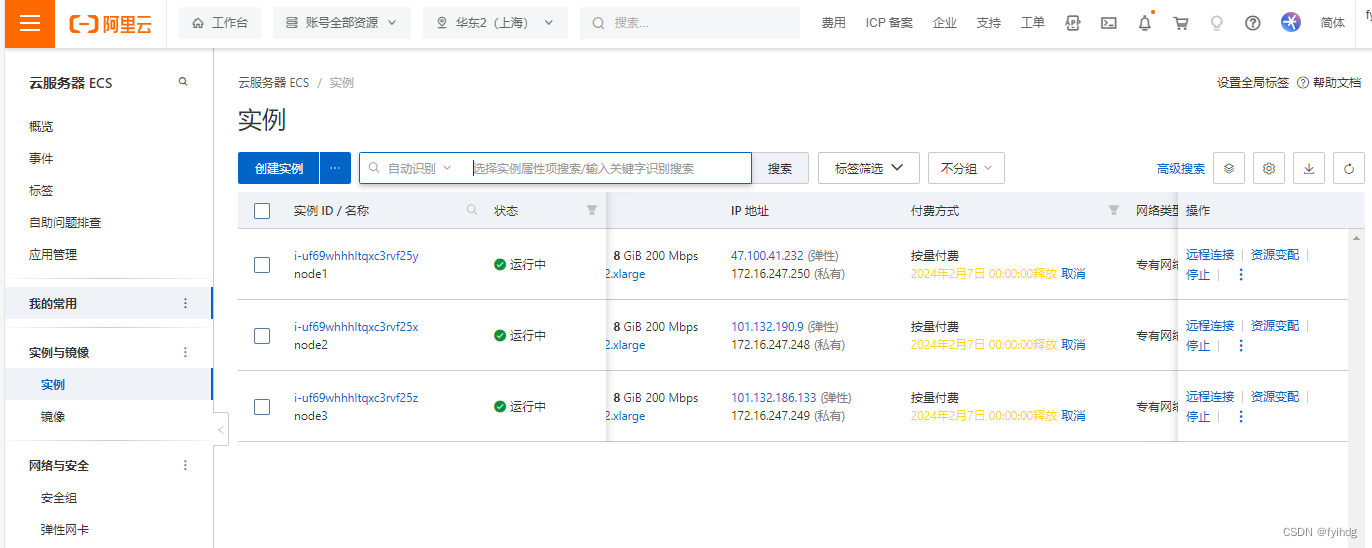
通xshell连接,我配置node1就是master
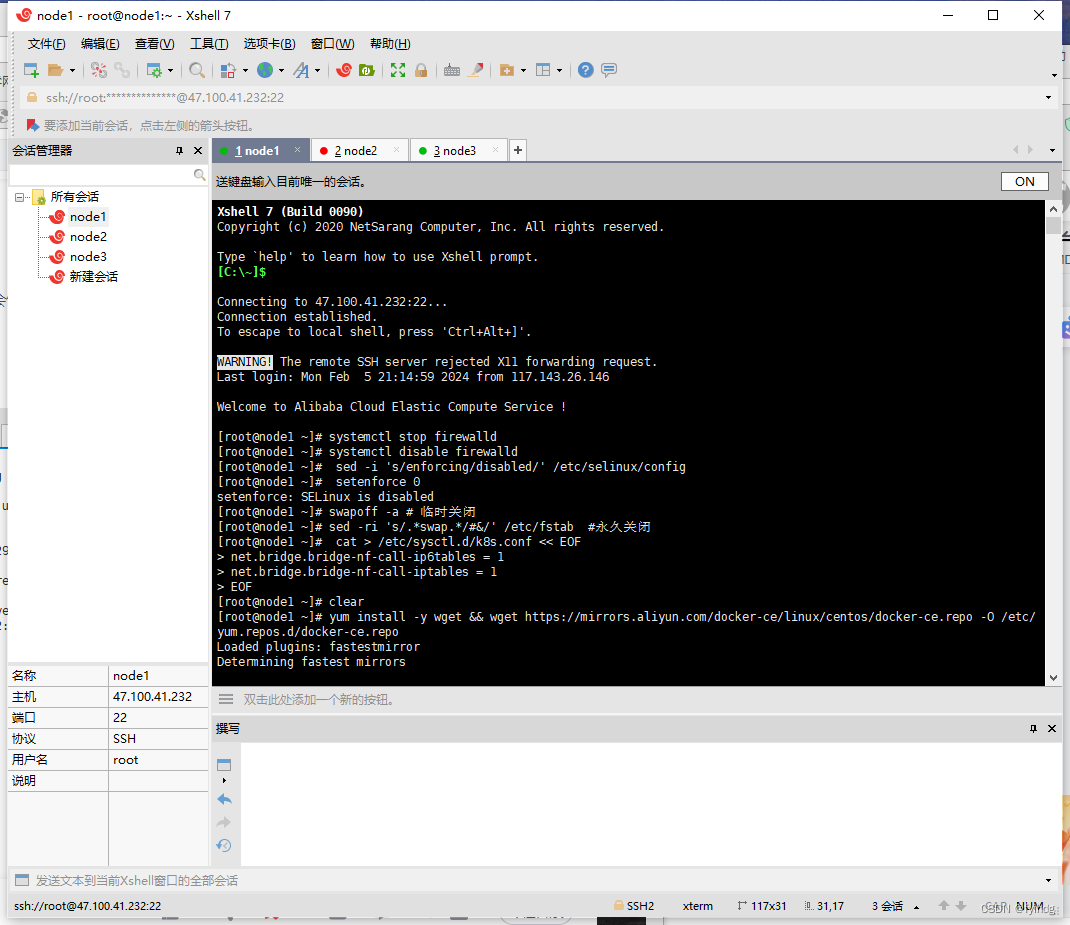
关闭防火墙(所有服务器上执行)
systemctl stop firewalld
systemctl disable firewalld
关闭selinux
sed -i 's/enforcing/disabled/' /etc/selinux/config setenforce 0关闭swap
swapoff -a # 临时关闭
sed -ri 's/.*swap.*/#&/' /etc/fstab  #永久关闭
将桥接的IPv4流量传递到iptables的链
 cat > /etc/sysctl.d/k8s.conf << EOF
net.bridge.bridge-nf-call-ip6tables = 1
net.bridge.bridge-nf-call-iptables = 1
EOF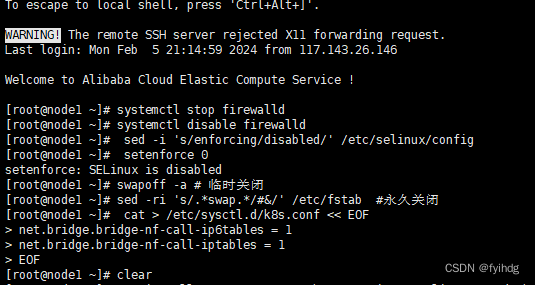
2.搭建过程
所有节点安装Docker/kubeadm/kubelet
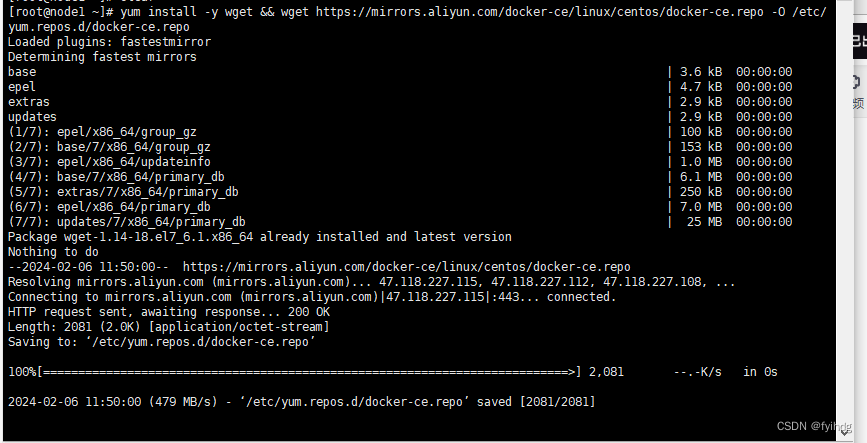
2.1 安装Docker源
yum install -y wget && wget https://mirrors.aliyun.com/docker-ce/linux/centos/docker-ce.repo -O /etc/yum.repos.d/docker-ce.repo
2.2 安装Docker
yum -y install docker-ce-18.06.1.ce-3.el7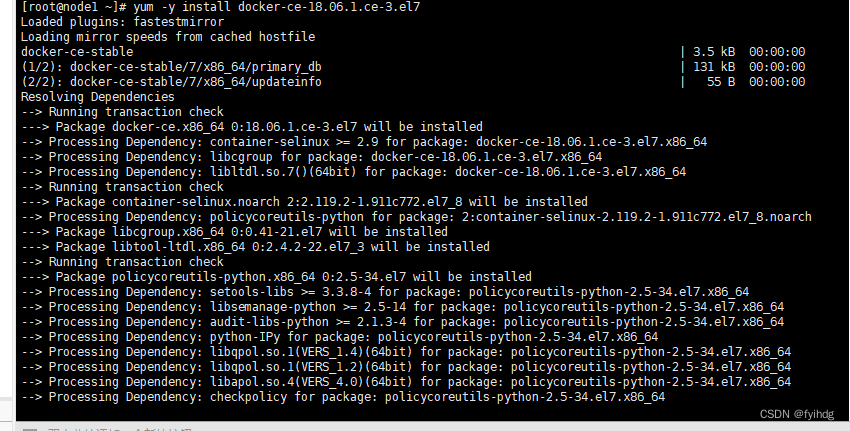
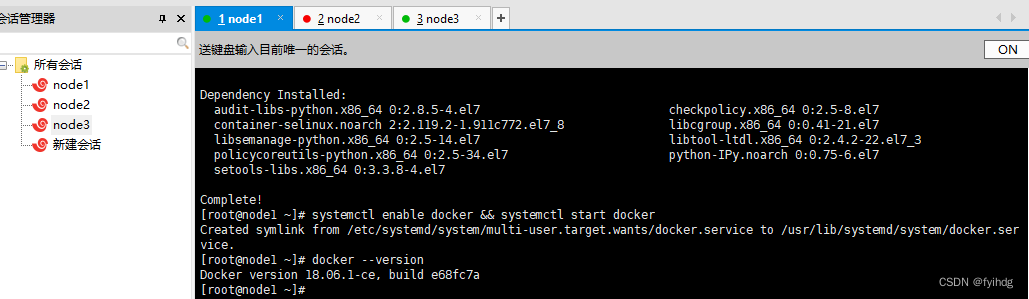
开启自启和启动
systemctl enable docker && systemctl start docker查看版本
docker --version
2.3 安装kubeadm,kubelet和kubectl
添加阿里云YUM的软件源
cat > /etc/yum.repos.d/kubernetes.repo << EOF
[kubernetes]
name=Kubernetes
baseurl=https://mirrors.aliyun.com/kubernetes/yum/repos/kubernetes-el7-x86_64
enabled=1
gpgcheck=0
repo_gpgcheck=0
gpgkey=https://mirrors.aliyun.com/kubernetes/yum/doc/yum-key.gpg https://mirrors.aliyun.com/kubernetes/yum/doc/rpm-package-key.gpg
EOF
安装kubeadm,kubelet和kubectl ,由于版本更新频繁,这里指定版本号部署:
yum install -y kubelet-1.15.0 kubeadm-1.15.0 kubectl-1.15.0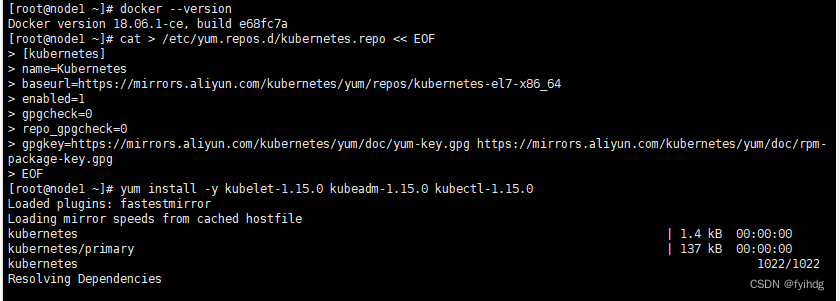
设置开机自启
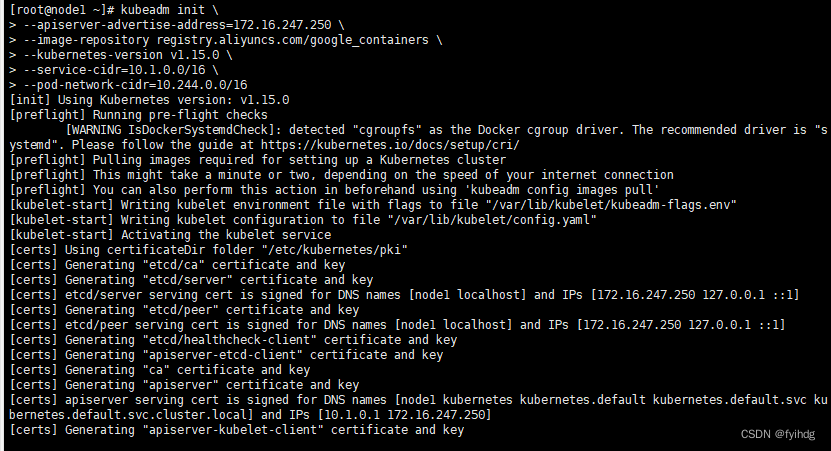
systemctl enable kubelet2.4 部署Kubernetes Master(node1)
kubeadm init \
--apiserver-advertise-address=172.16.247.250 \
--image-repository registry.aliyuncs.com/google_containers \
--kubernetes-version v1.15.0 \
--service-cidr=10.1.0.0/16 \
--pod-network-cidr=10.244.0.0/16
在node1上执行

使用kubectl工具
mkdir -p $HOME/.kubesudo cp -i /etc/kubernetes/admin.conf $HOME/.kube/configsudo chown $(id -u):$(id -g) $HOME/.kube/config
2.5 安装Pod网络插件(CNI)
在node1服务器上新建文件:kube-flannel.yml
---
apiVersion: policy/v1beta1
kind: PodSecurityPolicy
metadata:name: psp.flannel.unprivilegedannotations:seccomp.security.alpha.kubernetes.io/allowedProfileNames: docker/defaultseccomp.security.alpha.kubernetes.io/defaultProfileName: docker/defaultapparmor.security.beta.kubernetes.io/allowedProfileNames: runtime/defaultapparmor.security.beta.kubernetes.io/defaultProfileName: runtime/default
spec:privileged: falsevolumes:- configMap- secret- emptyDir- hostPathallowedHostPaths:- pathPrefix: "/etc/cni/net.d"- pathPrefix: "/etc/kube-flannel"- pathPrefix: "/run/flannel"readOnlyRootFilesystem: false# Users and groupsrunAsUser:rule: RunAsAnysupplementalGroups:rule: RunAsAnyfsGroup:rule: RunAsAny# Privilege EscalationallowPrivilegeEscalation: falsedefaultAllowPrivilegeEscalation: false# CapabilitiesallowedCapabilities: ['NET_ADMIN', 'NET_RAW']defaultAddCapabilities: []requiredDropCapabilities: []# Host namespaceshostPID: falsehostIPC: falsehostNetwork: truehostPorts:- min: 0max: 65535# SELinuxseLinux:# SELinux is unused in CaaSPrule: 'RunAsAny'
---
kind: ClusterRole
apiVersion: rbac.authorization.k8s.io/v1
metadata:name: flannel
rules:
- apiGroups: ['extensions']resources: ['podsecuritypolicies']verbs: ['use']resourceNames: ['psp.flannel.unprivileged']
- apiGroups:- ""resources:- podsverbs:- get
- apiGroups:- ""resources:- nodesverbs:- list- watch
- apiGroups:- ""resources:- nodes/statusverbs:- patch
---
kind: ClusterRoleBinding
apiVersion: rbac.authorization.k8s.io/v1
metadata:name: flannel
roleRef:apiGroup: rbac.authorization.k8s.iokind: ClusterRolename: flannel
subjects:
- kind: ServiceAccountname: flannelnamespace: kube-system
---
apiVersion: v1
kind: ServiceAccount
metadata:name: flannelnamespace: kube-system
---
kind: ConfigMap
apiVersion: v1
metadata:name: kube-flannel-cfgnamespace: kube-systemlabels:tier: nodeapp: flannel
data:cni-conf.json: |{"name": "cbr0","cniVersion": "0.3.1","plugins": [{"type": "flannel","delegate": {"hairpinMode": true,"isDefaultGateway": true}},{"type": "portmap","capabilities": {"portMappings": true}}]}net-conf.json: |{"Network": "10.244.0.0/16","Backend": {"Type": "vxlan"}}
---
apiVersion: apps/v1
kind: DaemonSet
metadata:name: kube-flannel-dsnamespace: kube-systemlabels:tier: nodeapp: flannel
spec:selector:matchLabels:app: flanneltemplate:metadata:labels:tier: nodeapp: flannelspec:affinity:nodeAffinity:requiredDuringSchedulingIgnoredDuringExecution:nodeSelectorTerms:- matchExpressions:- key: kubernetes.io/osoperator: Invalues:- linuxhostNetwork: truepriorityClassName: system-node-criticaltolerations:- operator: Existseffect: NoScheduleserviceAccountName: flannelinitContainers:- name: install-cni-pluginimage: rancher/mirrored-flannelcni-flannel-cni-plugin:v1.0.0command:- cpargs:- -f- /flannel- /opt/cni/bin/flannelvolumeMounts:- name: cni-pluginmountPath: /opt/cni/bin- name: install-cniimage: quay.io/coreos/flannel:v0.15.1command:- cpargs:- -f- /etc/kube-flannel/cni-conf.json- /etc/cni/net.d/10-flannel.conflistvolumeMounts:- name: cnimountPath: /etc/cni/net.d- name: flannel-cfgmountPath: /etc/kube-flannel/containers:- name: kube-flannelimage: quay.io/coreos/flannel:v0.15.1command:- /opt/bin/flanneldargs:- --ip-masq- --kube-subnet-mgrresources:requests:cpu: "100m"memory: "50Mi"limits:cpu: "100m"memory: "50Mi"securityContext:privileged: falsecapabilities:add: ["NET_ADMIN", "NET_RAW"]env:- name: POD_NAMEvalueFrom:fieldRef:fieldPath: metadata.name- name: POD_NAMESPACEvalueFrom:fieldRef:fieldPath: metadata.namespacevolumeMounts:- name: runmountPath: /run/flannel- name: flannel-cfgmountPath: /etc/kube-flannel/volumes:- name: runhostPath:path: /run/flannel- name: cni-pluginhostPath:path: /opt/cni/bin- name: cnihostPath:path: /etc/cni/net.d- name: flannel-cfgconfigMap:name: kube-flannel-cfg
然后在node1上执行:
kubectl apply -f kube-flannel.yml
2.6 加入Kubernetes Node
剩下的node2 node3分别执行:
docker pull lizhenliang/flannel:v0.11.0-amd64
向集群添加新节点,执行在kubeadm init输出的kubeadm join命令:
kubeadm join 172.16.247.250:6443 --token y7z5d4.3q8basg1rhwfqeo2 \--discovery-token-ca-cert-hash sha256:775f6b8fe3c32065d76cc670e48757135e2d1be30b4362e0c80f9f190f2356c2 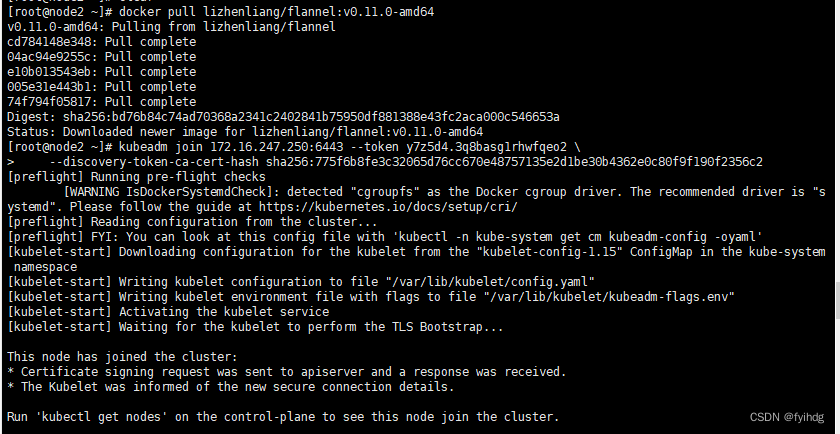
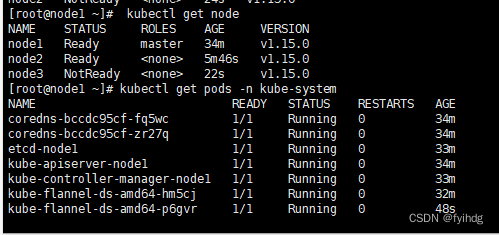
查看Node
kubectl get node
node1 服务器上执行
2.7 测试kubernetes集群
在Kubernetes集群中创建一个pod,验证是否正常运行:
创建nginx容器
kubectl create deployment nginx --image=nginx暴露对外端口
kubectl expose deployment nginx --port=80 --type=NodePort查看nginx是否运行成功
kubectl get pod,svc
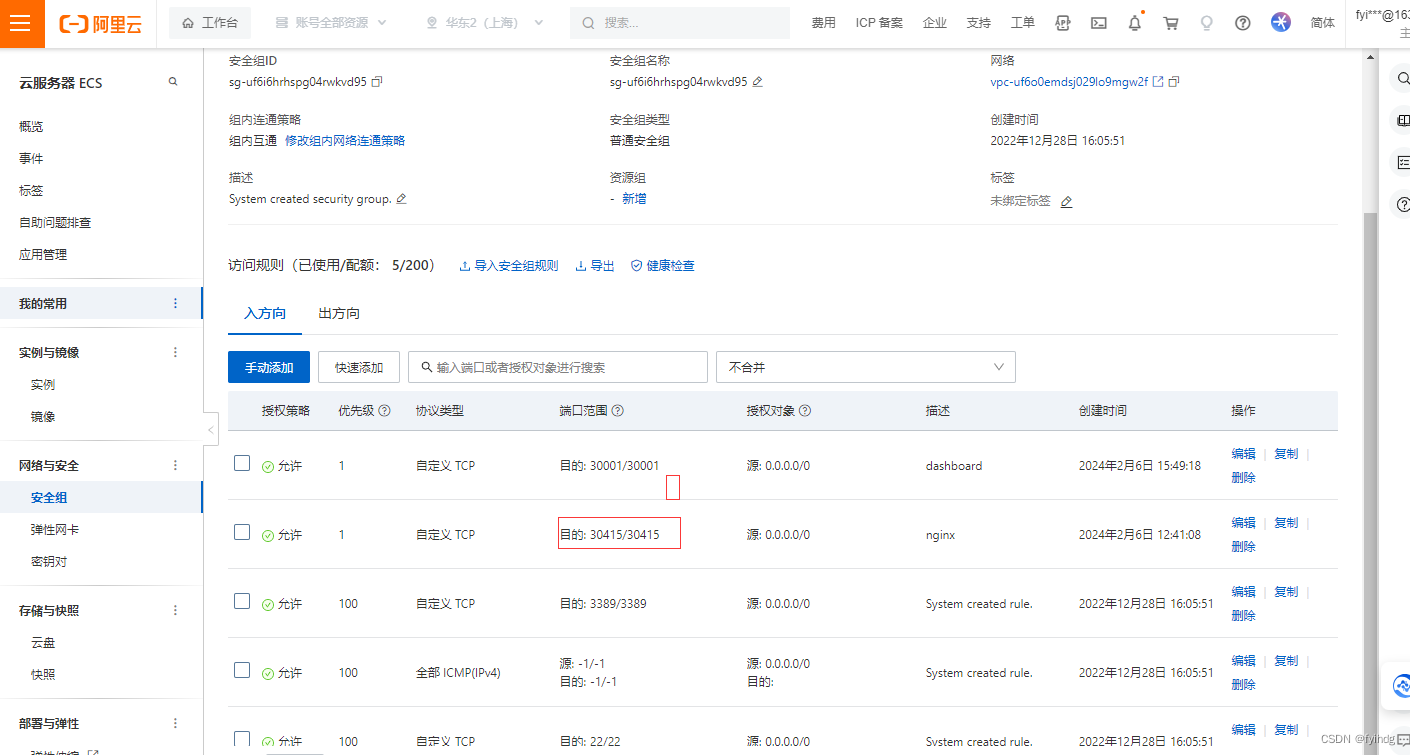
这个时候,在阿云安全组,打开这个端口可访问,否则是无法访问的确
浏览器分别执行:
http://47.100.41.232:30415/
http://101.132.190.9:30415/
http://101.132.190.9:30415/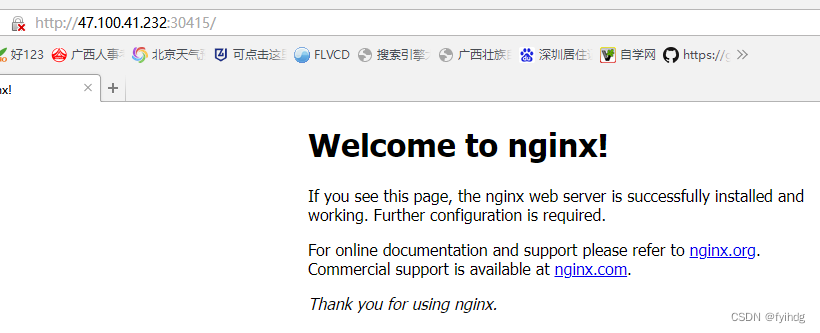
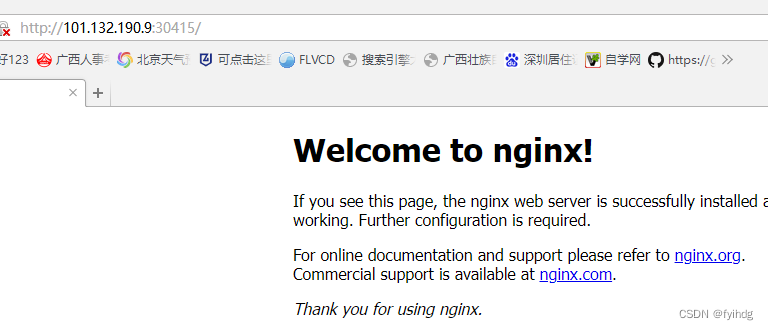

三个结点都可访问,说明集群已经搭建完成
扩容nginx副本wei3个,成功
kubectl scale deployment nginx --replicas=3
kubectl get pods

3.部署 Dashboard
3.1 在node1上新建文件:kubernetes-dashboard.yaml
# Copyright 2017 The Kubernetes Authors.
#
# Licensed under the Apache License, Version 2.0 (the "License");
# you may not use this file except in compliance with the License.
# You may obtain a copy of the License at
#
#     http://www.apache.org/licenses/LICENSE-2.0
#
# Unless required by applicable law or agreed to in writing, software
# distributed under the License is distributed on an "AS IS" BASIS,
# WITHOUT WARRANTIES OR CONDITIONS OF ANY KIND, either express or implied.
# See the License for the specific language governing permissions and
# limitations under the License.# ------------------- Dashboard Secret ------------------- #apiVersion: v1
kind: Secret
metadata:labels:k8s-app: kubernetes-dashboardname: kubernetes-dashboard-certsnamespace: kube-system
type: Opaque---
# ------------------- Dashboard Service Account ------------------- #apiVersion: v1
kind: ServiceAccount
metadata:labels:k8s-app: kubernetes-dashboardname: kubernetes-dashboardnamespace: kube-system---
# ------------------- Dashboard Role & Role Binding ------------------- #kind: Role
apiVersion: rbac.authorization.k8s.io/v1
metadata:name: kubernetes-dashboard-minimalnamespace: kube-system
rules:# Allow Dashboard to create 'kubernetes-dashboard-key-holder' secret.
- apiGroups: [""]resources: ["secrets"]verbs: ["create"]# Allow Dashboard to create 'kubernetes-dashboard-settings' config map.
- apiGroups: [""]resources: ["configmaps"]verbs: ["create"]# Allow Dashboard to get, update and delete Dashboard exclusive secrets.
- apiGroups: [""]resources: ["secrets"]resourceNames: ["kubernetes-dashboard-key-holder", "kubernetes-dashboard-certs"]verbs: ["get", "update", "delete"]# Allow Dashboard to get and update 'kubernetes-dashboard-settings' config map.
- apiGroups: [""]resources: ["configmaps"]resourceNames: ["kubernetes-dashboard-settings"]verbs: ["get", "update"]# Allow Dashboard to get metrics from heapster.
- apiGroups: [""]resources: ["services"]resourceNames: ["heapster"]verbs: ["proxy"]
- apiGroups: [""]resources: ["services/proxy"]resourceNames: ["heapster", "http:heapster:", "https:heapster:"]verbs: ["get"]---
apiVersion: rbac.authorization.k8s.io/v1
kind: RoleBinding
metadata:name: kubernetes-dashboard-minimalnamespace: kube-system
roleRef:apiGroup: rbac.authorization.k8s.iokind: Rolename: kubernetes-dashboard-minimal
subjects:
- kind: ServiceAccountname: kubernetes-dashboardnamespace: kube-system---
# ------------------- Dashboard Deployment ------------------- #kind: Deployment
apiVersion: apps/v1
metadata:labels:k8s-app: kubernetes-dashboardname: kubernetes-dashboardnamespace: kube-system
spec:replicas: 1revisionHistoryLimit: 10selector:matchLabels:k8s-app: kubernetes-dashboardtemplate:metadata:labels:k8s-app: kubernetes-dashboardspec:containers:- name: kubernetes-dashboardimage: lizhenliang/kubernetes-dashboard-amd64:v1.10.1ports:- containerPort: 8443protocol: TCPargs:- --auto-generate-certificates# Uncomment the following line to manually specify Kubernetes API server Host# If not specified, Dashboard will attempt to auto discover the API server and connect# to it. Uncomment only if the default does not work.# - --apiserver-host=http://my-address:portvolumeMounts:- name: kubernetes-dashboard-certsmountPath: /certs# Create on-disk volume to store exec logs- mountPath: /tmpname: tmp-volumelivenessProbe:httpGet:scheme: HTTPSpath: /port: 8443initialDelaySeconds: 30timeoutSeconds: 30volumes:- name: kubernetes-dashboard-certssecret:secretName: kubernetes-dashboard-certs- name: tmp-volumeemptyDir: {}serviceAccountName: kubernetes-dashboard# Comment the following tolerations if Dashboard must not be deployed on mastertolerations:- key: node-role.kubernetes.io/mastereffect: NoSchedule---
# ------------------- Dashboard Service ------------------- #kind: Service
apiVersion: v1
metadata:labels:k8s-app: kubernetes-dashboardname: kubernetes-dashboardnamespace: kube-system
spec:type: NodePort ports:- port: 443targetPort: 8443nodePort: 30001selector:k8s-app: kubernetes-dashboard
3.2 Docker拉去镜像
docker pull lizhenliang/kubernetes-dashboard-amd64:v1.10.1
执行kubernetes-dashboard.yaml 文件
kubectl apply -f kubernetes-dashboard.yaml 查看暴露的端口
kubectl get pods,svc -n kube-system

访问 Dashboard的web界面注意,http,是无法访问的
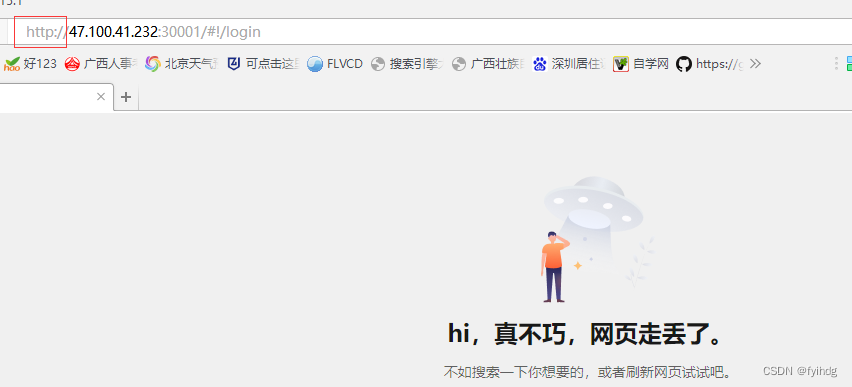
阿里云服务器还得开通端口访问才可以:

https://47.100.41.232:30001/#!/login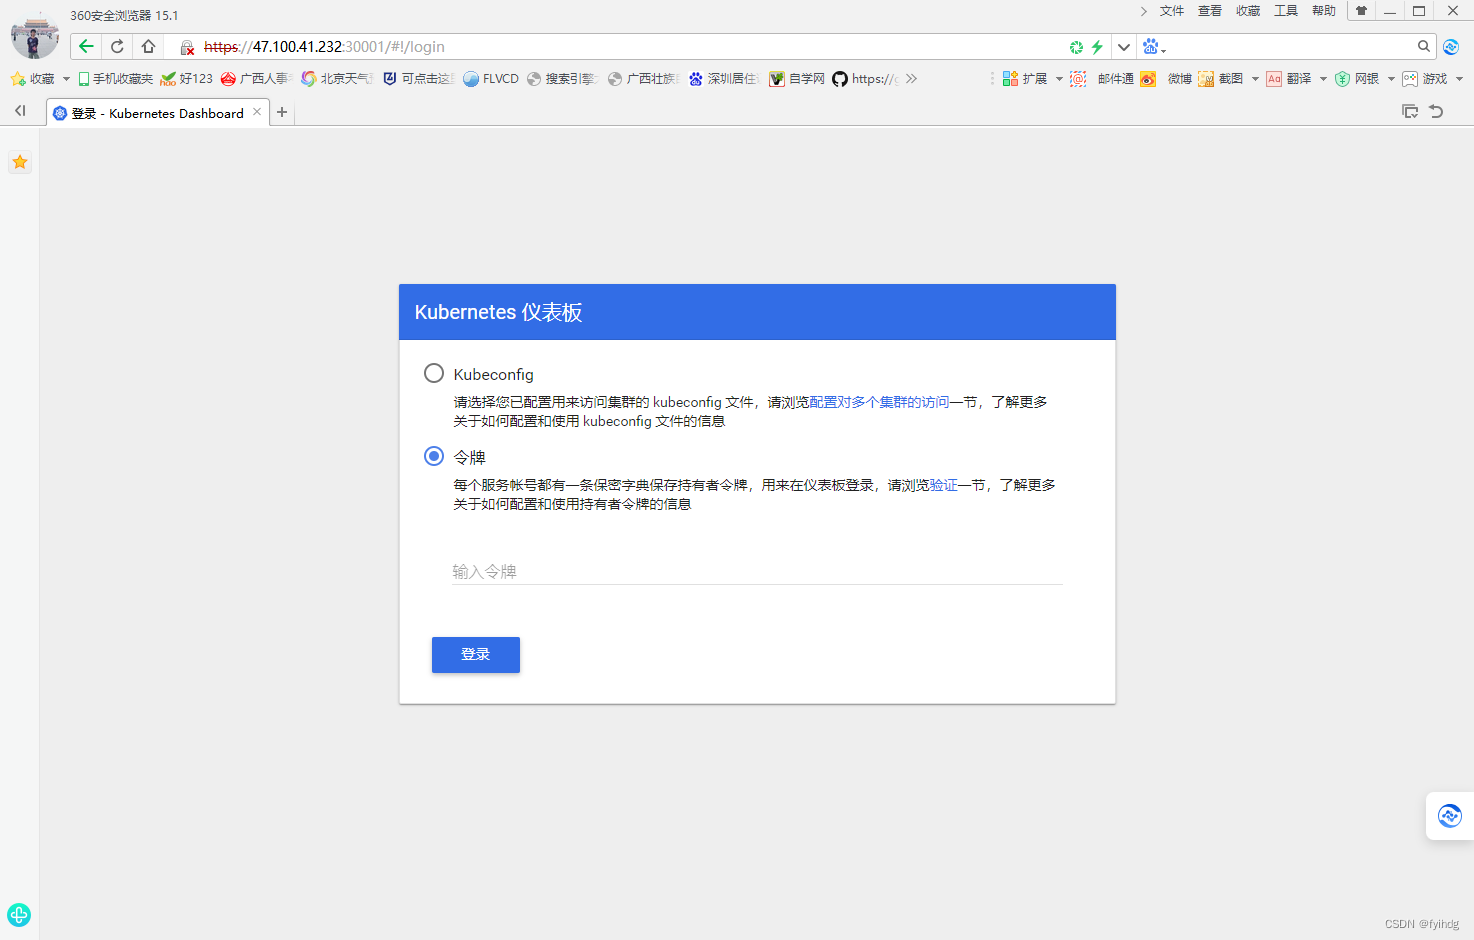
创建service account并绑定默认cluster-admin管理员集群角色
kubectl create serviceaccount dashboard-admin -n kube-system kubectl create clusterrolebinding dashboard-admin --clusterrole=cluster-admin --serviceaccount=kube-system:dashboard-admin kubectl describe secrets -n kube-system $(kubectl -n kube-system get secret | awk '/dashboard-admin/{print $1}')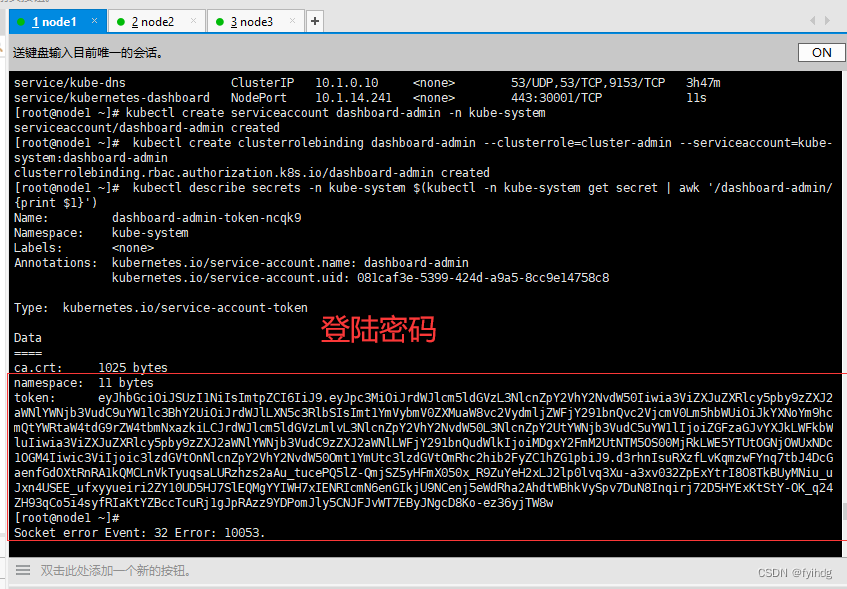
三台服务器都可以访问到
https://47.100.41.232:30001/#!/storageclass?namespace=default
https://101.132.190.9:30001/#!/overview?namespace=default
https://101.132.186.133:30001/#!/overview?namespace=default

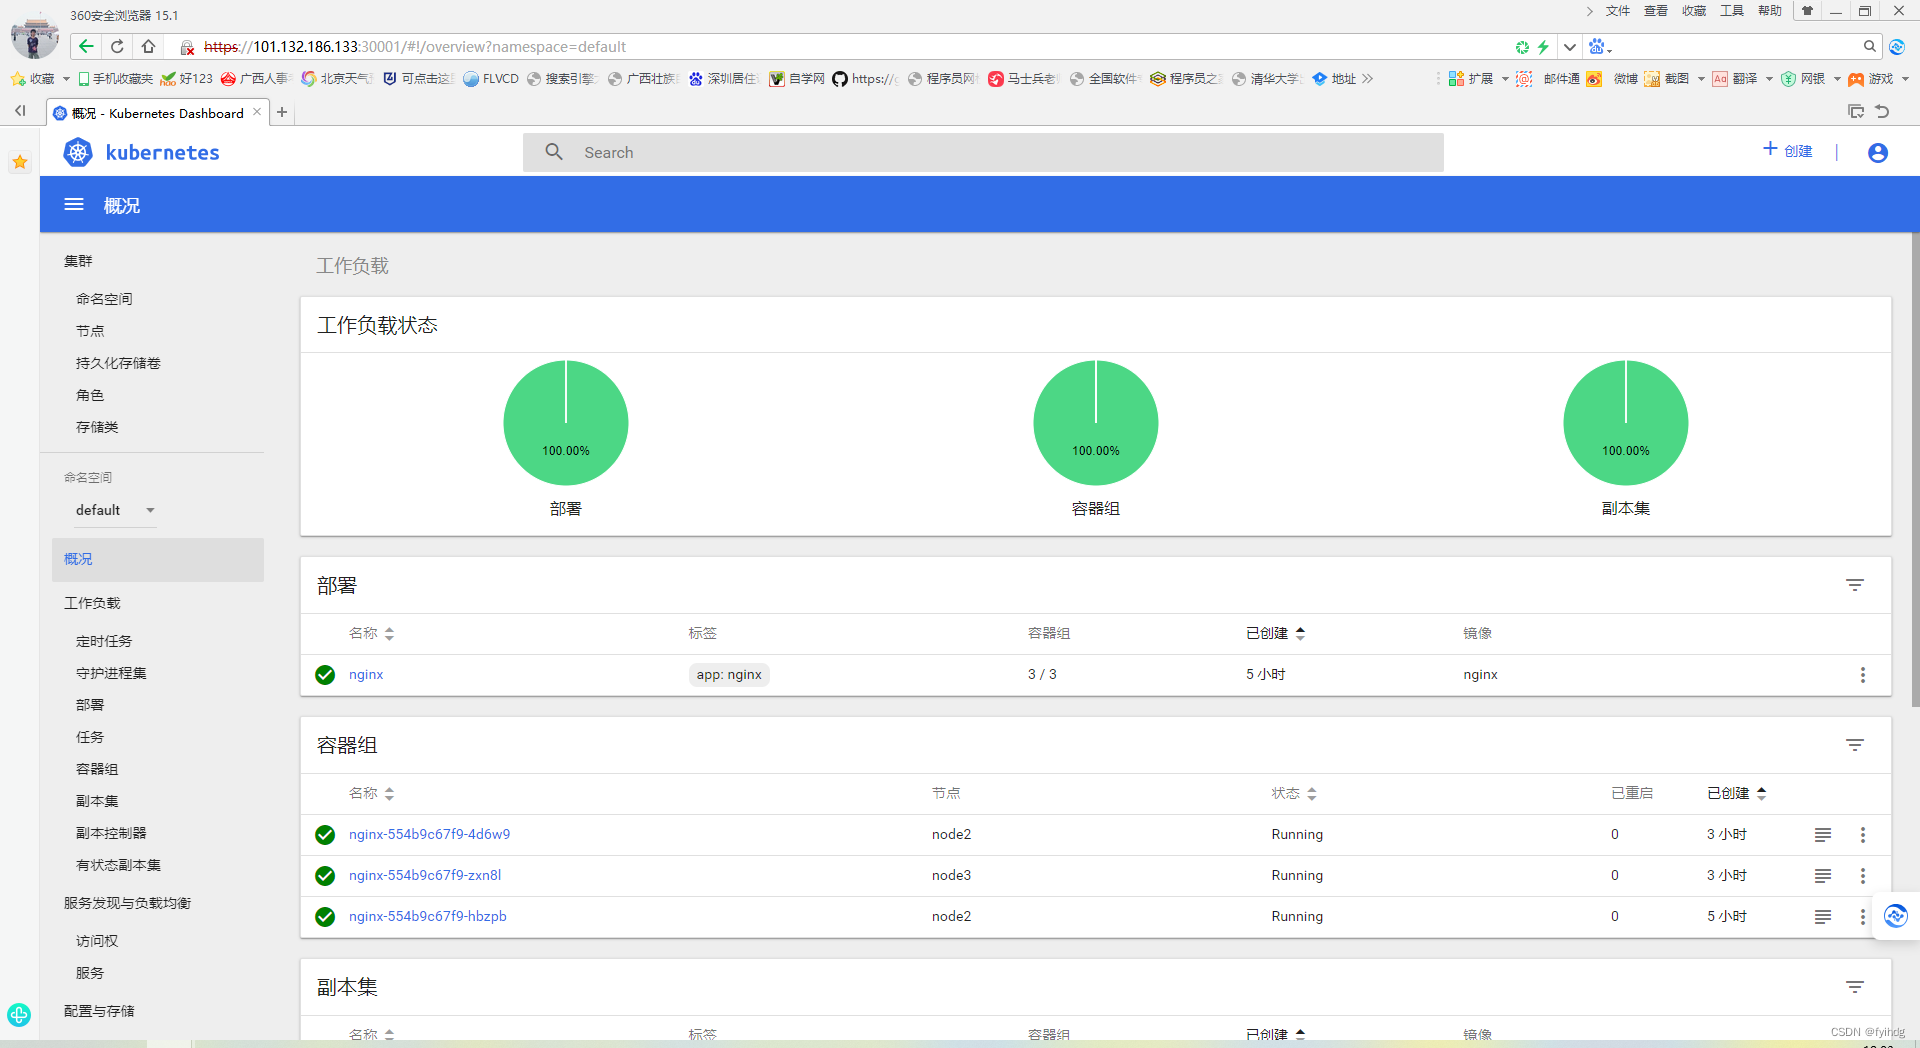
k8s集群搭建完成
参考文献:
kubeadm部署Kubernetes(k8s)完整版详细教程_kubadm 安装k8s-CSDN博客