003讲到了导入jar包中的方法,但其实是个半成品,别人写的jar包中的方法我要在自己的代码中去调用,非常的不方便。原则上写给别人用的jar包,人家要能直接用,而不用写注入的方法。
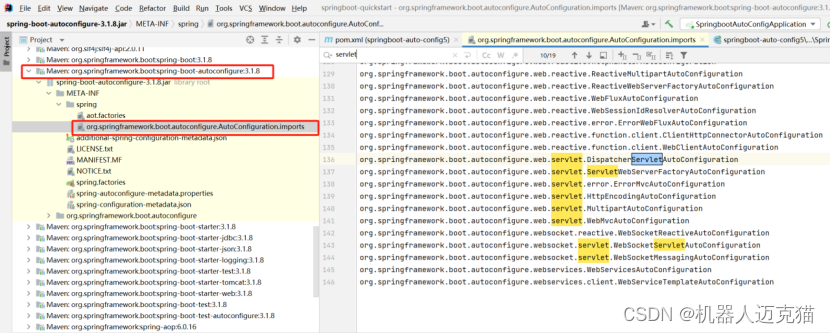
在springboot中会自动扫描imports文件中的内容,利用这一点进行自动注入的开发
以下是整个jar包的目录
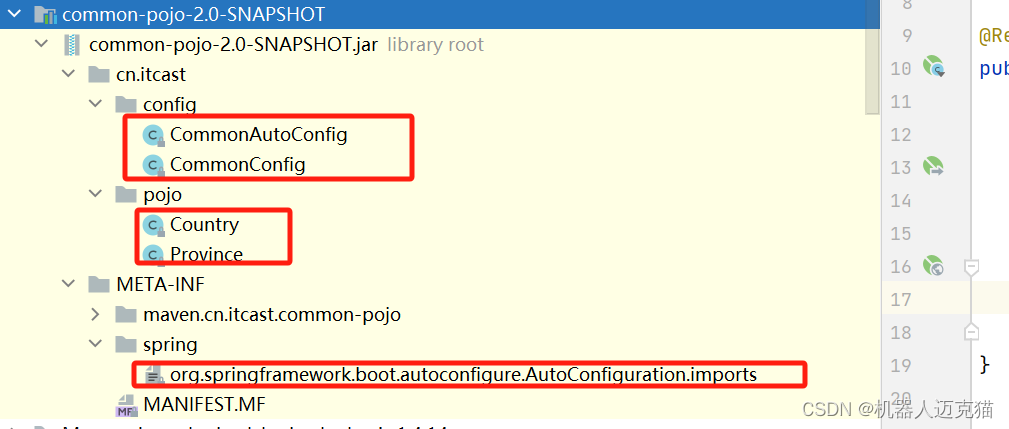
Country
//
// Source code recreated from a .class file by IntelliJ IDEA
// (powered by FernFlower decompiler)
//package cn.itcast.pojo;public class Country {private String name;private String system;public Country() {}public Country(String name, String system) {this.name = name;this.system = system;}public String getName() {return this.name;}public void setName(String name) {this.name = name;}public String getSystem() {return this.system;}public void setSystem(String system) {this.system = system;}public String toString() {return "Country{name='" + this.name + "', system='" + this.system + "'}";}
}
Province
//
// Source code recreated from a .class file by IntelliJ IDEA
// (powered by FernFlower decompiler)
//package cn.itcast.pojo;public class Province {private String name;private String direction;public Province() {}public Province(String name, String direction) {this.name = name;this.direction = direction;}public String getName() {return this.name;}public void setName(String name) {this.name = name;}public String getDirection() {return this.direction;}public void setDirection(String direction) {this.direction = direction;}public String toString() {return "Province{name='" + this.name + "', direction='" + this.direction + "'}";}
}
CommonConfig
//
// Source code recreated from a .class file by IntelliJ IDEA
// (powered by FernFlower decompiler)
//package cn.itcast.config;import cn.itcast.pojo.Country;
import cn.itcast.pojo.Province;
import org.springframework.beans.factory.annotation.Value;
import org.springframework.boot.autoconfigure.condition.ConditionalOnProperty;
import org.springframework.context.annotation.Bean;public class CommonConfig {public CommonConfig() {}@ConditionalOnProperty(prefix = "country",name = {"name", "system"})@Beanpublic Country country(@Value("${country.name}") String name, @Value("${country.system}") String system) {return new Country(name, system);}@Beanpublic Province province() {return new Province();}
}
CommonAutoConfig
//
// Source code recreated from a .class file by IntelliJ IDEA
// (powered by FernFlower decompiler)
//package cn.itcast.config;import org.springframework.boot.autoconfigure.AutoConfiguration;
import org.springframework.context.annotation.Import;@AutoConfiguration
@Import({CommonConfig.class})
public class CommonAutoConfig {public CommonAutoConfig() {}
}
xxx.imports
cn.itcast.config.CommonAutoConfig以上封装好的jar包就能自动注入了
接着在工程中引用
package com.geji;import org.springframework.boot.SpringApplication;
import org.springframework.boot.autoconfigure.SpringBootApplication;
import org.springframework.context.ApplicationContext;/*** Hello world!**/
@SpringBootApplication
public class SpringbootAutoConfigApplication
{public static void main( String[] args ){ApplicationContext context= SpringApplication.run(SpringbootAutoConfigApplication.class,args);System.out.println(context.getBean("dispatcherServlet"));System.out.println(context.getBean("province"));}
}
以上是自动配置功能项目中也能用了,但是在实际工作中会更进一步,编写starter用来实现依赖管理功能,这样的话给别人用的时候就更方便了
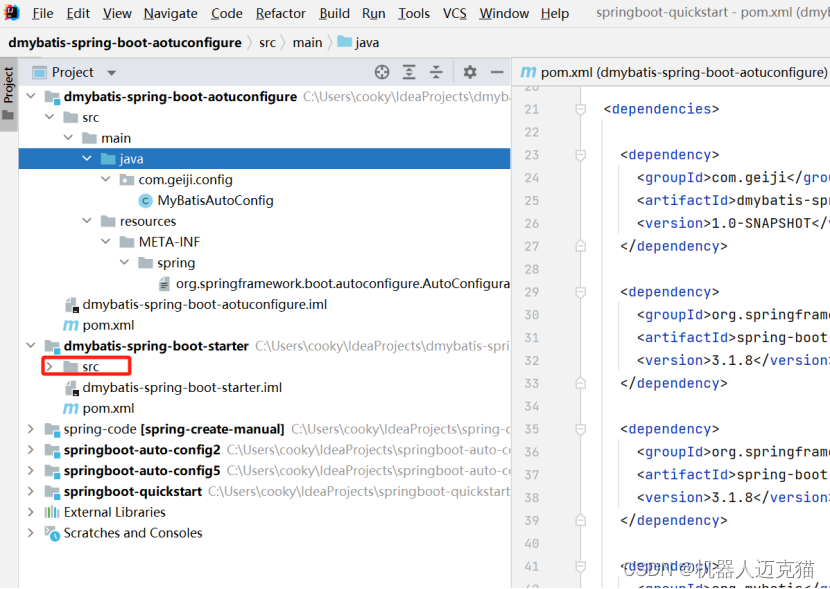
创建两个maven工程dmybatis-spring-boot-aotuconfigure,dmybatis-spring-boot-starter

dmybatis-spring-boot-aotuconfigure无所谓的,跟上半篇一模一样
在dmybatis-spring-boot-aotuconfigure编写Porn.xml

在dmybatis-spring-boot-aotuconfigure编写自动配置类
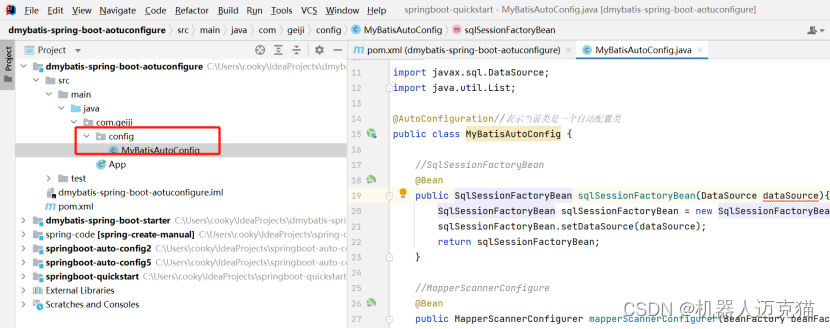
编写可以给spring自动扫描的配置文件

以下文件没用到,删了

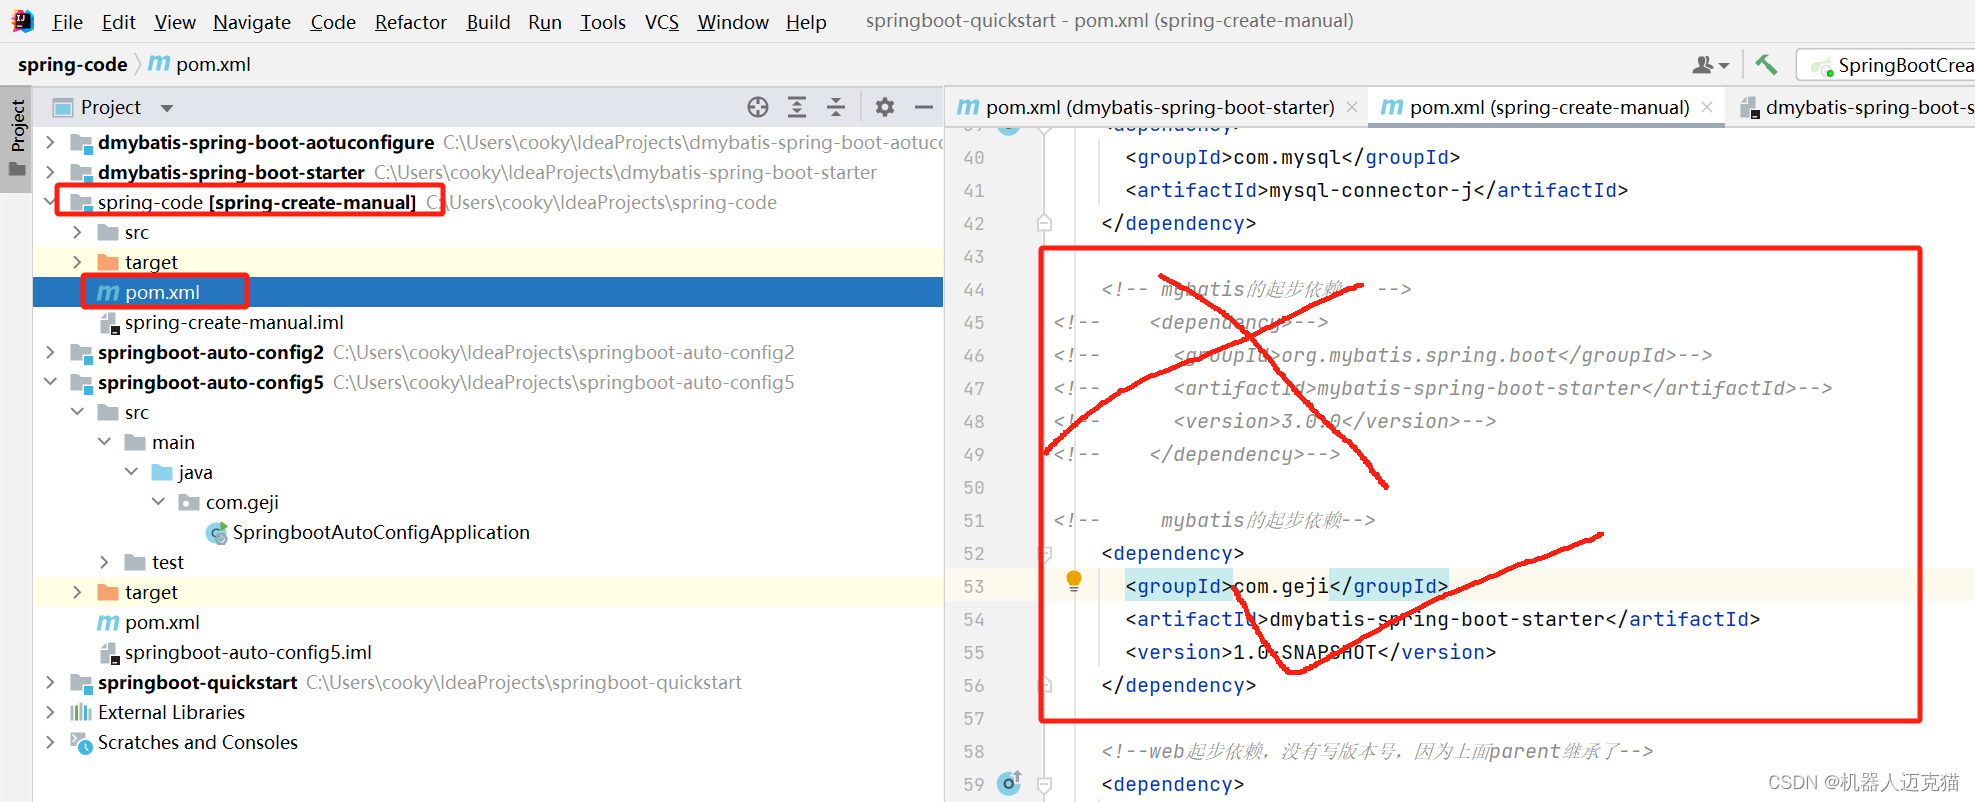
dmybatis-spring-boot-starter引入dmybatis-spring-boot-aotuconfigure和dmybatis-spring-boot-aotuconfigure本身引入的其他包
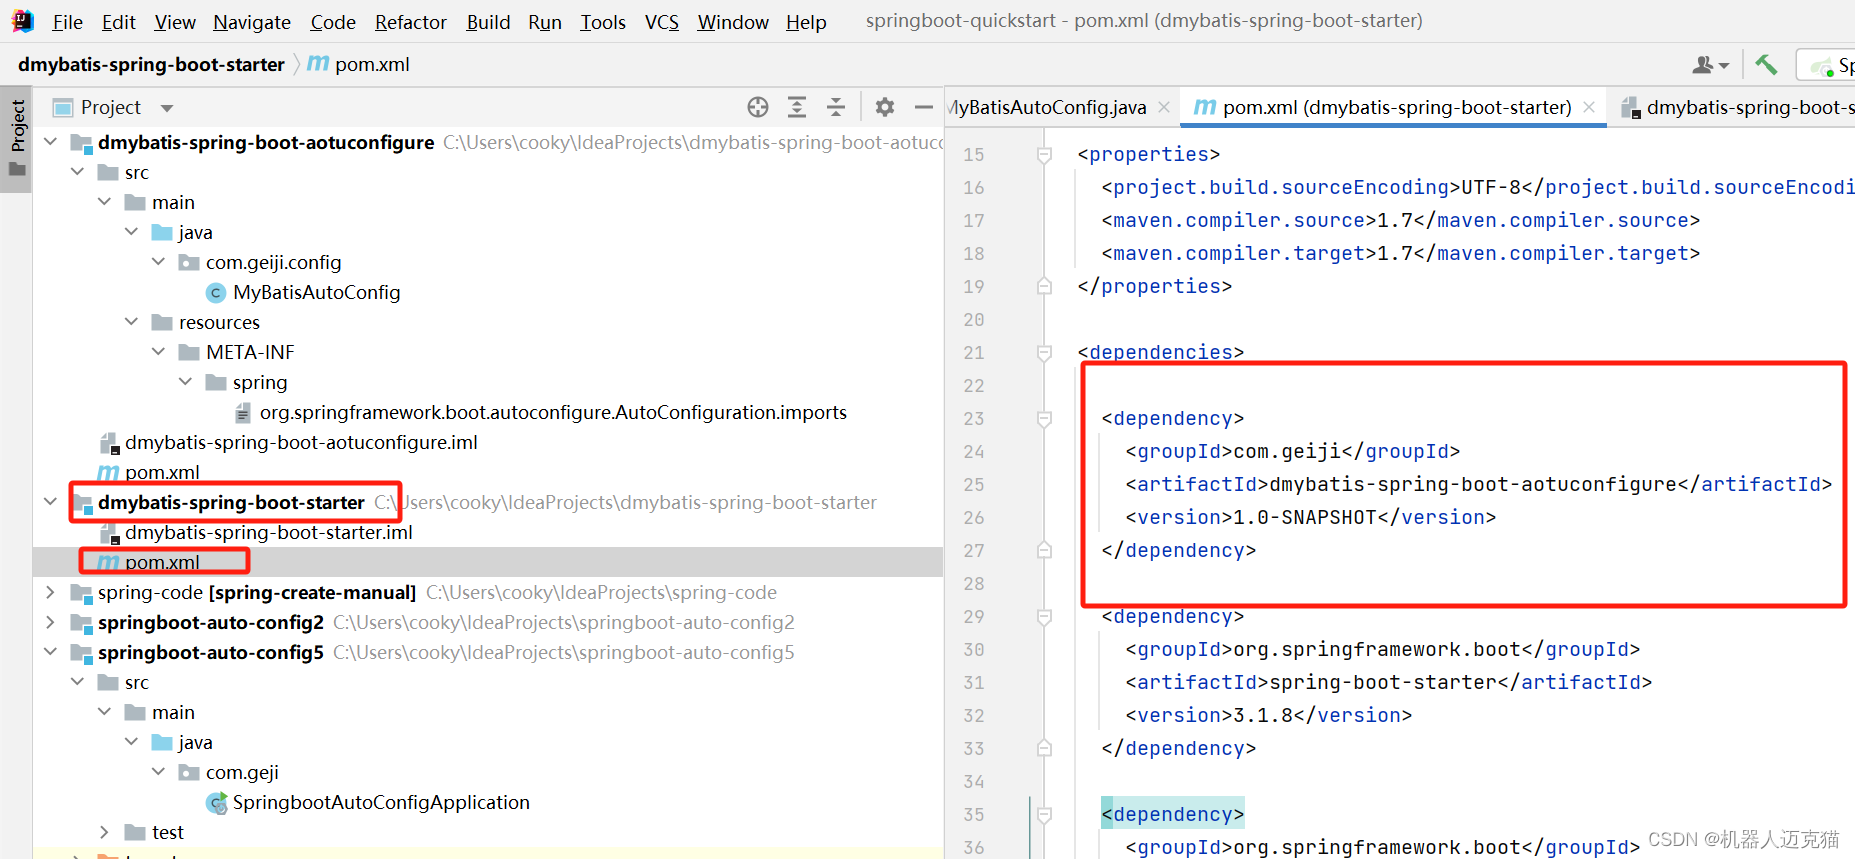
dmybatis-spring-boot-starter只是个依赖管理,删除其他文件
以上就完成了,这样就能在其他项目中直接引入了