摘要
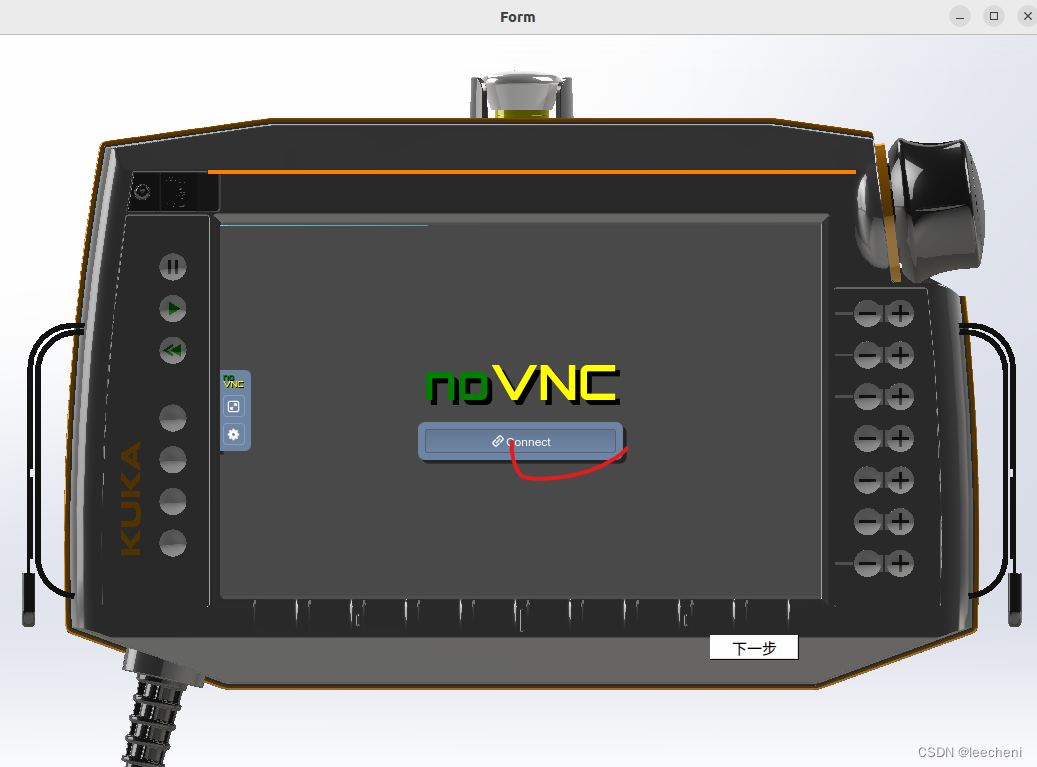
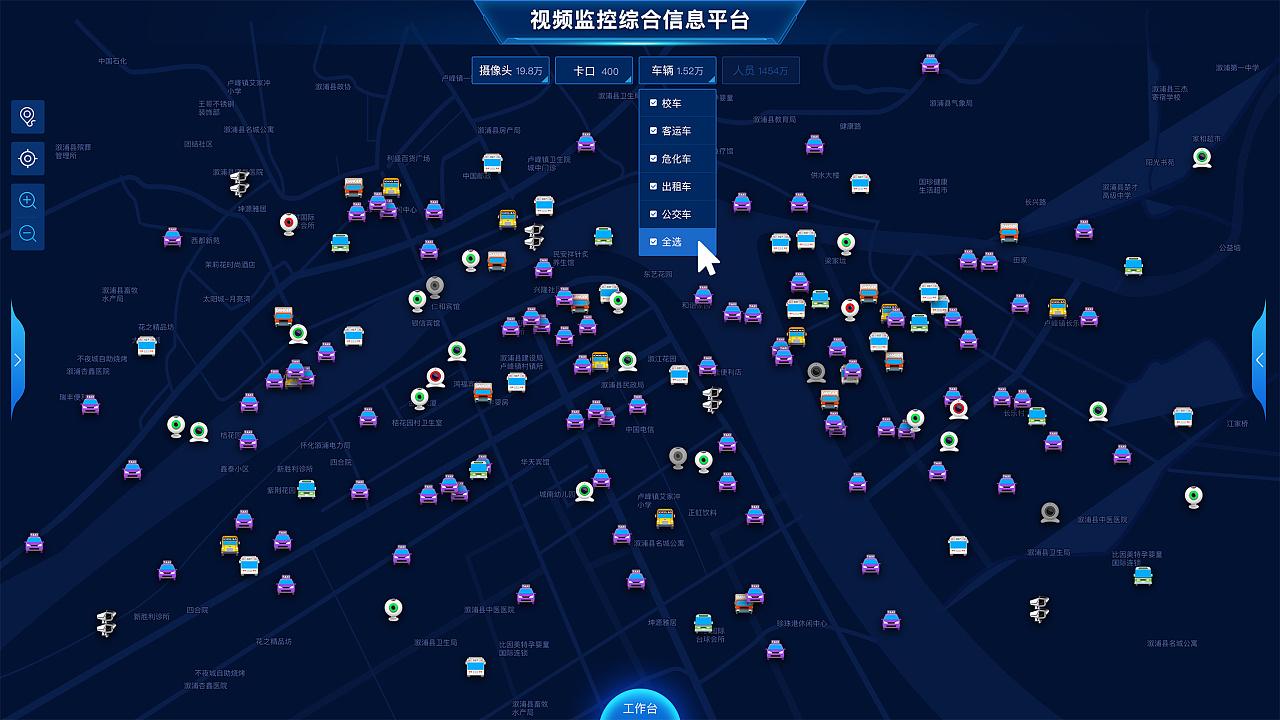
本例展示了用QT增加一个网页视图,背景是kuka示教器界面,中间增加UR的VNC网页界面显示。本人博客中一起有写过ros2运行UR的操作。
ros2 UR10仿真包运行_基于ros的ur仿真-CSDN博客
效果如下:

1.打开UR机器人的ros2仿真文件
sudo su
ros2 run ur_client_library start_ursim.sh -m ur10

ros2 launch ur_robot_driver ur_control.launch.py ur_type:=ur10 robot_ip:=192.168.56.101 launch_rviz:=true 
2.使用QT pyside6编写界面文件
背景的增加,参考这篇文件。
qt for python创建UI界面-CSDN博客

主要是将示教器显示区域增加了这个QwebView控件,气泡3的URL地址写成打开的UR控制器的地址:http://192.168.56.101:6080/vnc.html,与第一步中的对应。
3.转换界面文件到python模块

使用这个命令转换
pyside6-uic login.ui -o ui_login.py转换后是这样的,可以通过添加现有文件把这个文件添加到工程中。

需要注意的是有三个地方要修改,修改后的代码如下,不然总是提示不能解析qwebview,或者其他错误。只改上图标识的地方即可,其他保持原样,代码如下:
# -*- coding: utf-8 -*-################################################################################
## Form generated from reading UI file 'login.ui'
##
## Created by: Qt User Interface Compiler version 6.6.2
##
## WARNING! All changes made in this file will be lost when recompiling UI file!
################################################################################from PySide6.QtCore import (QCoreApplication, QDate, QDateTime, QLocale,QMetaObject, QObject, QPoint, QRect,QSize, QTime, QUrl, Qt)
from PySide6.QtGui import (QBrush, QColor, QConicalGradient, QCursor,QFont, QFontDatabase, QGradient, QIcon,QImage, QKeySequence, QLinearGradient, QPainter,QPalette, QPixmap, QRadialGradient, QTransform)
from PySide6.QtWidgets import (QApplication, QPushButton, QSizePolicy, QWidget)
from PySide6.QtWebEngineWidgets import QWebEngineView
#from QtWebKitWidgets.QWebView import QWebViewclass Ui_Login(object):def setupUi(self, Login):if not Login.objectName():Login.setObjectName(u"Login")Login.resize(1056, 750)Login.setStyleSheet(u"background-image: url(:/kuka_top.png);")self.pushButton = QPushButton(Login)self.pushButton.setObjectName(u"pushButton")self.pushButton.setGeometry(QRect(720, 600, 89, 25))self.webView = QWebEngineView(Login)self.webView.setObjectName(u"webView")self.webView.setGeometry(QRect(230, 190, 601, 371))self.webView.setUrl(QUrl(u"http://192.168.56.101:6080/vnc.html"))self.webView.setZoomFactor(0.600000000000000)self.retranslateUi(Login)QMetaObject.connectSlotsByName(Login)# setupUidef retranslateUi(self, Login):Login.setWindowTitle(QCoreApplication.translate("Login", u"Form", None))self.pushButton.setText(QCoreApplication.translate("Login", u"\u4e0b\u4e00\u6b65", None))# retranslateUi
4.加载界面程序

按上图代码,增加3处的代码,具体如下:
# This Python file uses the following encoding: utf-8# if __name__ == "__main__":
#     passimport sys
from PySide6.QtWidgets import QApplication, QMainWindow
from PySide6.QtCore import QFile
from ui_login import Ui_Login
import imagesclass MainWindow(QMainWindow):def __init__(self):super(MainWindow, self).__init__()self.ui = Ui_Login()self.ui.setupUi(self)if __name__ == "__main__":app = QApplication(sys.argv)window = MainWindow()window.show()sys.exit(app.exec())
5.运行效果
如摘要所示,点击链接后,可以正常操作控制机器人
