1. 内联函数
1.1 概念
C++中,以 inline 修饰的函数叫做内联函数,编译时C++编译器会在调用内联函数的地方展开,没有函数调用建立栈帧的开销,内联函数提升程序运行的效率。
#include <iostream>
using namespace std;int Add(int x, int y)
{return x + y;
}
/*inline int Add(int x, int y)
{return x + y;
}*/
int main()
{int ret = 0;ret = Add(2, 3);cout << ret << endl;return 0;
}- 以上代码的反汇编:

- 加了内联函数的反汇编:

1.2 特性
- inline 是一种以空间换时间的做法,在编译阶段,会用函数体替换函数调用
- 不同编译器关于inline实现机制可能不同,一般建议:将函数规模较小(即函数不是很长,具体没有准确的说法,取决于编译器内部实现)、不是递归、且频繁调用的函数采用inline修饰,否则编译器会忽略inline特性。
- inline不建议声明和定义分离,分离会导致链接错误。因为inline被展开,就没有函数地址了,链接就会找不到。
//Stack.h
#pragma once
#include <iostream>
using namespace std;int Add(int x, int y)
{return x + y;
}//Stack.cpp
#include "Stack.h"//test.cpp
#include "Stack.h"
int main()
{int ret = 0;ret = Add(2, 3);cout << ret << endl;return 0;
}
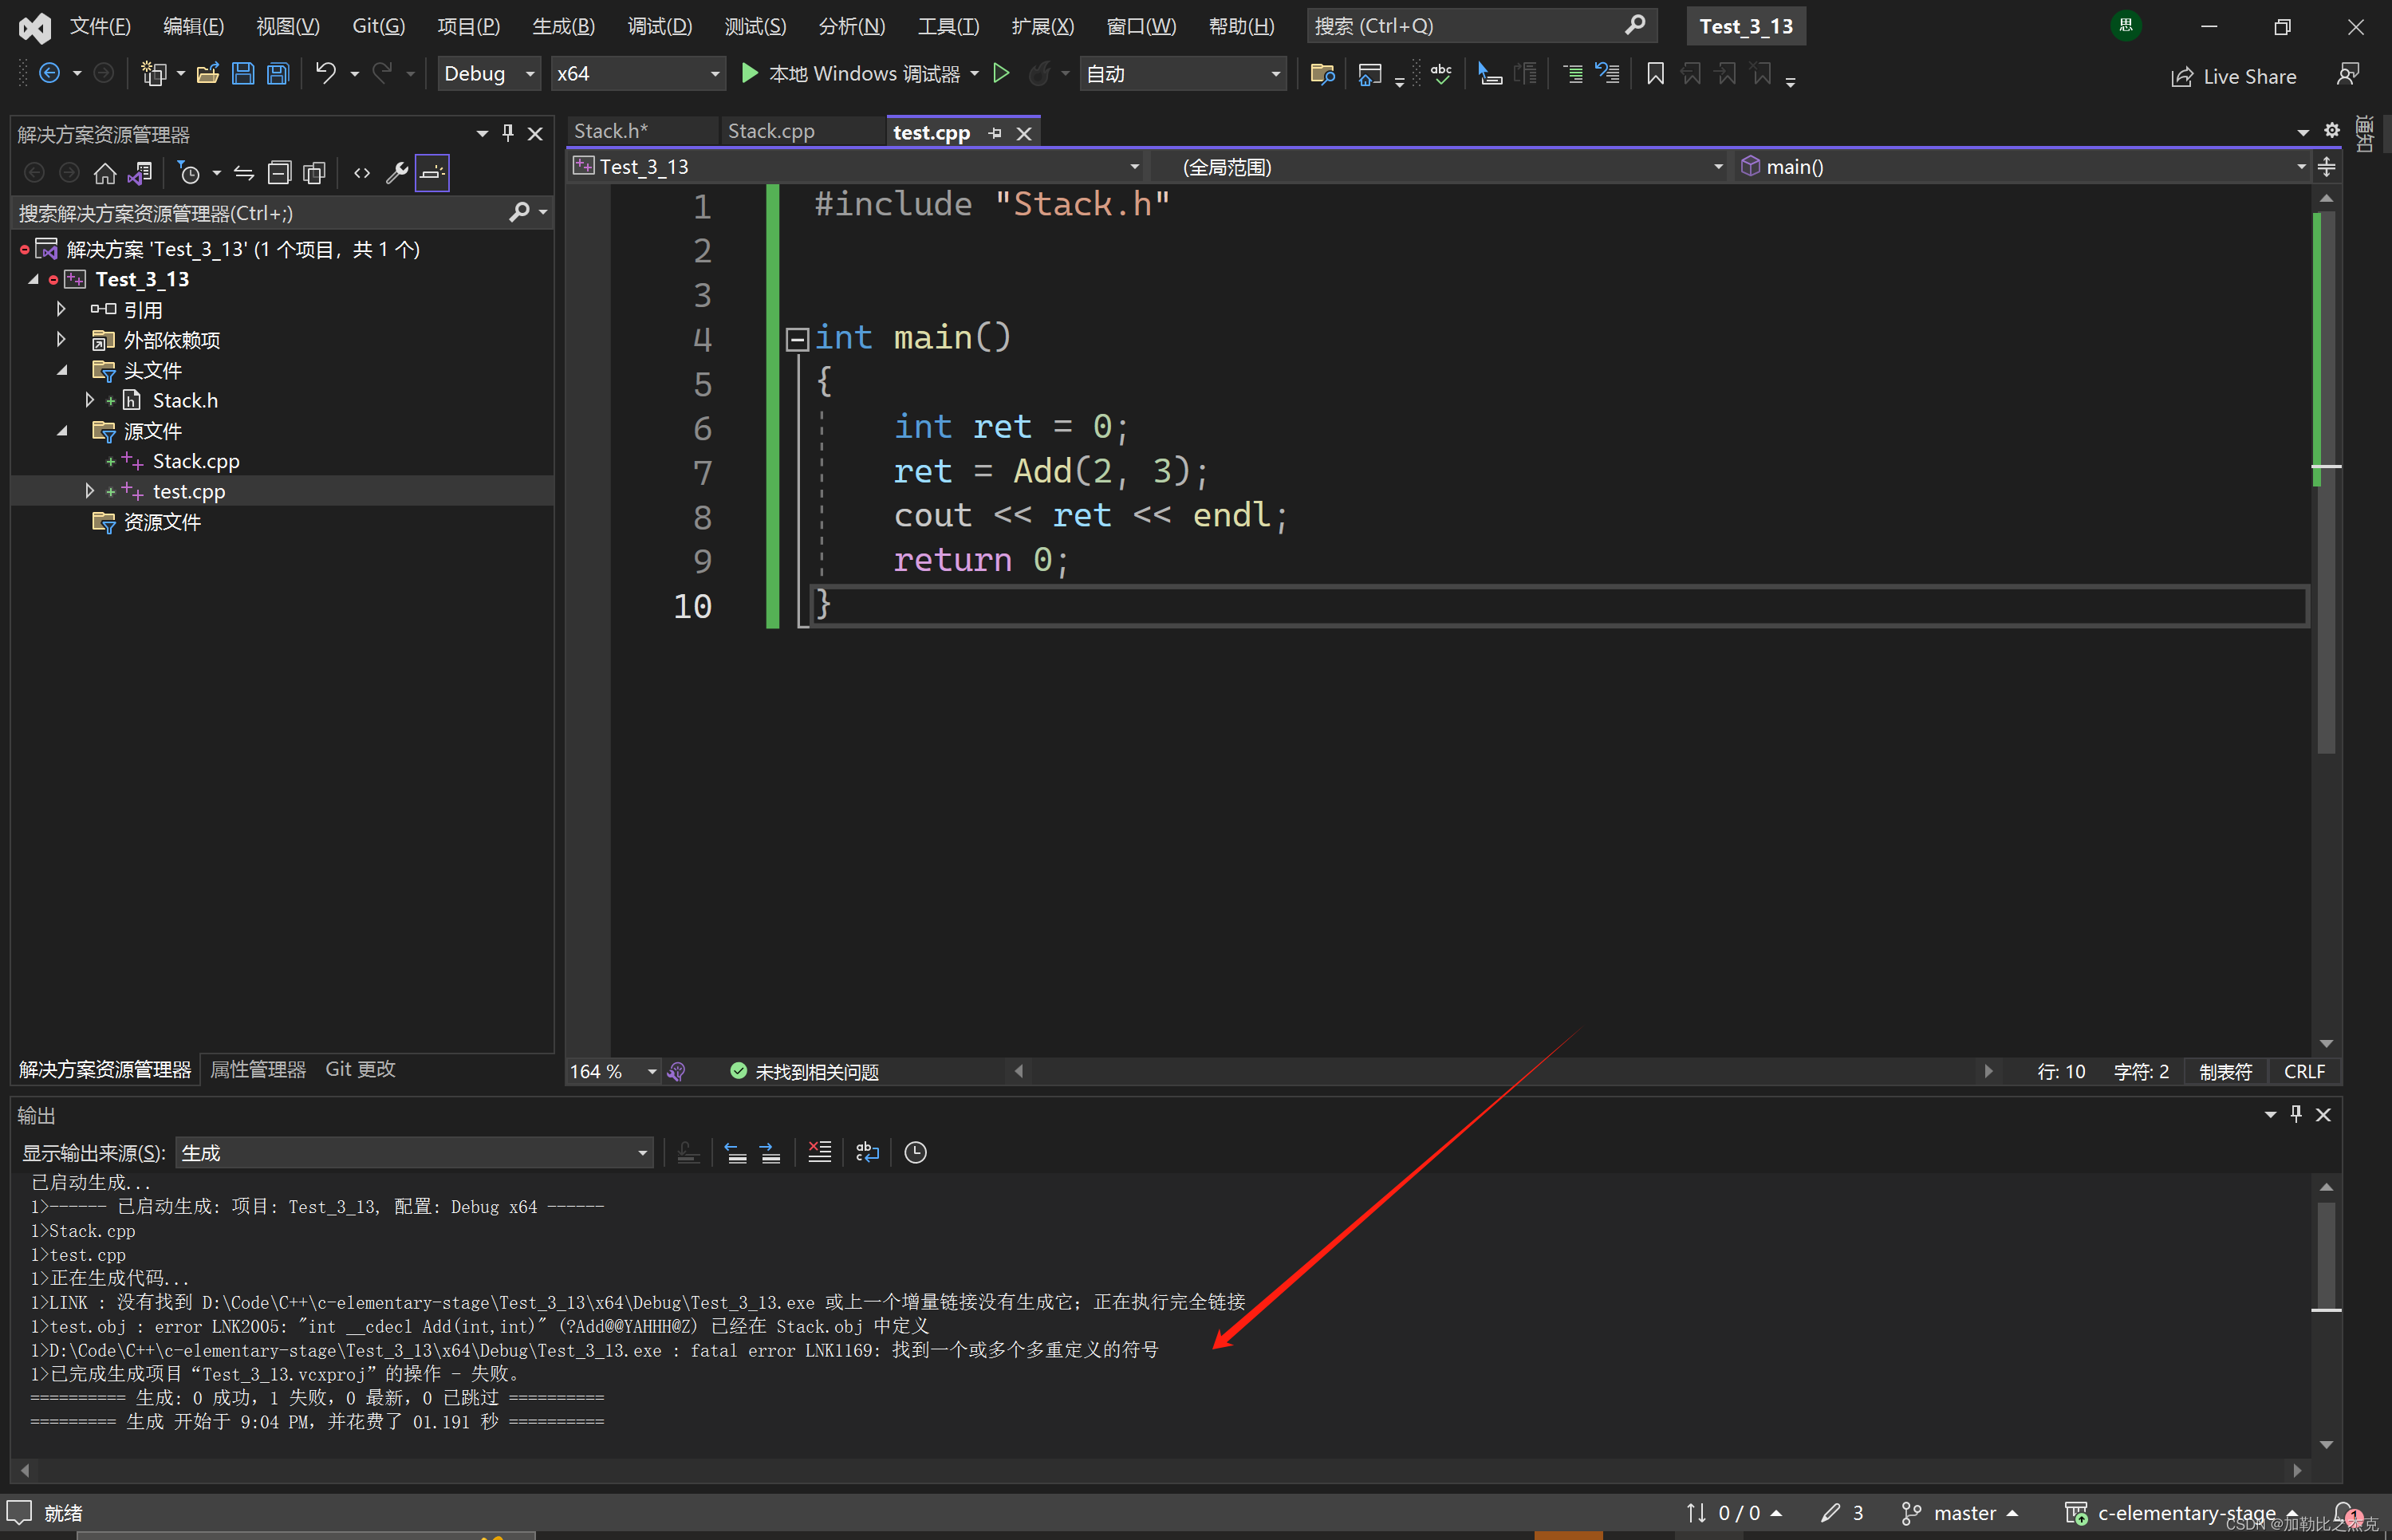
这段代码在运行的时候编译器会报重定义的错误:
- 因为在汇编过程中,会生成test.o和Stack.o两个文件,在链接的过程中,会将两个文件结合,并且两个文件里面都会有Add()函数的定义,并且这个函数不构成重载,所以会报错,有三种解决办法:
- 第一种是声明和定义分离:
//Stack.h
#pragma once
#include <iostream>
using namespace std;int Add(int x, int y);//Stack.cpp
#include "Stack.h"
int Add(int x, int y)
{return x + y;
}//test.cpp
#include "Stack.h"
int main()
{int ret = 0;ret = Add(2, 3);cout << ret << endl;return 0;
}
- 第二种是采用static修饰,static修饰的本质是在汇编阶段这个函数不会进入符号表,表象是只能在本函数中调用这个函数。
//Stack.h
#pragma once
#include <iostream>
using namespace std;static int Add(int x, int y)
{return x + y;
}//Stack.cpp
#include "Stack.h"//test.cpp
#include "Stack.h"
int main()
{int ret = 0;ret = Add(2, 3);cout << ret << endl;return 0;
}
- 第三种就是用inline来修饰
//Stack.h
#pragma once
#include <iostream>
using namespace std;inline int Add(int x, int y)
{return x + y;
}//Stack.cpp
#include "Stack.h"//test.cpp
#include "Stack.h"
int main()
{int ret = 0;ret = Add(2, 3);cout << ret << endl;return 0;
}
2. auto关键字
2.1 auto简介
在编程时,常常需要把表达式的值赋值给变量,这就要求在声明变量的时候清楚地知道表达式的类型。然而有时候要做到这点并非那么容易,因此C++11给auto赋予了新的含义。
C++11中,标准委员会赋予了auto全新的含义即:auto不再是一个存储类型指示符,而是作为一个新的类型指示符来指示编译器,auto声明的变量必须由编译器在编译时期推导而得。
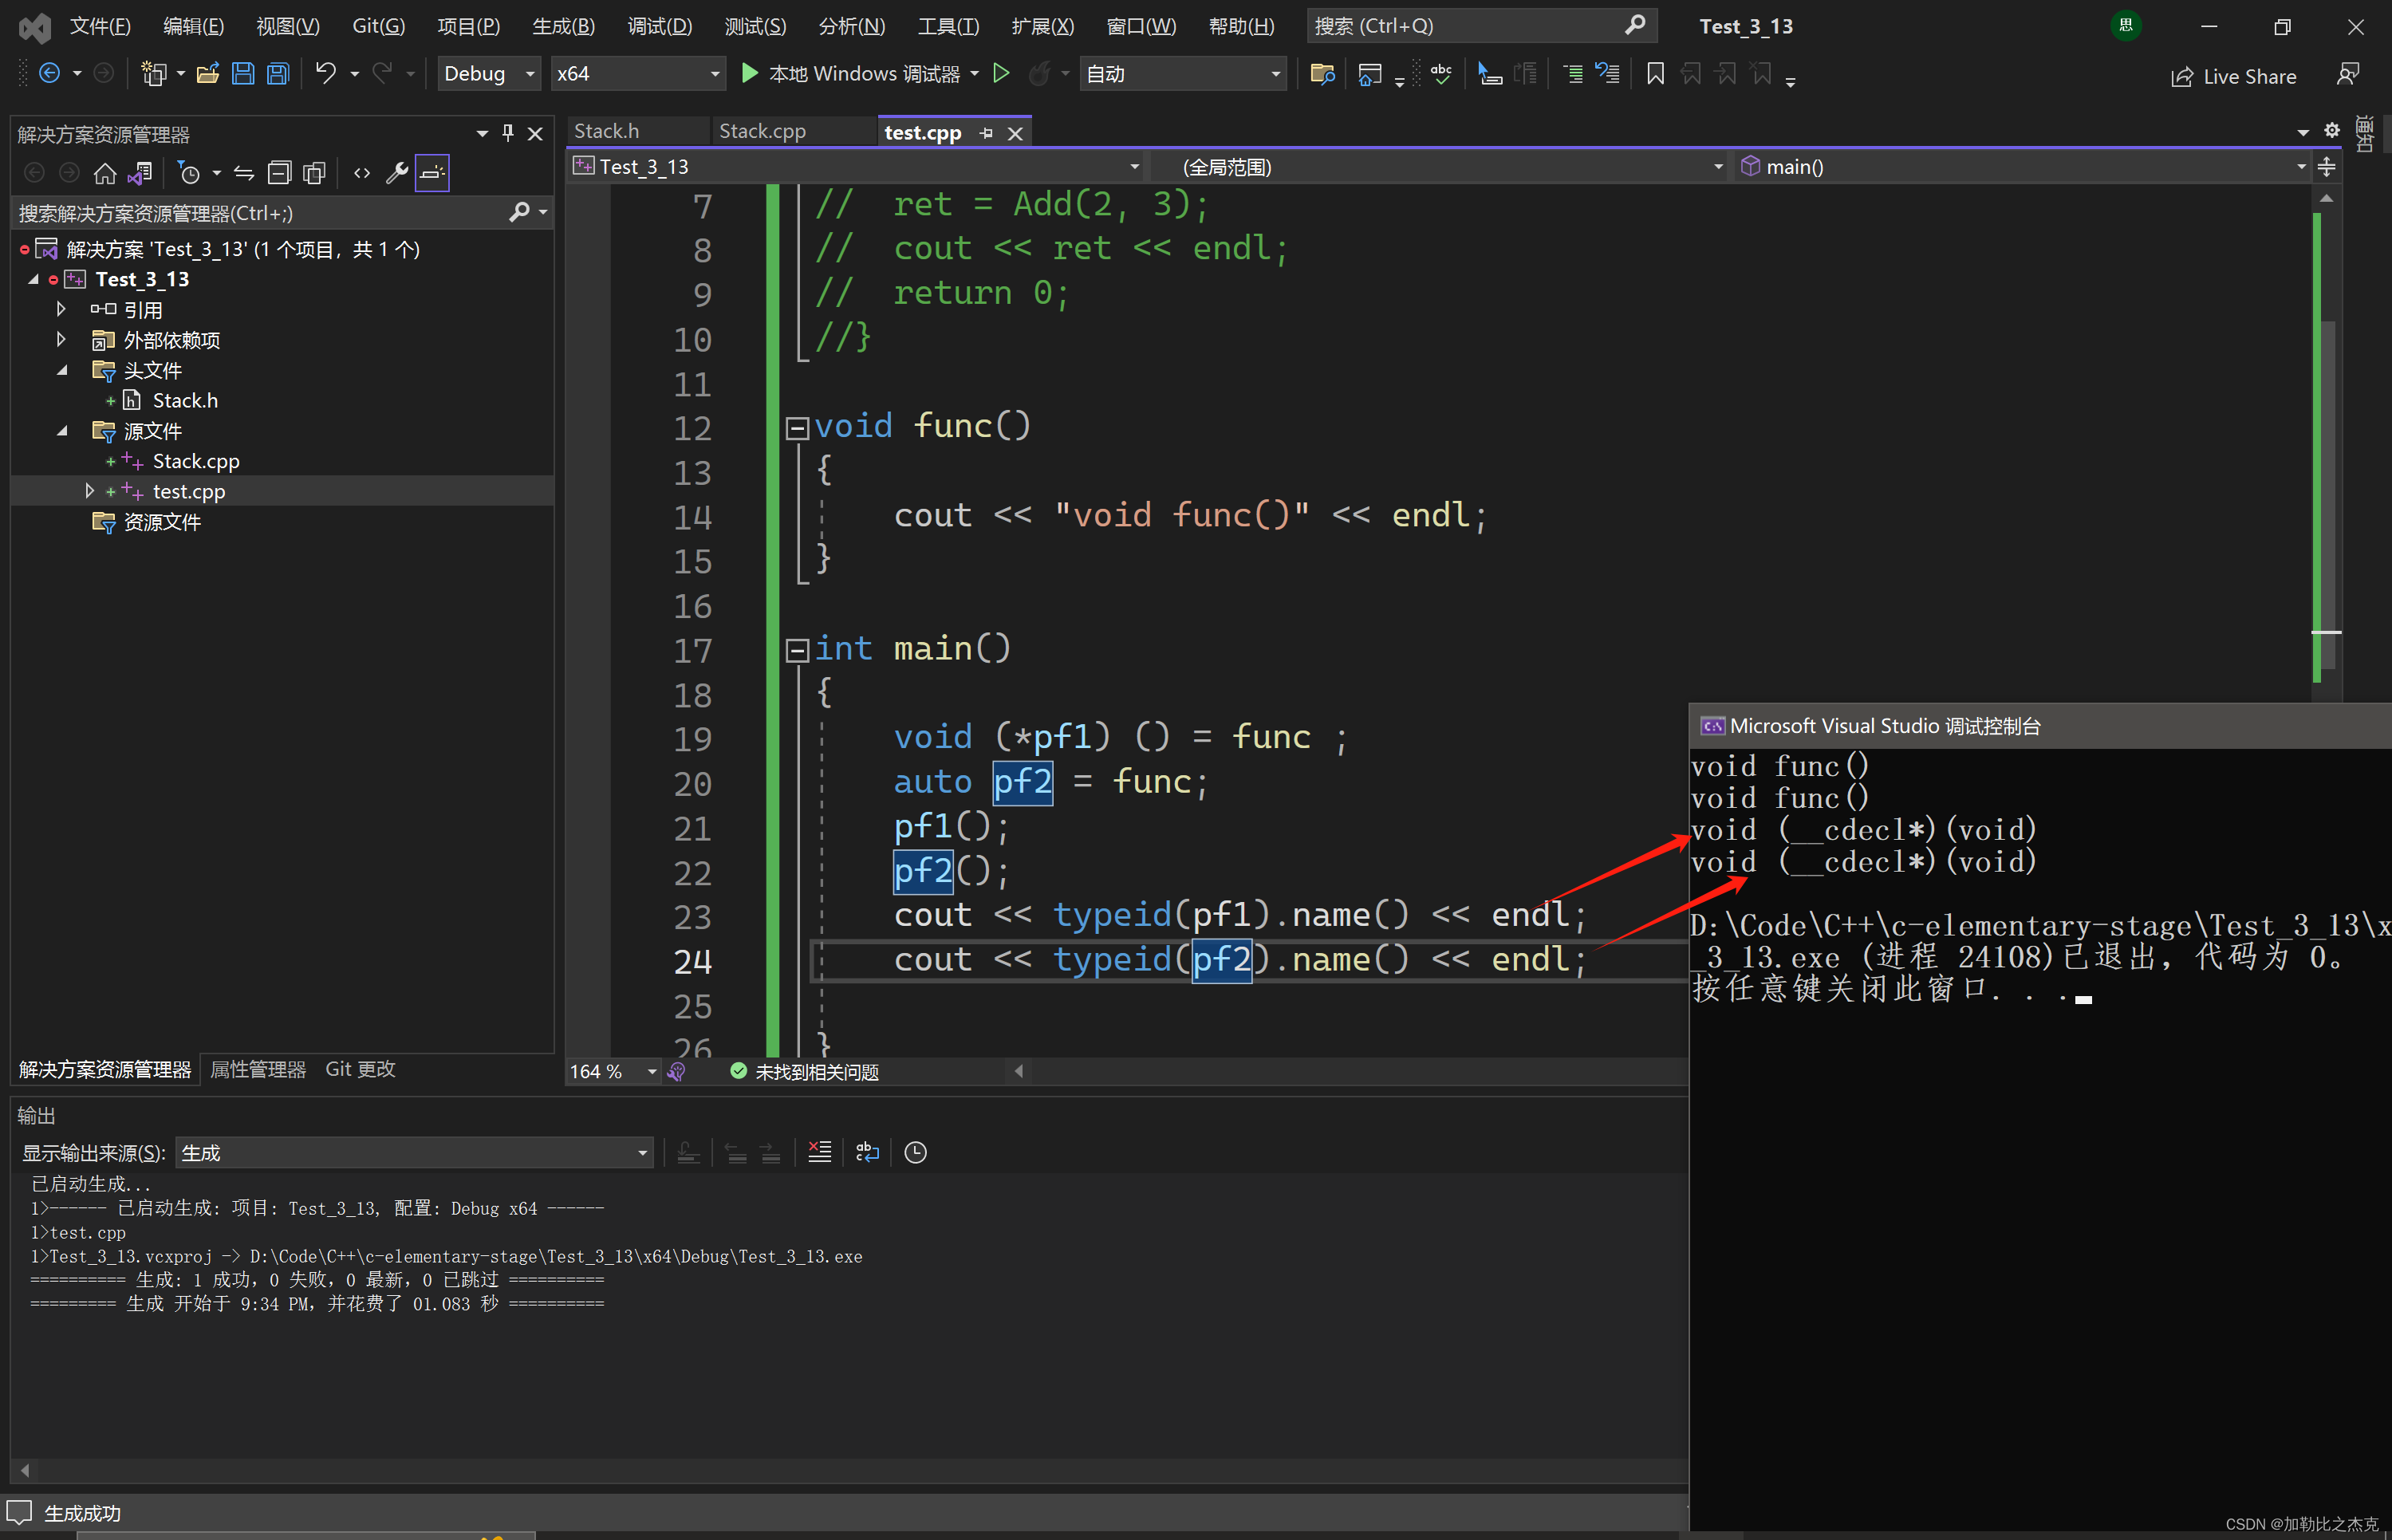
以下是auto的一个用法:函数指针
void func()
{cout << "void func()" << endl;
}int main()
{void (*pf1) () = func ;auto pf2 = func;pf1();pf2();}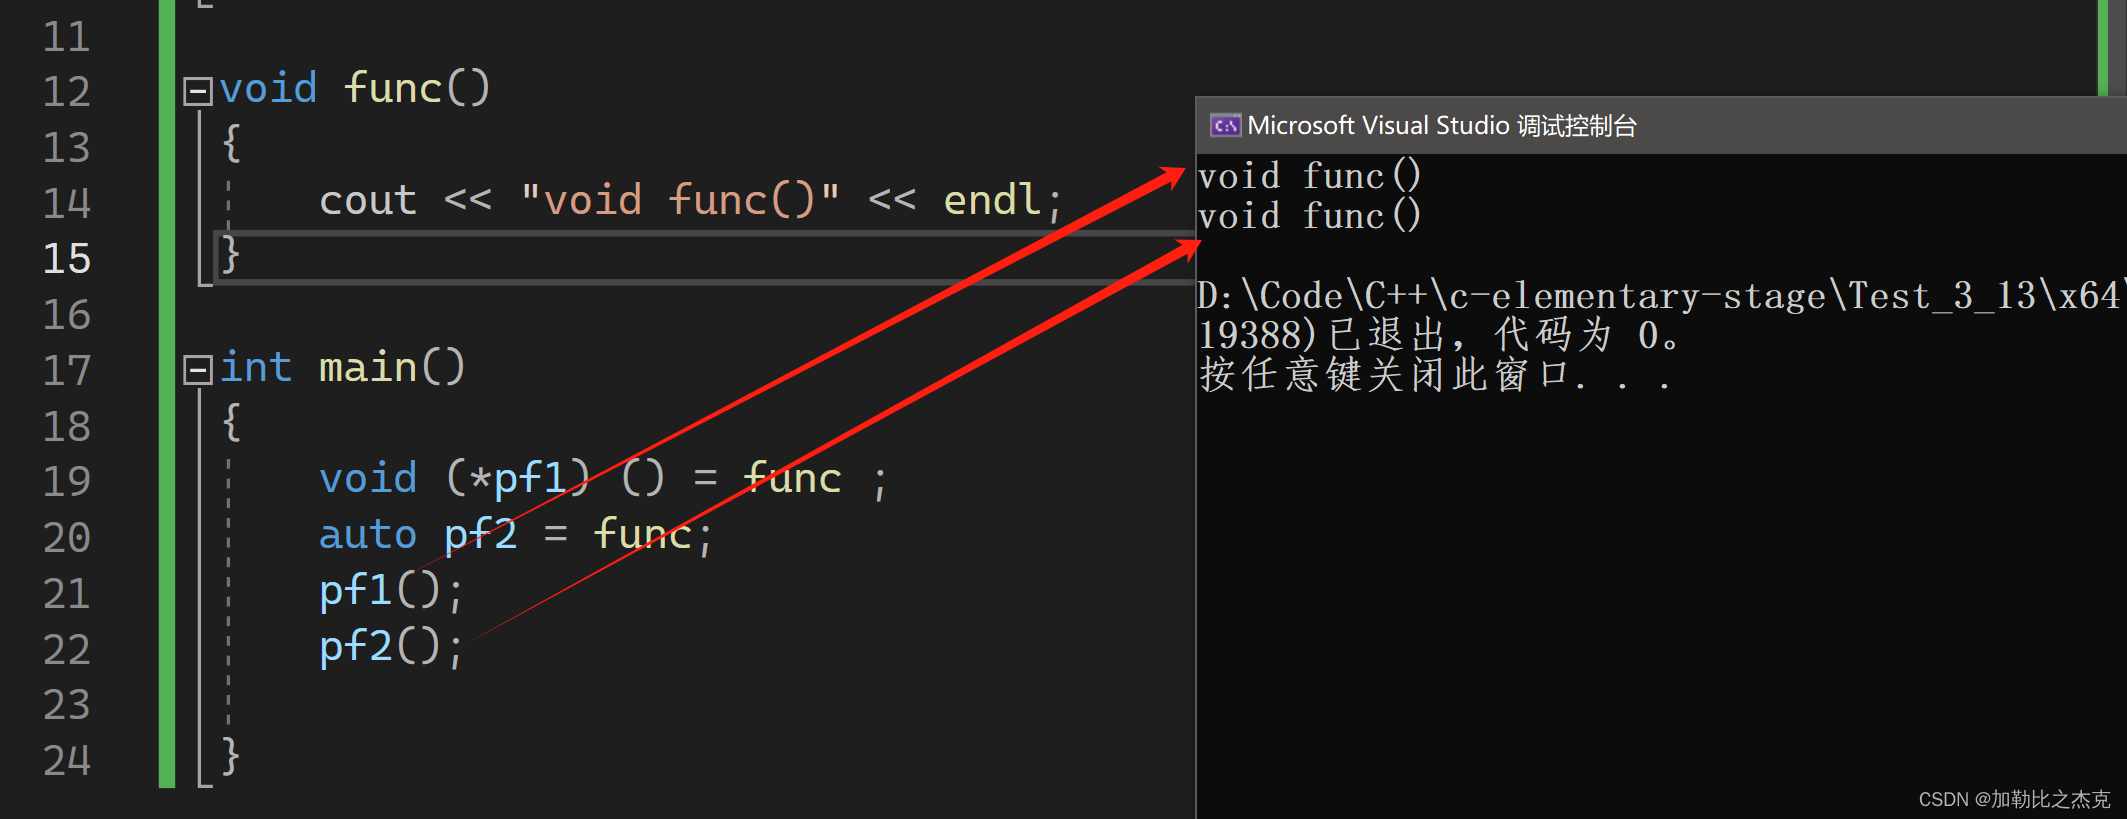
2.2 auto使用细则
- auto与指针和引用结合起来使用。
- 用auto声明指针类型时,用auto和auto*没有任何区别,但用auto声明引用类型时则必须加&
int main()
{int x = 10;auto a = &x;auto* b = &x;auto& c = x;cout << typeid(a).name() << endl;cout << typeid(b).name() << endl;cout << typeid(c).name() << endl;*a = 20;*b = 30;c = 40;return 0;
}- 在同一行定义多个变量
- 当在同一行声明多个变量时,这些变量必须是相同的类型,否则编译器将会报错,因为编译器实际只对第一个类型进行推导,然后用推导出来的类型定义其他变量。
void TestAuto()
{auto a = 1, b = 2;auto c = 3, d = 4.0;// 该行代码会编译失败,因为c和d的初始化表达式类型不同
}
2.3 auto不能推导的场景
- auto不能作为函数的参数
// 此处代码编译失败,auto不能作为形参类型,因为编译器无法对a的实际类型进行推导
void TestAuto(auto a)
{}- auto不能直接用来声明数组
void TestAuto()
{int a[] = {1,2,3};auto b[] = {4,5,6};
}
3. 基于范围的 for 循环
3.1 范围 for 语法
- 在C++98中如果要遍历一个数组,可以按照以下方式进行:
void TestFor()
{int array[] = { 1, 2, 3, 4, 5 };for (int i = 0; i < sizeof(array) / sizeof(array[0]); ++i)array[i] *= 2;for (int* p = array; p < array + sizeof(array)/ sizeof(array[0]); ++p)cout << *p << endl;
}- 对于一个有范围的集合而言,由程序员来说明循环的范围是多余的,有时候还会容易犯错误。因此C++11中引入了基于范围的for循环。for循环后的括号由冒号“ :”分为两部分:第一部分是范围内用于迭代的变量,第二部分则表示被迭代的范围。
int main()
{int a[] = { 1,2,3,4,5,6 };for (auto e : a){cout << e << " ";}cout << endl;for (auto& e : a){e *= 2;}cout << endl;for (int e : a){cout << e << " ";}return 0;
}
3.2 范围for使用条件
- for循环迭代的范围必须是确定的
//错误示范
//这里传的是指针,没有具体范围
void TestFor(int array[])
{for(auto& e : array)cout<< e <<endl;
}
4. 指针空值nullptr
在良好的C/C++编程习惯中,声明一个变量时最好给该变量一个合适的初始值,否则可能会出现不可预料的错误,比如未初始化的指针。如果一个指针没有合法的指向,我们基本都是按照如下
方式对其进行初始化:
void TestPtr()
{int* p1 = NULL;int* p2 = 0;// ……
}
NULL实际是一个宏,在传统的C头文件(stddef.h)中,可以看到如下代码:
#ifndef NULL
#ifdef __cplusplus
#define NULL 0
#else
#define NULL ((void *)0)
#endif
#endif
可以看到,NULL可能被定义为字面常量0,或者被定义为无类型指针(void*)的常量。不论采取何种定义,在使用空值的指针时,都不可避免的会遇到一些麻烦,比如:
void f(int)
{cout << "f(int)" << endl;
}
void f(int*)
{cout << "f(int*)" << endl;
}
int main()
{f(0);f(NULL);f((int*)NULL);return 0;
}
程序本意是想通过f(NULL)调用指针版本的f(int*)函数,但是由于NULL被定义成0,因此与程序的初衷相悖。
在C++98中,字面常量0既可以是一个整形数字,也可以是无类型的指针(void*)常量,但是编译器默认情况下将其看成是一个整形常量,如果要将其按照指针方式来使用,必须对其进行强转(void*)0。
