[oneAPI] Neural Style Transfer
- oneAPI
- Neural Style Transfer
- 特殊环境
- 定义使用包
- 加载数据
- Neural Style Transfer模型与介绍
- 训练过程
- 结果
比赛:https://marketing.csdn.net/p/f3e44fbfe46c465f4d9d6c23e38e0517
Intel® DevCloud for oneAPI:https://devcloud.intel.com/oneapi/get_started/aiAnalyticsToolkitSamples/
oneAPI
import intel_extension_for_pytorch as ipex# Device configuration
device = torch.device('xpu' if torch.cuda.is_available() else 'cpu')optimizer = torch.optim.Adam([target], lr=config.lr, betas=[0.5, 0.999])
vgg = VGGNet().to(device).eval()'''
Apply Intel Extension for PyTorch optimization against the model object and optimizer object.
使用Intel Extension for PyTorch中, 实际上在推理模式下是不需要优化器的
'''
vgg = ipex.optimize(vgg)
Neural Style Transfer
Neural Style Transfer是一种使用 CNN 将一幅图像的内容与另一幅图像的风格相结合的算法。给定内容图像和风格图像,目标是生成最小化与内容图像的内容差异和与风格图像的风格差异的目标图像。

内容丢失
为了最小化内容差异,我们将内容图像和目标图像分别前向传播到预训练的VGGNet,并从多个卷积层中提取特征图。然后,更新目标图像以最小化内容图像的特征图与其特征图之间的均方误差。
风格丧失
与计算内容损失一样,我们将风格图像和目标图像前向传播到 VGGNet 并提取卷积特征图。为了生成与风格图像的风格相匹配的纹理,我们通过最小化风格图像的 Gram 矩阵和目标图像的 Gram 矩阵之间的均方误差来更新目标图像(特征相关性最小化)。请参阅此处了解如何计算风格损失。
特殊环境
本实验:借助PyTorch以及Intel® Optimization for PyTorch,对PyTorch进行了精心的优化与扩展,极大地提升了其性能,特别是在英特尔硬件上的表现更加卓越。这一优化策略使得我们的模型在训练和推断过程中变得更加迅捷高效,显著缩短了计算时间,提升了整体效率。并通过深度融合硬件与软件的精巧设计,有效地解锁了硬件潜力,让模型的训练和应用变得更加快速高效,为人工智能应用带来了全新的可能性。

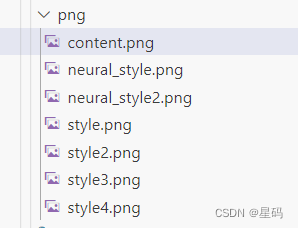
数据集使用自己收集的一些数据
content.png 表面原始的图片
style.png表示需要将原始图片转化为的风格
定义使用包
from __future__ import division
from torchvision import models
from torchvision import transforms
from PIL import Image
import argparse
import torch
import torchvision
import torch.nn as nn
import numpy as npimport intel_extension_for_pytorch as ipex# Device configuration
device = torch.device('xpu' if torch.cuda.is_available() else 'cpu')
加载数据
def load_image(image_path, transform=None, max_size=None, shape=None):"""Load an image and convert it to a torch tensor."""image = Image.open(image_path)if max_size:scale = max_size / max(image.size)size = np.array(image.size) * scaleimage = image.resize(size.astype(int), Image.LANCZOS)if shape:image = image.resize(shape, Image.LANCZOS)if transform:image = transform(image).unsqueeze(0)return image.to(device)
Neural Style Transfer模型与介绍
VGGNet是一个经典的深度卷积神经网络架构,由牛津大学的研究团队提出,用于图像分类和识别任务。VGGNet以其简单而有效的结构在计算机视觉领域取得了显著的成就,成为了深度学习研究的重要里程碑之一。
VGGNet的特点在于其深层的网络结构,通过多个小尺寸的卷积核和池化层的堆叠,达到了很强的特征提取能力。其标准结构包括数个卷积层,之后是池化层,最后是全连接层。
VGGNet在图像分类竞赛中取得了优异的表现,其简单的结构和深层次的特征提取使得它成为了其他网络架构的基础。然而,由于其深层次的结构,VGGNet在计算资源和训练时间上需要较大代价,后续的研究逐渐提出了更加高效的网络架构,如ResNet和Inception等。
而对于本任务,我们使用原图,目标图,风格图的’0’, ‘5’, ‘10’, ‘19’, '28’等层的特征进行对比,最后让原图和风格图内容对应,而目标图与风格图的风格相似
class VGGNet(nn.Module):def __init__(self):"""Select conv1_1 ~ conv5_1 activation maps."""super(VGGNet, self).__init__()self.select = ['0', '5', '10', '19', '28']self.vgg = models.vgg19(pretrained=True).featuresdef forward(self, x):"""Extract multiple convolutional feature maps."""features = []for name, layer in self.vgg._modules.items():x = layer(x)if name in self.select:features.append(x)return features
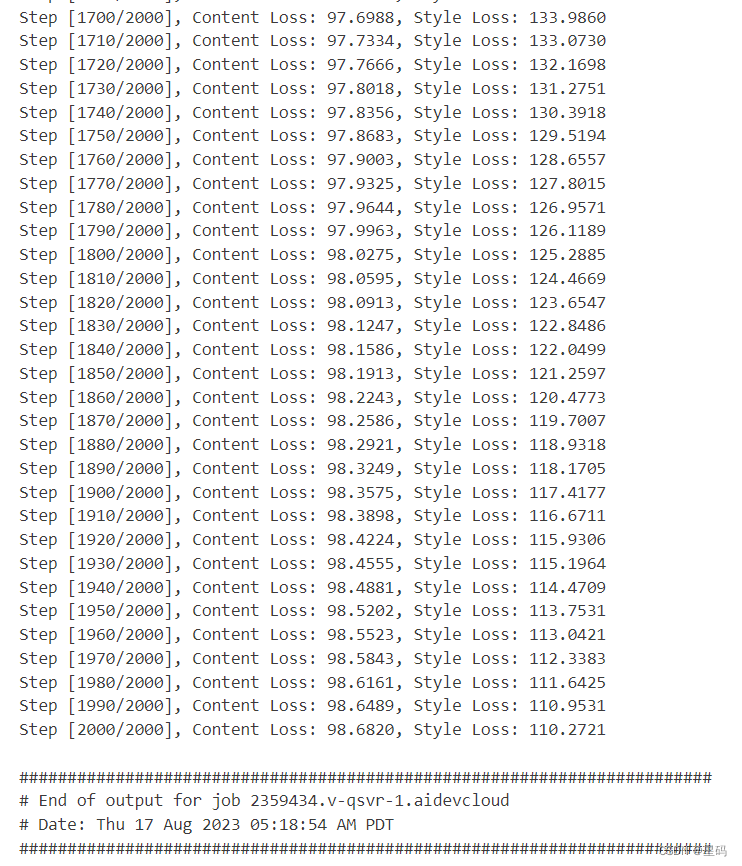
训练过程
def main(config):# Image preprocessing# VGGNet was trained on ImageNet where images are normalized by mean=[0.485, 0.456, 0.406] and std=[0.229, 0.224, 0.225].# We use the same normalization statistics here.transform = transforms.Compose([transforms.ToTensor(),transforms.Normalize(mean=(0.485, 0.456, 0.406),std=(0.229, 0.224, 0.225))])# Load content and style images# Make the style image same size as the content imagecontent = load_image(config.content, transform, max_size=config.max_size)style = load_image(config.style, transform, shape=[content.size(2), content.size(3)])# Initialize a target image with the content imagetarget = content.clone().requires_grad_(True)optimizer = torch.optim.Adam([target], lr=config.lr, betas=[0.5, 0.999])vgg = VGGNet().to(device).eval()'''Apply Intel Extension for PyTorch optimization against the model object and optimizer object.使用Intel Extension for PyTorch中, 实际上在推理模式下是不需要优化器的'''vgg = ipex.optimize(vgg)for step in range(config.total_step):# Extract multiple(5) conv feature vectorstarget_features = vgg(target)content_features = vgg(content)style_features = vgg(style)style_loss = 0content_loss = 0for f1, f2, f3 in zip(target_features, content_features, style_features):# Compute content loss with target and content imagescontent_loss += torch.mean((f1 - f2) ** 2)# Reshape convolutional feature maps_, c, h, w = f1.size()f1 = f1.view(c, h * w)f3 = f3.view(c, h * w)# Compute gram matrixf1 = torch.mm(f1, f1.t())f3 = torch.mm(f3, f3.t())# Compute style loss with target and style imagesstyle_loss += torch.mean((f1 - f3) ** 2) / (c * h * w)# Compute total loss, backprop and optimizeloss = content_loss + config.style_weight * style_lossoptimizer.zero_grad()loss.backward()optimizer.step()if (step + 1) % config.log_step == 0:print('Step [{}/{}], Content Loss: {:.4f}, Style Loss: {:.4f}'.format(step + 1, config.total_step, content_loss.item(), style_loss.item()))if (step + 1) % config.sample_step == 0:# Save the generated imagedenorm = transforms.Normalize((-2.12, -2.04, -1.80), (4.37, 4.46, 4.44))img = target.clone().squeeze()img = denorm(img).clamp_(0, 1)torchvision.utils.save_image(img, 'output-{}.png'.format(step + 1))if __name__ == "__main__":parser = argparse.ArgumentParser()parser.add_argument('--content', type=str, default='png/content.png')parser.add_argument('--style', type=str, default='png/style.png')parser.add_argument('--max_size', type=int, default=400)parser.add_argument('--total_step', type=int, default=2000)parser.add_argument('--log_step', type=int, default=10)parser.add_argument('--sample_step', type=int, default=500)parser.add_argument('--style_weight', type=float, default=100)parser.add_argument('--lr', type=float, default=0.003)config = parser.parse_args()print(config)main(config)
结果
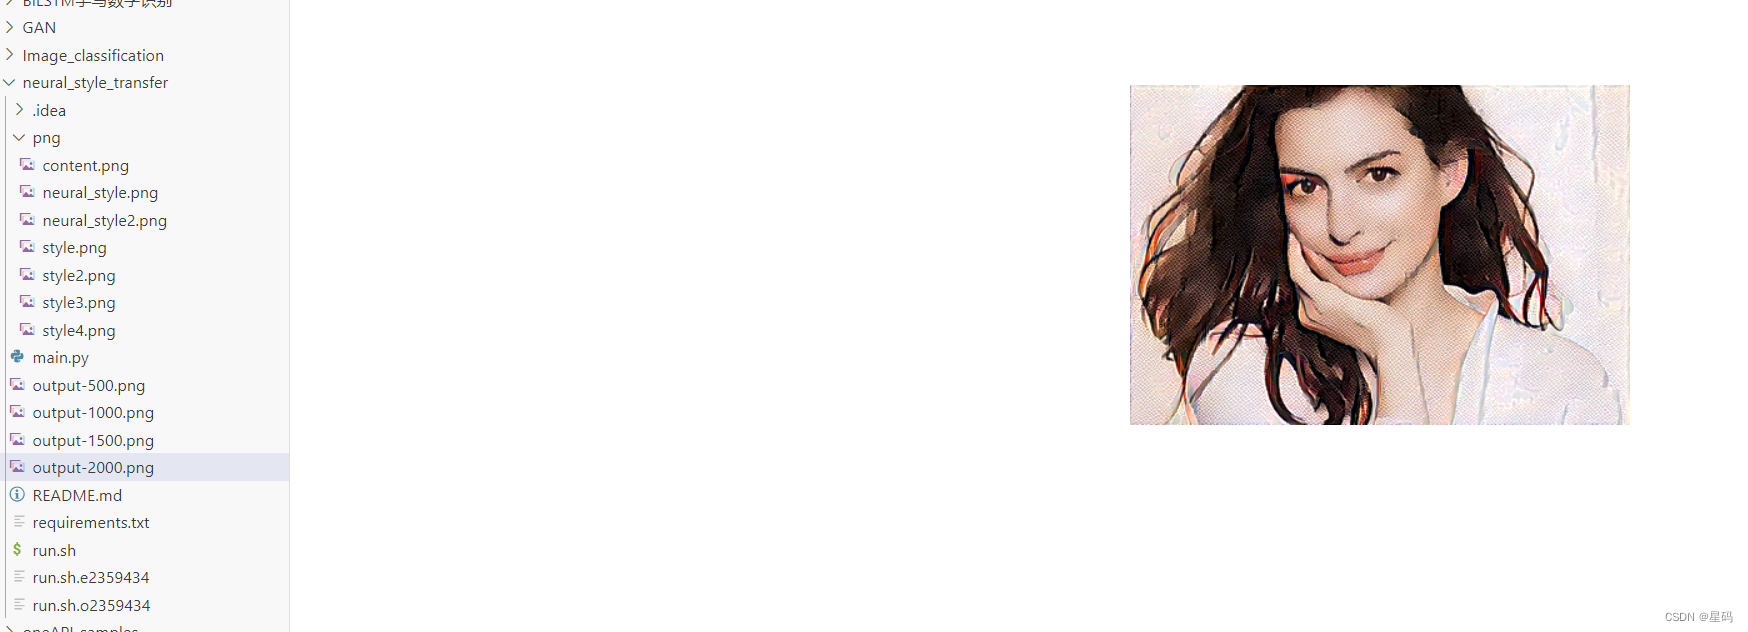
迭代结果图
训练过程图
