1. 加入swagger 依赖
springboot 项目的 pom.xml 中添加下列依赖:
<dependency><groupId>io.springfox</groupId><artifactId>springfox-swagger2</artifactId><version>2.9.2</version>
</dependency>
<dependency><groupId>io.springfox</groupId><artifactId>springfox-swagger-ui</artifactId><version>2.9.2</version>
</dependency>
<dependency><groupId>io.swagger</groupId><artifactId>swagger-annotations</artifactId><version>1.5.23</version>
</dependency>
<dependency><groupId>io.swagger</groupId><artifactId>swagger-models</artifactId><version>1.5.23</version>
</dependency>
2. 添加swagger配置文件
在 springboot 可检测到的路径下新建 SwaggerConfig.java,根据需要加入配置内容:
package com.xxx.test.config;import org.springframework.context.annotation.Bean;
import org.springframework.context.annotation.Configuration;
import springfox.documentation.builders.ApiInfoBuilder;
import springfox.documentation.builders.RequestHandlerSelectors;
import springfox.documentation.service.ApiInfo;
import springfox.documentation.service.Contact;
import springfox.documentation.spi.DocumentationType;
import springfox.documentation.spring.web.plugins.Docket;
import springfox.documentation.swagger2.annotations.EnableSwagger2;/*** Swagger 配置*/
@Configuration
@EnableSwagger2
public class Swagger2Config {private ApiInfo apiInfo() {return new ApiInfoBuilder().title("日常测试").description("日常测试接口文档").version("1.0-SNAPSHOT").contact(new Contact("留围冰", "", "lwb@xxx.com")).build();}@Beanpublic Docket docket() {return new Docket(DocumentationType.SWAGGER_2).apiInfo(apiInfo()).select().apis(RequestHandlerSelectors.basePackage("com.xxx.test")).build();}
}
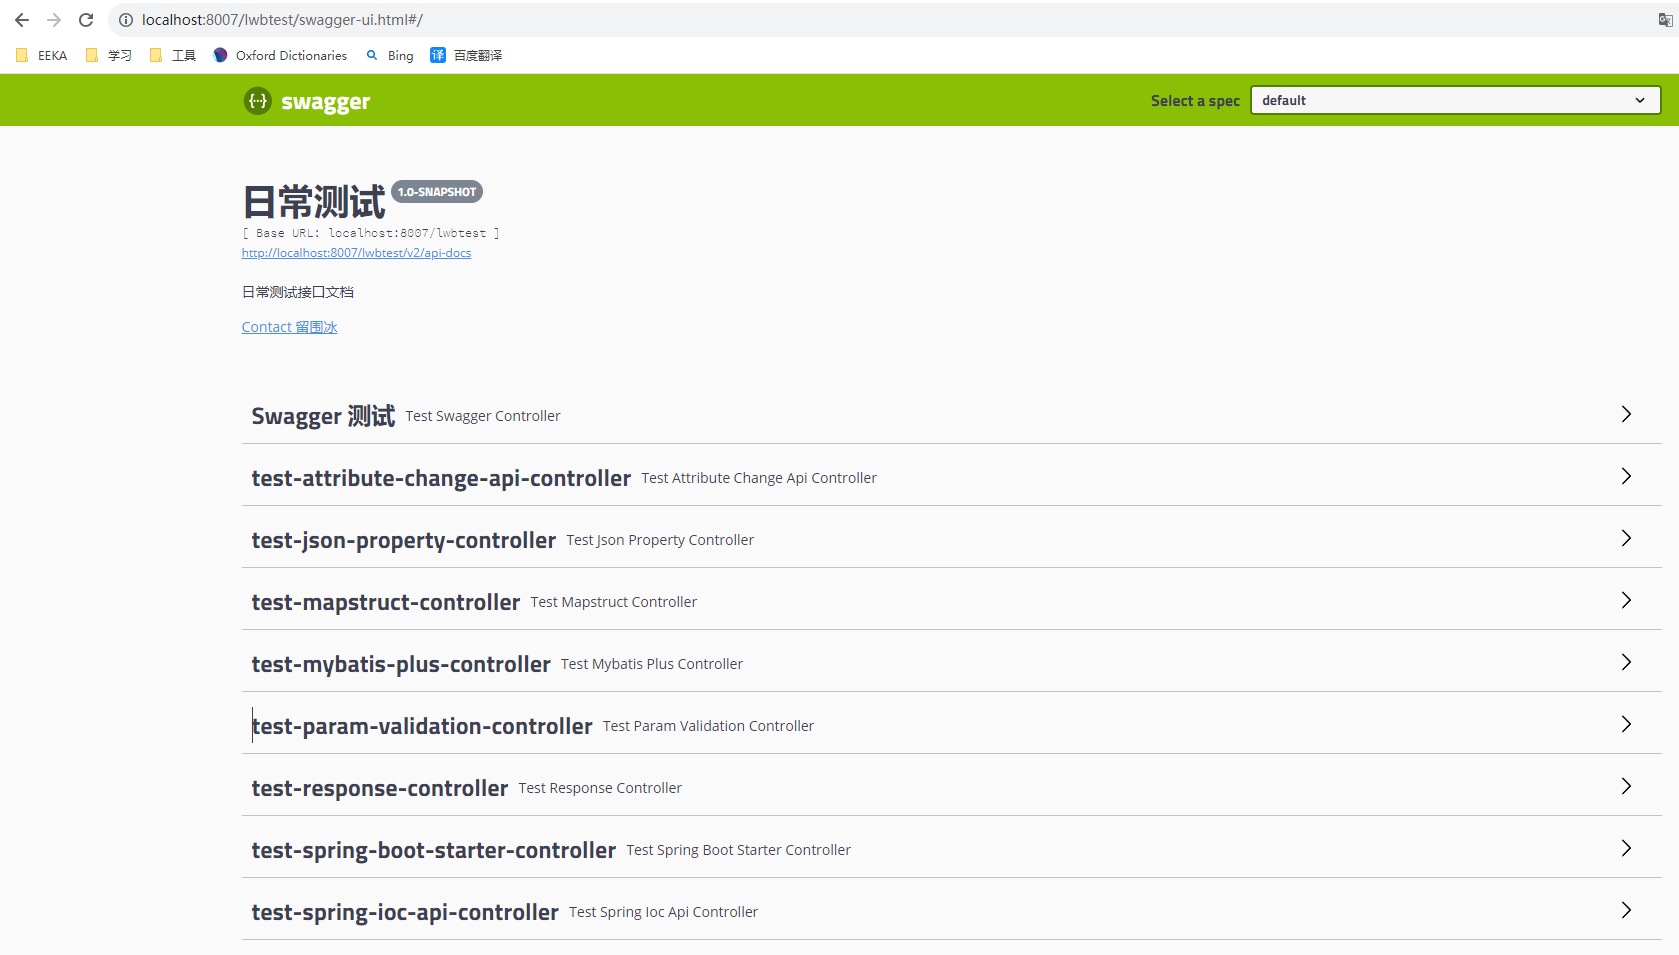
3. 测试
假设 springboot 的 application.yaml 配置如下:
server:application:name: lwb-testservlet:context-path: /lwbtestport: 8007
则启动 springboot 项目后再浏览器输入 http://localhost:8007/lwbtest/swagger-ui.html 即可看到 Swagger 页面: