搭建PostgreSQL高可用集群(基于Patroni+Etcd)
1.主机环境准备
| 节点名称 | 主机名 | 网卡 | IP地址 | OS | 安装软件 | 角色作用 |
|---|---|---|---|---|---|---|
| PGSQL1 | pgsql1 | ens33 | 192.168.198.162 | CentOS7 | PostgreSQL、ETCD、Patroni | 主数据库 |
| PGSQL2 | pgsql2 | ens33 | 192.168.198.163 | CentOS7 | PostgreSQL、ETCD、Patroni | 备份数据库1 |
| PGSQL3 | pgsql3 | ens33 | 192.168.198.159 | CentOS7 | PostgreSQL、ETCD、Patroni | 备份数据库2 |
2. 基本软件安装和设置
2.1 安装基本软件
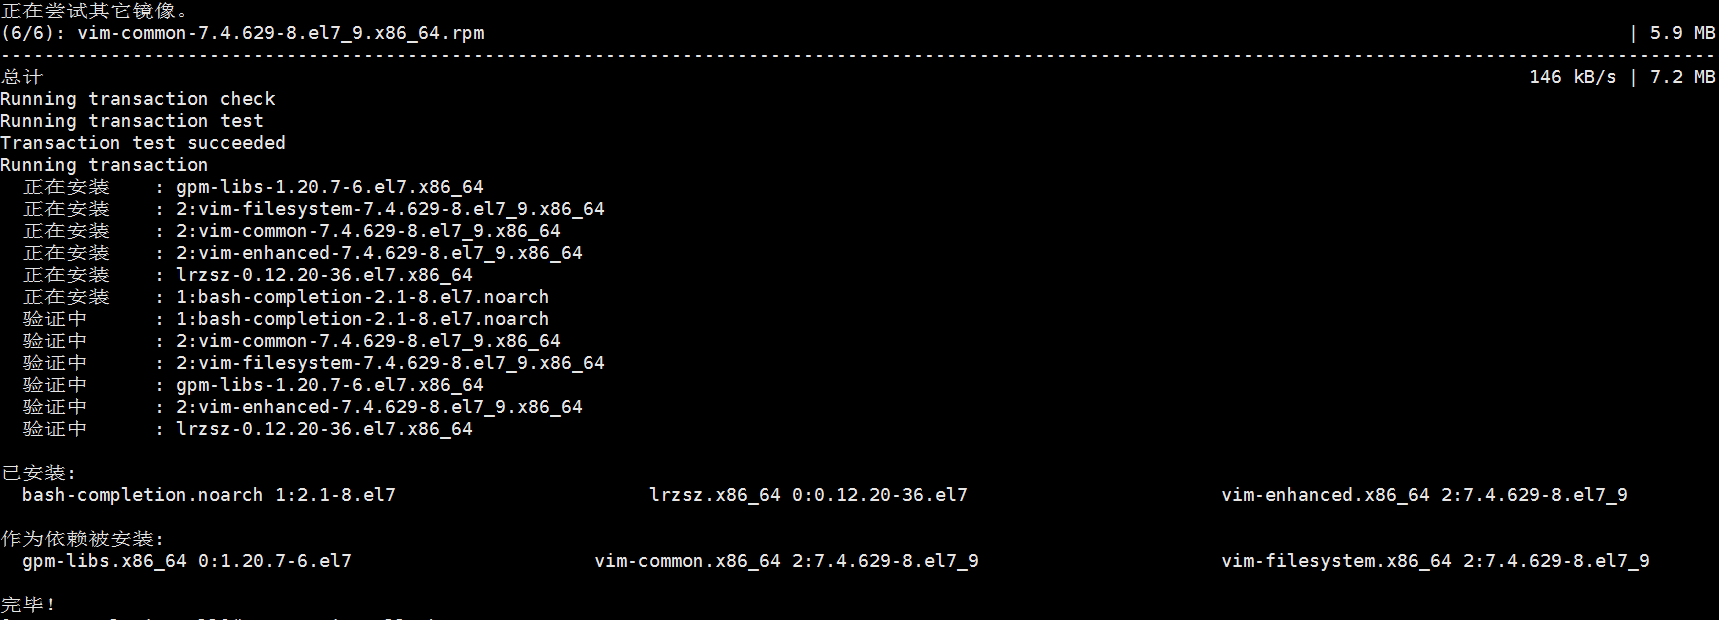
yum -y install vim lrzsz bash-completion
2.2 设置名称解析
echo 192.168.198.162 pgsql1 >> /etc/hosts
echo 192.168.198.163 pgsql2 >> /etc/hosts
echo 192.168.198.159 pgsql3 >> /etc/hosts

2.3 设置NTP
yum -y install chrony

systemctl start chronyd
systemctl enable chronyd
systemctl status chronyd

chronyc sources

2.4 设置SELinux、防火墙
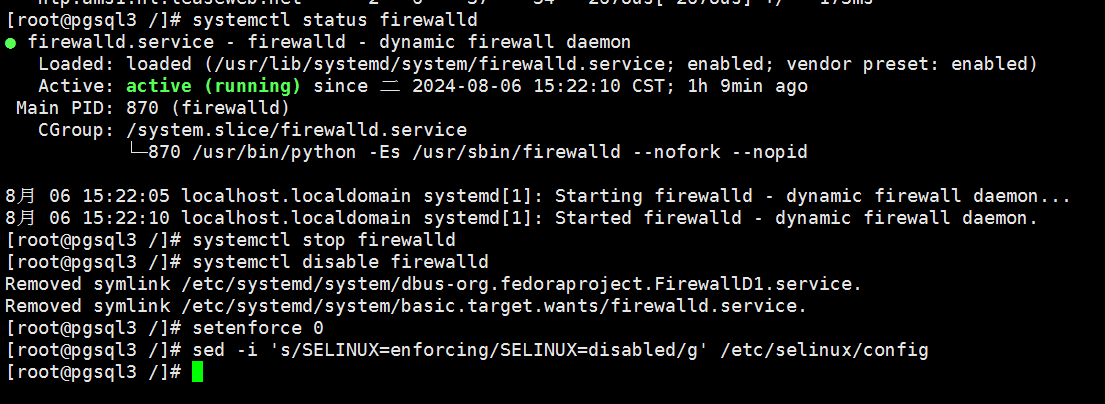
systemctl status firewalld
systemctl stop firewalld
systemctl disable firewalld
setenforce 0
sed -i 's/SELINUX=enforcing/SELINUX=disabled/g' /etc/selinux/config
3. 搭建PostgreSQL高可用集群
3.1 搭建ETCD集群
3.1.1 安装ETCD
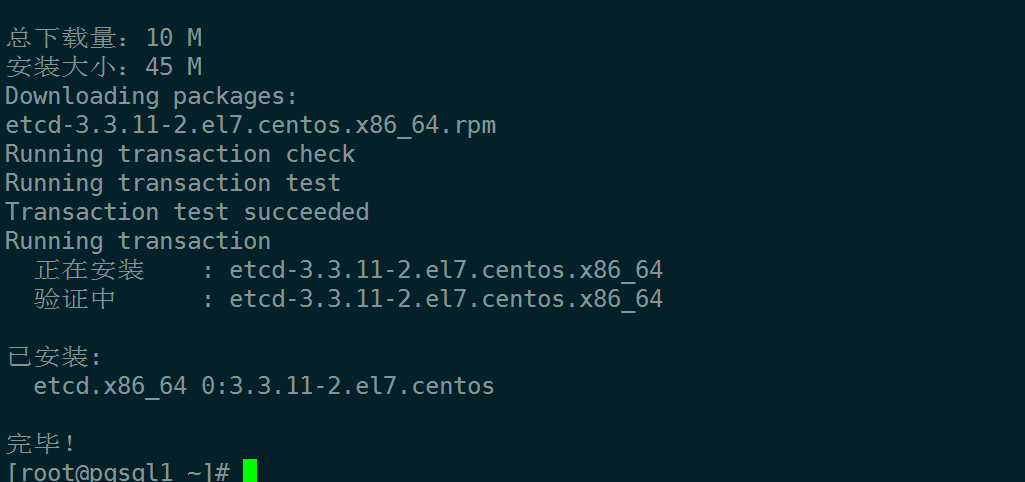
yum -y install etcd
3.1.2 修改ETCD配置文件
在PGSQL1节点上修改ETCD配置文件:
cat > /etc/etcd/etcd.conf << EOF
ETCD_NAME="etcd1"
ETCD_DATA_DIR="/var/lib/etcd/etcd1"
ETCD_LISTEN_PEER_URLS="http://192.168.198.162:2380"
ETCD_LISTEN_CLIENT_URLS="http://127.0.0.1:2379,http://192.168.198.162:2379"
ETCD_INITIAL_ADVERTISE_PEER_URLS="http://192.168.198.162:2380"
ETCD_INITIAL_CLUSTER="etcd1=http://192.168.198.162:2380,etcd2=http://192.168.198.163:2380,etcd3=http://192.168.198.159:2380"
ETCD_INITIAL_CLUSTER_STATE="new"
ETCD_INITIAL_CLUSTER_TOKEN="etcd-cluster"
ETCD_ADVERTISE_CLIENT_URLS="http://192.168.198.162:2379"
EOF
在PGSQL2节点上创建ETCD配置文件:
cat > /etc/etcd/etcd.conf << EOF
ETCD_NAME="etcd2"
ETCD_DATA_DIR="/var/lib/etcd/etcd2"
ETCD_LISTEN_PEER_URLS="http://192.168.198.163:2380"
ETCD_LISTEN_CLIENT_URLS="http://127.0.0.1:2379,http://192.168.198.163:2379"
ETCD_INITIAL_ADVERTISE_PEER_URLS="http://192.168.198.163:2380"
ETCD_INITIAL_CLUSTER="etcd1=http://192.168.198.162:2380,etcd2=http://192.168.198.163:2380,etcd3=http://192.168.198.159:2380"
ETCD_INITIAL_CLUSTER_STATE="new"
ETCD_INITIAL_CLUSTER_TOKEN="etcd-cluster"
ETCD_ADVERTISE_CLIENT_URLS="http://192.168.198.163:2379"
EOF
在PGSQL3节点上创建ETCD配置文件:
cat > /etc/etcd/etcd.conf << EOF
ETCD_NAME="etcd3"
ETCD_DATA_DIR="/var/lib/etcd/etcd3"
ETCD_LISTEN_PEER_URLS="http://192.168.198.159:2380"
ETCD_LISTEN_CLIENT_URLS="http://127.0.0.1:2379,http://192.168.198.159:2379"
ETCD_INITIAL_ADVERTISE_PEER_URLS="http://192.168.198.159:2380"
ETCD_INITIAL_CLUSTER="etcd1=http://192.168.198.162:2380,etcd2=http://192.168.198.163:2380,etcd3=http://192.168.198.159:2380"
ETCD_INITIAL_CLUSTER_STATE="new"
ETCD_INITIAL_CLUSTER_TOKEN="etcd-cluster"
ETCD_ADVERTISE_CLIENT_URLS="http://192.168.198.159:2379"
EOF
3.1.3 启动ETCD
启动ETCD,并设置自启动:
systemctl start etcd
systemctl enable etcd
systemctl status etcd

3.1.4 查看集群状态
在任意节点上查看ETCD状态:
etcdctl cluster-health

在任意节点上查看ETCD成员:
etcdctl member list

3.2 部署PostgreSQL
3.1 安装
参照FlyingDB数据库的安装文档。版本为FlyingDB-13.13-8k-rhel7-x86_64。
3.2 环境变量配置
su - fbase
cat ~/.bashrcexport PGHOME=/usr/local/fbase/13.3
export PGPORT=8432
export PGDATA=/data/fbase/fbdata
export PGUSER=fbase
export PGHOST=localhost
export PGDATABASE=postgres
export PATH=$PGHOME/bin:$PATH:.
export MANPATH=$PGHOME/share/man:$MANPATH
export LD_LIBRARY_PATH=$PGHOME/lib:$LD_LIBRARY_PATH
export PG_OOM_ADJUST_FILE=/proc/self/oom_score_adj
export PG_MASTER_OOM_SCORE_ADJ=1000
export PG_OOM_ADJUST_VALUE=0
export DATE=`date +'%Y%m%d%H%M'`
export LANG=en_US.utf8
3.3 启动
su - fbase
pg_ctl start
pg_ctl status

3.4 创建复制槽
在PGSQL1节点创建逻辑复制槽:
# 查看当前用户
SELECT CURRENT_USER;
# 在主库上执行,查看repuser的用户是否有REPLICATION的权限
SELECT rolname, rolsuper, rolreplication FROM pg_roles WHERE rolname = 'repuser';
# 在主库上执行,授予权限
GRANT CREATE_REPLICATION_SLOT ON DATABASE your_database TO repuser;
# 在主库上执行,切换用户
SET ROLE repuser;
# 查看复制槽
SELECT * FROM pg_replication_slots;
# 创建复制槽
SELECT pg_create_physical_replication_slot('pgsql_slot1');
SELECT pg_create_physical_replication_slot('pgsql_slot2');
SELECT pg_create_physical_replication_slot('pgsql_slot3');
# 查看是否创建成功
SELECT * FROM pg_replication_slots;
数据库操作结果:
postgres=> SELECT pg_create_physical_replication_slot('pgsql_slot1');pg_create_physical_replication_slot
-------------------------------------(pgsql_slot1,)
(1 row)postgres=> SELECT pg_create_physical_replication_slot('pgsql_slot2');pg_create_physical_replication_slot
-------------------------------------(pgsql_slot2,)
(1 row)postgres=> SELECT pg_create_physical_replication_slot('pgsql_slot3');pg_create_physical_replication_slot
-------------------------------------(pgsql_slot3,)
(1 row)postgres=> SELECT * FROM pg_replication_slots;slot_name  | plugin | slot_type | datoid | database | temporary | active | active_pid | xmin | catalog_xmin | restart_lsn | confirme
d_flush_lsn | wal_status | safe_wal_size
-------------+--------+-----------+--------+----------+-----------+--------+------------+------+--------------+-------------+---------
------------+------------+---------------pgsql_slot1 |        | physical  |        |          | f         | f      |            |      |              |             |         |            |              pgsql_slot2 |        | physical  |        |          | f         | f      |            |      |              |             |         |            |              pgsql_slot3 |        | physical  |        |          | f         | f      |            |      |              |             |         |            |
(3 rows)
修改PGSQL3节点和PGSQL3节点的postgresql.conf文件。
pgsql2:
primary_conninfo = 'host=192.168.198.162 port=8432 user=repuser password=123456'
primary_slot_name = 'pgsql_slot1'
pgsql3:
primary_conninfo = 'host=192.168.198.162 port=8432 user=repuser password=123456'
primary_slot_name = 'pgsql_slot2'
重启pgsql2和pgsql3的postgresql数据库。
pg_ctl restart
查看pgsql1上的复制槽使用情况。
postgres=# SELECT * FROM pg_replication_slots;slot_name  | plugin | slot_type | datoid | database | temporary | active | active_pid | xmin | catalog_xmin | restart_lsn | confirme
d_flush_lsn | wal_status | safe_wal_size
-------------+--------+-----------+--------+----------+-----------+--------+------------+------+--------------+-------------+---------
------------+------------+---------------pgsql_slot1 |        | physical  |        |          | f         | t      |       3680 |  489 |              | 0/5000060   |         | reserved   |              pgsql_slot2 |        | physical  |        |          | f         | t      |       3687 |  489 |              | 0/5000060   |         | reserved   |              pgsql_slot3 |        | physical  |        |          | f         | f      |            |      |              |             |         |            |
(3 rows)
3.3 部署Patroni
3.3.1 安装前置软件
安装Python3:
yum install -y python3

安装pip:
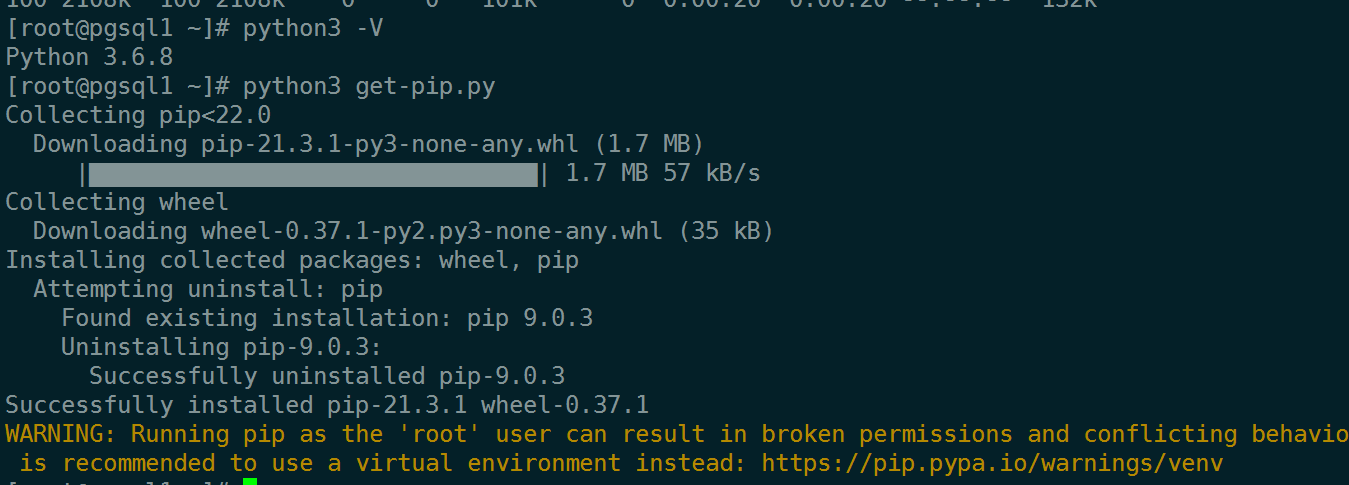
curl https://bootstrap.pypa.io/pip/3.6/get-pip.py -o get-pip.py
python3 get-pip.py
3.3.2 安装Patroni
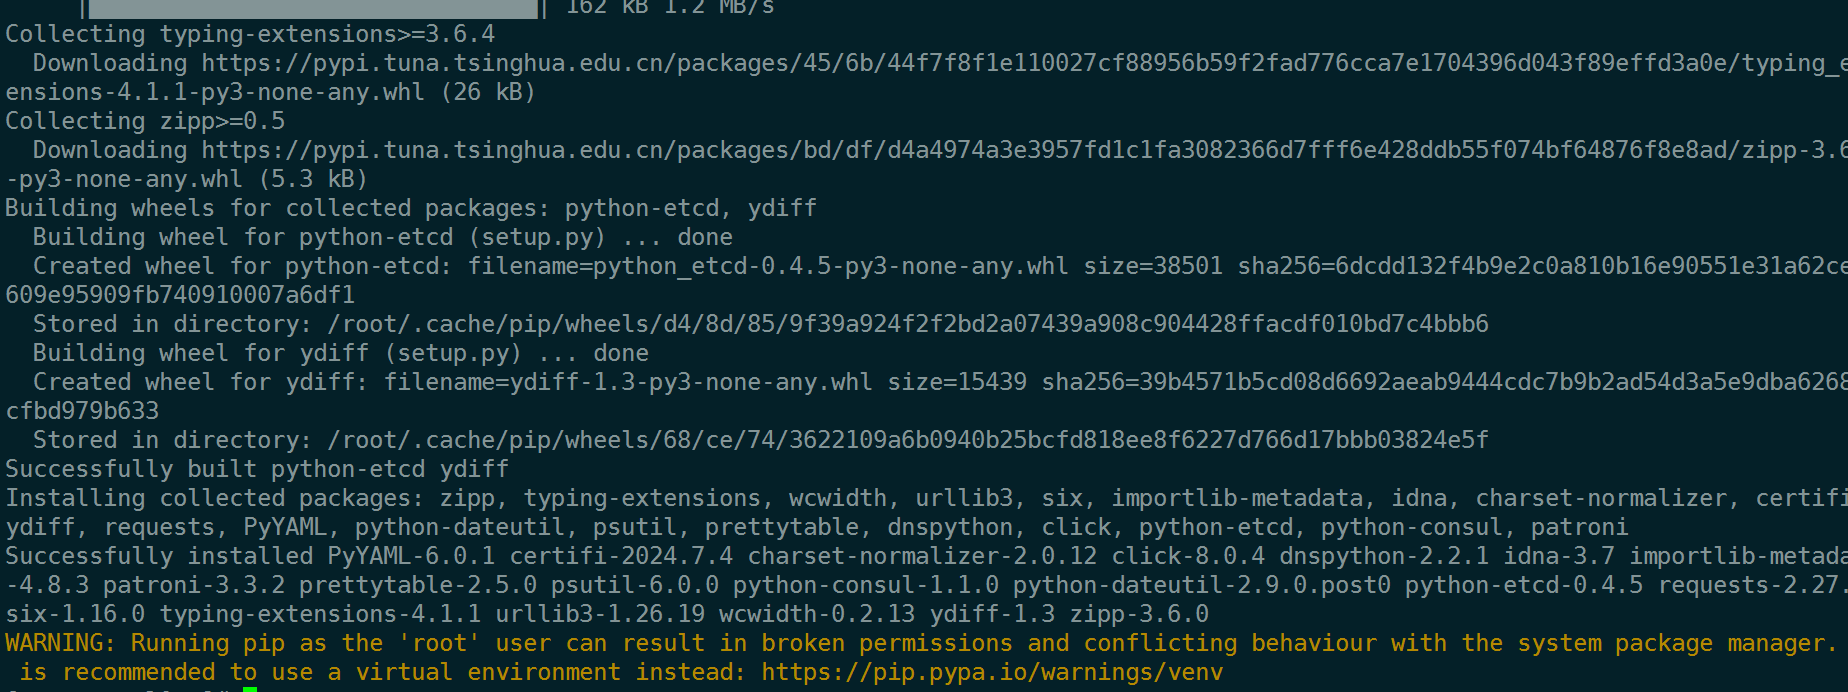
安装Patroni:
pip install psycopg2-binary -i https://pypi.tuna.tsinghua.edu.cn/simple

pip install patroni[etcd,consul] -i https://pypi.tuna.tsinghua.edu.cn/simple
3.3.3 验证是否安装
验证Patroni是否安装成功:
patroni --version

3.3.4 修改配置文件
3.3.4.1 在PGSQL1节点上创建Patroni配置文件
在PGSQL1节点上创建Patroni配置文件:
mkdir -p /usr/patroni/conf
cd /usr/patroni/conf
touch patroni_postgresql.yml
cat > /usr/patroni/conf/patroni_postgresql.yml << EOF
scope: pgsql13
namespace: /pgsql/
name: pgsql_slot1
restapi:listen: 192.168.198.162:8008connect_address: 192.168.198.162:8008
etcd:host: 192.168.198.162:2379
bootstrap:dcs:ttl: 30loop_wait: 10retry_timeout: 10maximum_lag_on_failover: 1048576master_start_timeout: 300synchronous_mode: falsepostgresql:use_pg_rewind: trueuse_slots: trueparameters:listen_addresses: "0.0.0.0"port: 8432wal_level: logicalhot_standby: "on"wal_keep_segments: 1000max_wal_senders: 10max_replication_slots: 10wal_log_hints: "on"
postgresql:listen: 0.0.0.0:8432connect_address: 192.168.198.162:8432data_dir: /data/fbase/fbdatabin_dir: /usr/local/fbase/13.3/binauthentication:replication:username: repuserpassword: 123456superuser:username: fbasepassword: 123456
tags:nofailover: falsenoloadbalance: falseclonefrom: falsenosync: false
EOF
3.3.4.2 在PGSQL2节点上创建Patroni配置文件
在PGSQL2节点上创建Patroni配置文件:
mkdir -p /usr/patroni/conf
cd /usr/patroni/conf
touch patroni_postgresql.yml
cat > /usr/patroni/conf/patroni_postgresql.yml << EOF
scope: pgsql13
namespace: /pgsql/
name: pgsql_slot2
restapi:listen: 192.168.198.163:8008connect_address: 192.168.198.163:8008
etcd:host: 192.168.198.163:2379
bootstrap:dcs:ttl: 30loop_wait: 10retry_timeout: 10maximum_lag_on_failover: 1048576master_start_timeout: 300synchronous_mode: falsepostgresql:use_pg_rewind: trueuse_slots: trueparameters:listen_addresses: "0.0.0.0"port: 8432wal_level: logicalhot_standby: "on"wal_keep_segments: 1000max_wal_senders: 10max_replication_slots: 10wal_log_hints: "on"
postgresql:listen: 0.0.0.0:8432connect_address: 192.168.198.163:8432data_dir: /data/fbase/fbdatabin_dir: /usr/local/fbase/13.3/binauthentication:replication:username: repuserpassword: 123456superuser:username: fbasepassword: 123456
tags:nofailover: falsenoloadbalance: falseclonefrom: falsenosync: false
EOF
3.3.4.3 在PGSQL3节点上创建Patroni配置文件:
在PGSQL3节点上创建Patroni配置文件:
mkdir -p /usr/patroni/conf
cd /usr/patroni/conf
touch patroni_postgresql.yml
cat > /usr/patroni/conf/patroni_postgresql.yml << EOF
scope: pgsql13
namespace: /pgsql/
name: pgsql_slot3
restapi:listen: 192.168.198.159:8008connect_address: 192.168.198.159:8008
etcd:host: 192.168.198.159:2379
bootstrap:dcs:ttl: 30loop_wait: 10retry_timeout: 10maximum_lag_on_failover: 1048576master_start_timeout: 300synchronous_mode: falsepostgresql:use_pg_rewind: trueuse_slots: trueparameters:listen_addresses: "0.0.0.0"port: 8432wal_level: logicalhot_standby: "on"wal_keep_segments: 1000max_wal_senders: 10max_replication_slots: 10wal_log_hints: "on"
postgresql:listen: 0.0.0.0:8432connect_address: 192.168.198.159:8432data_dir: /data/fbase/fbdatabin_dir: /usr/local/fbase/13.3/binauthentication:replication:username: repuserpassword: 123456superuser:username: fbasepassword: 123456
tags:nofailover: falsenoloadbalance: falseclonefrom: falsenosync: false
EOF
3.3.4.4 在所有节点上配置systemd管理Patroni
在所有节点上配置systemd管理Patroni:
touch /usr/lib/systemd/system/patroni.service
vim /usr/lib/systemd/system/patroni.service
[Unit]
Description=patroni - a high-availability PostgreSQL
Documentation=https://patroni.readthedocs.io/en/latest/index.html
After=syslog.target network.target etcd.target
Wants=network-online.target[Service]
Type=simple
User=fbase
Group=fbase
PermissionsStartOnly=true
ExecStart=/usr/local/bin/patroni /usr/patroni/conf/patroni_postgresql.yml
ExecReload=/bin/kill -HUP $MAINPID
LimitNOFILE=65536
KillMode=process
KillSignal=SIGINT
Restart=on-abnormal
RestartSec=30s
TimeoutSec=0[Install]
WantedBy=multi-user.target
3.3.5 启动Patroni
在所有节点上启动Patroni,并设置自启动:
systemctl start patroni
systemctl enable patroni
systemctl status patroni

3.3.6 检查Patroni状态
在任意节点上查看Patroni集群状态:
patronictl -c /usr/patroni/conf/patroni_postgresql.yml list

在任意节点上查看ETCD信息:
etcdctl ls /pgsql/pgsql13
etcdctl get /pgsql/pgsql13/members/pgsql_slot1
etcdctl get /pgsql/pgsql13/members/pgsql_slot2
etcdctl get /pgsql/pgsql13/members/pgsql_slot3

3.4 部署Keepalived
3.4.1 安装
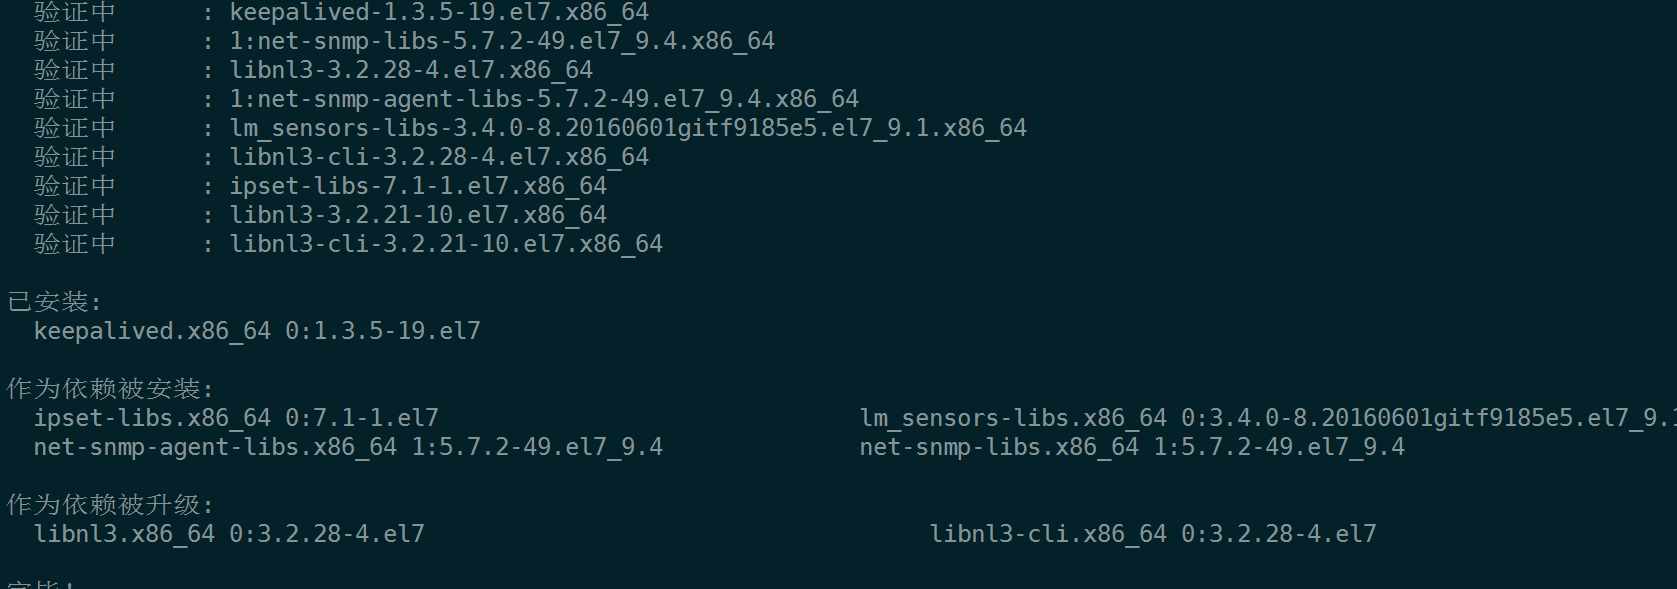
安装Keepalived:
yum -y install keepalived
3.4.2 在PGSQL1节点上创建Keepalived配置文件
在PGSQL1节点上创建Keepalived配置文件:
cat > /etc/keepalived/keepalived.conf << EOF
global_defs {router_id LVS_DEVEL
}vrrp_script check_haproxy {script "/etc/keepalived/check_haproxy.sh"interval 2weight 5fall 3rise 5timeout 2
}vrrp_instance VI_1 {state Masterinterface ens33virtual_router_id 80priority 100advert_int 1authentication {auth_type PASSauth_pass 123456}virtual_ipaddress {192.168.198.165/24}track_script {check_haproxy}
}
EOF
3.4.3 在PGSQL2节点上创建Keepalived配置文件
在PGSQL2节点上创建Keepalived配置文件:
cat > /etc/keepalived/keepalived.conf << EOF
global_defs {router_id LVS_DEVEL
}vrrp_script check_haproxy {script "/etc/keepalived/check_haproxy.sh"interval 2weight 5fall 3rise 5timeout 2
}vrrp_instance VI_1 {state Slaveinterface ens33virtual_router_id 80priority 50advert_int 1authentication {auth_type PASSauth_pass 123456}virtual_ipaddress {192.168.198.165/24}track_script {check_haproxy}
}
EOF
3.4.4 在PGSQL3节点上创建Keepalived配置文件
在PGSQL3节点上创建Keepalived配置文件:
cat > /etc/keepalived/keepalived.conf << EOF
global_defs {router_id LVS_DEVEL
}vrrp_script check_haproxy {script "/etc/keepalived/check_haproxy.sh"interval 2weight 5fall 3rise 5timeout 2
}vrrp_instance VI_1 {state Slaveinterface ens33virtual_router_id 80priority 30advert_int 1authentication {auth_type PASSauth_pass 123456}virtual_ipaddress {192.168.198.165/24}track_script {check_haproxy}
}
EOF
3.4.5 创建检查脚本
在所有节点上创建检查脚本:
vim /etc/keepalived/check_haproxy.sh
cat /etc/keepalived/check_haproxy.sh
#!/bin/bash
count=`ps aux | grep -v grep | grep haproxy | wc -l`
if [ $count -eq 0 ]; thenexit 1
elseexit 0
fi
赋予执行权限:
chmod a+x /etc/keepalived/check_haproxy.sh
3.4.6 启动Keepalived
启动Keepalived,并设置自启动:
systemctl start keepalived
systemctl enable keepalived
systemctl status keepalived

3.4.7 检查Keepalived状态
在PGSQL1节点上查看Keepalived工作状态:
ip addr
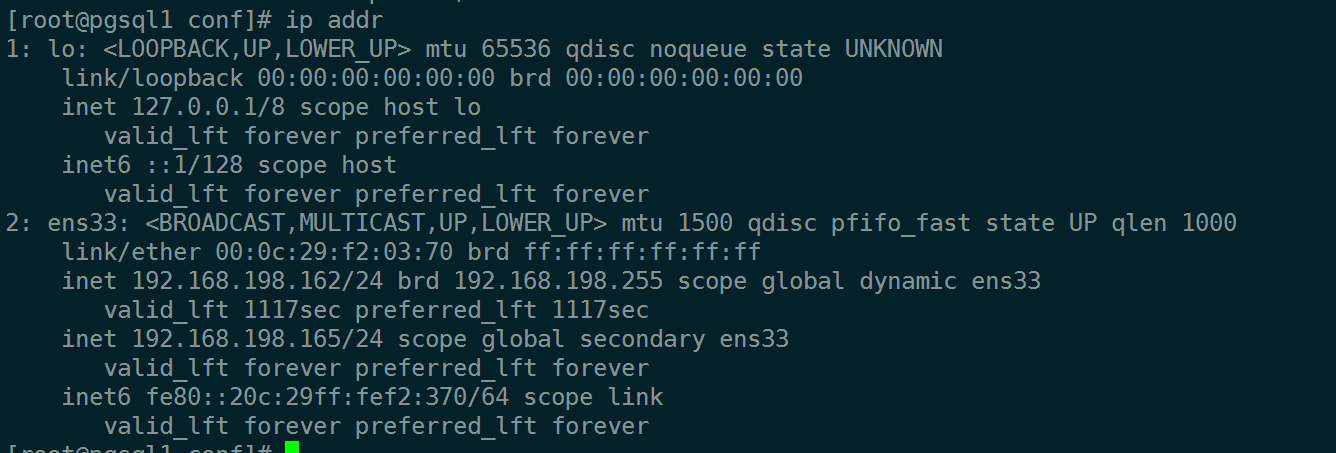
在ens33网卡绑定了192.168.198.165虚拟IP
3.5 部署HAProxy
3.5.1 安装HAProxy
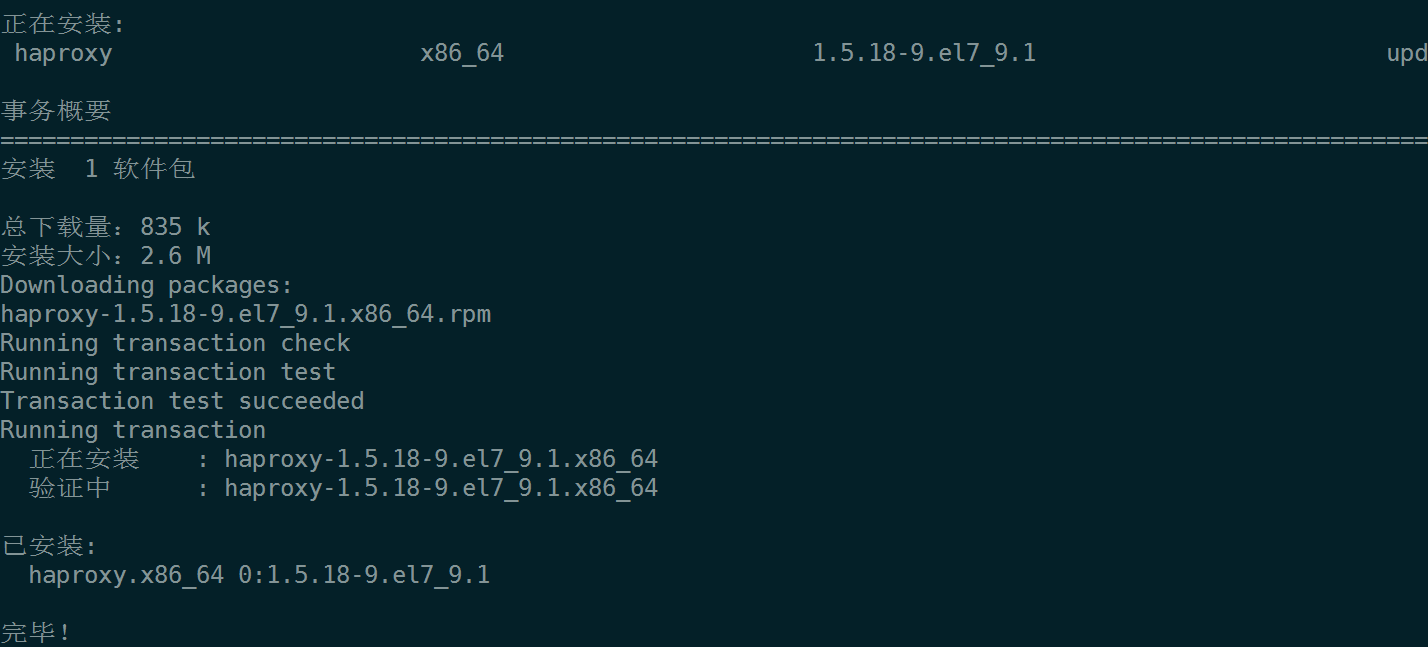
安装HAProxy:
yum -y install haproxy
3.5.2 在所有节点创建配置文件
在所有节点上创建HAProxy配置文件:
cat > /etc/haproxy/haproxy.cfg << EOF
globallog         127.0.0.1 local2chroot      /var/lib/haproxypidfile     /var/run/haproxy.pidmaxconn     4000user        haproxygroup       haproxydaemonstats socket /var/lib/haproxy/statsdefaultsmode                    tcplog                     globaloption                  tcplogoption                  dontlognulloption                  redispatchretries                 3timeout queue           1mtimeout connect         10stimeout client          1mtimeout server          1mtimeout check           10smaxconn                 3000listen statusbind *:1080mode httplog globalstats enablestats refresh 30sstats uri /stats realm Private landsstats auth admin:adminlisten masterbind *:5000mode tcpoption tcplogbalance roundrobinoption httpchk OPTIONS /masterhttp-check expect status 200default-server inter 3s fall 3 rise 2 on-marked-down shutdown-sessionsserver pgsql1 192.168.198.162:8432 maxconn 1000 check port 8008 inter 5000 rise 2 fall 2server pgsql2 192.168.198.163:8432 maxconn 1000 check port 8008 inter 5000 rise 2 fall 2server pgsql3 192.168.198.159:8432 maxconn 1000 check port 8008 inter 5000 rise 2 fall 2listen replicasbind *:5001mode tcpoption tcplogbalance roundrobinoption httpchk OPTIONS /replicahttp-check expect status 200default-server inter 3s fall 3 rise 2 on-marked-down shutdown-sessionsserver pgsql1 192.168.198.162:8432 maxconn 1000 check port 8008 inter 5000 rise 2 fall 2server pgsql2 192.168.198.163:8432 maxconn 1000 check port 8008 inter 5000 rise 2 fall 2server pgsql3 192.168.198.159:8432 maxconn 1000 check port 8008 inter 5000 rise 2 fall 2
EOF
3.5.3 启动HAProxy
启动HAProxy,并设置自启动:
systemctl start haproxy
systemctl enable haproxy
systemctl status haproxy

4 PostgreSQL故障演示
4.1 故障演示前准备
在任意节点上查看Patroni集群状态:
patronictl -c /usr/patroni/conf/patroni_postgresql.yml list

PGSQL1节点为Leader节点
通过虚IP的5000端口连接数据库:
psql -U fbase -h 192.168.198.165 -p 5000

创建数据库和表:
CREATE DATABASE db;\c db
CREATE TABLE tb (id int NOT NULL,name varchar(255) NULL,PRIMARY KEY (id)
);postgres=# CREATE DATABASE db;
CREATE DATABASE
postgres=# \c db
You are now connected to database "db" as user "fbase".
db=# CREATE TABLE tb (
db(#    id int NOT NULL,
db(#    name varchar(255) NULL,
db(#    PRIMARY KEY (id)
db(# );
CREATE TABLE
插入数据:
INSERT INTO tb (id,name) VALUES (1,'MySQL');db=# INSERT INTO tb (id,name) VALUES (1,'MySQL');
INSERT 0 1
查看数据:
SELECT * FROM tb;\qdb=# SELECT * FROM tb;id | name
----+-------1 | MySQL
(1 row)db=# \q
4.2 故障演示结果
关闭PGSQL1节点,模拟节点故障
在任意健康节点上查看Patroni集群状态:
patronictl -c /usr/patroni/conf/patroni_postgresql.yml list
此时PGSQL3节点为Leader节点。
[root@pgsql3 fbdata]# patronictl -c /usr/patroni/conf/patroni_postgresql.yml list
+ Cluster: pgsql13 (7399949065468504207) ------+---------+----+-----------+
| Member      | Host                 | Role    | State   | TL | Lag in MB |
+-------------+----------------------+---------+---------+----+-----------+
| pgsql_slot1 | 192.168.198.162:8432 | Replica | running |  2 |         0 |
| pgsql_slot3 | 192.168.198.159:8432 | Leader  | running |  3 |           |
+-------------+----------------------+---------+---------+----+-----------+

通过虚IP的5000端口连接数据库:
psql -U fbase -h 192.168.198.165 -p 5000

插入数据:
\c dbINSERT INTO tb (id,name) VALUES (2,'Redis');postgres=# \c db
You are now connected to database "db" as user "fbase".
db=#
db=# INSERT INTO tb (id,name) VALUES (2,'Redis');
INSERT 0 1
查看数据:
SELECT * FROM tb;\qdb=# SELECT * FROM tb;id | name
----+-------1 | MySQL2 | Redis
(2 rows)
db=# \q
数据库读写正常。
4.3 重启故障服务器
重新启动故障服务器,查看是否加入集群中。
[root@pgsql3 fbdata]# patronictl -c /usr/patroni/conf/patroni_postgresql.yml list
+ Cluster: pgsql13 (7399949065468504207) ------+-----------+----+-----------+
| Member      | Host                 | Role    | State     | TL | Lag in MB |
+-------------+----------------------+---------+-----------+----+-----------+
| pgsql_slot1 | 192.168.198.162:8432 | Replica | streaming |  3 |         0 |
| pgsql_slot2 | 192.168.198.163:8432 | Replica | running   |  3 |         0 |
| pgsql_slot3 | 192.168.198.159:8432 | Leader  | running   |  3 |           |
+-------------+----------------------+---------+-----------+----+-----------+

PGSQL1节点加入作为备用服务器加入集群。


