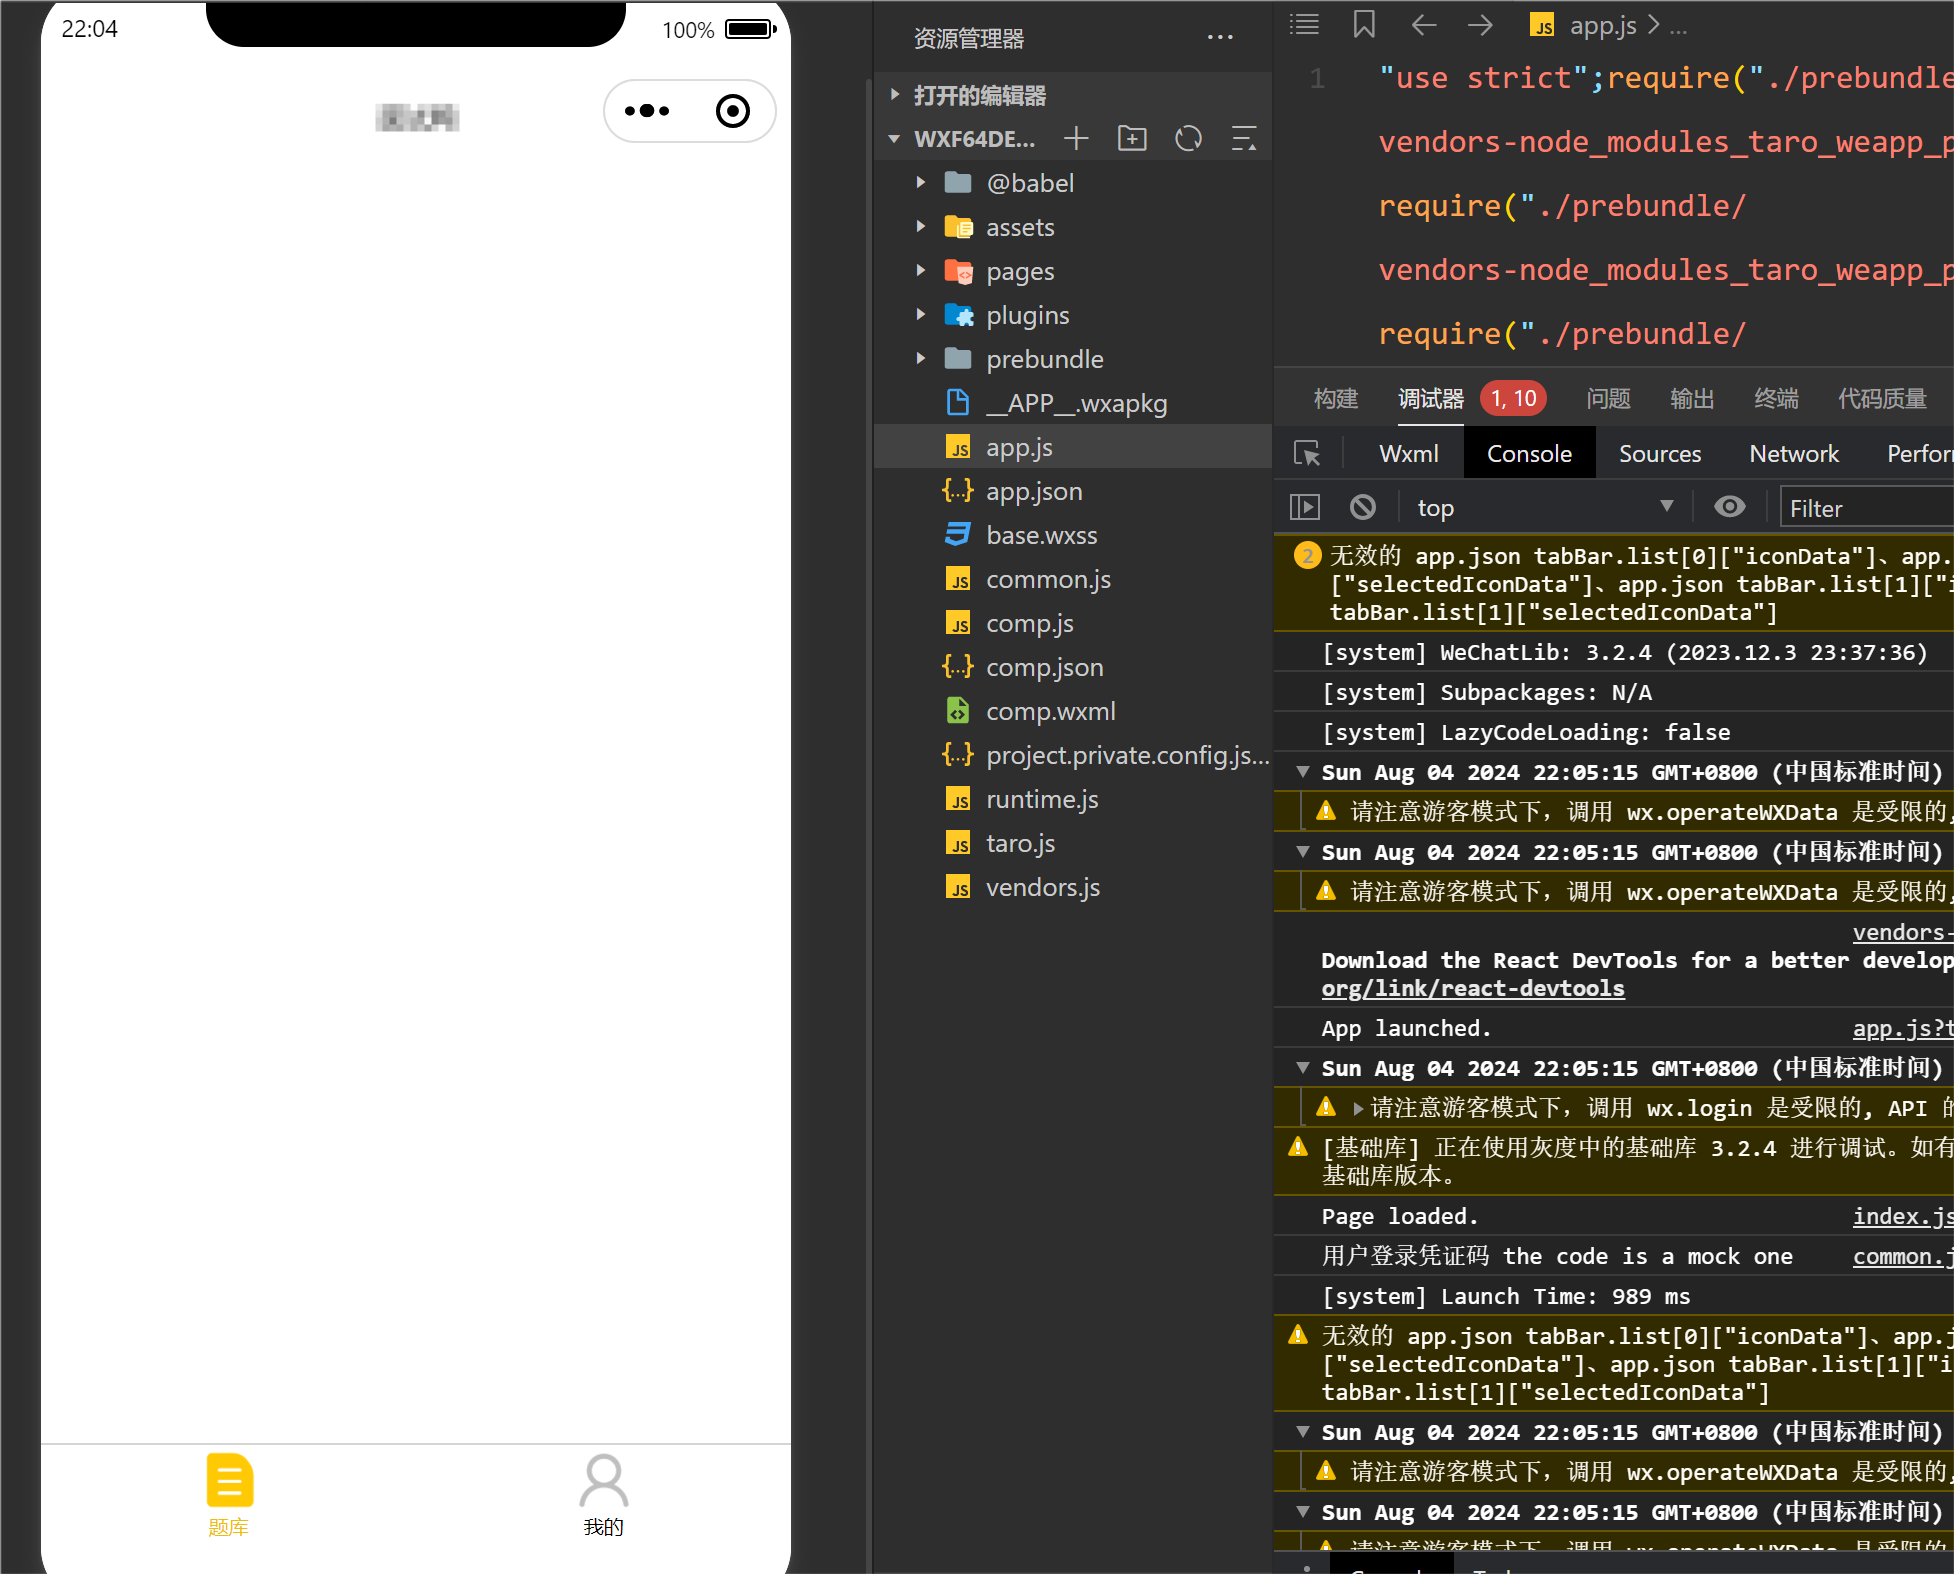
对接后台登录流程
微信官方早都已经禁止开发者直接通过 api 获取用户信息数据了,大家拿个用户的 openid 注册好,剩下的让用户填写就行了。
先上官方的经典登录流程图:

步骤拆分解析:
- 前端通过 调用官方 API
wx.login,将回调中的code临时登陆凭证传递给(请求)后台 - 后台去请求微信的接口
https://api.weixin.qq.com/sns/jscode2session。具体用法参考 官方文档 - 后台请求该接口的响应成功的数据中可以拿到两个值
openid和session_key。其中openid是唯一值,可以当作用户标识,比如判断该用户是否存在,是否注册该用户等。session_key自行处理。
如果需要获取用户信息(现在用户信息毛都没有,获取也没用,别获取了),需要在 wx.login 之前调用 wx.getUserProfile 将 rawData 和 signature 联合 code 一并传递给后台,后台通过 session_key 和 rawData 来反解析 signature 的正确性。
根据现在微信官方的说法,注册时添加微信用户真实信息(头像昵称)是不可能的,前后端交互时,通过
wx.login传递一个 code 仅注册就可以,其它参数目前完全没用
前端代码
不是我不用 wx.getUserProfile,而是这个 api 真没啥信息可获取了,老老实实拿个 openid 注册就行了。
wx.login({success(res) {wx.request({url: 'http://localhost:8888/testApi/wx/login',data: {// encryptedData 和 iv 是用来解析私密用户信息的,但是现在啥也获取不到了,所以没用code: res.code,// encryptedData: InfoRes.encryptedData,// iv: InfoRes.iv,// rawData: InfoRes.rawData,// signature: InfoRes.signature,},}).then((res) => {// 登录认证成功,后台一般会返回登陆凭证(token),存储使用即可});},fail(err) {console.log(err.errMsg);},
});
后端代码
请求第三方(微信)示例
请求第三方接口,这里给出两种获取第三方接口的代码方式,任选其中一种即可。
- pom 中集成 httpclient 包。
HttpClientUtils.java
public class HttpClientUtil {public static String doGet(String url, Map<String, String> param) {// 创建Httpclient对象CloseableHttpClient httpclient = HttpClients.createDefault();String resultString = "";CloseableHttpResponse response = null;try {// 创建uriURIBuilder builder = new URIBuilder(url);if (param != null) {for (String key : param.keySet()) {builder.addParameter(key, param.get(key));}}URI uri = builder.build();// 创建http GET请求HttpGet httpGet = new HttpGet(uri);// 执行请求response = httpclient.execute(httpGet);// 判断返回状态是否为200if (response.getStatusLine().getStatusCode() == 200) {resultString = EntityUtils.toString(response.getEntity(), "UTF-8");}} catch (Exception e) {e.printStackTrace();} finally {try {if (response != null) {response.close();}httpclient.close();} catch (IOException e) {e.printStackTrace();}}return resultString;}public static String doGet(String url) {return doGet(url, null);}public static String doPost(String url, Map<String, String> param) {// 创建Httpclient对象CloseableHttpClient httpClient = HttpClients.createDefault();CloseableHttpResponse response = null;String resultString = "";try {// 创建Http Post请求HttpPost httpPost = new HttpPost(url);// 创建参数列表if (param != null) {List<NameValuePair> paramList = new ArrayList<>();for (String key : param.keySet()) {paramList.add(new BasicNameValuePair(key, param.get(key)));}// 模拟表单UrlEncodedFormEntity entity = new UrlEncodedFormEntity(paramList);httpPost.setEntity(entity);}// 执行http请求response = httpClient.execute(httpPost);resultString = EntityUtils.toString(response.getEntity(), "utf-8");} catch (Exception e) {e.printStackTrace();} finally {try {response.close();} catch (IOException e) {e.printStackTrace();}}return resultString;}public static String doPost(String url) {return doPost(url, null);}public static String doPostJson(String url, String json) {// 创建Httpclient对象CloseableHttpClient httpClient = HttpClients.createDefault();CloseableHttpResponse response = null;String resultString = "";try {// 创建Http Post请求HttpPost httpPost = new HttpPost(url);// 创建请求内容StringEntity entity = new StringEntity(json, ContentType.APPLICATION_JSON);httpPost.setEntity(entity);// 执行http请求response = httpClient.execute(httpPost);resultString = EntityUtils.toString(response.getEntity(), "utf-8");} catch (Exception e) {e.printStackTrace();} finally {try {response.close();} catch (IOException e) {e.printStackTrace();}}return resultString;}
}
使用
Map<String, String> params = new HashMap<>();
// .... 参数添加 params.put("...","...")
String s = HttpClientUtil.doPost(url, params);
SONObject object = JSON.parseObject(s);
- 使用 Springboot 自带的 RestTemplate
RestTemplateUtil
public class RestTemplateUtil {public static JSONObject doPost(String url, MultiValueMap<String, Object> param){RestTemplate restTemplate=new RestTemplate();String s = restTemplate.postForObject(url, param, String.class);return JSONObject.parseObject(s);}
}
使用
MultiValueMap<String, Object> params = new LinkedMultiValueMap<>();
// .... 参数添加 params.add("...","...")
JSONObject object = RestTemplateUtil.doPost(url, params);
登录流程对接
// 现在 rawData 和 signature 已经没什么用了,所以这两个参数相关的逻辑可以删除,此处保留仅做记录
public R wxLogin(String code) {String url = "https://api.weixin.qq.com/sns/jscode2session";MultiValueMap<String, Object> params = new LinkedMultiValueMap<>();params.add("appid",appid);params.add("secret",secret);params.add("js_code",code);params.add("grant_type",grantType);JSONObject object = RestTemplateUtil.doPost(url, params);System.out.println(object);//接收微信接口服务 获取返回的参数String openid = object.getString("openid");String sessionKey = object.getString("session_key");//校验签名 小程序发送的签名signature与服务器端生成的签名signature2 = sha1(rawData + sessionKey)// String signature2 = DigestUtils.sha1Hex(rawData + sessionKey);// System.out.println(signature2);// System.out.println(openid);// if(!signature.equals(signature2)){//     return R.fail("签名校验失败");// }// SONObject rawDataJson = JSONObject.parseObject(rawData);// return R.ok(rawDataJson);// --------这里可以使用 openid 判断用户是否注册,将用户信息插入数据库
}
获取用户信息
通过 API 调用方式直接获取用户信息的方式已经完全没有了,只能让用户自己手动完善个人信息,类似于表单填写,但在此基础上,微信官方提供了相应的开放能力。
此处使用原生的小程序做示例,Taro 和 uniapp 的使用逻辑相同。
获取用户昵称
小程序的 input 组件配置 type="nickname"
<input type="nickname" model:value="{{ nameValue }}" placeholder="请输入昵称" />
Page({data: {nameValue: '',},onLoad(options) {const { name } = options;this.setData({nameValue: name,});},onSubmit() {console.log(this.data.nameValue);},
});

获取用户头像
小程序的 button 组件需设置 open-type="chooseAvatar",并绑定对应的事件,获取用户的(上传)头像临时地址,将其传给后端进行信息保存。
<button open-type="chooseAvatar" bind:chooseavatar="onChooseAvatar"><image src="{{ avatarUrl }}" />
</button>
const defaultAvatarUrl = 'https://mmbiz.qpic.cn/mmbiz/icTdbqWNOwNRna42FI242Lcia07jQodd2FJGIYQfG0LAJGFxM4FbnQP6yfMxBgJ0F3YRqJCJ1aPAK2dQagdusBZg/0';Page({data: {avatarUrl: defaultAvatarUrl,},async onChooseAvatar(e) {const { avatarUrl = '' } = e.detail;const { data, code } = await uploadImg(avatarUrl);code === 200 &&this.setData({avatarUrl: data,});},
});




![[c++][笔记]浅谈几种排序方式---冒泡排序,选择排序,桶排序](https://i-blog.csdnimg.cn/blog_migrate/bc8a9912f213fb0724dd4bd4db3a4331.gif)
