主机配置
3台 12核 24G 2T存储的服务器部署去zookeeper模式的ClickHouse 24.X集群。
Ubuntu(3台服务器都要执行安装)
sudo apt-get install -y apt-transport-https ca-certificates curl gnupg
curl -fsSL 'https://packages.clickhouse.com/rpm/lts/repodata/repomd.xml.key' | sudo gpg --dearmor -o /usr/share/keyrings/clickhouse-keyring.gpg
echo "deb [signed-by=/usr/share/keyrings/clickhouse-keyring.gpg] https://packages.clickhouse.com/deb stable main" | sudo tee \/etc/apt/sources.list.d/clickhouse.list
sudo apt-get update
sudo apt-get install -y clickhouse-server clickhouse-client# 注意安装时会提示,配置好default用户的密码。
CentOS(3台服务器都要执行安装)
sudo yum install -y yum-utils
sudo yum-config-manager --add-repo https://packages.clickhouse.com/rpm/clickhouse.repo
sudo yum install -y clickhouse-server clickhouse-client# 注意安装时会提示,配置好default用户的密码。
配置密码
如果安装的时候没有设置密码,可以使用以下方式配置default用户的密码。
# 生成密码(返回的第一行是明文,第二行是密文)
PASSWORD=$(base64 < /dev/urandom | head -c8); echo "$PASSWORD"; echo -n "$PASSWORD" | sha256sum | tr -d '-'# 以下是部分配置文件请参考修改。
# vi /opt/clickhouse/etc/clickhouse-server/users.d/users.xml
<?xml version="1.0"?>
<clickhouse replace="true">
...<users><default><password remove='1' /><password_sha256_hex>【填写生成的密码密文】</password_sha256_hex><access_management>1</access_management><profile>default</profile><networks>
...
</clickhouse>
修改/etc/hosts(3台服务器)
10.7.0.104      logs-clickhouse-0001
10.7.0.203      logs-clickhouse-0002
10.7.0.153      logs-clickhouse-0003
集群优化与配置
/etc/clickhouse-server/config.d
-
custom.xml(3台服务器)
优化性能的配置
<clickhouse><timezone>Asia/Shanghai</timezone><listen_host>0.0.0.0</listen_host><max_connections>40960</max_connections><max_concurrent_queries>20000</max_concurrent_queries><max_thread_pool_size>20000</max_thread_pool_size><background_pool_size>64</background_pool_size><background_distributed_schedule_pool_size>64</background_distributed_schedule_pool_size><max_table_size_to_drop>0</max_table_size_to_drop><max_partition_size_to_drop>0</max_partition_size_to_drop>
</clickhouse>
-
clusters.xml(3台服务器)
存储结构化(非全文搜索)日志使用,3台服务器组成集群,3分片0副本配置:
<clickhouse><remote_servers><!--这是集群的名称--><opslogsch><shard><internal_replication>true</internal_replication><replica><!--这是host配置的主机名--><host>logs-clickhouse-0001</host><port>9000</port><user>default</user><password>【填写密码明文】</password></replica></shard><shard><internal_replication>true</internal_replication><replica><host>logs-clickhouse-0002</host><port>9000</port><user>default</user><password>【填写密码明文】</password></replica></shard><shard><internal_replication>true</internal_replication><replica><host>logs-clickhouse-0003</host><port>9000</port><user>default</user><password>【填写密码明文】</password></replica></shard><!--这是集群的名称--></opslogsch></remote_servers>
</clickhouse>
-
clickhouse-server中已经集成了clickhouse-keeper,直接启动clickhouse-server即可,所以不用再安装zookeeper。官方建议在独立的节点上运行clickhouse-keeper,如果需要独立节点安装可以使用以下命令:sudo apt-get install -y clickhouse-keeper || sudo yum install -y clickhouse-keeper sudo systemctl enable clickhouse-keeper sudo systemctl start clickhouse-keeper -
keeper.xml(3台服务器)
<clickhouse><keeper_server><tcp_port>9181</tcp_port><!--以下行id每台服务器不能重复--><server_id>1</server_id><log_storage_path>/var/lib/clickhouse/coordination/log</log_storage_path><snapshot_storage_path>/var/lib/clickhouse/coordination/snapshots</snapshot_storage_path><coordination_settings><operation_timeout_ms>10000</operation_timeout_ms><session_timeout_ms>30000</session_timeout_ms><raft_logs_level>warning</raft_logs_level></coordination_settings><raft_configuration><server><id>1</id><hostname>logs-clickhouse-0001</hostname><port>9444</port></server><server><id>2</id><hostname>logs-clickhouse-0002</hostname><port>9444</port></server><server><id>3</id><hostname>logs-clickhouse-0003</hostname><port>9444</port></server></raft_configuration></keeper_server><zookeeper><node><host>logs-clickhouse-0001</host><port>9181</port></node><node><host>logs-clickhouse-0002</host><port>9181</port></node><node><host>logs-clickhouse-0003</host><port>9181</port></node></zookeeper>
</clickhouse>
/etc/clickhouse-server/users.d
- custom.xml(3台服务器)
<clickhouse><profiles><default><max_partitions_per_insert_block>3000</max_partitions_per_insert_block>         </default></profiles>
</clickhouse>
启动ClickHouse(3台服务器)
sudo systemctl enable clickhouse-keeper
sudo systemctl start clickhouse-keeper
sudo systemctl status clickhouse-keeper
检查集群状态(任意服务器执行)
clickhouse-server status
clickhouse-client --password
select * from system.clusters
测试集群(任意服务器执行)
# 在任意服务器登录clickhouse
clickhouse-client --password
# 以下各语句加上 ON CLUSTER opslogsch 会在所有集群服务器同时执行
# 创建数据库
CREATE DATABASE test ON CLUSTER opslogsch;
# 创建本地表
CREATE TABLE test.test_local ON CLUSTER opslogsch
(`id` Int32,`aa` String,`bb` String
)
ENGINE = MergeTree PRIMARY KEY id;
# 创建分布式表
CREATE TABLE test.test_all ON CLUSTER opslogsch as test.test_local ENGINE = Distributed(opslogsch,test,test_local,rand());
# 写本地表
INSERT INTO test.test_local (id,aa,bb)values(1,'a1','b1');
INSERT INTO test.test_local (id,aa,bb)values(1,'a2','b2');
INSERT INTO test.test_local (id,aa,bb)values(1,'a3','b3');
# 写分布式表
INSERT INTO test.test_all (id,aa,bb)values(1,'x1','x1');
# 查分布式表
SELECT * from test.test_all
# 删库
drop DATABASE test ON CLUSTER opslogsch;
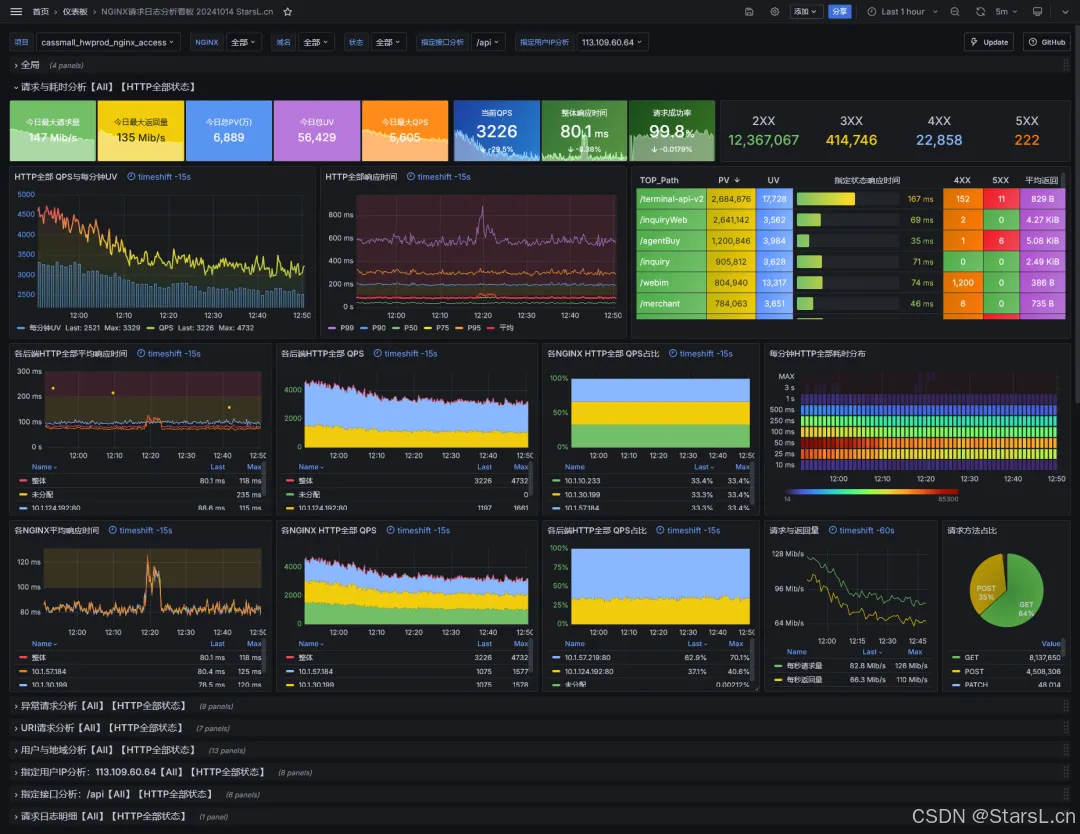
推荐:基于CH的nginx日志分析看板:
你还用ES存请求日志?CH+Vector打造最强Grafana日志分析看板
 ### 监控看板
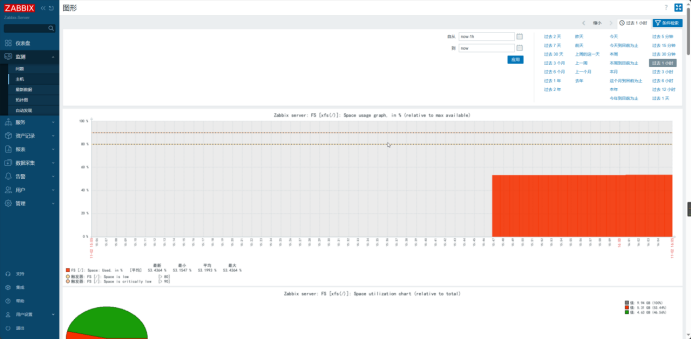
Grafana增加ClickHouse数据源后即可直接导入CH监控看板




![[MRCTF2020]你传你呢](https://img2024.cnblogs.com/blog/3549480/202411/3549480-20241102235027450-2037036268.png)
