效果如图,项目来源于 yoshi389111/github-profile-3d-contrib: This GitHub Action creates a GitHub contribution calendar on a 3D profile image.
1. 创建自己的github主页属性项目——跟你github用户名一致即可, 比如我github名字叫FlameskyDexive, 创建一个FlameskyDexive的同名项目,勾选生成ReadMe文件。
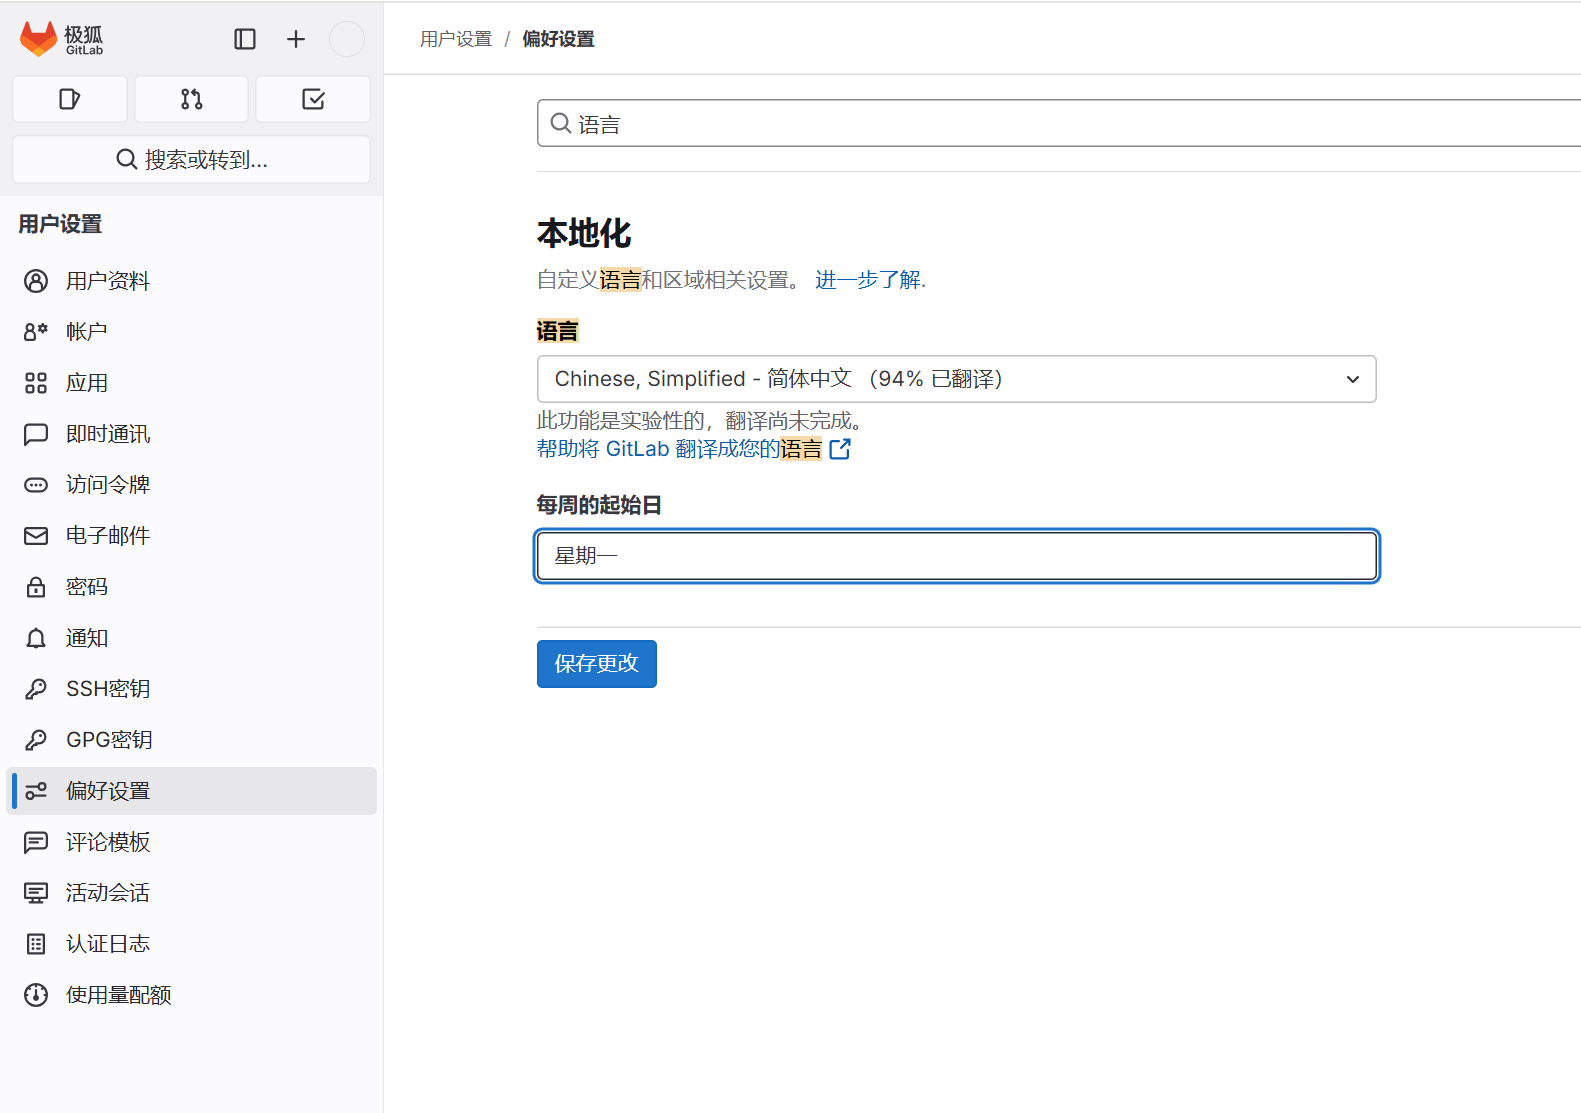
2. 开启Action的读写权限,勾选后保存即可:
- Settings -> Action -> General -> Workflow permissions
- read and write permissions
3. 创建WorkFlow文件:
- 项目Action里面点击创建一个WorkFlow文件,名字叫Profile3D

- 把下面脚本覆盖保存
name: GitHub-Profile-3D-Contribon:schedule: # 03:00 JST == 18:00 UTC- cron: "0 18 * * *"workflow_dispatch:jobs:build:runs-on: ubuntu-latestname: generate-github-profile-3d-contribsteps:- uses: actions/checkout@v3- uses: yoshi389111/github-profile-3d-contrib@0.7.1env:GITHUB_TOKEN: ${{ secrets.GITHUB_TOKEN }}USERNAME: ${{ github.repository_owner }}- name: Commit & Pushrun: |git config user.name github-actionsgit config user.email github-actions@github.comgit add -A .git commit -m "generated"git push
环境变量:
GITHUB_TOKEN: (必须) 访问 tokenUSERNAME: (必须) 目标用户名MAX_REPOS: (可选) 最大仓库数量, 默认 100 个SETTING_JSON: (可选) 设置 json 的路径. 参考示例-settings/*.jsonandsrc/type.tsinyoshi389111/github-profile-3d-contrib仓库查看详情.
4. 进入Action找到刚刚创建好的action文件,选中,点击Run workflow等待执行完成。

脚本生成的文件放在对应的profile-3d-contrib文件夹,分别是以下几个文件
profile-3d-contrib/profile-green-animate.svg
profile-3d-contrib/profile-green.svg
profile-3d-contrib/profile-season-animate.svg
profile-3d-contrib/profile-season.svg
profile-3d-contrib/profile-south-season-animate.svg
profile-3d-contrib/profile-south-season.svg
profile-3d-contrib/profile-night-view.svg
profile-3d-contrib/profile-night-green.svg
profile-3d-contrib/profile-night-rainbow.svg
profile-3d-contrib/profile-gitblock.svg
5. 修改readme文件内容成以下文本:
profile-3d-contrib/profile-customize.svg
