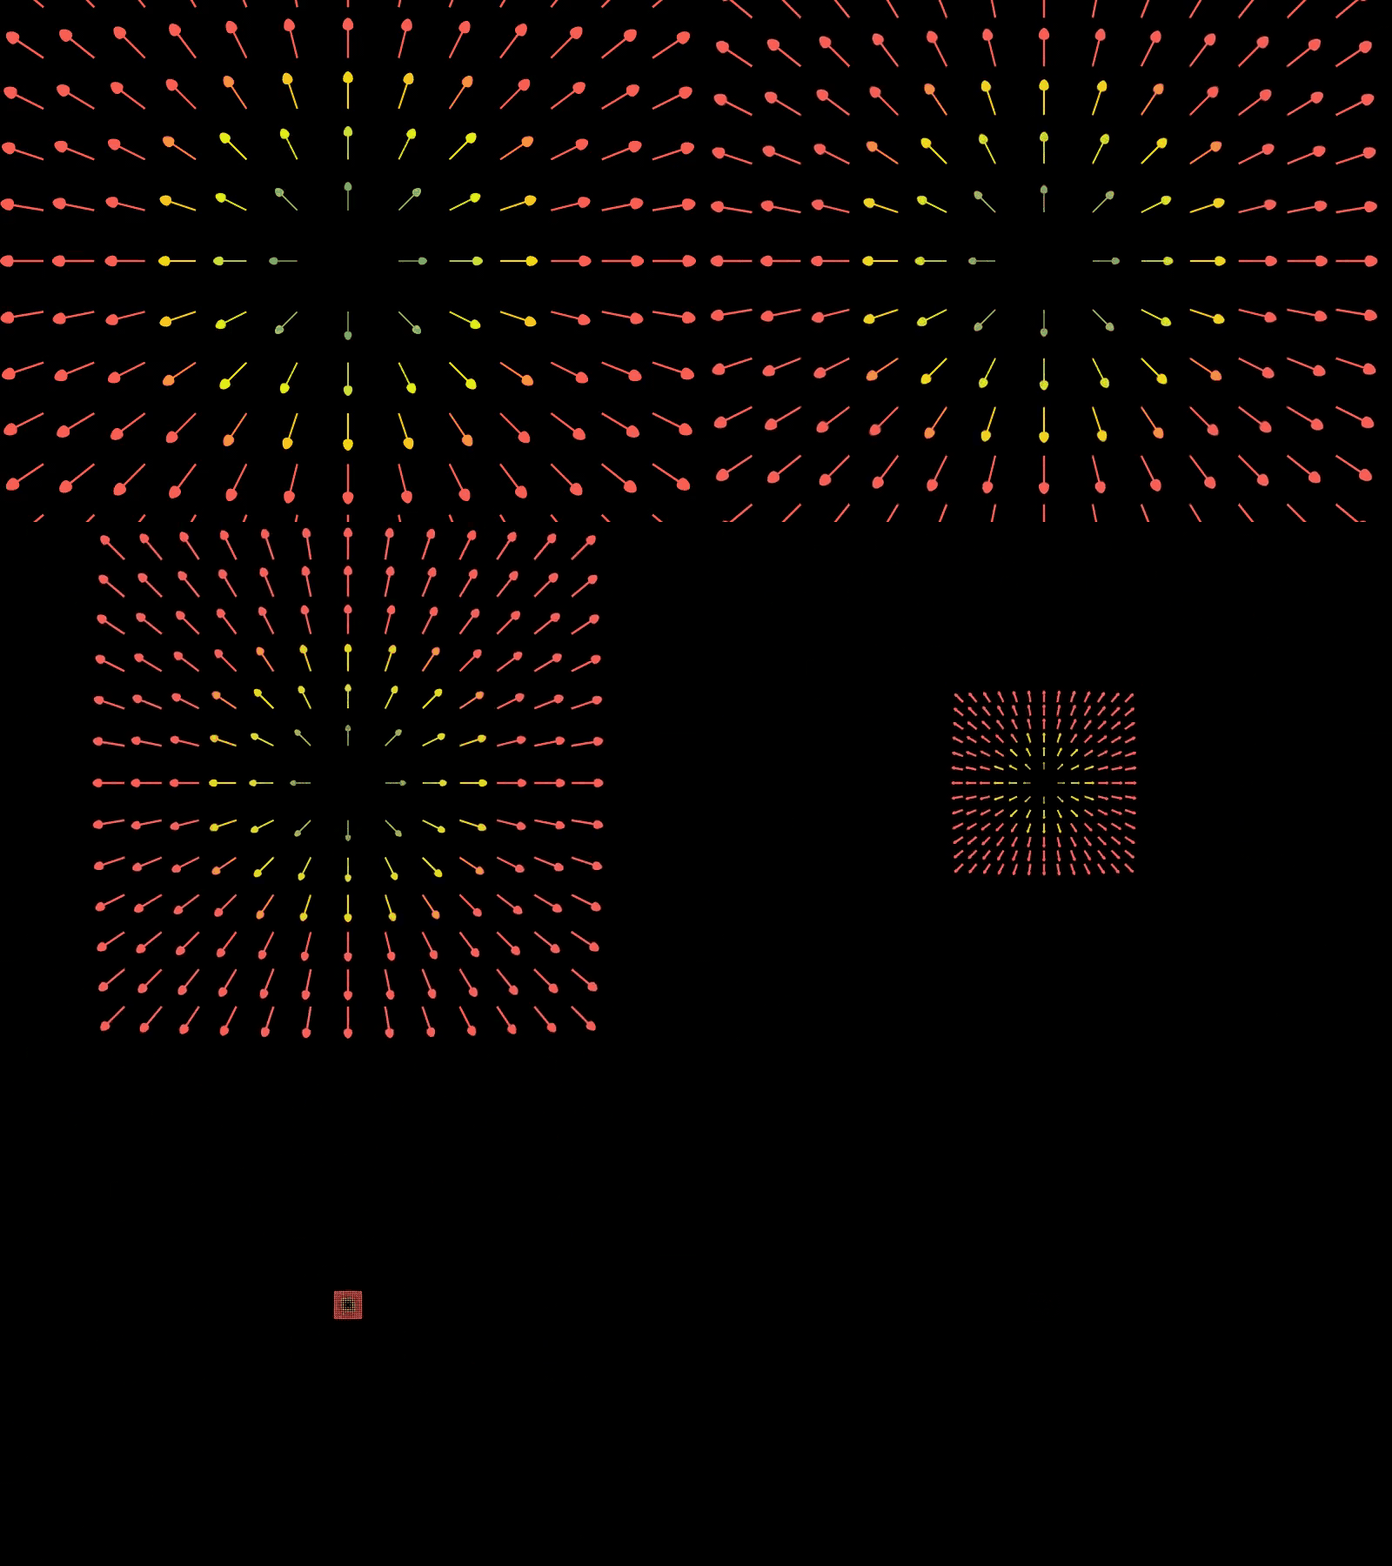
创建一个背景粒子特效需要综合运用HTML5、CSS3和JavaScript。以下是一个简单的示例,演示如何使用HTML5的<canvas>元素和JavaScript来创建一个粒子动画背景。
HTML
<!DOCTYPE html>
<html lang="en">
<head><meta charset="UTF-8"><meta name="viewport" content="width=device-width, initial-scale=1.0"><title>粒子特效背景</title><link rel="stylesheet" href="styles.css">
</head>
<body><canvas id="particleCanvas"></canvas><script src="script.js"></script>
</body>
</html>
CSS (styles.css)
body, html {margin: 0;padding: 0;overflow: hidden;width: 100%;height: 100%;
}canvas {position: absolute;top: 0;left: 0;
}
JavaScript (script.js)
const canvas = document.getElementById('particleCanvas');
const ctx = canvas.getContext('2d');canvas.width = window.innerWidth;
canvas.height = window.innerHeight;class Particle {constructor() {this.x = Math.random() * canvas.width;this.y = Math.random() * canvas.height;this.size = Math.random() * 5 + 1;this.speedX = (Math.random() - 0.5) * 4;this.speedY = (Math.random() - 0.5) * 4;}draw() {ctx.fillStyle = 'rgba(173,216,230, 0.8)';ctx.strokeStyle = 'rgba(173,216,230, 0.8)';ctx.lineWidth = 2;ctx.beginPath();ctx.arc(this.x, this.y, this.size, 0, Math.PI * 2);ctx.closePath();ctx.fill();}update() {this.x += this.speedX;this.y += this.speedY;if (this.x < 0 || this.x > canvas.width || this.y < 0 || this.y > canvas.height) {this.x = Math.random() * canvas.width;this.y = Math.random() * canvas.height;}}
}const particles = [];for (let i = 0; i < 100; i++) {particles.push(new Particle());
}function animate() {ctx.clearRect(0, 0, canvas.width, canvas.height);for (let i = 0; i < particles.length; i++) {particles[i].draw();particles[i].update();}requestAnimationFrame(animate);
}animate();window.addEventListener('resize', () => {canvas.width = window.innerWidth;canvas.height = window.innerHeight;
});
这段代码创建了一个包含100个粒子的系统,每个粒子都有自己的位置、大小和速度。粒子在画布上移动,并在碰到画布边缘时重新定位到随机位置。通过调整粒子的属性(如颜色、大小和速度),你可以自定义动画的外观和行为。


