一、DES加密
#include <openssl/des.h>
#include <cstdio>
#include <iostream>
#include <cstdlib>
#include <iomanip>
#define MAX_LINE 1024
#pragma warning(disable  : 4996)using namespace std;signed main() {const_DES_cblock key = "0183439";DES_key_schedule schedule;DES_set_key_checked(&key, &schedule);const_DES_cblock input;int cnt = 0;const_DES_cblock de[20];cout << "请输入时每满7字节换行:\n";while (cin >> input && input[0] != '\\') {cnt++;//cout << "Input: " << input << "\n";DES_cblock output;DES_ecb_encrypt(&input, &output, &schedule, DES_ENCRYPT);cout << "Encrypted: ";for (int i = 0; i < sizeof(input); i++)cout << setw(2) << setfill('0') << hex << (int)output[i];cout << "\n";DES_ecb_encrypt(&output, &de[cnt], &schedule, DES_DECRYPT);//cout << "Decrypted: " << de << "\n";cout << "\n";}cout << "\n";cout << "Decrypted: ";for (int i = 1; i <= cnt; i++) {cout << de[i] << " ";}cout << "\n";return 0;
}
运行结果

二、AES加密
#include <iostream>
#include <random>
#include <string>
#include <openssl/evp.h>
#include <openssl/rand.h>
#include <openssl/err.h>
#include <openssl/aes.h>
#include <iomanip>
using namespace std;class AESClass {
public:// AES加密函数static string aesEncrypt(string plaintext, string key, string iv);// AES解密函数static string aesDecrypt(string plaintext, string key, string iv);
};class InitClass {
public:// 生成随机数unsigned long long generateRandomNumber();// 生成通用密钥string generateCommonKey();
};// 生成随机数
unsigned long long InitClass::generateRandomNumber() {// 随机数引擎的生成random_device rd;mt19937_64 gen(rd());// 生成16位的随机整数uniform_int_distribution<unsigned long long> dist(1000000000000000ULL, 9999999999999999ULL);return dist(gen);
}// 生成通用密钥
string InitClass::generateCommonKey() {// 随机数引擎的生成random_device rd;mt19937 gen(rd());// 生成16位的随机字符串const string charset = "0123456789abcdefghijklmnopqrstuvwxyzABCDEFGHIJKLMNOPQRSTUVWXYZ";uniform_int_distribution<size_t> dist(0, charset.size() - 1);string result;for (int i = 0; i < 16; ++i) {result += charset[dist(gen)];}return result;
}// AES加密函数
string AESClass::aesEncrypt(string plaintext, string key, string iv) {string ciphertext;EVP_CIPHER_CTX* ctx = EVP_CIPHER_CTX_new();// 初始化if (!EVP_EncryptInit_ex(ctx, EVP_aes_128_cbc(), NULL, (const unsigned char*)key.c_str(), (const unsigned char*)iv.c_str())) {cout << "加密初始化失败" << endl;return "";}// 获取需要加密的缓冲区大小int ciphertext_len = plaintext.length() + AES_BLOCK_SIZE;unsigned char* encrypted = new unsigned char[ciphertext_len];int len;// 加密if (!EVP_EncryptUpdate(ctx, encrypted, &len, (const unsigned char*)plaintext.c_str(), plaintext.length())) {cout << "加密失败" << endl;return "";}// 完成加密int final_len;if (!EVP_EncryptFinal_ex(ctx, encrypted + len, &final_len)) {cout << "加密完成失败" << endl;return "";}len += final_len;// 将密文转换为字符串ciphertext.assign((char*)encrypted, len);delete[] encrypted;EVP_CIPHER_CTX_free(ctx);return ciphertext;
}// AES解密函数
string AESClass::aesDecrypt(string ciphertext, string key, string iv) {string decryptedText;EVP_CIPHER_CTX* ctx = EVP_CIPHER_CTX_new();// 初始化if (!EVP_DecryptInit_ex(ctx, EVP_aes_128_cbc(), NULL, (const unsigned char*)key.c_str(), (const unsigned char*)iv.c_str())) {cout << "解密初始化失败" << endl;return "";}// 获取需要解密的缓冲区大小int decrypted_len = ciphertext.length() + AES_BLOCK_SIZE;unsigned char* decrypted = new unsigned char[decrypted_len];int len;// 解密if (!EVP_DecryptUpdate(ctx, decrypted, &len, (const unsigned char*)ciphertext.c_str(), ciphertext.length())) {cout << "解密失败" << endl;return "";}int plaintext_len = len;// 完成解密int final_len;if (!EVP_DecryptFinal_ex(ctx, decrypted + len, &final_len)) {cout << "解密完成失败" << endl;return "";}plaintext_len += final_len;// 将解密文转换为字符串decryptedText.assign((char*)decrypted, plaintext_len);delete[] decrypted;EVP_CIPHER_CTX_free(ctx);return decryptedText;
}signed main() {AESClass AES;InitClass init;// 要加密的字符串和密钥string inputString;string key = init.generateCommonKey();string iv = to_string(init.generateRandomNumber());// 输入字符串cout << "请输入明文: ";getline(cin, inputString);// cout << "初始化向量: " << iv << endl;// cout << "密钥: " << key << endl;// AES加密string encryptedText = AES.aesEncrypt(inputString, key, iv);if (encryptedText.empty()) {cout << "AES加密失败" << endl;return 1;}cout << "加密后的字符串: " << encryptedText << endl;// AES解密string decryptedText = AES.aesDecrypt(encryptedText, key, iv);if (decryptedText.empty()) {cout << "AES解密失败" << endl;return 1;}cout << "解密后的字符串: " << decryptedText << endl;return 0;
}
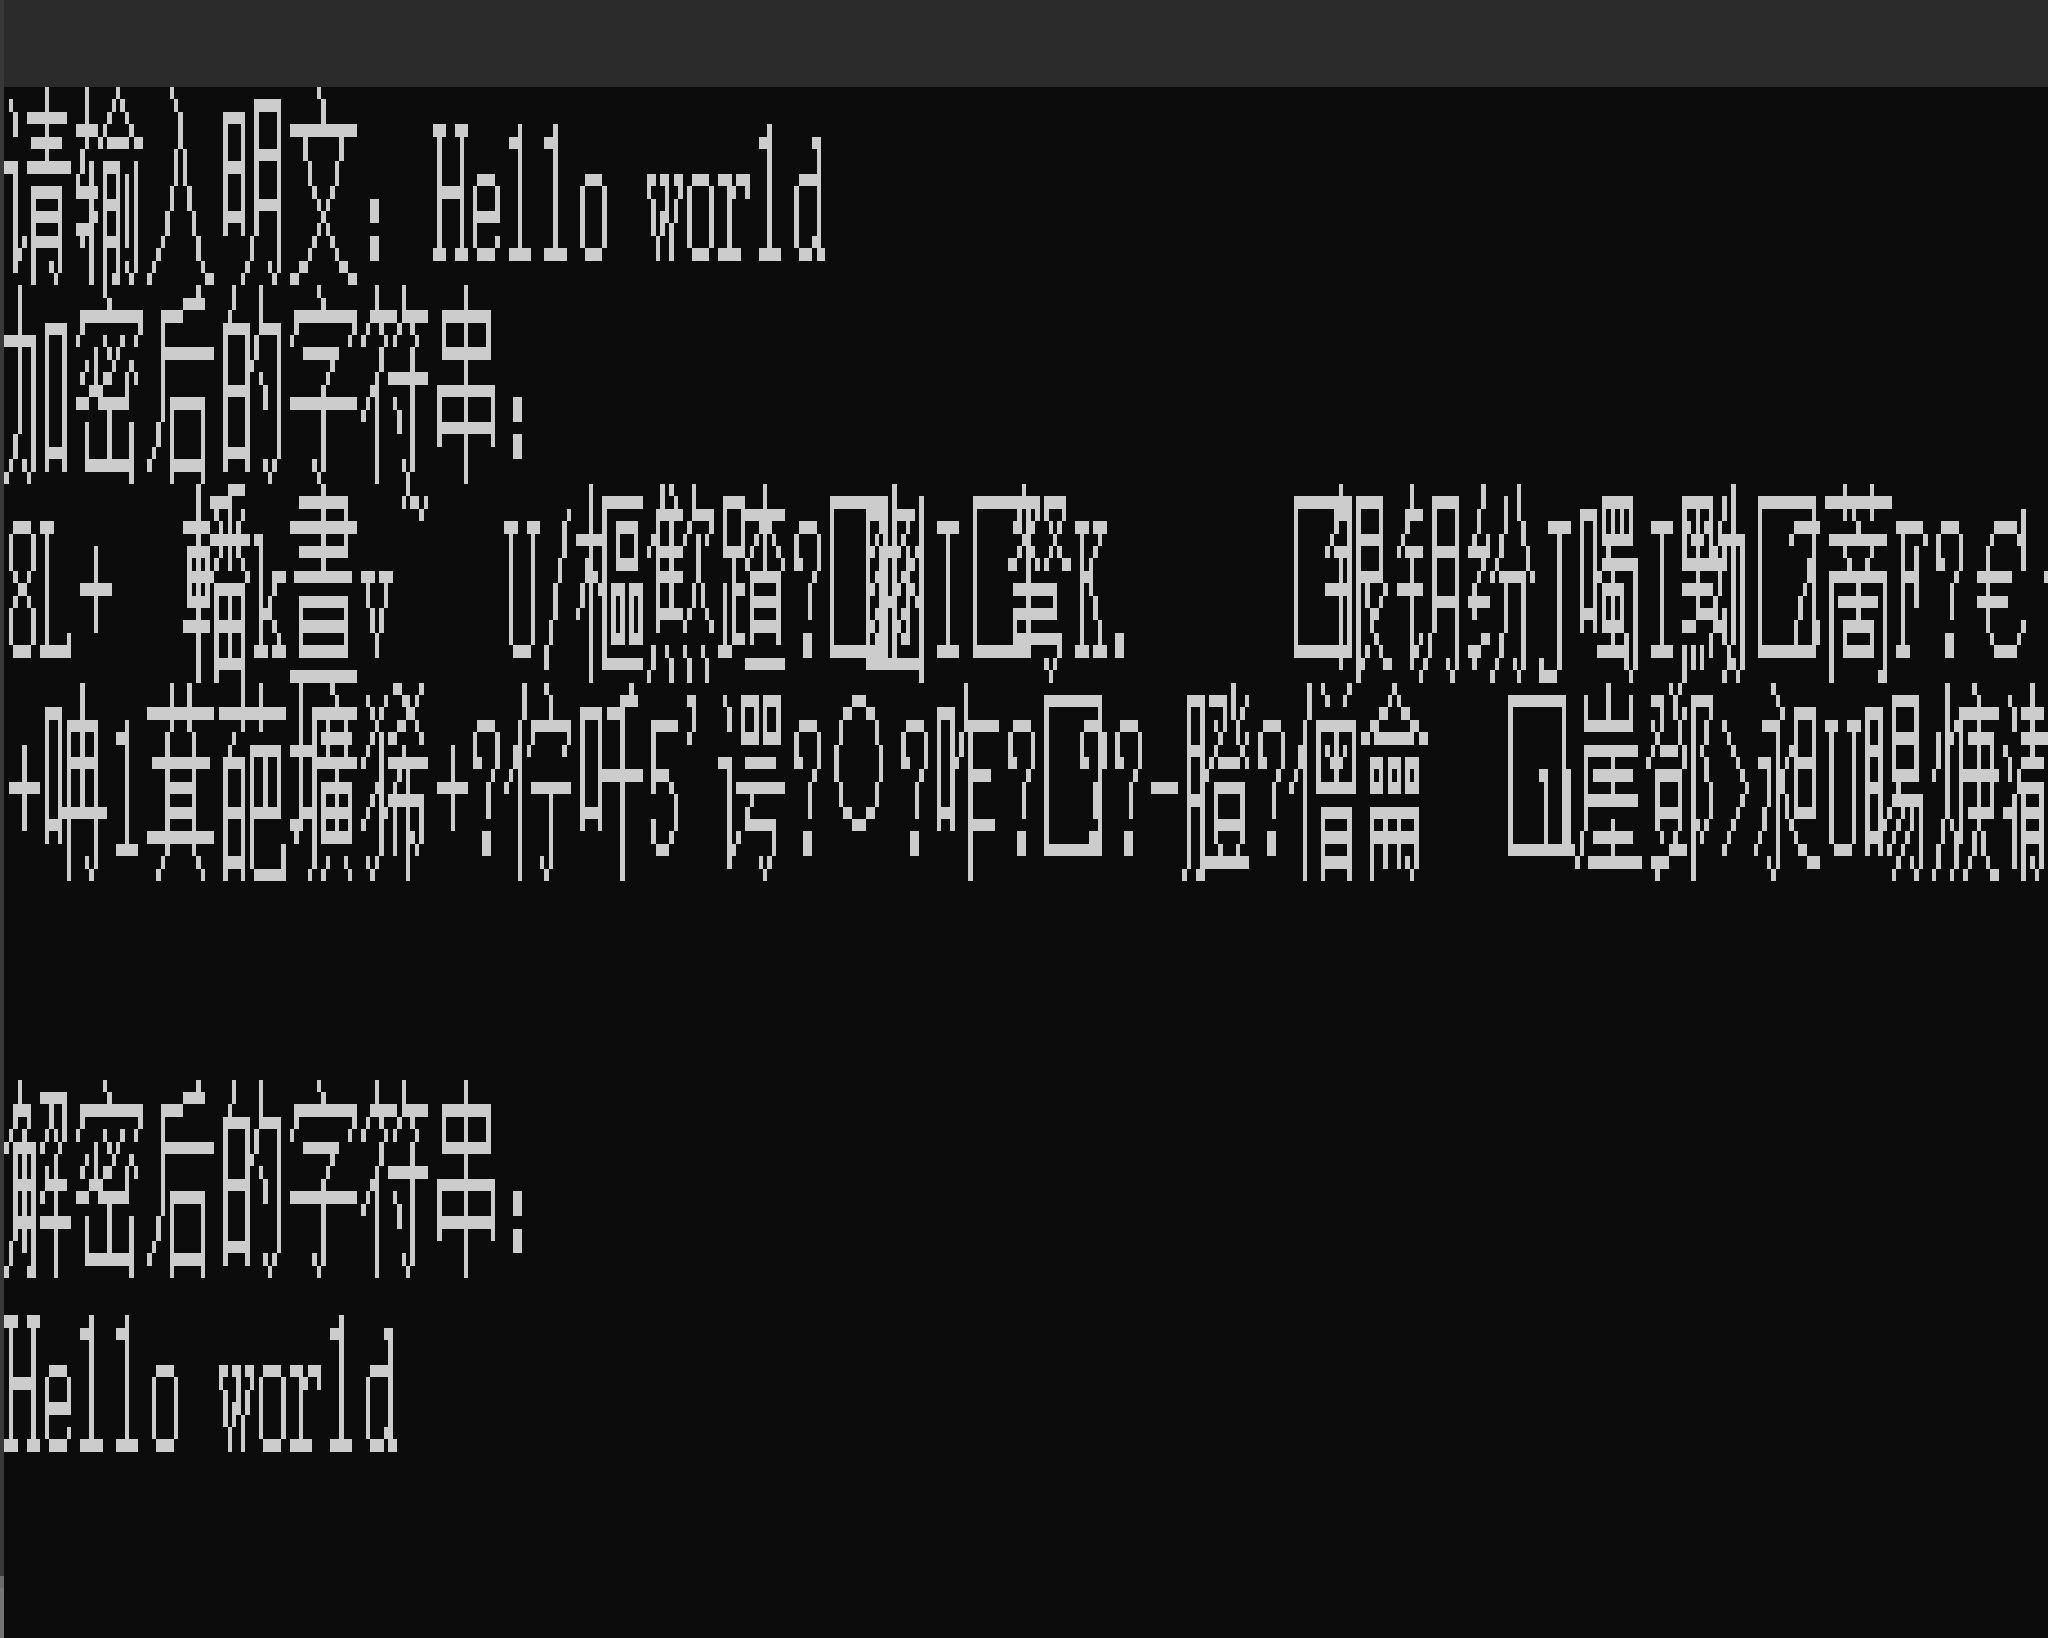
运行结果

三、RSA加密
#include <openssl/rsa.h>
#include <openssl/pem.h>
#include <openssl/err.h>
#include <iostream>
#include <string>
#pragma warning(disable  : 4996)
using namespace std;// 生成RSA密钥对
RSA* createRSAKeyPair() {int keyLength = 2048; // 密钥长度unsigned long e = RSA_F4; // 公钥指数(通常是RSA_F4)RSA* rsa = RSA_generate_key(keyLength, e, NULL, NULL); // 生成密钥if (rsa == NULL) {cerr << "密钥生成失败" << endl;return NULL;}return rsa; // 返回生成的RSA密钥
}// 获取PEM格式的公钥
string getPublicKey(RSA* rsa) {BIO* bio = BIO_new(BIO_s_mem()); // 创建内存BIOPEM_write_bio_RSA_PUBKEY(bio, rsa); // 将公钥写入BIOsize_t pubKeyLen = BIO_pending(bio); // 获取公钥长度char* pubKey = new char[pubKeyLen + 1]; // 分配内存BIO_read(bio, pubKey, pubKeyLen); // 读取公钥pubKey[pubKeyLen] = '\0'; // 确保字符串以NULL结尾string publicKey(pubKey); // 将公钥转换为字符串delete[] pubKey; // 释放内存BIO_free_all(bio); // 释放BIOreturn publicKey; // 返回公钥字符串
}// 获取PEM格式的私钥
string getPrivateKey(RSA* rsa) {BIO* bio = BIO_new(BIO_s_mem()); // 创建内存BIOPEM_write_bio_RSAPrivateKey(bio, rsa, NULL, NULL, 0, NULL, NULL); // 将私钥写入BIOsize_t privKeyLen = BIO_pending(bio); // 获取私钥长度char* privKey = new char[privKeyLen + 1]; // 分配内存BIO_read(bio, privKey, privKeyLen); // 读取私钥privKey[privKeyLen] = '\0'; // 确保字符串以NULL结尾string privateKey(privKey); // 将私钥转换为字符串delete[] privKey; // 释放内存BIO_free_all(bio); // 释放BIOreturn privateKey; // 返回私钥字符串
}// 消息加密
string encryptMessage(RSA* rsa, const string& message) {size_t rsaLen = RSA_size(rsa); // 获取RSA密钥大小unsigned char* encryptedMessage = new unsigned char[rsaLen]; // 分配内存int result = RSA_public_encrypt(message.length(), // 公钥加密reinterpret_cast<const unsigned char*>(message.c_str()), // 原始消息encryptedMessage, // 加密后的消息rsa,RSA_PKCS1_PADDING); // 使用PKCS#1填充if (result == -1) { // 加密失败char* err = new char[130];ERR_load_crypto_strings();ERR_error_string(ERR_get_error(), err);cerr << "加密失败 " << err << endl;delete[] err;return "";}string encryptedString(reinterpret_cast<char*>(encryptedMessage), result); // 将加密后的消息转换为字符串delete[] encryptedMessage; // 释放内存return encryptedString; // 返回加密后的字符串
}// 消息解密
string decryptMessage(RSA* rsa, const string& encryptedMessage) {size_t rsaLen = RSA_size(rsa); // 获取RSA密钥大小unsigned char* decryptedMessage = new unsigned char[rsaLen]; // 分配内存int result = RSA_private_decrypt(encryptedMessage.length(), // 私钥解密reinterpret_cast<const unsigned char*>(encryptedMessage.c_str()), // 加密后的消息decryptedMessage, // 解密后的消息rsa,RSA_PKCS1_PADDING); // 使用PKCS#1填充if (result == -1) { // 解密失败char* err = new char[130];ERR_load_crypto_strings();ERR_error_string(ERR_get_error(), err);cerr << "解密失败" << err << endl;delete[] err;return "";}string decryptedString(reinterpret_cast<char*>(decryptedMessage), result); // 将解密后的消息转换为字符串delete[] decryptedMessage; // 释放内存return decryptedString; // 返回解密后的字符串
}signed main() {// 生成密钥对RSA* rsa = createRSAKeyPair();if (rsa == NULL) {return -1;}string message;// 输入明文字符串cout << "请输入明文:";getline(cin, message);// 获取并显示公钥和私钥string publicKey = getPublicKey(rsa);string privateKey = getPrivateKey(rsa);// cout << "\n公钥:\n" << publicKey << endl;// cout << "私钥:\n" << privateKey << endl;string encryptedMessage = encryptMessage(rsa, message);cout << "加密后的字符串:\n" << encryptedMessage << "\n" << endl;// 解密消息string decryptedMessage = decryptMessage(rsa, encryptedMessage);cout << "解密后的字符串:\n" << decryptedMessage << endl;// 释放RSA对象RSA_free(rsa);return 0;
}
运行结果
