Python实现URL自动转二维码的高效方法
安装包依赖
pip install qrcode
pip install pillow
程序
import qrcode
data = "https://www.cnblogs.com/tianwuyvlianshui/"#网址
img = qrcode.make(data)
img.save("blogs.png")#生成图片命名
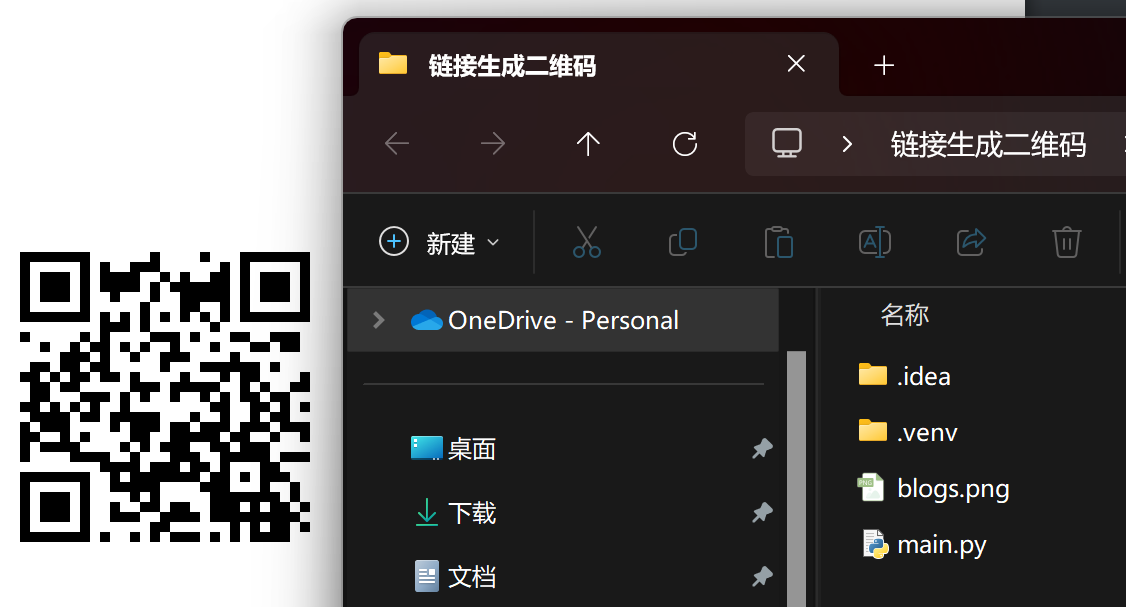
运行后将在工程文件夹下生成二维码
pip install Image
pip install pillow
添加二维码作用描述
import qrcode
from PIL import Image, ImageDraw, ImageFont#转化的网址
data = "https://www.cnblogs.com/tianwuyvlianshui/"# 生成二维码并转换为RGB模式
qr_img = qrcode.make(data).convert('RGB')# 创建带文案的画布(精确计算尺寸)
canvas_width = qr_img.width
canvas_height = qr_img.height + 50  # 二维码高度 + 文案区域高度
canvas = Image.new('RGB', (canvas_width, canvas_height), (255, 255, 255))# 精确粘贴二维码(使用四元组定位)
canvas.paste(qr_img, (0, 0, qr_img.width, qr_img.height))# 添加中文文案(需要中文字体文件)
try:font = ImageFont.truetype('msyh.ttc', 20)  # 微软雅黑字体
except:font = ImageFont.load_default()print("未找到中文字体,已切换默认字体")draw = ImageDraw.Draw(canvas)
text = "技术博客"
text_width = draw.textlength(text, font=font)
x_position = (canvas_width - text_width) // 2  # 水平居中
draw.text((x_position, qr_img.height + 10), text, fill=(0,0,0), font=font)canvas.save("blogs_with_text.png")


