1.安装依赖
npm i vite-plugin-svg-icons
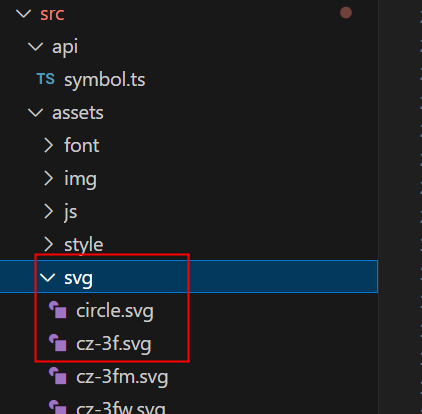
2.文件存放svg
3.全局组件svg-icon(直接放到全局组件目录下)

<template><svg class="svg-icon"><use :xlink:href="`#icon-${props.name}`" class="mySVG":style="'stroke:' + props.color + ';color:' + props.color + ';fill:' + props.color"/></svg>
</template><script setup lang="ts">
type Props = {name: string,color?: string
}
const props = withDefaults(defineProps<Props>(), {name: '',color: ''
})</script><style lang="scss" scoped>//这里可以自定义一些样式,例如:
.svg-icon {display: inline-block;overflow: hidden;vertical-align: -0.15em;fill: currentColor;display: flex;width: 32px;height: 20px;// align-items: center;// justify-content: center;
}
</style>
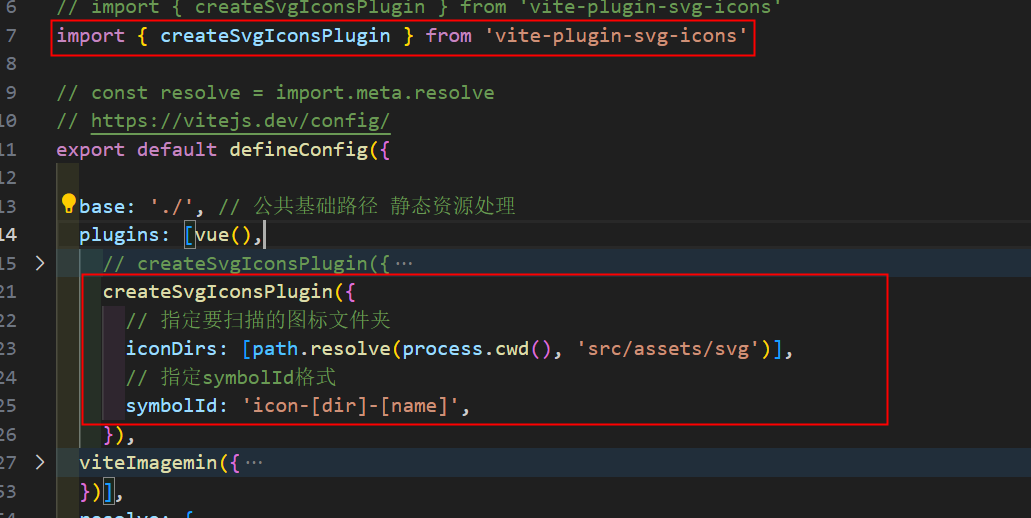
4.vite配置:vite.config.ts


import { createSvgIconsPlugin } from 'vite-plugin-svg-icons'createSvgIconsPlugin({// 指定要扫描的图标文件夹iconDirs: [path.resolve(process.cwd(), 'src/assets/svg')],// 指定symbolId格式symbolId: 'icon-[dir]-[name]',}),
5.main.js 引入
import 'virtual:svg-icons-register'
// 注册全局SvgIcon组件===单独注册方式
app.component('SvgIcon',SvgIcon)
如果是全局组件已经注册 这里无需单独注册
全局注册组件方法
6.组件使用

效果

7.fill样式无效
如果svg的内联样式设置fill,组件里就无法修改
需要修改svg代码里的fill:currentColor