目录
创建百度智能云账号
代码部分:
创建百度智能云账号
网址:
百度智能云-云智一体深入产业
点击导航栏中的产品,再选择人脸与人体

再选择人脸搜索

进入后,可以先去领取免费资源,如果不领取,后面是无法调用api的,建议是把所有的免费资源都领取,我是全部都领取了。


然后就是创建应用,按照要求填写就好。

创建成功后,可以在应用列表看到自己创建好的应用。下图用红色方框圈起来的在后续代码中需要填写。

接着我们可以创建我们的可视化人脸库。

按照要求创建即可,下图是我已经创建成功的。
再点进自己创建好的人脸库,创建分组,这里我已经创建好了四个分组,接着就是进入分组,创建用户,添加图片


这一切完成后,就有了自己的人像数据库。
代码部分:
完整代码:
import cv2
from aip import AipFace
from io import BytesIO
import base64
from PIL import Image,ImageDraw, ImageFont
import threading
import numpy as np
import imutils
import time# 在图像上绘制文本
def cv2ImgAddText(img, text, left, top, textColor=(0, 255, 0), textSize=20):if (isinstance(img, np.ndarray)):  # 判断是否OpenCV图片类型img = Image.fromarray(cv2.cvtColor(img, cv2.COLOR_BGR2RGB))# 创建一个可以在给定图像上绘图的对象draw = ImageDraw.Draw(img)# 字体的格式fontStyle = ImageFont.truetype("simsun.ttc", textSize, encoding="utf-8")# 绘制文本draw.text((left, top), text, textColor, font=fontStyle)# 转换回OpenCV格式return cv2.cvtColor(np.asarray(img), cv2.COLOR_RGB2BGR)# 将图像格式转换为base64格式
def frame2base64(frame):img = Image.fromarray(frame)  # 将每一帧转为Imageoutput_buffer = BytesIO()  # 创建一个BytesIOimg.save(output_buffer, format='JPEG')  # 写入output_bufferbyte_data = output_buffer.getvalue()  # 在内存中读取base64_data = base64.b64encode(byte_data)  # 转为BASE64return base64_data  # 转码成功 返回base64编码def process(image,ls):""" 调用人脸检测 """""" 如果有可选参数 """# 换成自己的百度appidAPP_ID = ''API_KEY = ''SECRET_KEY = ''groupIdList = ''imageType = 'BASE64'base64 = frame2base64(image)base64 = str(base64,'UTF-8')options = {}options["max_face_num"] = 10options["face_type"] = "LIVE"options["match_threshold"] = 0#options["liveness_control"] = "NORMAL"client = AipFace(APP_ID, API_KEY, SECRET_KEY)""" 如果有可选参数 """options = {}options["max_face_num"] = 10options["match_threshold"] = 0options["quality_control"] = "LOW"options["liveness_control"] = "LOW"options["max_user_num"] = 7start3 = time.time()json1 = client.multiSearch(base64, imageType, groupIdList, options)print("*******:", time.time() - start3)print("json1:", json1)if json1['error_msg'] == 'SUCCESS':face_num = json1['result']['face_num']for i in range(face_num):x = max(int(json1['result']['face_list'][i]['location']['left']), 0)y = max(int(json1['result']['face_list'][i]['location']['top']), 0)width = int(json1['result']['face_list'][i]['location']['width'])height = int(json1['result']['face_list'][i]['location']['height'])cv2.rectangle(image, (x, y), (x + width, y + height), (0, 0, 255), 2)print("$$$$$$$$$$$$$$$$$$$$$$$$$")print("json1:", json1)if json1['result']['face_list'][i]['user_list'][0]['score']>70:print(json1['result']['face_list'][i]['user_list'][0]['user_id'])image = cv2ImgAddText(image, json1['result']['face_list'][i]['user_list'][0]['user_id'],max(x - 20, 0), max(y - 20, 0), (255, 0, 0), 60)else:image = cv2ImgAddText(image, "访客",max(x - 20, 0), max(y - 20, 0), (255, 0, 0), 60)ls.append(image)else:print("************************")print("没有检测到人脸:", json1)def main():# 使用摄像头检测# video_capture = cv2.VideoCapture(0)# 使用本地视频文件检测video_capture = cv2.VideoCapture('test6.mp4')fps_time =0f = 0start = time.time()while True:f += 1ls = []if f == 30:print("时间到:", time.time()-start)breakret, frame = video_capture.read()# t = threading.Thread(target=process, args=(frame, ls))  # 使用线程# t.start()# t.join()process(frame, ls)frame = ls[0] if ls else frameframe = imutils.resize(frame, width=400)frame = cv2.putText(frame, '%d, FPS: %f' % (f, 1.0 / (time.time() - fps_time)),(10, 20), cv2.FONT_HERSHEY_SIMPLEX, 0.5, (0, 255, 0), 1)fps_time = time.time()cv2.imshow('wx', frame)if cv2.waitKey(1) & 0xFF == ord('Q'):cv2.destroyAllWindows()video_capture.release()break
if __name__ == "__main__":main()
后续写了一点 注册,更新人脸数据库的代码:
from aip import AipFace
from PIL import Image
from io import BytesIO
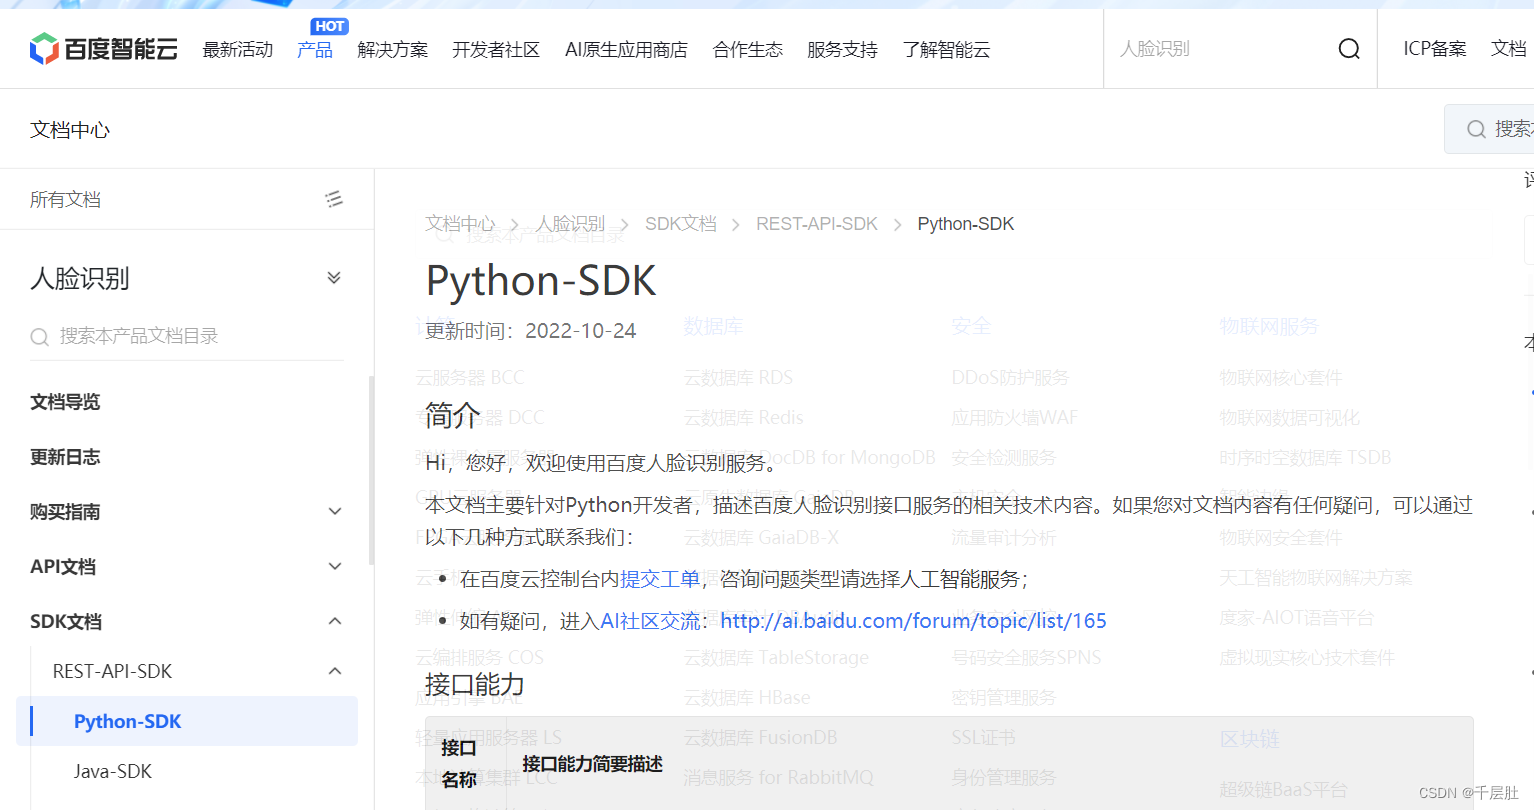
import base64def frame2base64(image_path):# img = Image.fromarray(frame) # 将每一帧转为Imageimg = Image.open(image_path)output_buffer = BytesIO() # 创建一个BytesIOimg.save(output_buffer, format='JPEG') # 写入output_bufferbyte_data = output_buffer.getvalue() # 在内存中读取base64_data = base64.b64encode(byte_data) # 转为BASE64return base64_data # 转码成功 返回base64编码def user_register(image,groupId, userId):""" 你的 APPID AK SK """APP_ID = ''API_KEY = ''SECRET_KEY = ''client = AipFace(APP_ID, API_KEY, SECRET_KEY)# 将图片转换为 base64 类型image = frame2base64(image)image = str(image, 'UTF-8')# 图片类型imageType = "BASE64"# 分组groupId = groupId# 用户iduserId = userId""" 调用人脸注册 """json1 = client.addUser(image, imageType, groupId, userId)while json1['error_msg'] == 'Open api qps request limit reached':json1 = client.addUser(image, imageType, groupId, userId)print("jason1:", json1)# """ 如果有可选参数 """# options = {}# options["user_info"] = "user's info"# options["quality_control"] = "NORMAL"# options["liveness_control"] = "LOW"# options["action_type"] = "REPLACE"## """ 带参数调用人脸注册 """# client.addUser(image, imageType, groupId, userId, options)def user_update(image, groupId,userId):""" 你的 APPID AK SK """APP_ID = ''API_KEY = ''SECRET_KEY = ''client = AipFace(APP_ID, API_KEY, SECRET_KEY)# 将图片转换为 base64 类型image = frame2base64(image)image = str(image, 'UTF-8')imageType = "BASE64"# 分组IdgroupId = groupId# 用户IduserId = userId""" 调用人脸更新 """jason2 = client.updateUser(image, imageType, groupId, userId)print("jason2:", jason2)# """ 如果有可选参数 """# options = {}# options["user_info"] = "user's info"# options["quality_control"] = "NORMAL"# options["liveness_control"] = "LOW"# options["action_type"] = "REPLACE"## """ 带参数调用人脸更新 """# client.updateUser(image, imageType, groupId, userId, options)if __name__ == "__main__":image = "L1.JPG"groupId = "group"userId = "2020"user_register(image, groupId, userId)百度也提供了 详细的 Python-SDK 供大家学习使用。
创作不易,求点赞,求收藏!,如有问题欢迎留言。