1.先设置9个div,如下:
<div class="wrapper"><div class="cell"></div><div class="cell"></div><div class="cell"></div><div class="cell"></div><div class="cell"></div><div class="cell"></div><div class="cell"></div><div class="cell"></div><div class="cell"></div></div>css:
.wrapper {width: 310px;display: flex;flex-wrap: wrap;}.cell {width: 100px;height: 100px;border-right: 1px solid #000;border-bottom: 1px solid #000;}先这样写样式,出来的效果图是这样的
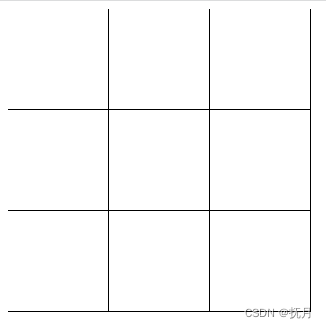
看的出来我们不想要最右侧的边框和最下面的边框,这里要使用到nth-child
.cell:nth-child(3n+3) {border-right: none;}这里:- 3n 为 3 的倍数,即每个行的第一个数字,代表行数
- +3 代表第几个元素,这里是第 3 个元素
- 合在一起 3n+3 表示每行的第 3 个元素。
:nth-child(an+b) 公式中:- a 表示多少行
- n 表示第 n 行
- +b 表示在第 n 行的第 b 个元素结合使用便可以精确定位一个元素。
3n可以理解为你把cell分为了3个一组3个一组,+3则是3个一组中的第三个。
效果如下图:

接下来我们要把最下面的线去掉 :
.cell:nth-child(n+7) {border-bottom: none;}这个代表不分组。所有cell的第七个元素开始去除下边框。

效果就实现出来了。
当然如果你是动态载入数据,想让他无限往下延伸,不知道多少个div的话,可以使用nth-last-child。
这里我们动态添加12个div
<div class="wrapper" id="wrapper"></div><script>for(let i = 0 ; i < 12 ; i++){$('#wrapper').append(`<div class="cell"></div>`)}</script>css:
.cell:nth-child(3n+3) {border-right: none;}/* .cell:nth-child(n+7) {border-bottom: none;} */.cell:nth-last-child(-n+3) {border-bottom: none;}这里就不能再使用n+7了,使用nth-last-child(-n+3)
理解为最后的3个元素去除最下面边框,效果如下:
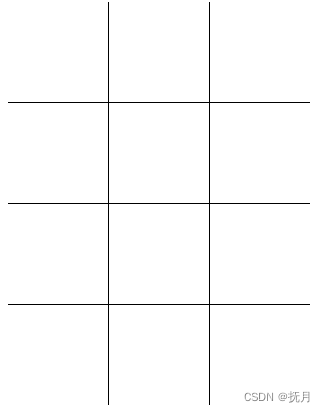
如果你的数据不能被3整除的话,建议使用%。取余几个就加几个div最终实现这个效果。2个一排的也是同理实现。
