一、前言:之前工作中遇到的checkbox的使用是左边一个复选框,右边一个text。系统学完之后发现那样做的话有点别扭,还是中规中矩的舒坦。记录一下学习经过。
二、代码展示:
1.使用系统自带的checkbox插件。
创建一个CheckBoxActivity
public class CheckBoxActivity extends AppCompatActivity {@Overrideprotected void onCreate(Bundle savedInstanceState) {super.onCreate(savedInstanceState);setContentView(R.layout.activity_check_box);}
}
与之对应的xml
<?xml version="1.0" encoding="utf-8"?>
<LinearLayout xmlns:android="http://schemas.android.com/apk/res/android"xmlns:app="http://schemas.android.com/apk/res-auto"xmlns:tools="http://schemas.android.com/tools"android:layout_width="match_parent"android:layout_height="match_parent"tools:context=".checkbox.CheckBoxActivity"><CheckBoxandroid:layout_width="match_parent"android:layout_height="wrap_content"android:text="这是系统的checkBox"android:padding="5dp"/></LinearLayout>
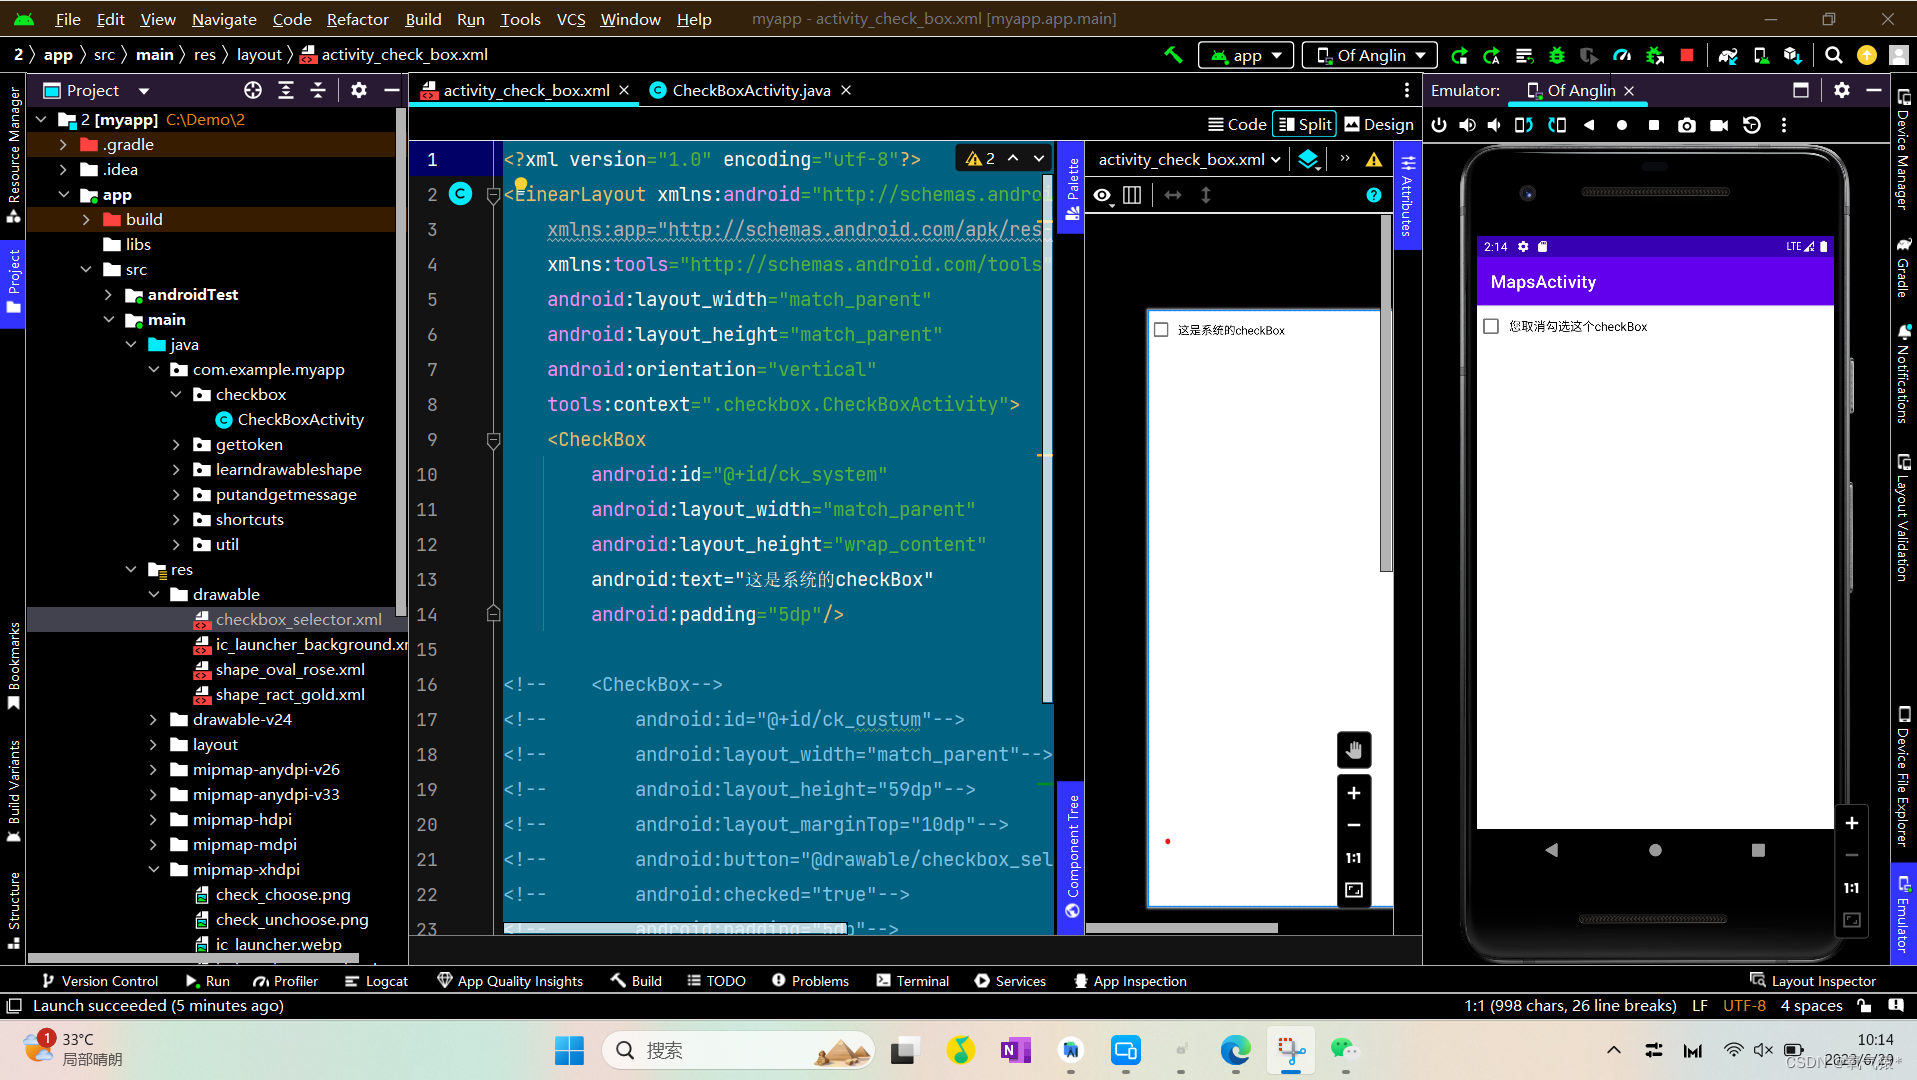
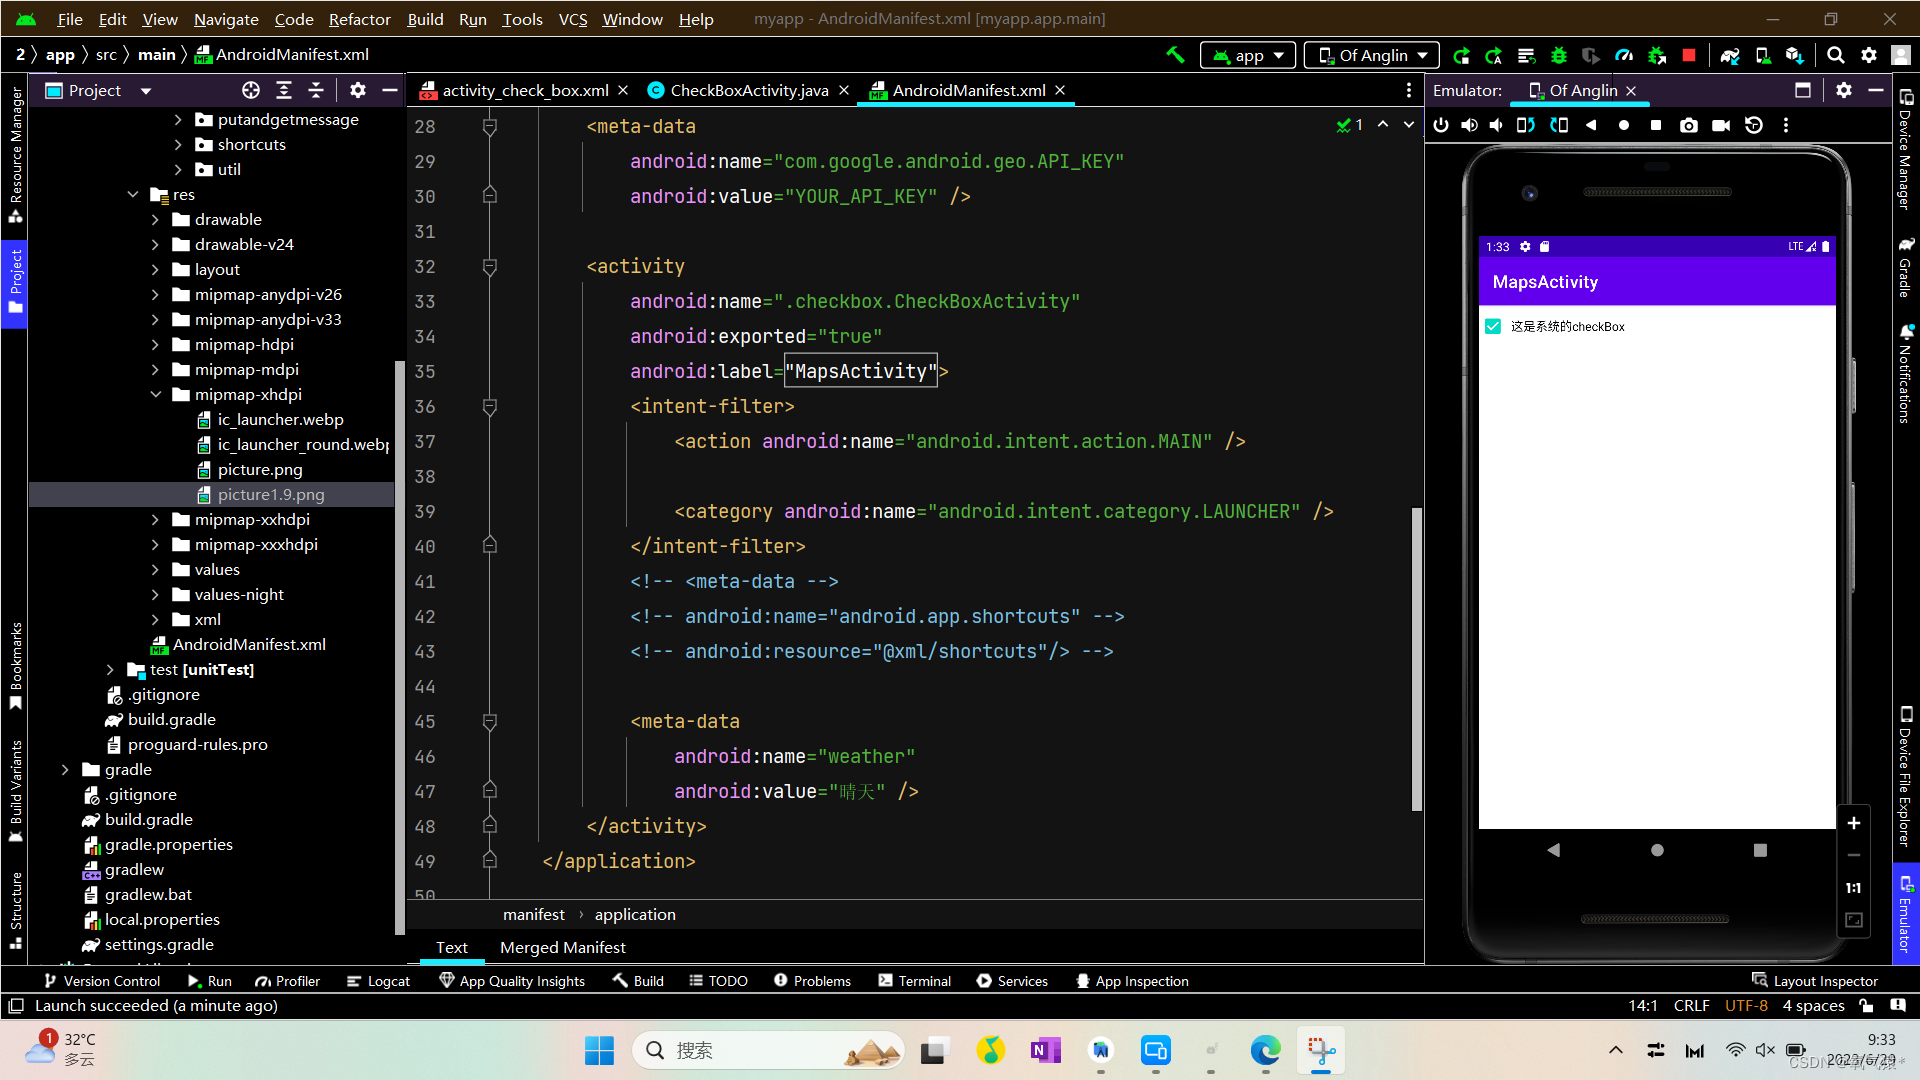
效果图展示
报错了
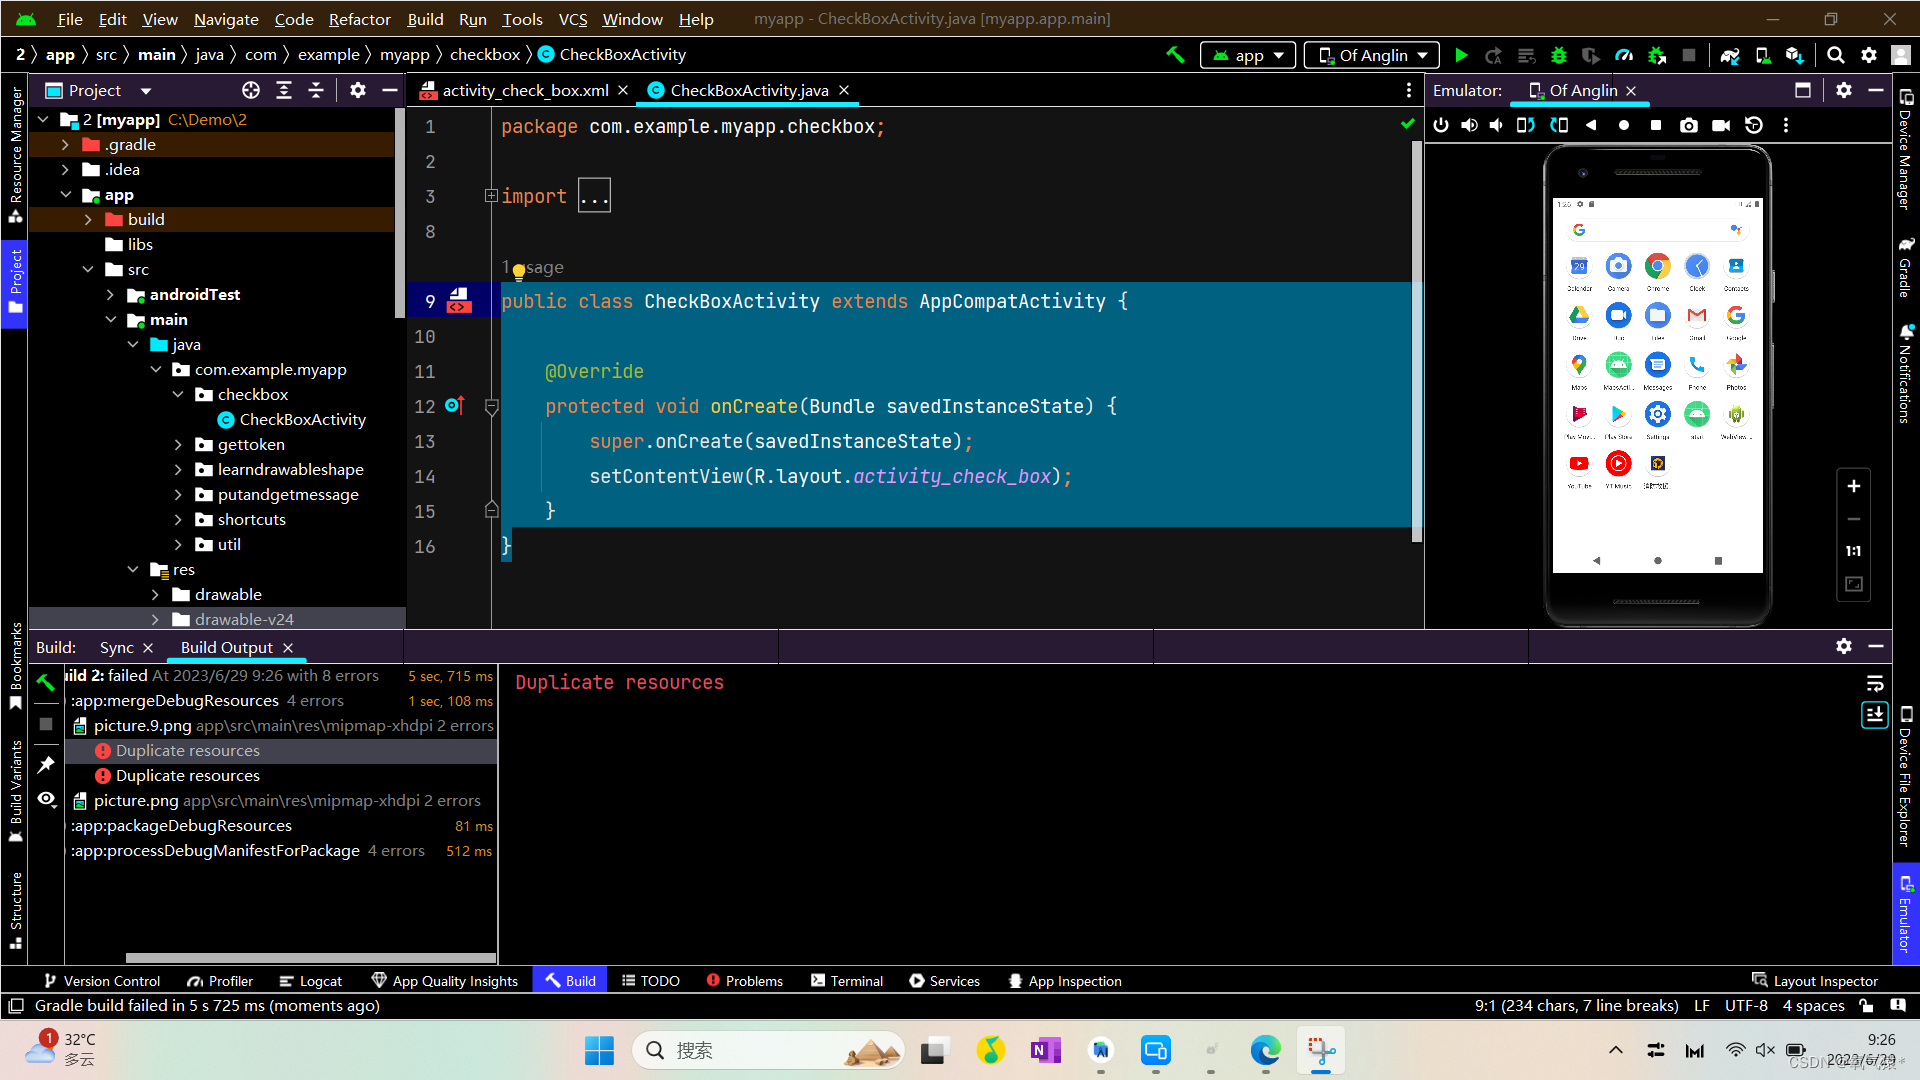
这里报错,是之前我新建了一个package,把新建的活动存放到这个包下面清单文件找不到所以报错了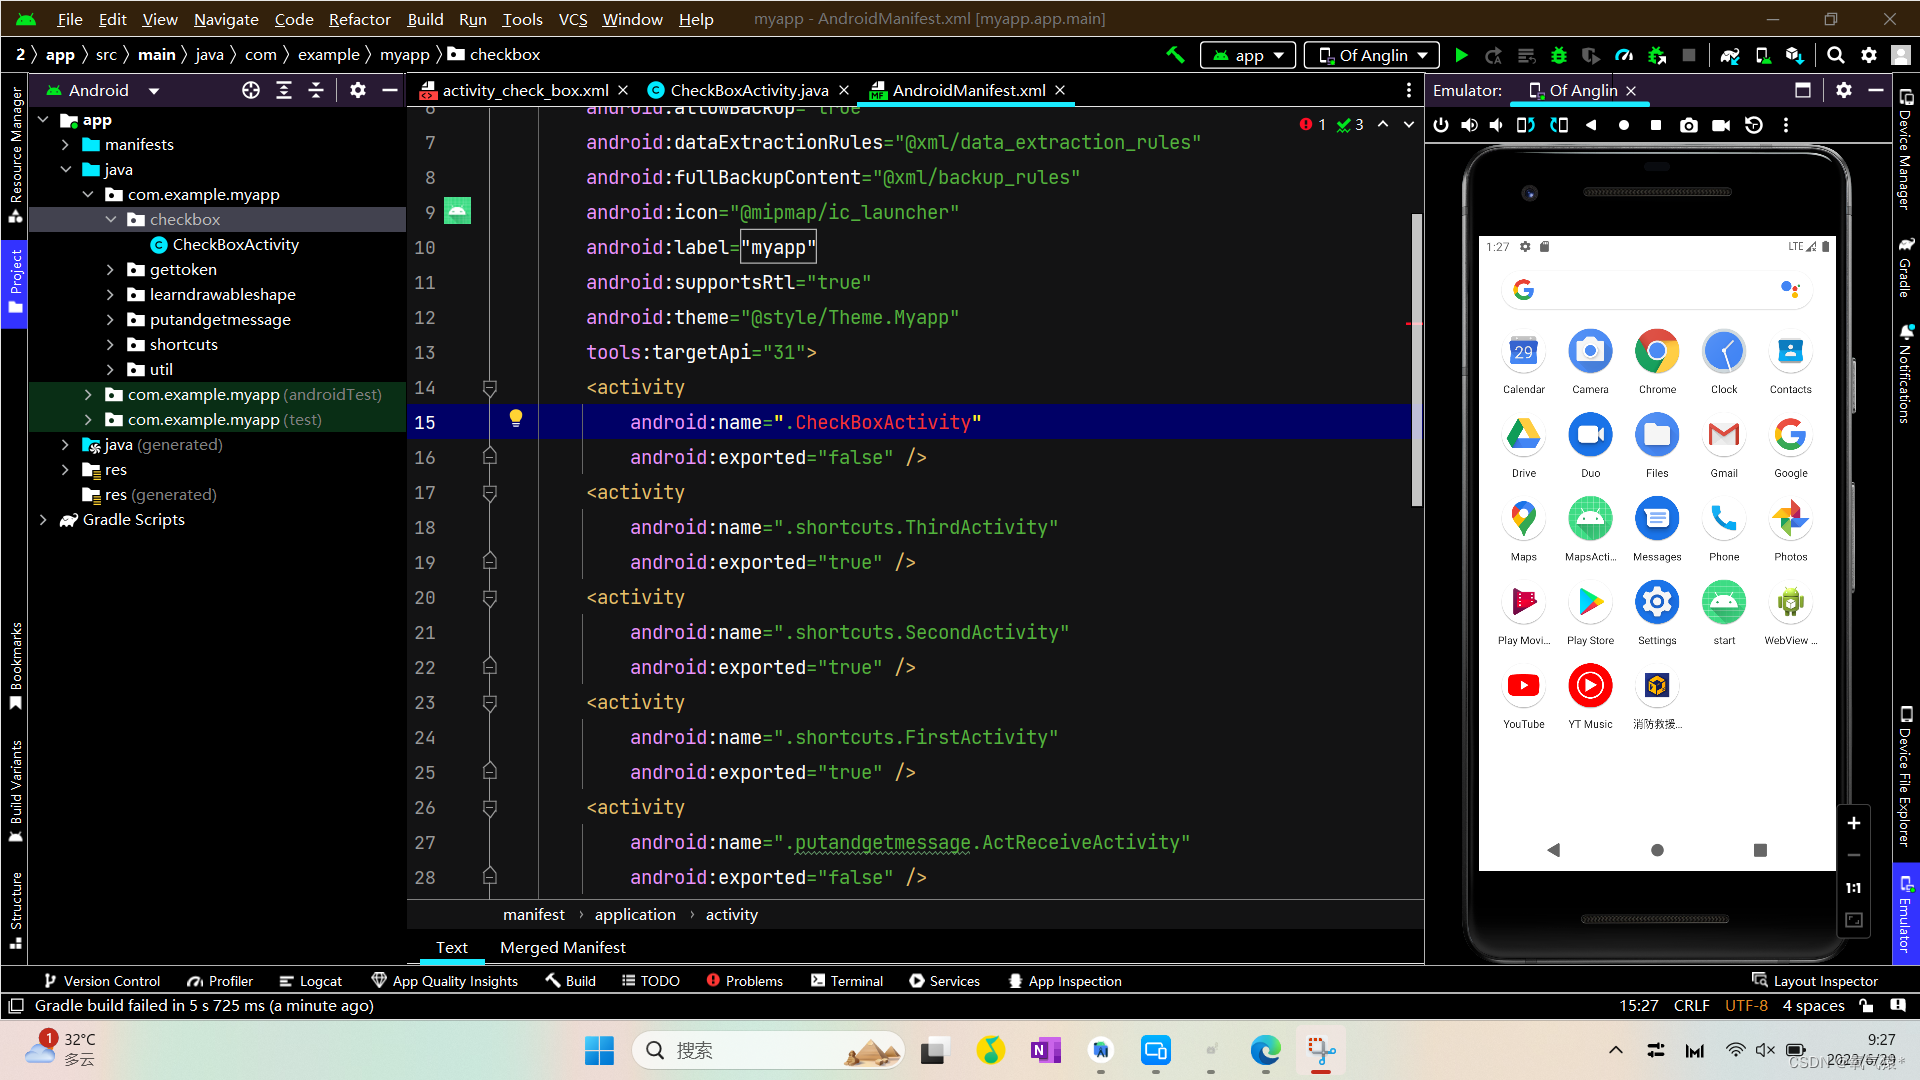
把app的主入口改成我们新建的app再运行一下
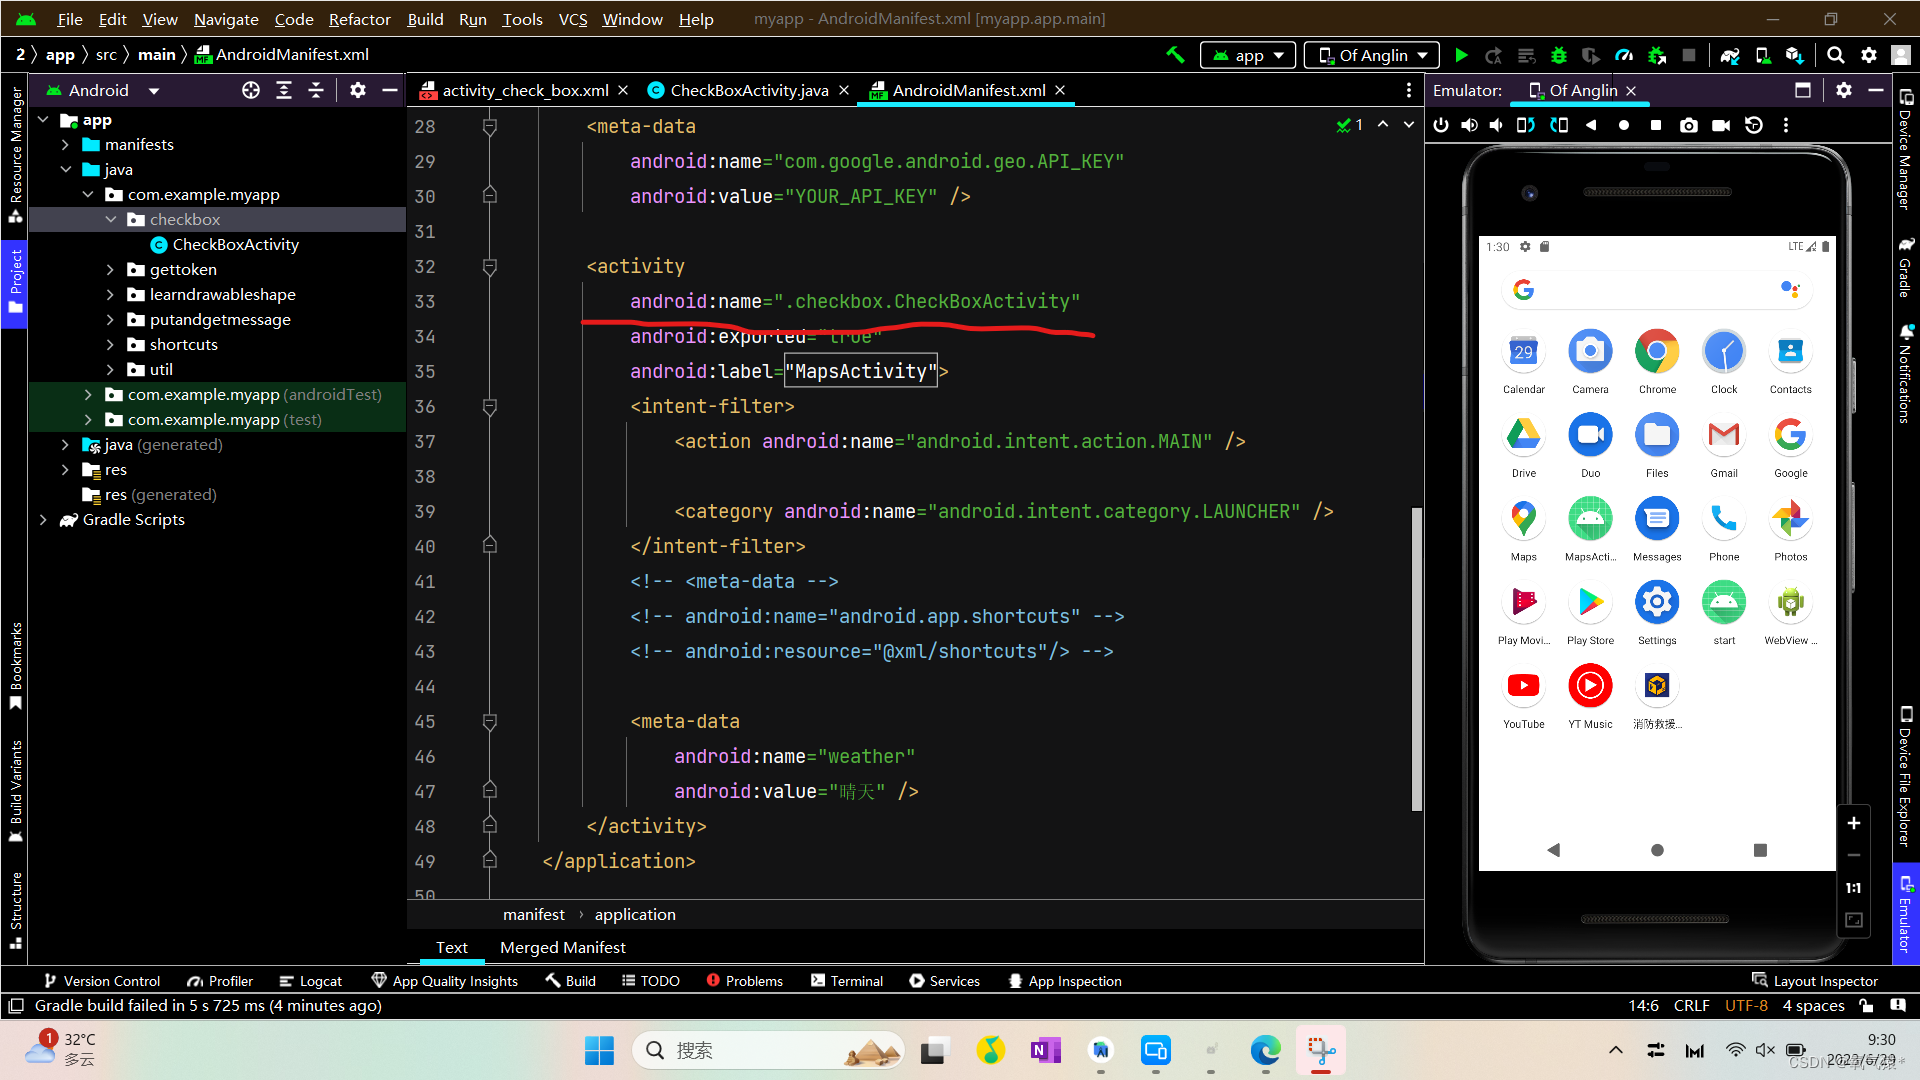
还有一个错误是之前创建点9图片的时候在圆图上创建出现了两个一模一样的图片所以报错。综合以上两个问题解决之后就可以了
2.定制checkbox(在上面的代码中修改)
Activity不变
修改xml
<?xml version="1.0" encoding="utf-8"?>
<LinearLayout xmlns:android="http://schemas.android.com/apk/res/android"xmlns:app="http://schemas.android.com/apk/res-auto"xmlns:tools="http://schemas.android.com/tools"android:layout_width="match_parent"android:layout_height="match_parent"android:orientation="vertical"tools:context=".checkbox.CheckBoxActivity"><CheckBoxandroid:id="@+id/ck_system"android:layout_width="match_parent"android:layout_height="wrap_content"android:text="这是系统的checkBox"android:padding="5dp"/><CheckBoxandroid:id="@+id/ck_custum"android:layout_width="match_parent"android:layout_height="59dp"android:layout_marginTop="10dp"android:button="@drawable/checkbox_selector"android:checked="true"android:padding="5dp"android:text="这个checkBox换了图标" /></LinearLayout>
定制复选框代码
<?xml version="1.0" encoding="utf-8"?>
<selector xmlns:android="http://schemas.android.com/apk/res/android"><item android:state_checked="true" android:drawable="@mipmap/check_choose"/><item  android:drawable="@mipmap/check_unchoose"/>
</selector>
3.使得复选框右边的文字跟随复选框的状态改变
代码展示
新建一个CheckBoxActivity
public class CheckBoxActivity extends AppCompatActivity implements CompoundButton.OnCheckedChangeListener {@Overrideprotected void onCreate(Bundle savedInstanceState) {super.onCreate(savedInstanceState);setContentView(R.layout.activity_check_box);CheckBox ck_system = findViewById(R.id.ck_system);ck_system.setOnCheckedChangeListener(this);}@Overridepublic void onCheckedChanged(CompoundButton compoundButton, boolean b) {String desc = String.format("您%s这个checkBox",b ? "勾选":"取消勾选");compoundButton.setText(desc);}
}
这里解释一下desc中的东西,%s这个东西叫占位符,当你勾选了checkbox这句文字会变成“您勾选了这个checkbox”,当你取消勾选会显示“您取消勾选了这个checkbox”,就是占位符里面的内容跟随checkbox的状态改变而改变
对应的xml
<?xml version="1.0" encoding="utf-8"?>
<LinearLayout xmlns:android="http://schemas.android.com/apk/res/android"xmlns:app="http://schemas.android.com/apk/res-auto"xmlns:tools="http://schemas.android.com/tools"android:layout_width="match_parent"android:layout_height="match_parent"android:orientation="vertical"tools:context=".checkbox.CheckBoxActivity"><CheckBoxandroid:id="@+id/ck_system"android:layout_width="match_parent"android:layout_height="wrap_content"android:text="这是系统的checkBox"android:padding="5dp"/><!--    <CheckBox-->
<!--        android:id="@+id/ck_custum"-->
<!--        android:layout_width="match_parent"-->
<!--        android:layout_height="59dp"-->
<!--        android:layout_marginTop="10dp"-->
<!--        android:button="@drawable/checkbox_selector"-->
<!--        android:checked="true"-->
<!--        android:padding="5dp"-->
<!--        android:text="这个checkBox换了图标" />--></LinearLayout>
效果展示
