准备工作:
[root@bogon ~]# mkdir -p /data/nginx{1..3} #-p是用于递归创建使用
[root@bogon ~]# echo "hello nginx1" > /data/nginx1/index.html
[root@bogon ~]# echo "hello nginx2" > /data/nginx2/index.html
[root@bogon ~]# echo "hello nginx3" > /data/nginx3/index.html
一、基于ip地址不同配置虚拟主机
首先,添加IP地址并启动网卡
[root@bogon conf.d]# nmcli connection modify ens33 +ipv4.addresses 192.168.238.141
[root@bogon conf.d]# nmcli connection modify ens33 +ipv4.addresses 192.168.238.151
[root@bogon conf.d]# nmcli connection up ens33
然后,在/data/nginx/conf.d/vhost.conf下配置(注意:要记得重新启动nginx)
server {listen 192.168.238.131:80;server_name localhost;location / {root /data/nginx1;index index.html;}
}server {listen 192.168.238.141:80;server_name localhost;location / {root /data/nginx2;index index.html;}
}server {listen 192.168.238.151:80;server_name localhost;location / {root /data/nginx3;index index.html;}
}
实现效果

二、基于端口不同配置虚拟主机
在/data/nginx/conf.d/vhost.conf下配置
server {listen 80;server_name localhost;location / {root /data/nginx1;index index.html;}
}server {listen 81;server_name localhost;location / {root /data/nginx2;index index.html;}
}server {listen 82;server_name localhost;location / {root /data/nginx3;index index.html;}
}
实现效果

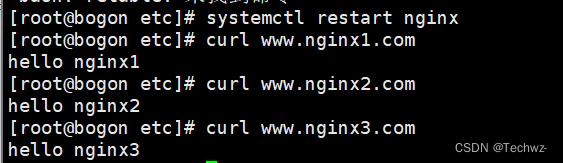
三、基于域名不同配置虚拟主机
server {listen 192.168.238.131:80;server_name www.nginx1.com;location / {root /data/nginx1;index index.html;}
}server {listen 192.168.238.131:80;server_name www.nginx2.com;location / {root /data/nginx2;index index.html;}
}server {listen 192.168.238.131:80;server_name www.nginx3.com;location / {root /data/nginx3;index index.html;}
}
然后,在/etc/hosts下添加IP和域名
[root@bogon ~]# vi /etc/hosts192.168.238.131   www.nginx1.com
192.168.238.131   www.nginx2.com
192.168.238.131   www.nginx3.com
实现效果