先搭建ELK集群环境
请移步至:Filebeat+ELK 搭建日志收集平台
ES开启TLS加密通信与身份认证
进入ES集群任意一台安装目录,生成ca证书
这里最好使用ES启动账号操作,证书生成过程中一直回车到完成,不要去输入密码。
# 生成CA证书
bin/elasticsearch-certutil ca# 生成节点证书
bin/elasticsearch-certutil cert --ca elastic-stack-ca.p12
修改elasticsearch.yml,添加以下配置
xpack.security.enabled: true
xpack.security.transport.ssl.enabled: true
xpack.security.transport.ssl.verification_mode: certificate
xpack.security.transport.ssl.keystore.path: elastic-certificates.p12
xpack.security.transport.ssl.truststore.path: elastic-certificates.p12
将elastic-stack-ca.p12、以及yml里的配置同步到ES集群的所有节点,重启ES集群;
设置基础账号密码:
# 设置密码
bin/elasticsearch-setup-passwords interactive
# 输出结果
Initiating the setup of passwords for reserved users elastic,apm_system,kibana,logstash_system,beats_system,remote_monitoring_user.
You will be prompted to enter passwords as the process progresses.
Please confirm that you would like to continue [y/N]y # 输入y# 直接输入密码,然后再重复一遍密码,中括号里是账号
Enter password for [elastic]:
Reenter password for [elastic]:
Enter password for [apm_system]:
Reenter password for [apm_system]:
Enter password for [kibana]:
Reenter password for [kibana]:
Enter password for [logstash_system]:
Reenter password for [logstash_system]:
Enter password for [beats_system]:
Reenter password for [beats_system]:
Enter password for [remote_monitoring_user]:
Reenter password for [remote_monitoring_user]:
Changed password for user [apm_system]
Changed password for user [kibana]
Changed password for user [logstash_system]
Changed password for user [beats_system]
Changed password for user [remote_monitoring_user]
Changed password for user [elastic]
可以全部设置为一样,方便记忆
logstash增加访问es集群的账号密码
提示:ES开启身份认证后,logstash就无法写日志到ES,同样kibana也无法从ES查询数据:
if "app_1" in [tags] {# 输出到es1elasticsearch {hosts => ["192.168.0.1:9200"]# 给日志创建索引,es中依赖此索引进行查询index => "app_1-%{+YYYY.MM.dd}"# 注意:这里演示使用超级账号,安全起见最好是使用自定义的账号,并授予该用户创建索引的权限,具体看下方地址user => "elastic" # 密码是上面步骤设置的password => "elkstack123456" }}
kibana增加访问es集群的账号密码
提示:这是kibana从ES查询数据是身份认证需要,与kibana用户不一样,配置一个就行
配置文件kibana.yml中需要加入以下配置
# 注意:此处不用超级账号elastic,而是使用kibana跟es连接的账号kibana
elasticsearch.username: "kibana"
elasticsearch.password: "elkstack123456"
配置kibana多用户
重启kibana后访问即可打开登录页面
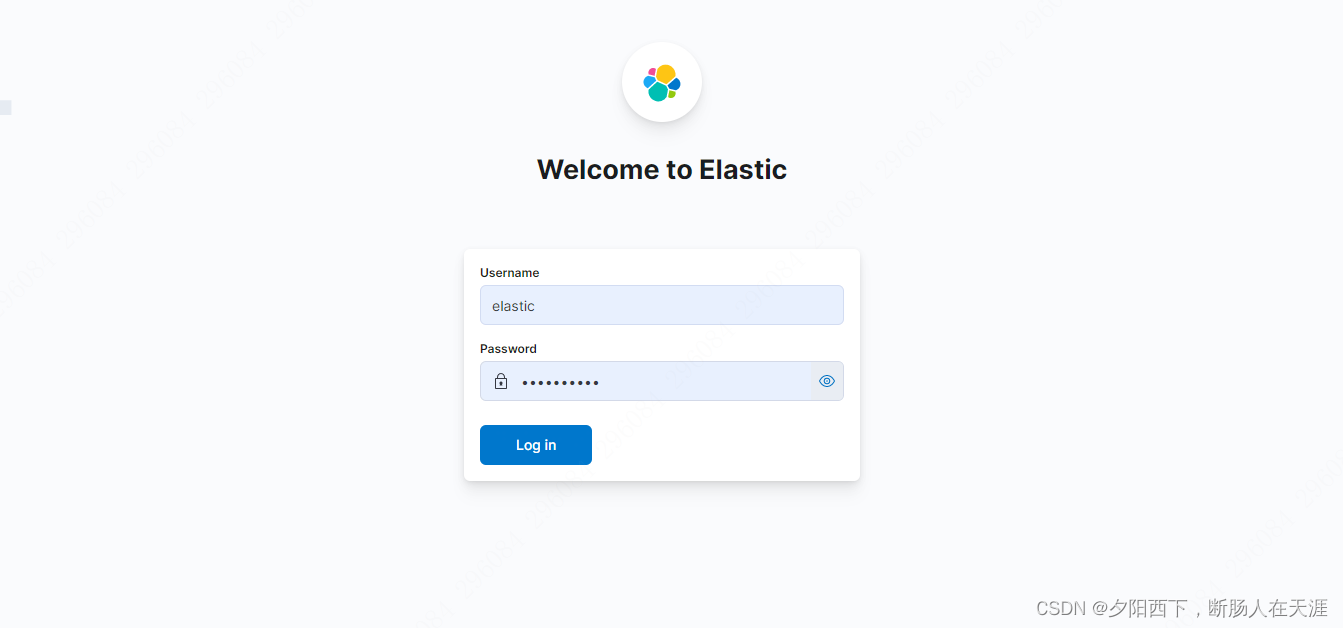
使用elastic账号(管理员)登录,密码是之前设置的。在
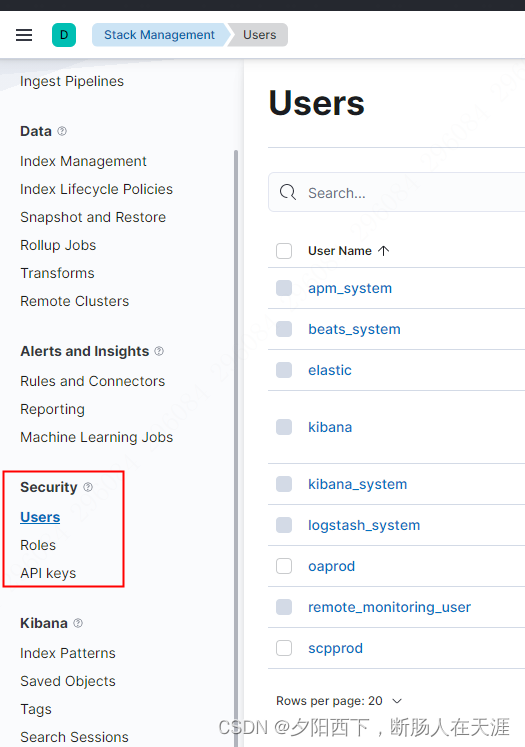
Stack Management > Security下有Users 、 Roles菜单用于配置kibana账号角色。
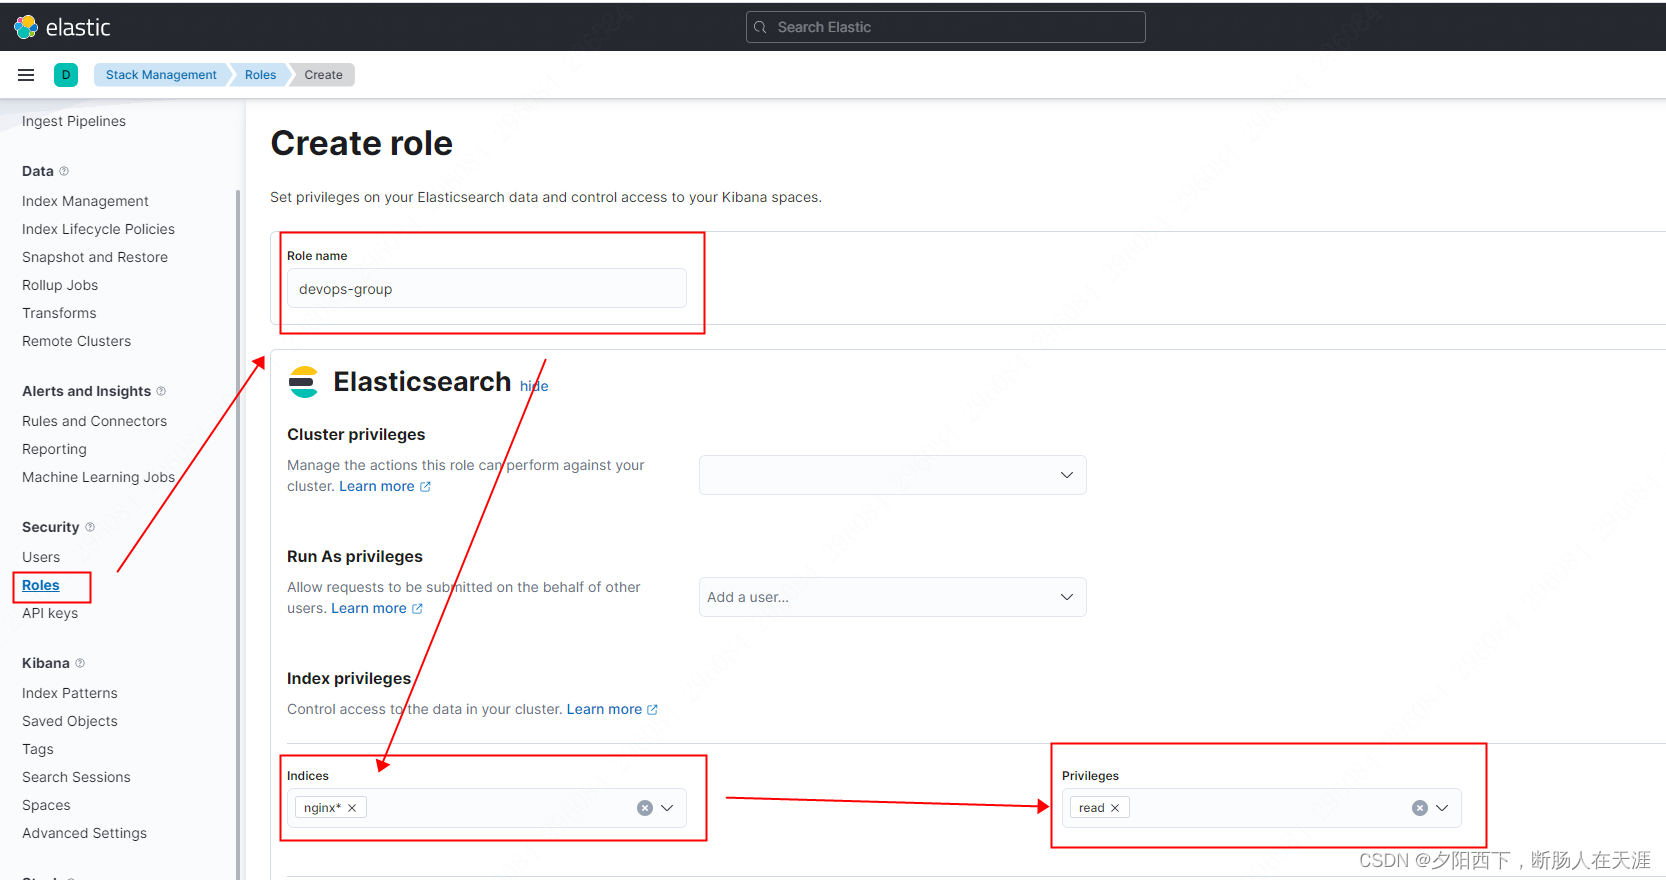
先创建角色,例如:devops-group,并设置该角色可以查询哪些索引集合
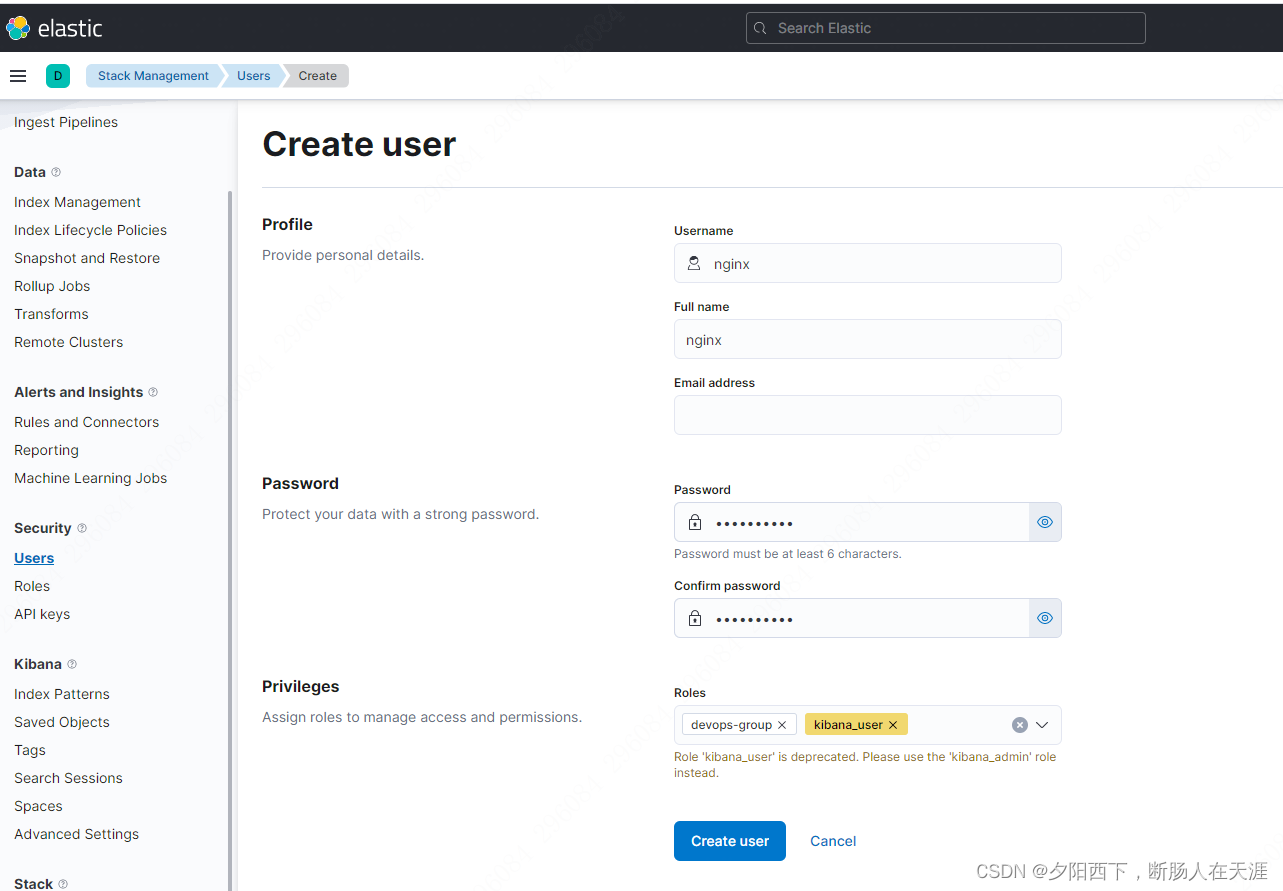
创建用户,选择对应的角色,这样这个用户就能查询对应的索引日志了,未授权的日志查询不到数据。角色需额外添加一个系统角色:kibana_user,不然登录会有问题。
