一、介绍
目录结构介绍
[root@kvm-server kvm]# tree -L 2
.
├── control  # 控制脚本目录
│   ├── KVMInstall.sh  # kvm服务安装脚本
│   ├── VMHost.sh # kvm虚拟机克隆脚本
│   └── VMTemplate.sh # kvm模板机安装脚本
├── mount # 此目录保持为空,为克隆时临时挂载使用
├── README.md
├── template # 模板文件存放位置
│   ├── register_instance.py # jumpserver 注册资产脚本
│   ├── template.conf # 克隆机网卡配置文件脚本
│   ├── template.qcow2 # 模板机磁盘镜像
│   └── template.xml # 配置文件
└── vdisks├── README.txt├── vmtest1.qcow2 # 克隆机磁盘镜像└── vmtest2.qcow2
使用脚本
宿主机: cd kvm
宿主机: sh KVMInstall.sh # 安装KVM服务
宿主机: sh VMTemplate.sh # 安装模板机
宿主机: virsh console template # 进入模板机,安装python3
template: yum install -y python3 python3-devel gcc
template: pip3 install requests httpsig -i https://mirrors.aliyun.com/pypi/simple
宿主机: sh VMHost.sh -a 192.168.96.223 -p 6667 -n vmtest1 -c 2 -m 4096
[root@kvm-server control]# sh VMHost.sh
"Usage: $0 [OPTION]..."-h, --help 	查看帮助"-a, --address 	虚拟机的IP地址"-p, --port 	虚拟机的VNC端口"-n, --name 	虚拟机的名称"-c, --cpus 	选填,虚拟机的CPU数量,默认为1"-m, --memory 	选填,虚拟机的内存大小,单位M,默认为512M"
二、部署
准备一台服务器,勾选cpu硬件辅助虚拟化配置,系统要求centos7.7以上
准备工作
[root@kvm-server ~]# cd /opt/
[root@kvm-server opt]# git clone https://gitea.beyourself.org.cn/newrain001/kvm.git
[root@kvm-server opt]# cd kvm/control/
# 安装kvm服务
[root@kvm-server control]# sh KVMInstall.sh
# 安装模板机,脚本运行后,注意进行手动配置
[root@kvm-server control]# sh VMTemplate.sh
# IMAGE_PATH=/tmp/CentOS-7-x86_64-Minimal-2009.iso # 注意修改脚本中镜像位置,并放置镜像# 进入模板机
[root@kvm-server control]# virsh console template
[root@localhost ~]# yum install -y python3 python3-devel gcc
# 退出模板机
[root@localhost ~]# pip3 install requests httpsig -i https://mirrors.aliyun.com/pypi/simple
准备jumpserver
在一台新机器中安装jumpserver
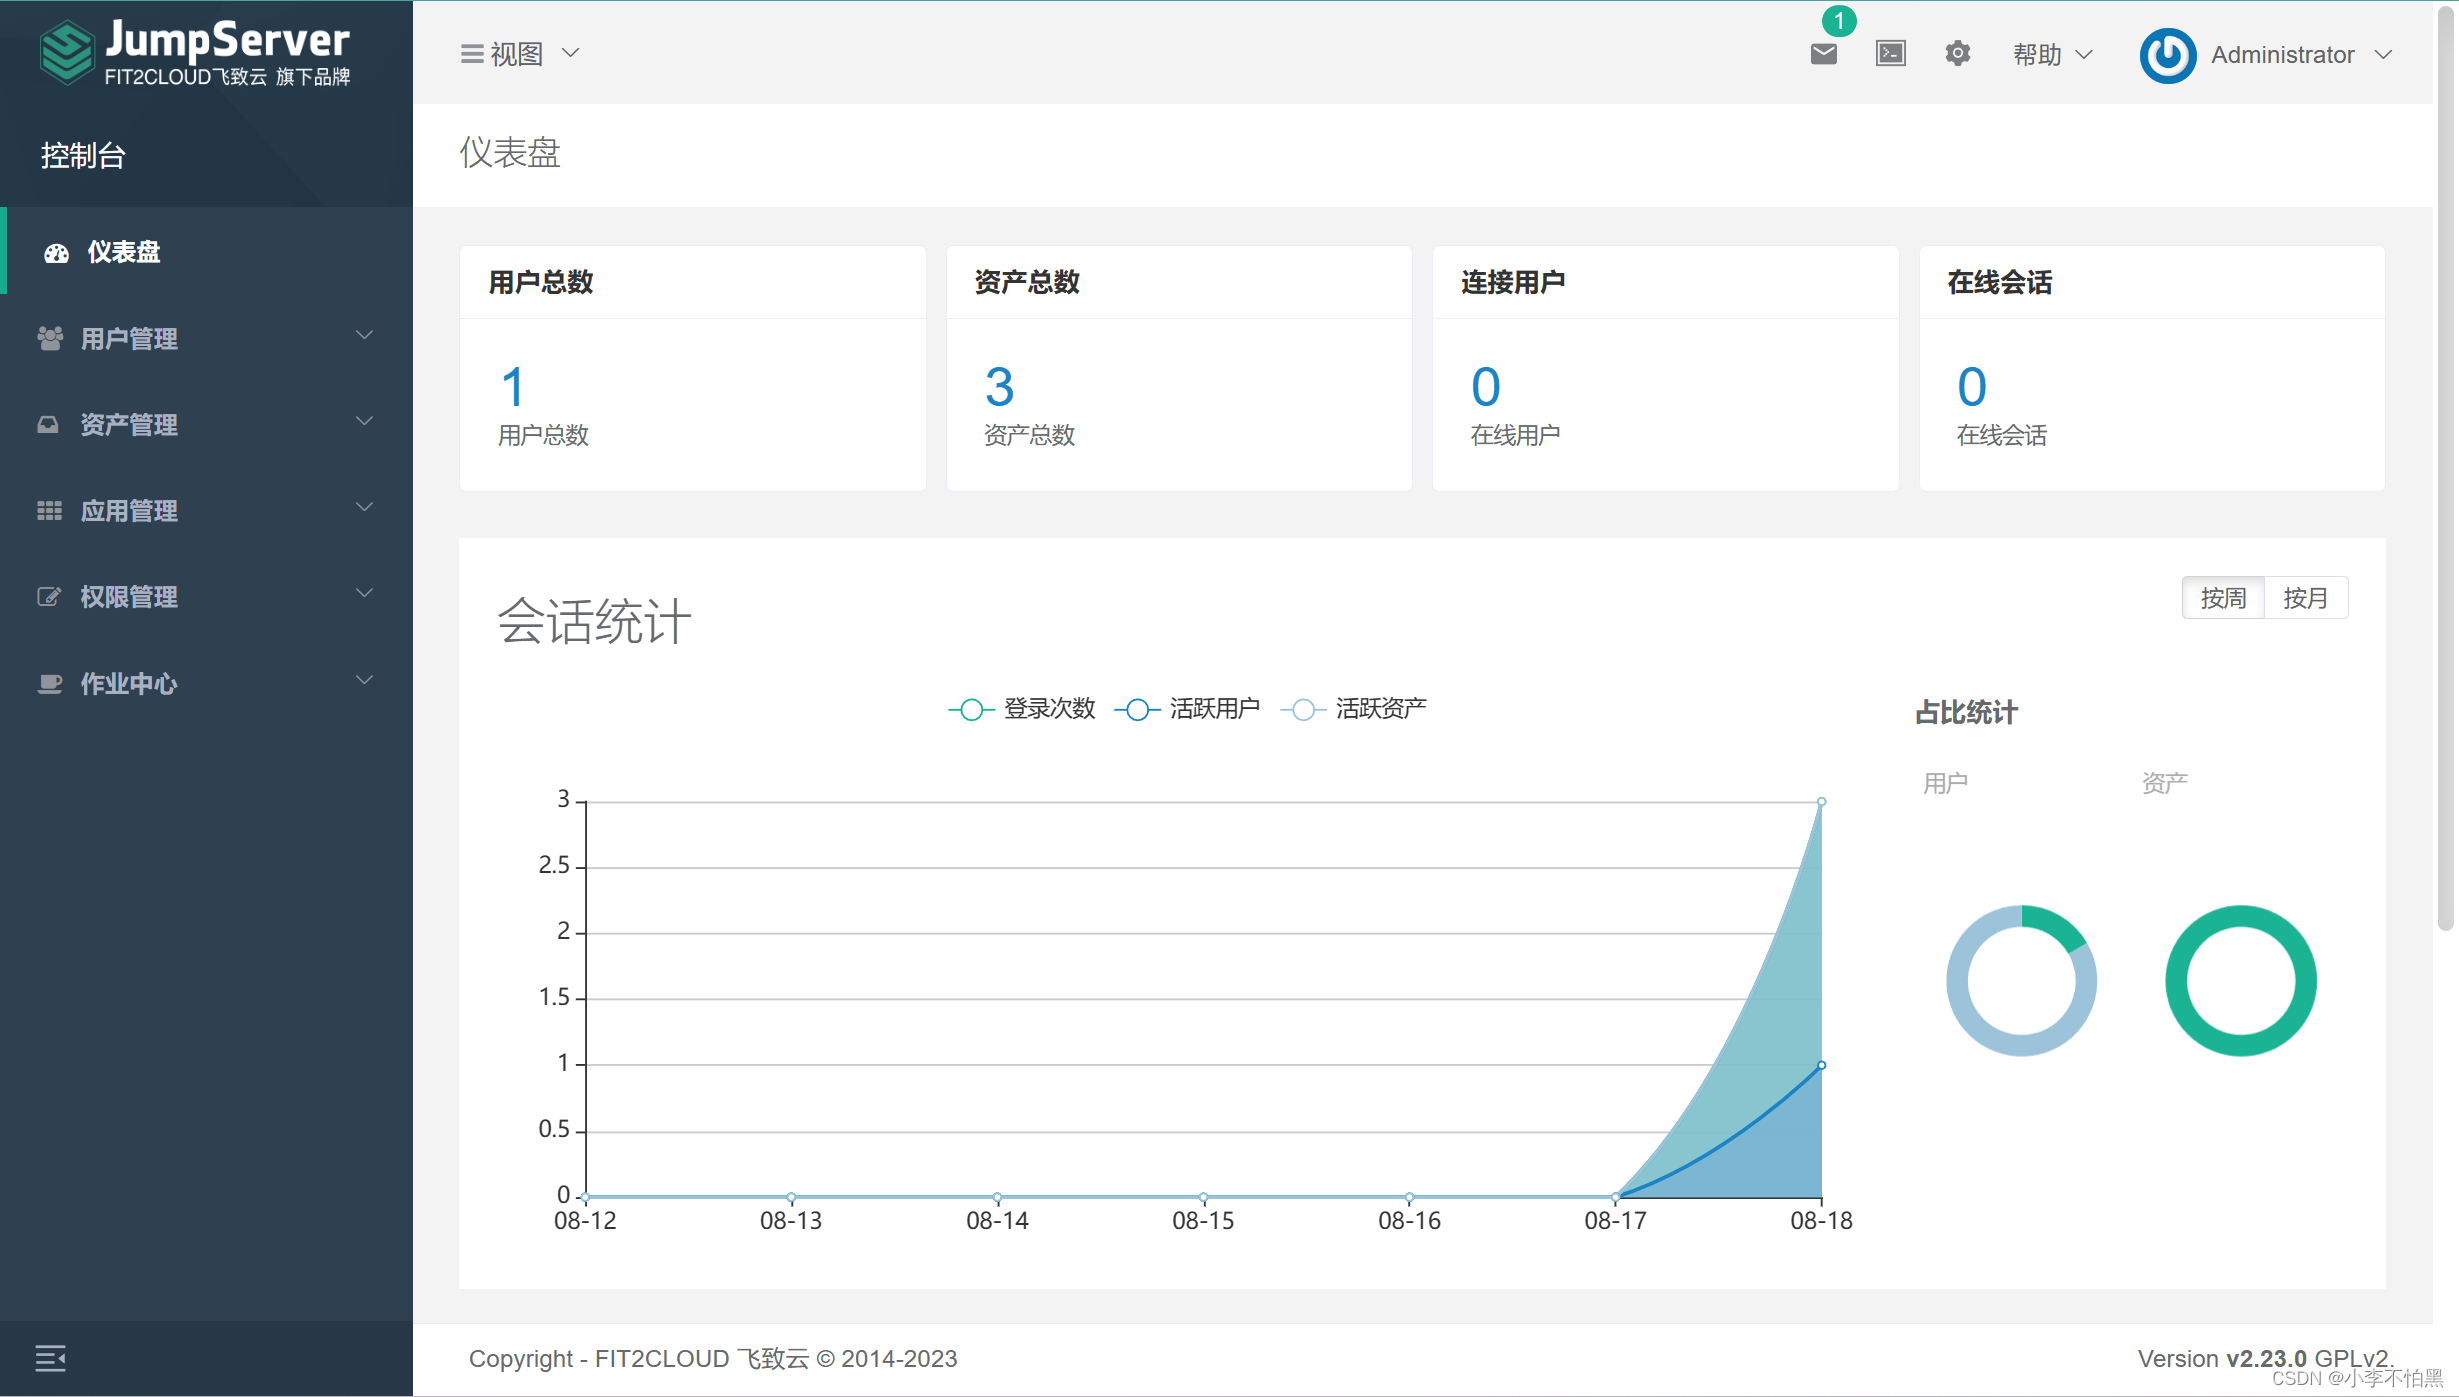
获取一些数据
1、jumpserver的url
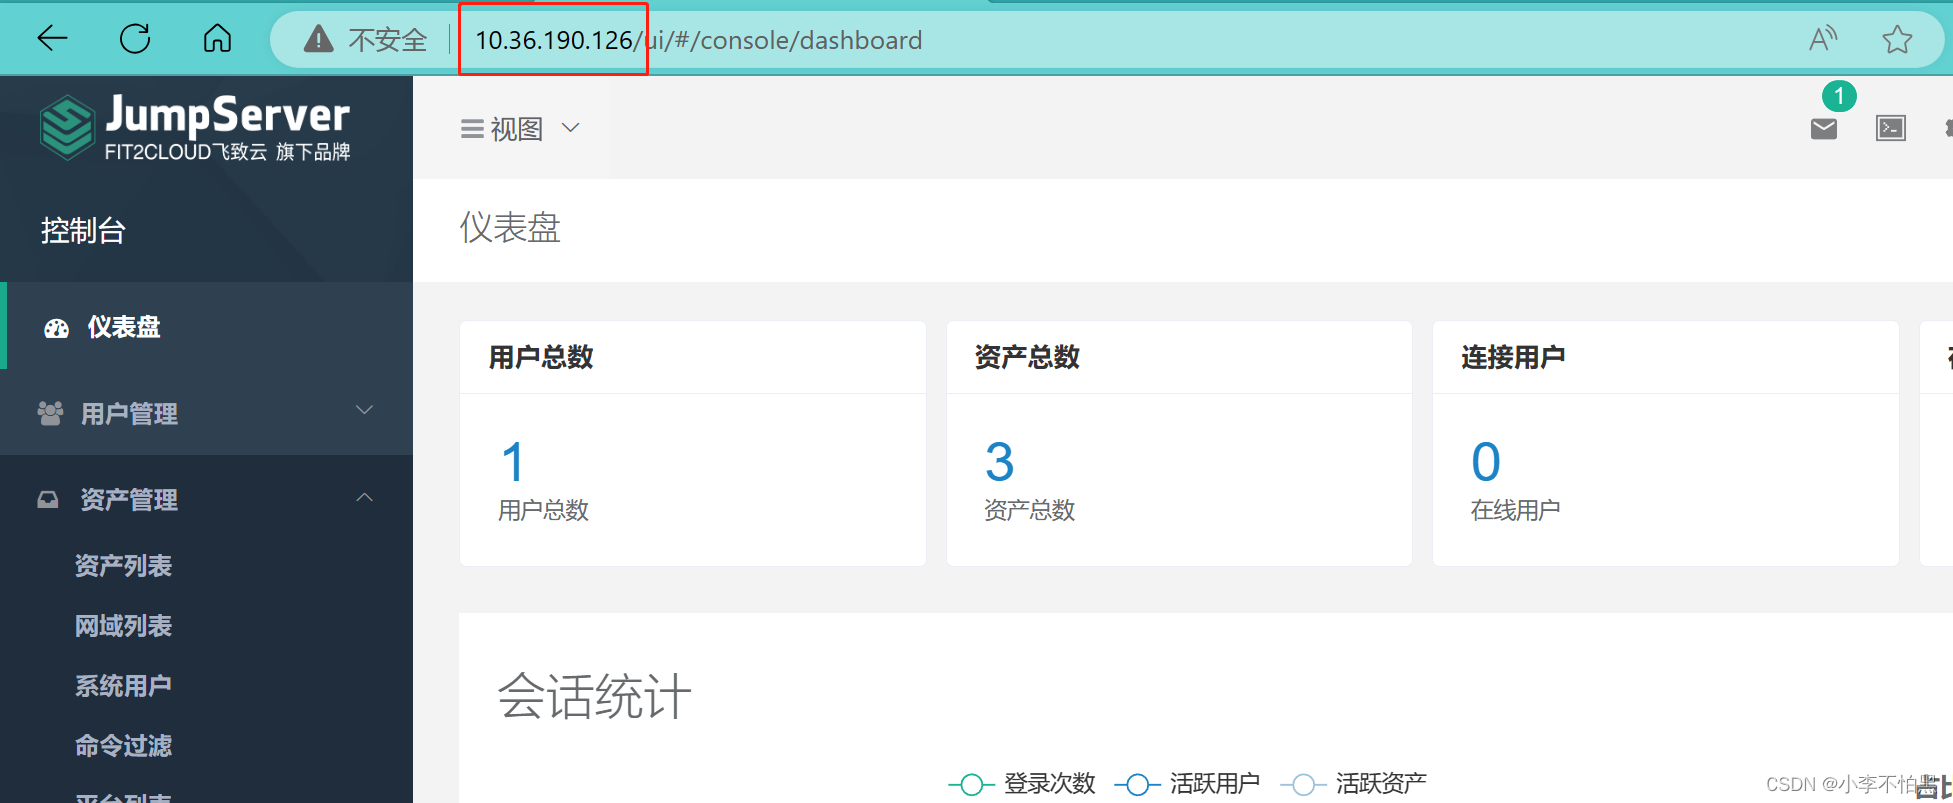
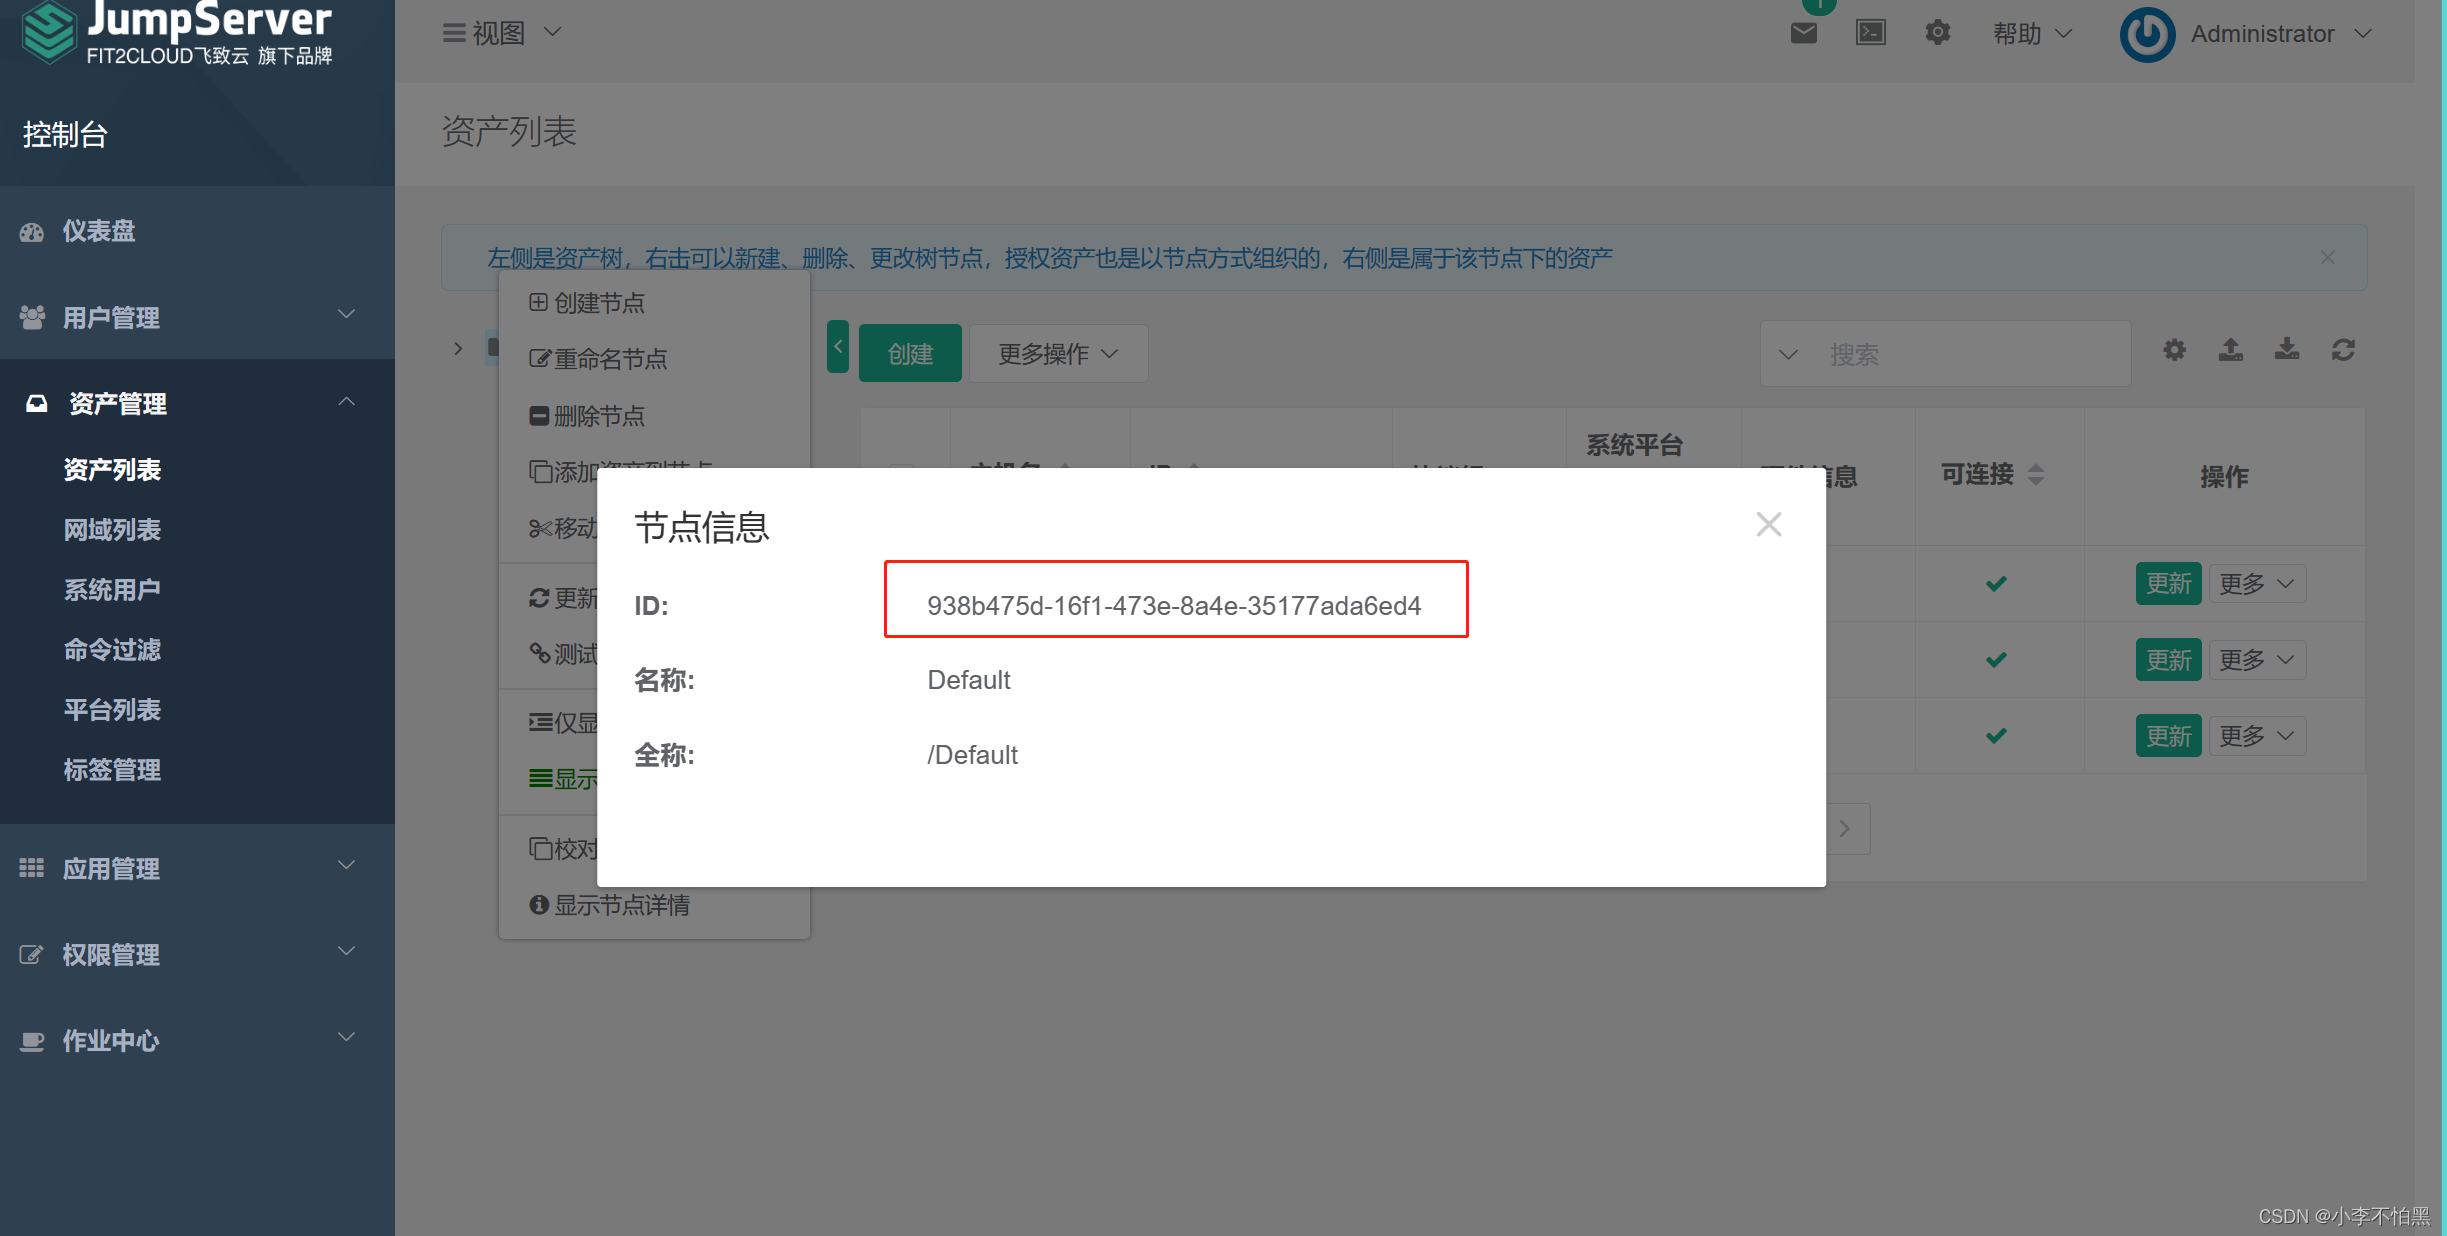
2、资产列表的id
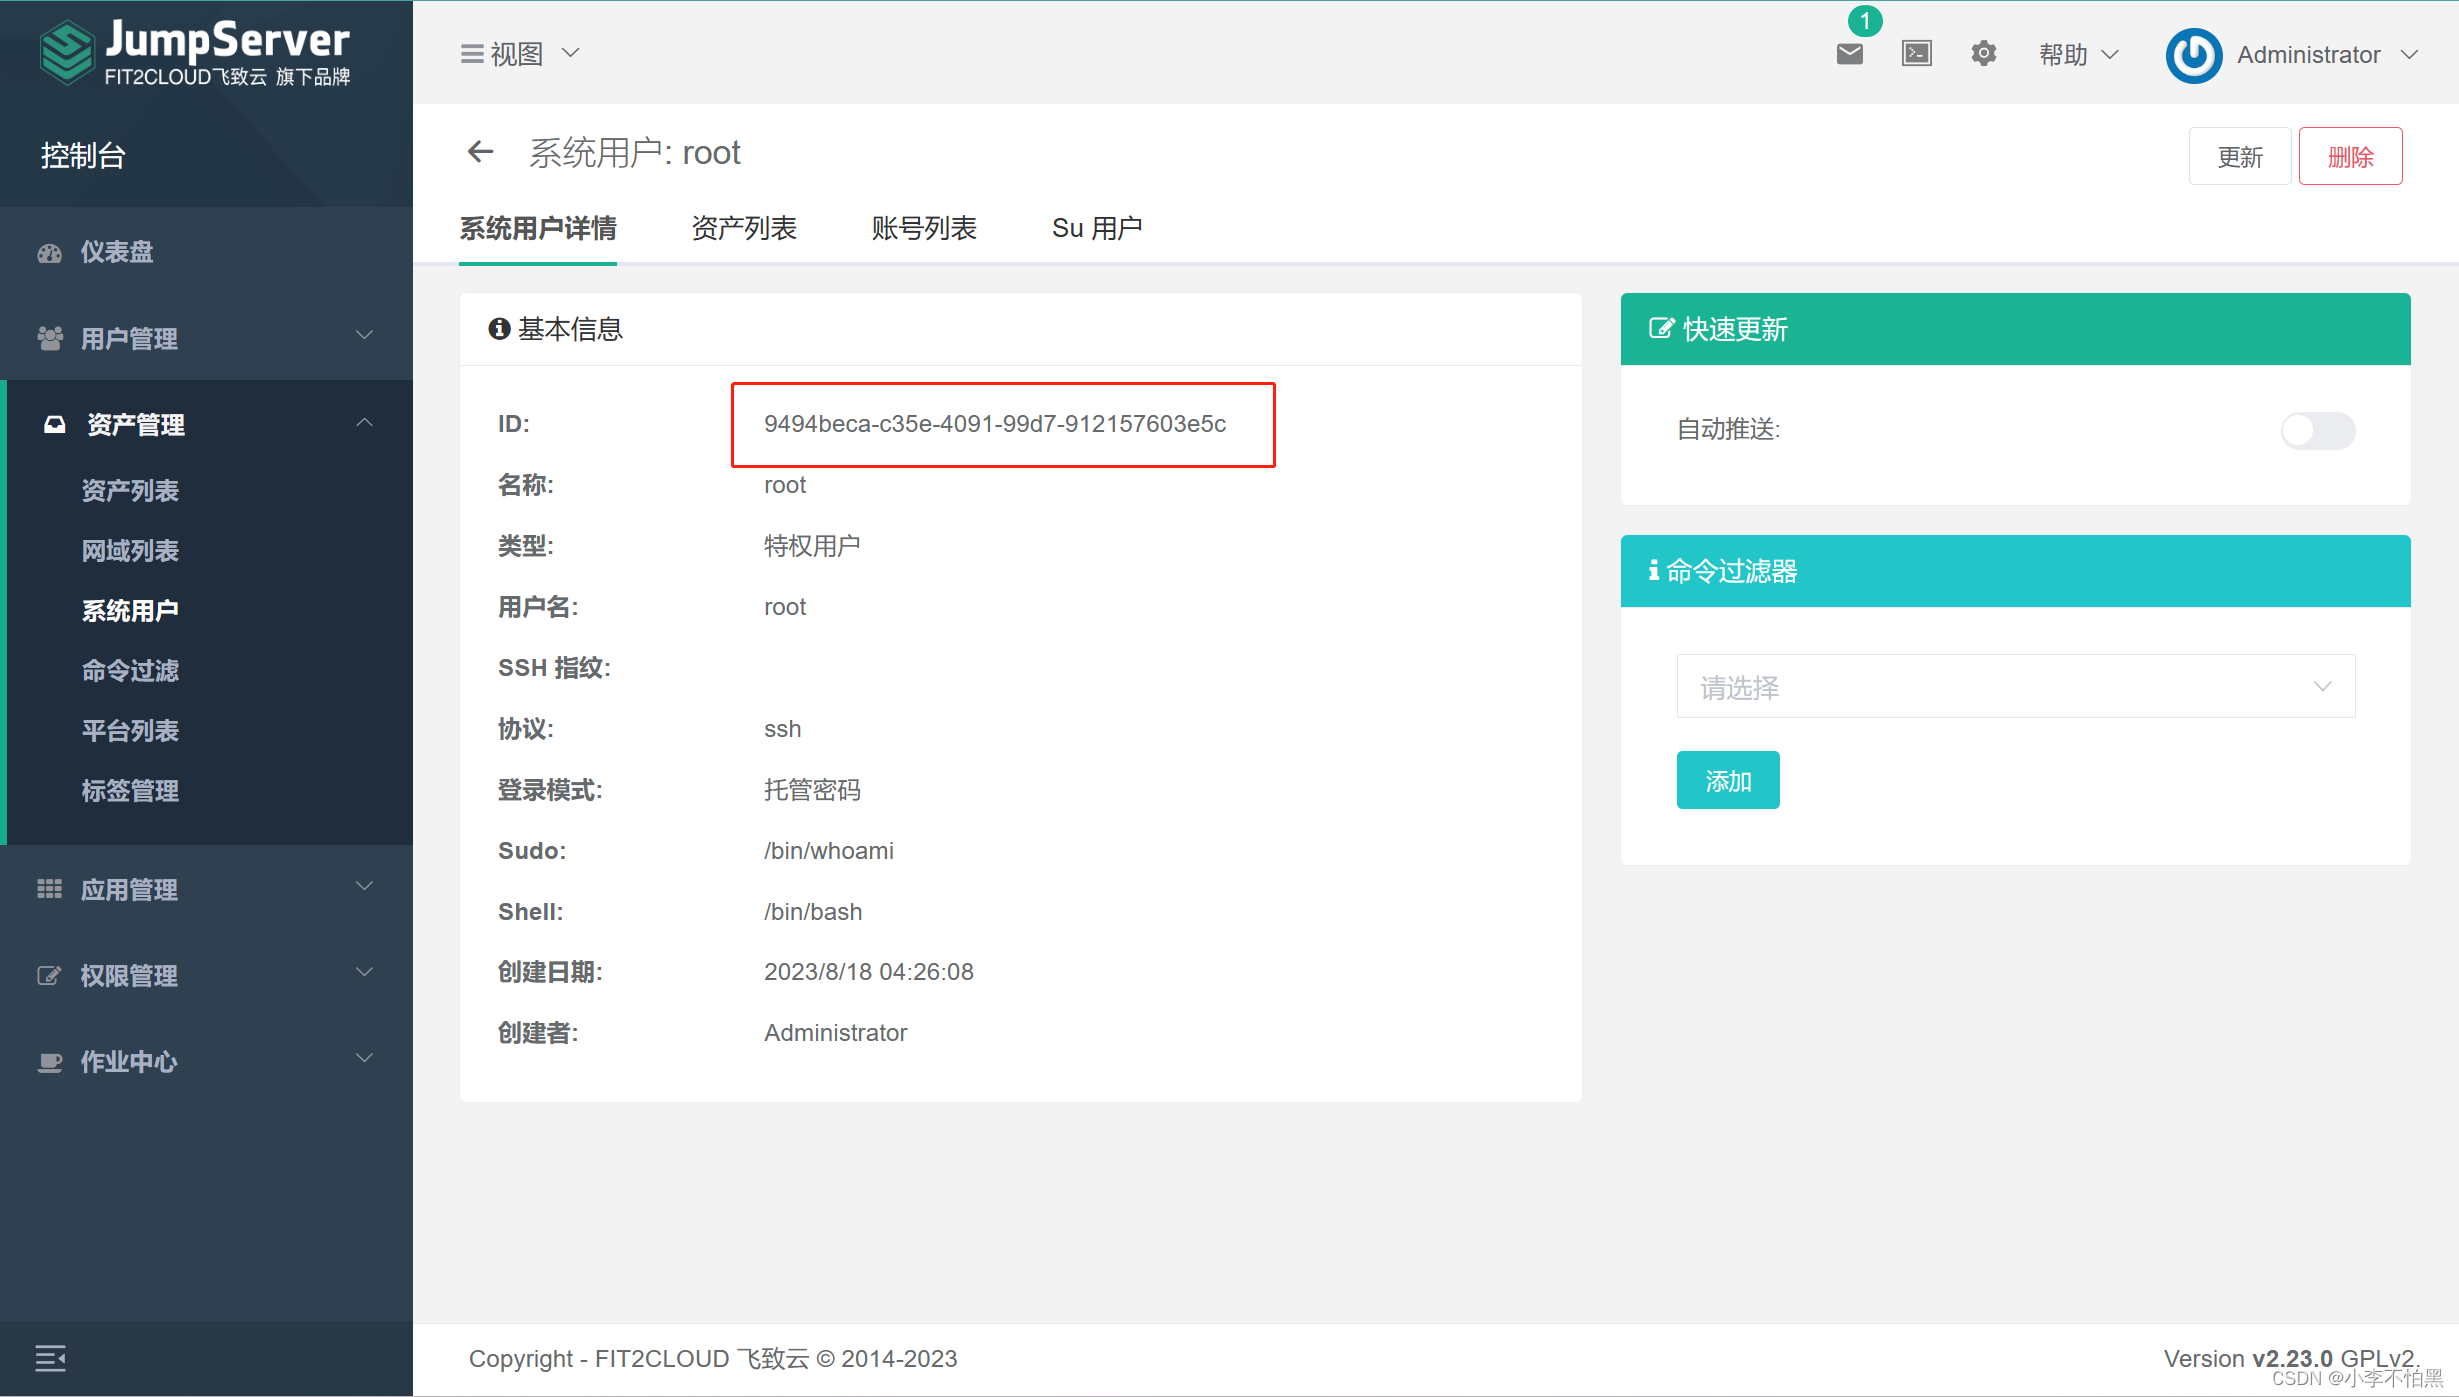
3、特权用户的id
4、jumpserver的key和secret
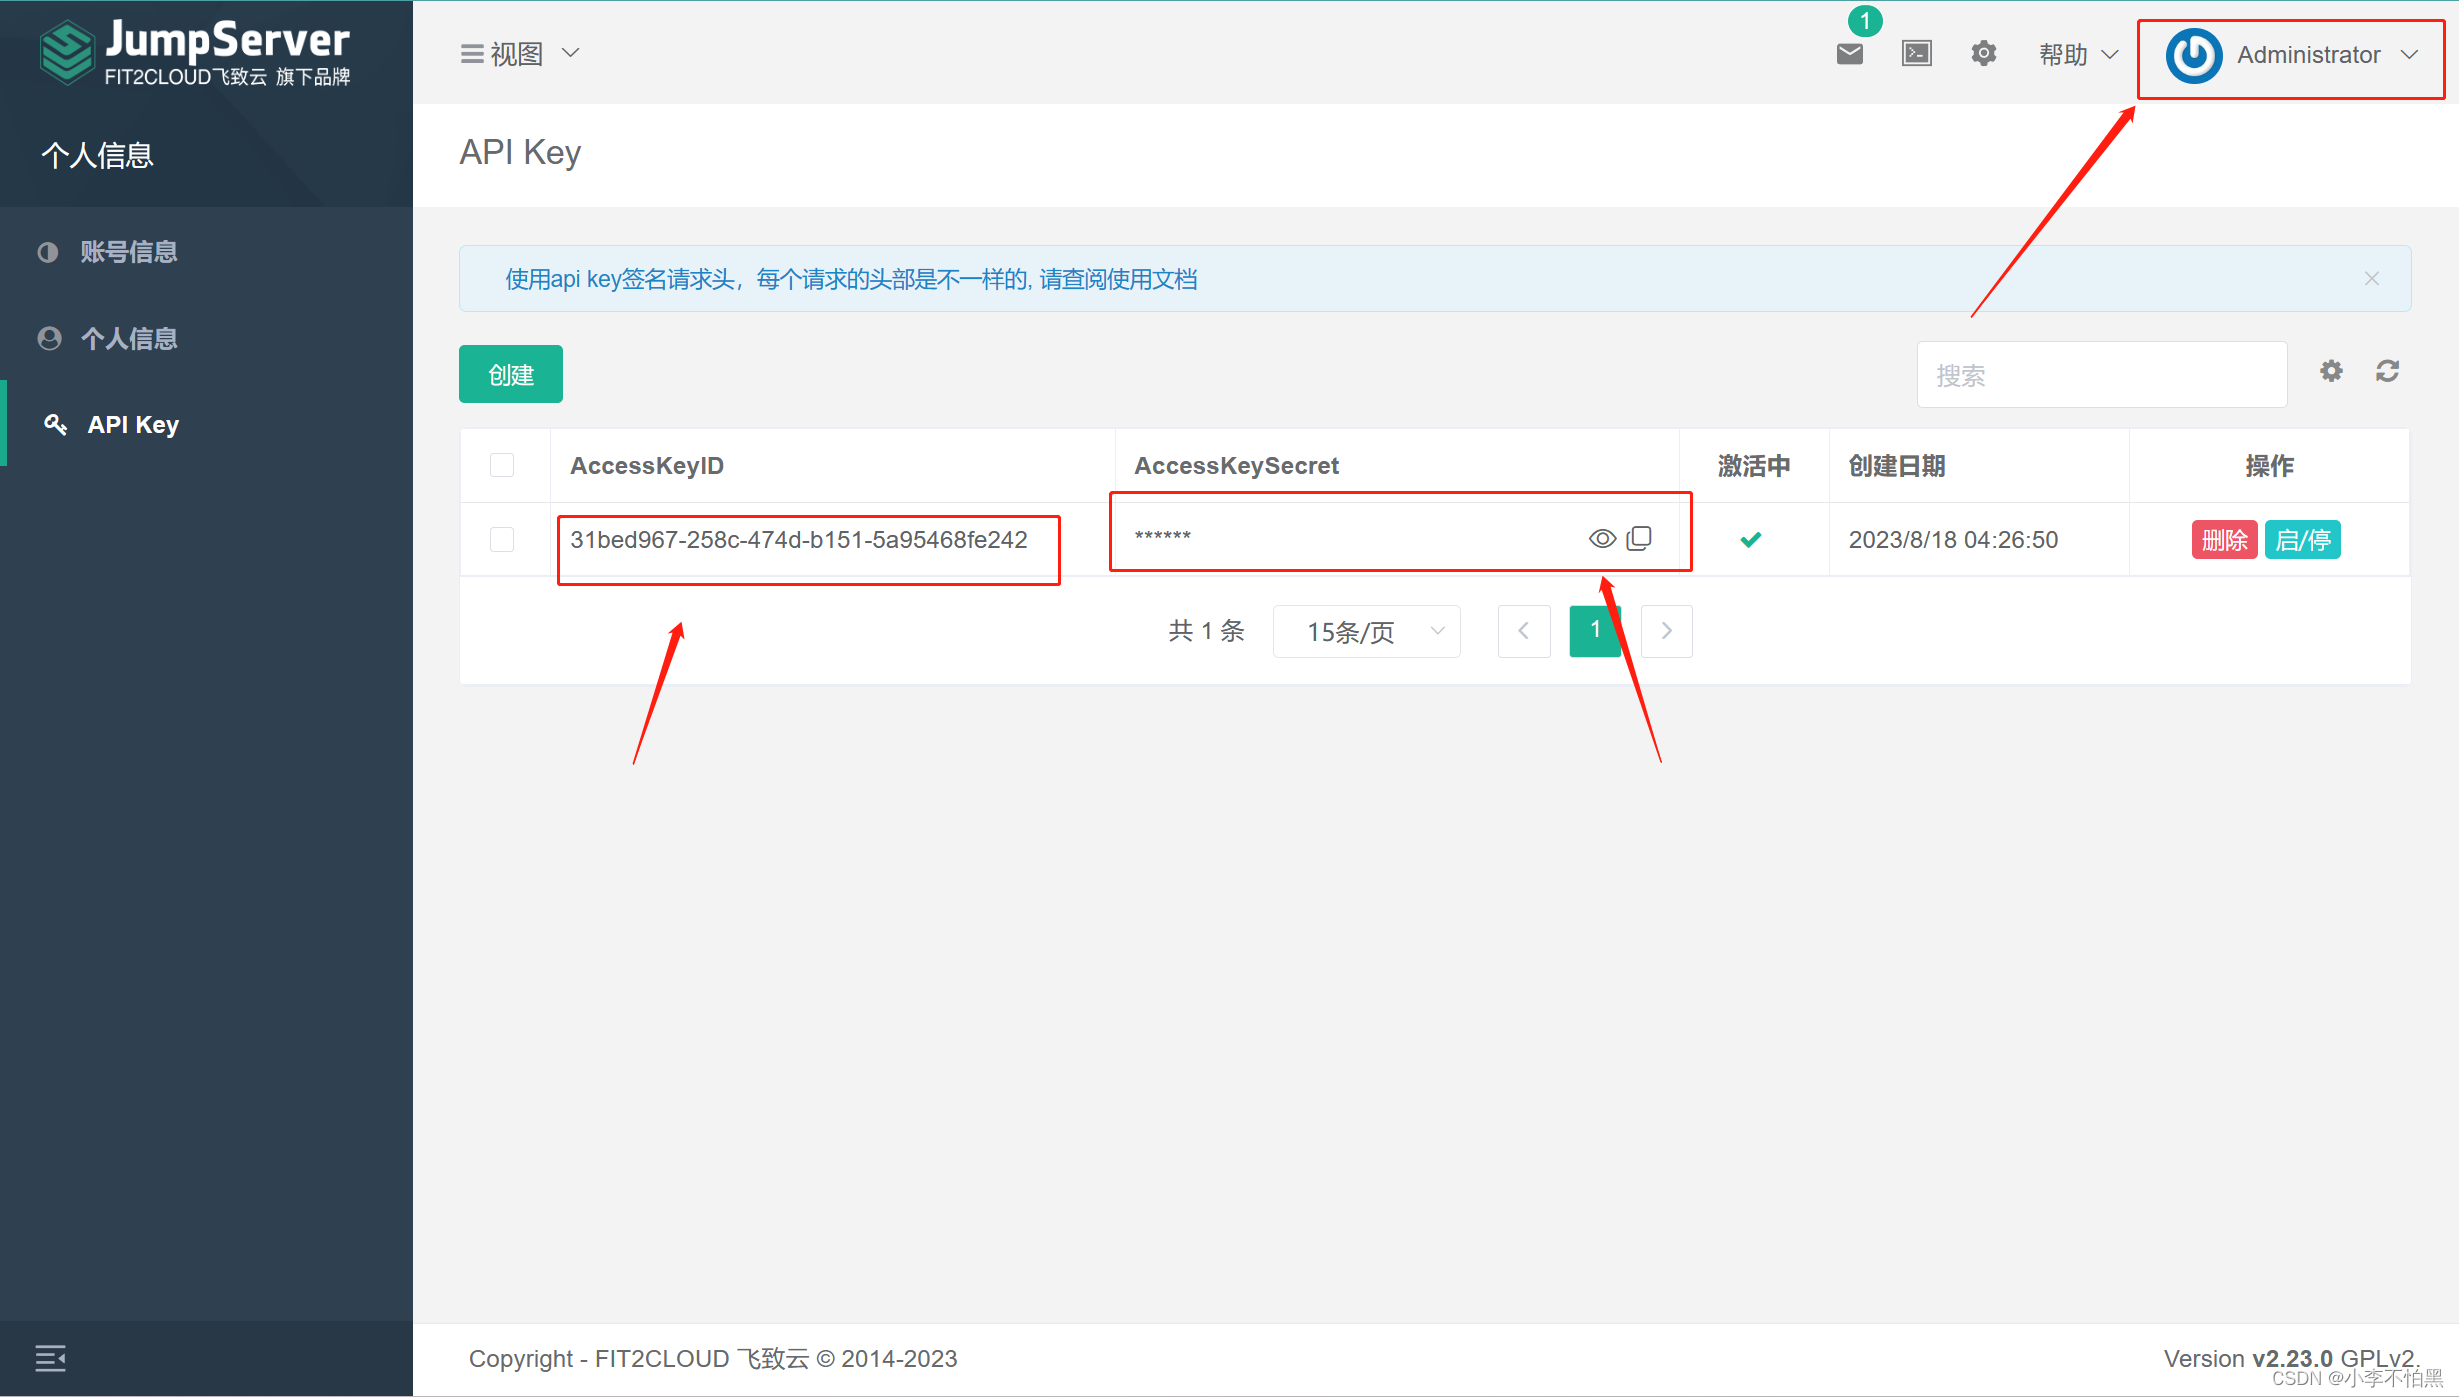
准备注册脚本
# 注意,这里是宿主机
[root@kvm-server control]# vim /opt/kvm/template/register_instance.py
# 修改以下内容,改为我们找到的id
jms_url = 'http://10.36.190.126'
# 资产列表id
nodes_id="938b475d-16f1-473e-8a4e-35177ada6ed4"
# 用户id
admin_user_id="9494beca-c35e-4091-99d7-912157603e5c"
KeyID = '31bed967-258c-474d-b151-5a95468fe242'
SecretID = '602329bf-39ff-4738-a601-f237cf2887aa'
克隆虚拟机
[root@kvm-server control]# sh VMHost.sh
"Usage: $0 [OPTION]..."-h, --help     查看帮助"-a, --address  虚拟机的IP地址"-p, --port     虚拟机的VNC端口"-n, --name     虚拟机的名称"-c, --cpus     选填,虚拟机的CPU数量,默认为1"-m, --memory   选填,虚拟机的内存大小,单位M,默认为512M"[root@kvm-server control]# sh VMHost.sh -a 10.36.190.210 -p 5900 -n xiaoming -c 2 -m 1024
使用vnc连接
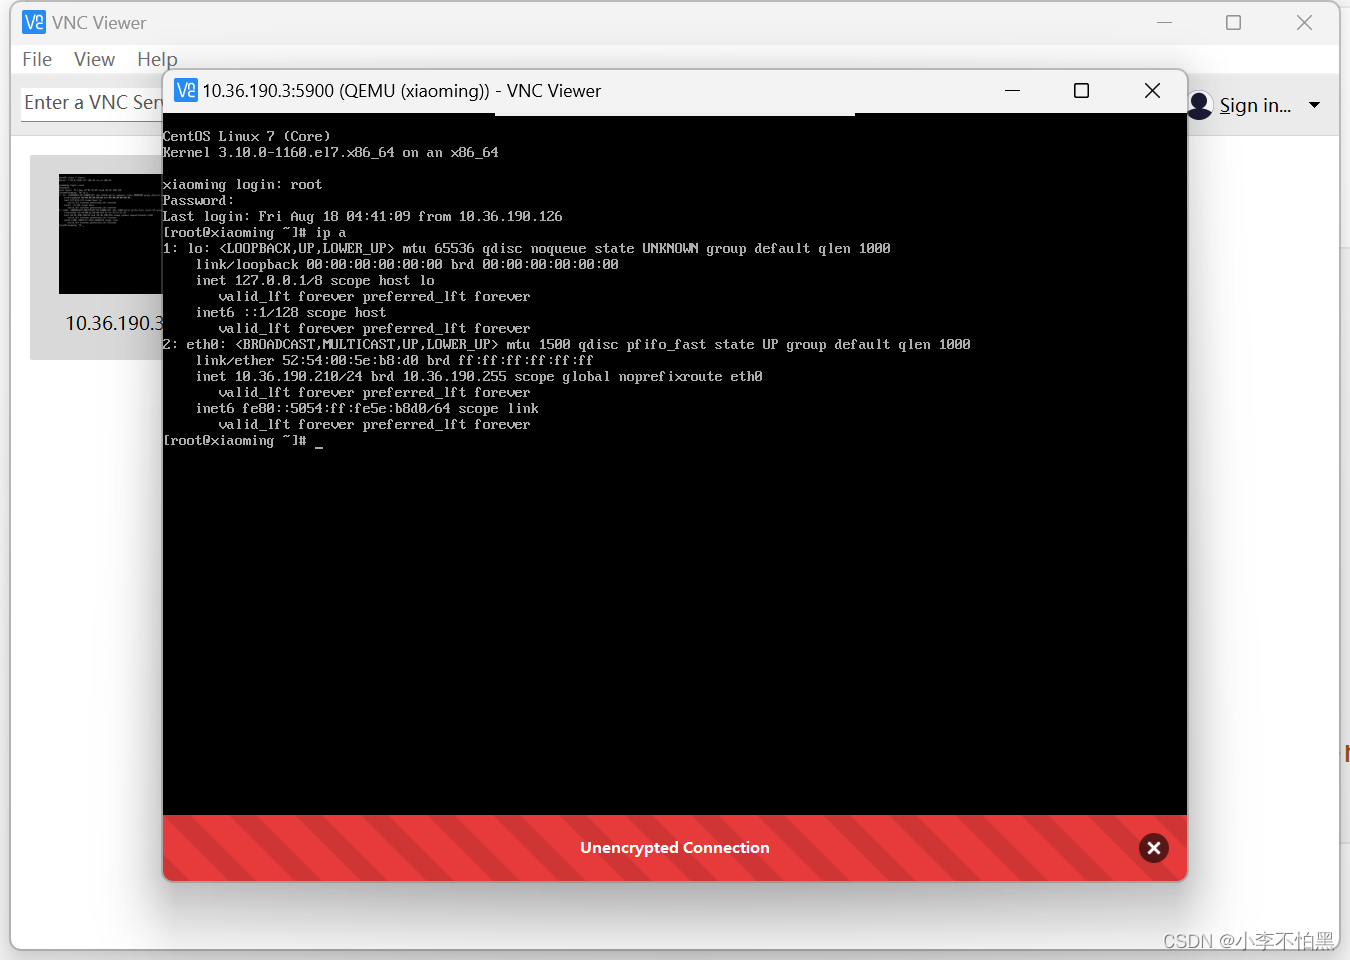
在jumpserver 查看资产
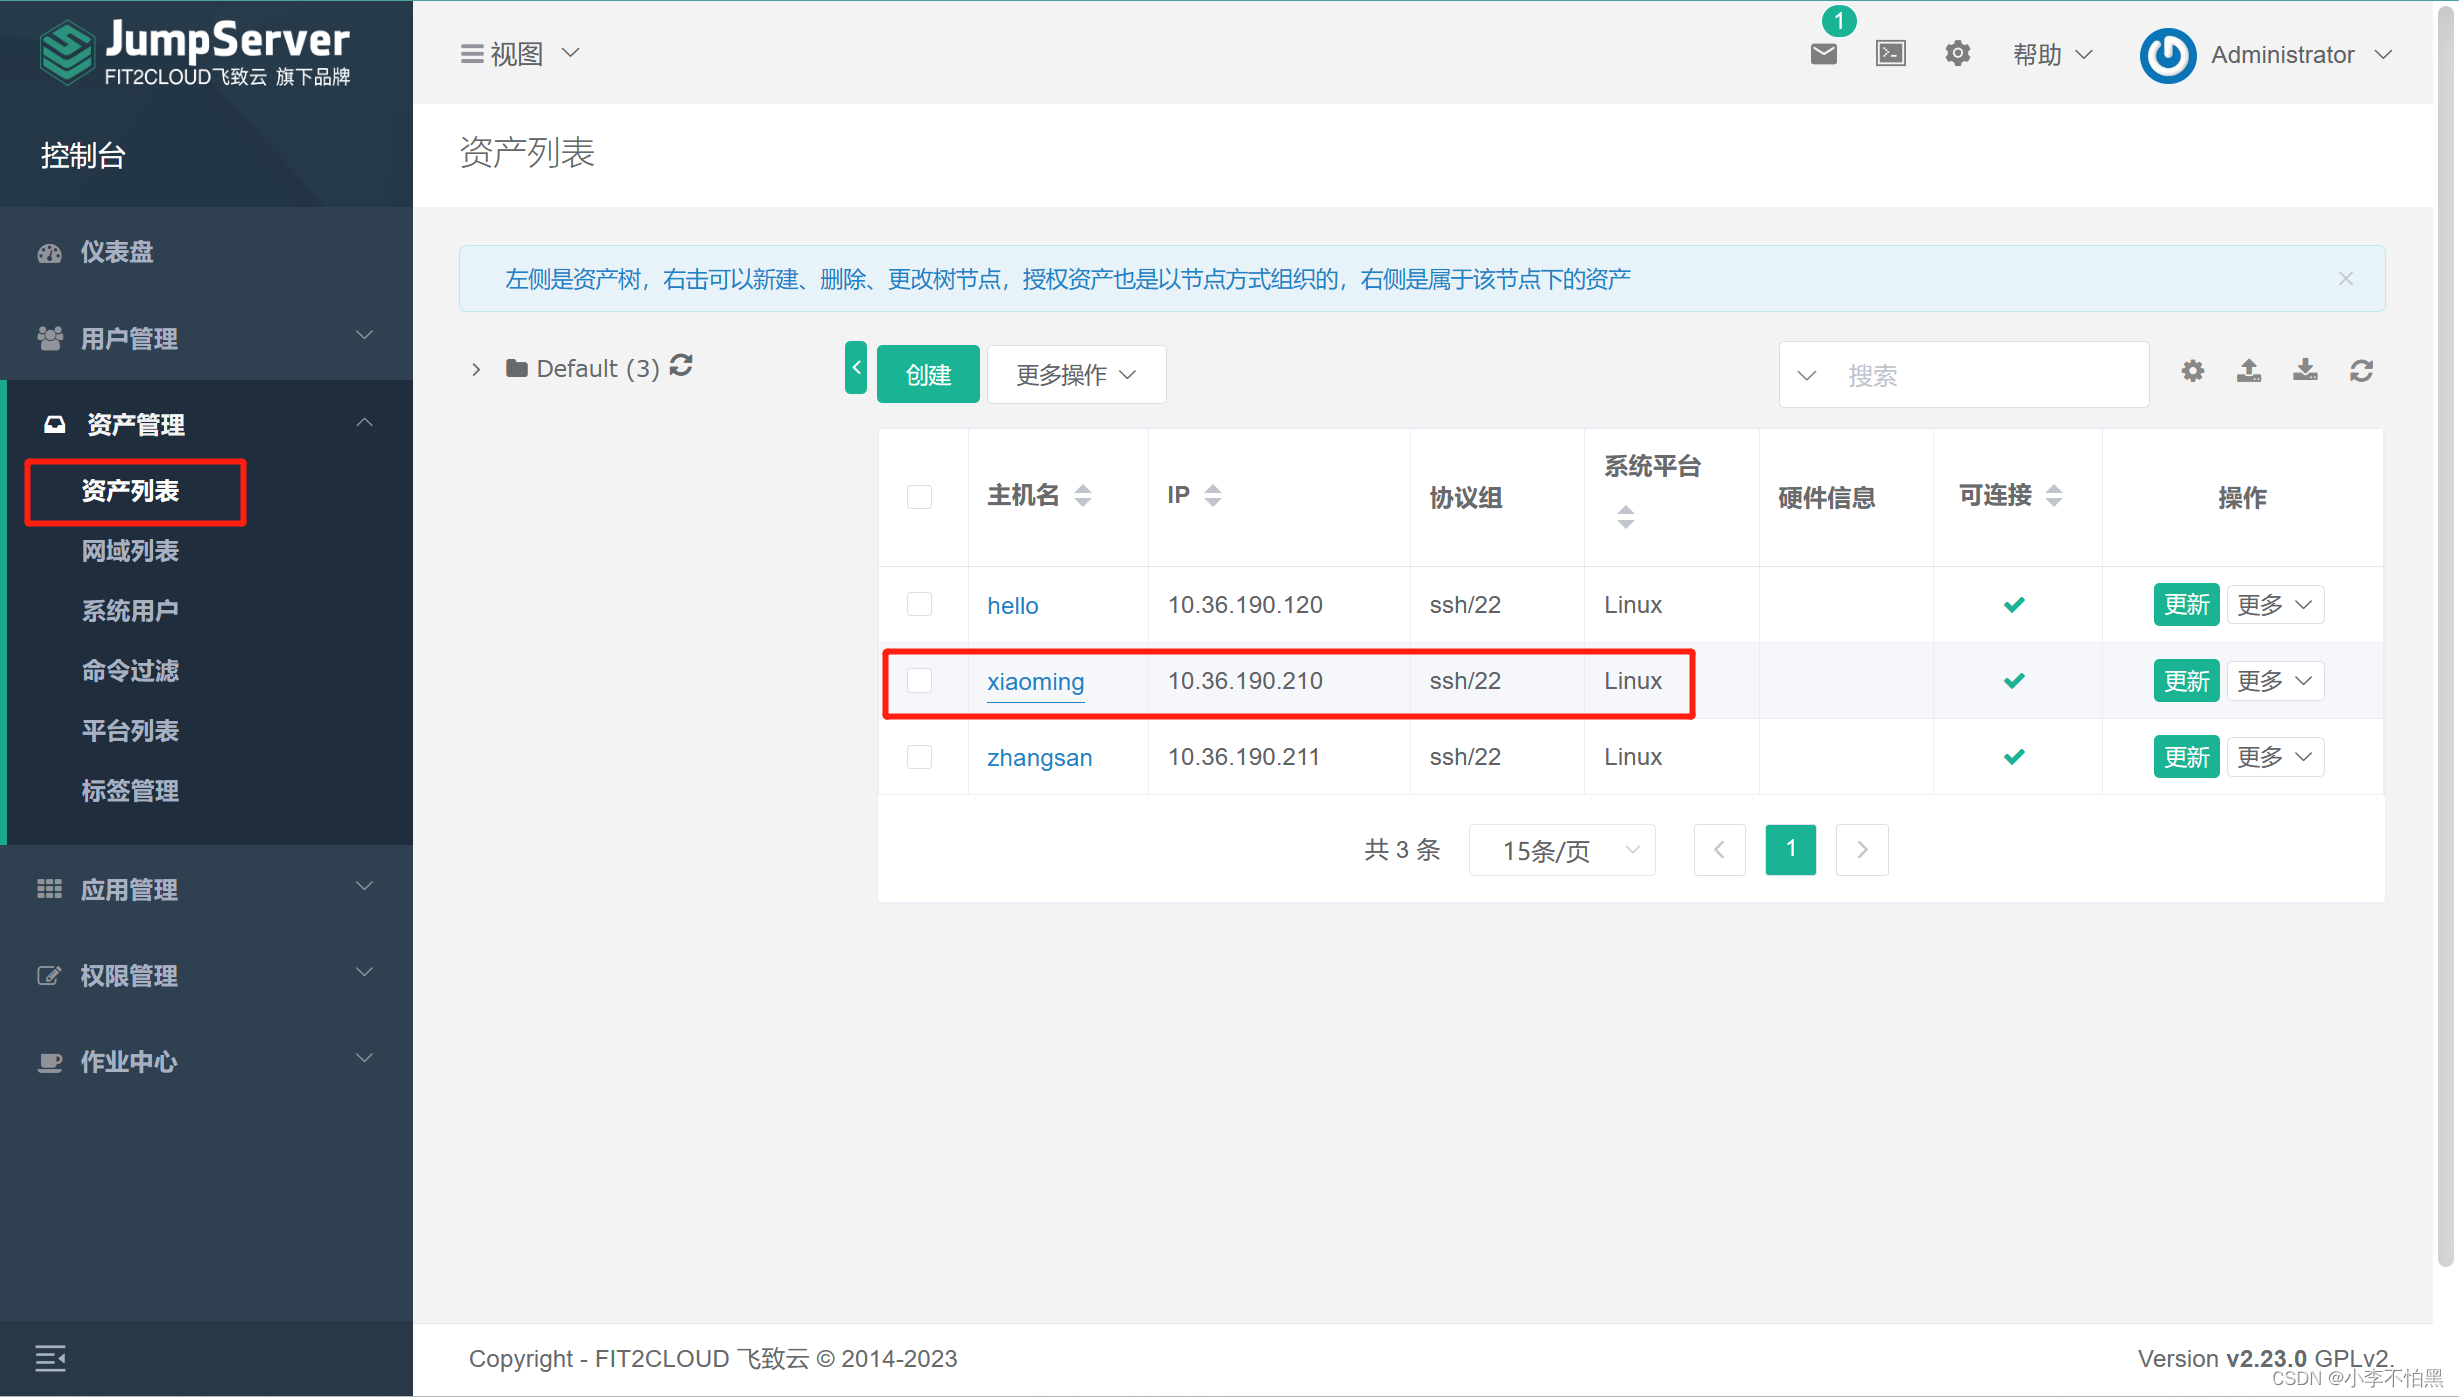
接下来就可以授权登录了
三、热迁移
一、两台机器均做nfs
# 迁移机器
[root@localhost ~]# yum install nfs-utils
[root@localhost ~]# systemctl start nfs-server
[root@localhost ~]# systemctl enable nfs-server
[root@localhost ~]# vim /etc/exports
/opt/kvm/template/    192.168.75.*(rw,sync,no_root_squash)[root@localhost ~]# exportfs -r# 迁移到的服务器
[root@localhost ~]# yum install nfs-utils
[root@localhost ~]# mount 192.168.75.128:/opt/kvm/template/ /opt/kvm/template/
[root@localhost ~]# vim /etc/fstab # 开机启动
192.168.75.128:/opt/kvm/template/ /opt/kvm/template/ nfs defaults 0 0
[root@localhost ~]# hostnamectl set-hostname hello.com # 修改主机名,不修改报错如下
# error: internal error: hostname on destination resolved to localhost, but migration requires an FQDN
[root@localhost ~]# vim /etc/libvirt/qemu.conf
user=root
group=root
[root@localhost ~]# systemctl restart libvirtd
# 迁移机器
[root@localhost ~]# vim /etc/hosts
192.168.75.129 hello.com
[root@localhost ~]# virsh migrate --live --verbose --unsafe --persistent template qemu+ssh://hello.com/system
二、冷迁移
冷迁移是在虚拟机关机状态下进行的迁移。在进行冷迁移时,虚拟机的状态被保存到磁盘文件中,然后将虚拟机的磁盘镜像和配置文件从源主机复制到目标主机。迁移完成后,虚拟机会在目标主机上重新启动。
操作步骤:
1.关闭源主机上的虚拟机。
2.复制虚拟机的磁盘镜像和配置文件到目标主机。
3.在目标主机上创建虚拟机,并指向复制过来的磁盘镜像和配置文件。
4.启动虚拟机。
冷迁移适用于不需要中断虚拟机服务的情况,但需要在迁移过程中短暂停止虚拟机。
# 冷迁移需要手动拷贝镜像文件到迁移后的服务器
virsh migrate --offline --verbose --unsafe --persistent template qemu+ssh://hello.com/system

