本文 我们来说说uv
那么 它是什么呢?
首先 比如 我们几何体 贴一个图 那么 为什么我们图的四个边就能正好贴到几何体的边
为什么不可以图就在几何体中间呢?
中心为什么能对齐 它就不能偏一点吗?
这是第一个问题
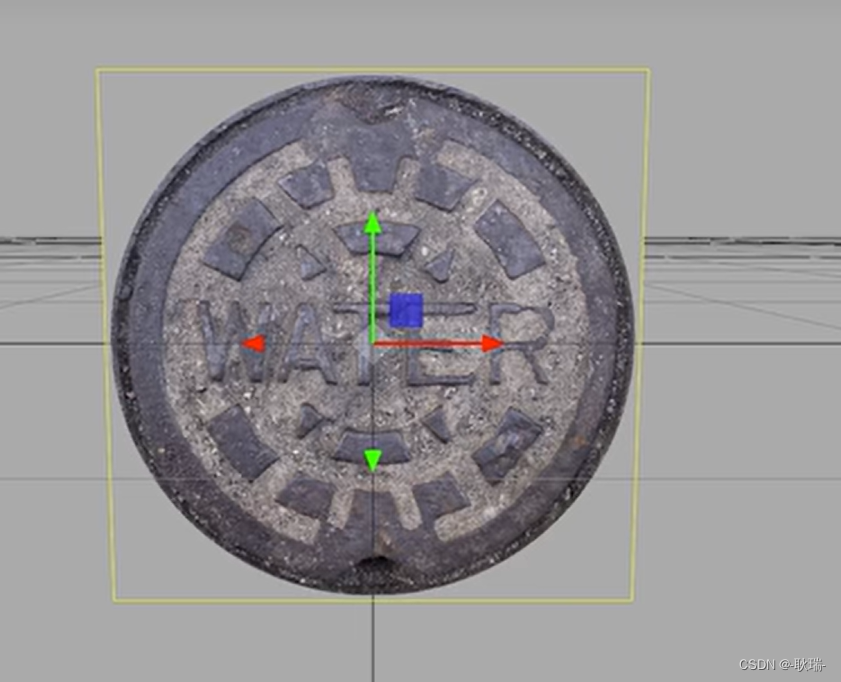
还有我们 gltf 这种文件 其实也是很多个三角形组件的
那么 我们怎么确定它每个部位的颜色?
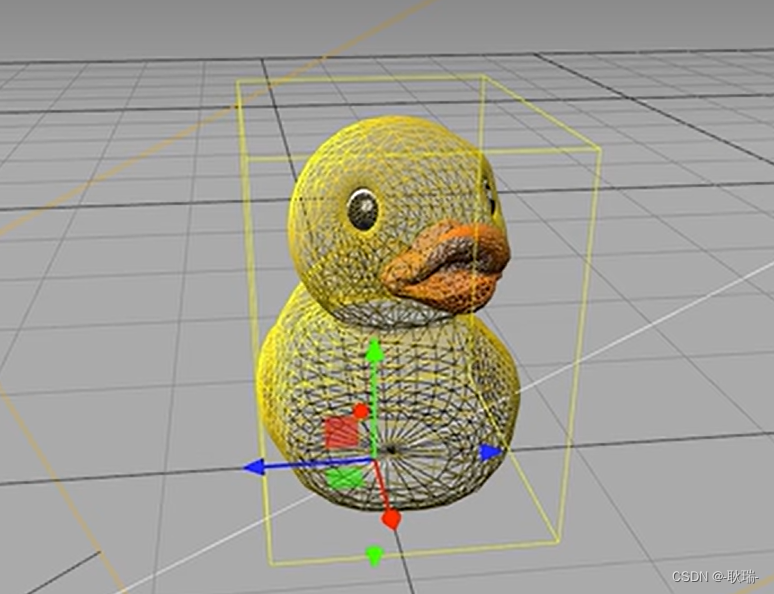
其实 实现 就是这样一个贴图
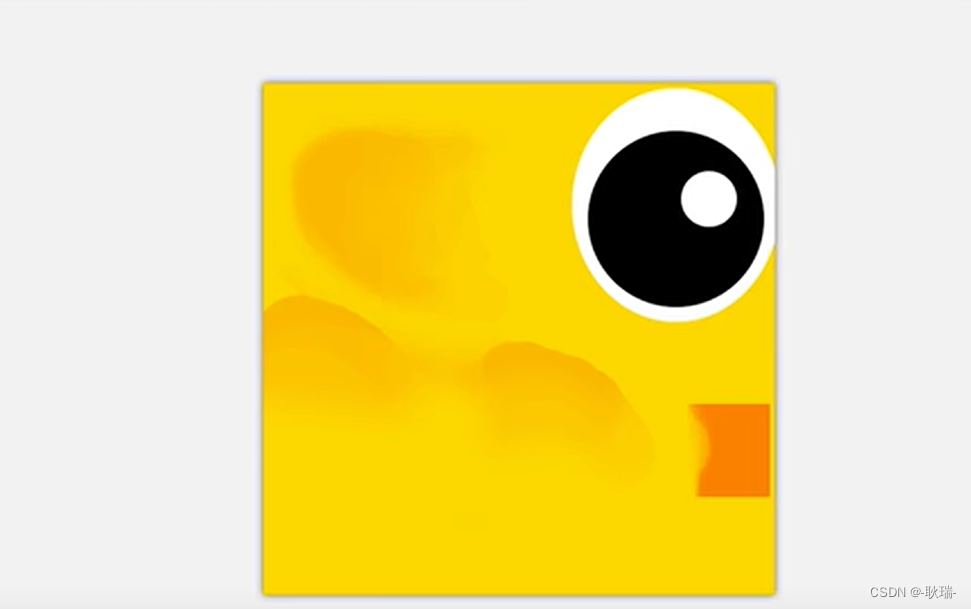
而每个部位的颜色 就是通过uv 来告诉它具体贴图的哪个位置去实现的
相对uv是一个二维坐标 针对x y轴
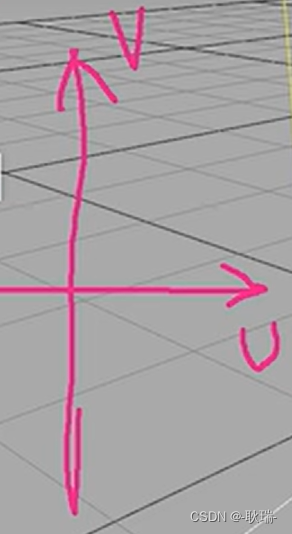
我们先编写代码如下
import './style.css'
import * as THREE from "three";
import { OrbitControls } from "three/examples/jsm/controls/OrbitControls.js";//创建相机
const camera = new THREE.PerspectiveCamera(45, //视角 视角越大  能看到的范围就越大window.innerWidth / window.innerHeight,//相机的宽高比  一般和画布一样大最好0.1,  //近平面  相机能看到最近的距离1000  //远平面  相机能看到最远的距离
);
const scene = new THREE.Scene();
const planeGeometry = new THREE .PlaneGeometry(1, 1);
console.log(planeGeometry);//c创建一个canvas容器  并追加到 body上
const renderer = new THREE.WebGLRenderer(0);
renderer.setSize(window.innerWidth, window.innerHeight);
document.body.appendChild(renderer.domElement);//设置相机位置   这里 我们设置Z轴  大家可以试试  S Y 和 Z  都是可以的
camera.position.z = 5;
//设置相机默认看向哪里   三个 0  代表 默认看向原点
camera.lookAt(0, 0, 0);
//将内容渲染到元素上
renderer.render(scene, camera);
const controls = new OrbitControls(camera, renderer.domElement);function animate() {controls.update();requestAnimationFrame(animate);/*cube.rotation.x += 0.01;cube.rotation.y += 0.01;*/renderer.render(scene, camera);
}
animate();
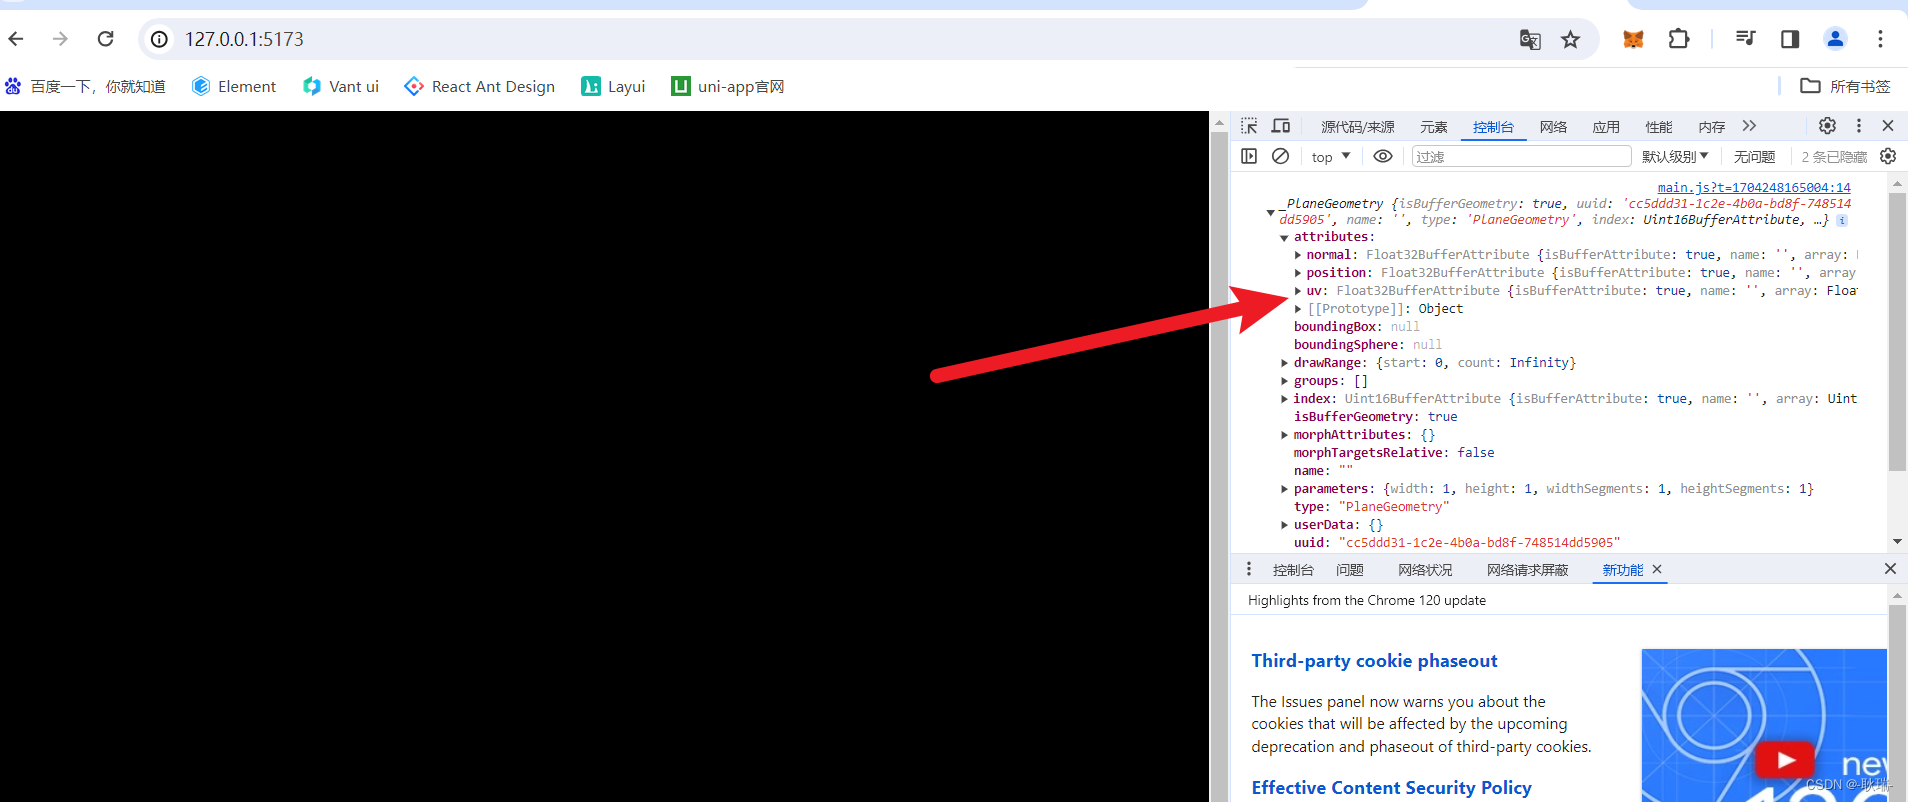
然后 我们运行代码 打开控制台
这里 我们几何体对象 attributes 下是有一个uv属性的
这里 我们可以拿这个图片做
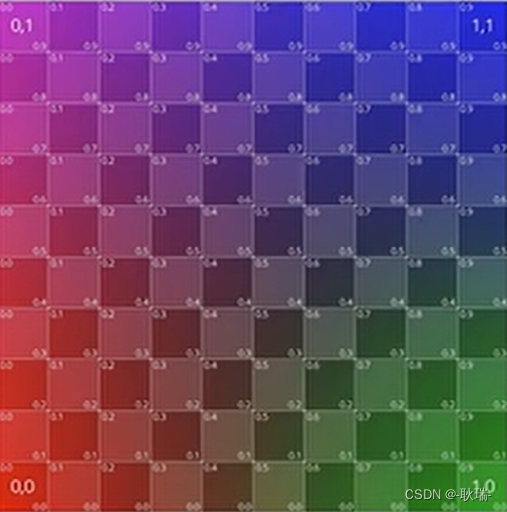
坐标理解 大体是这样的
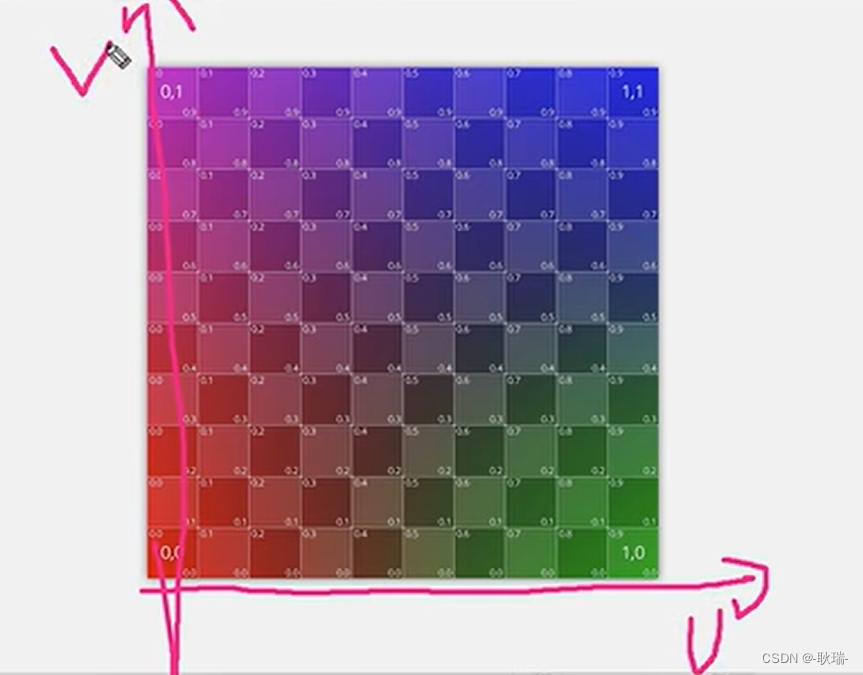
然后 我们加上如下代码
let uvTexture = new THREE.TextureLoader().load("/textUv.jpg");const planeGeometry = new THREE .PlaneGeometry(1, 1);
const planeMaterial = new THREE.MeshBasicMaterial({map: uvTexture
})
const planeMesh = new THREE.Mesh(planeGeometry, planeMaterial);
scene.add(planeMesh);
我们通过TextureLoader导入图片
然后 创建一个几何体
材质map贴图 选择我们需要导入的图片
然后将图片 add到场景中
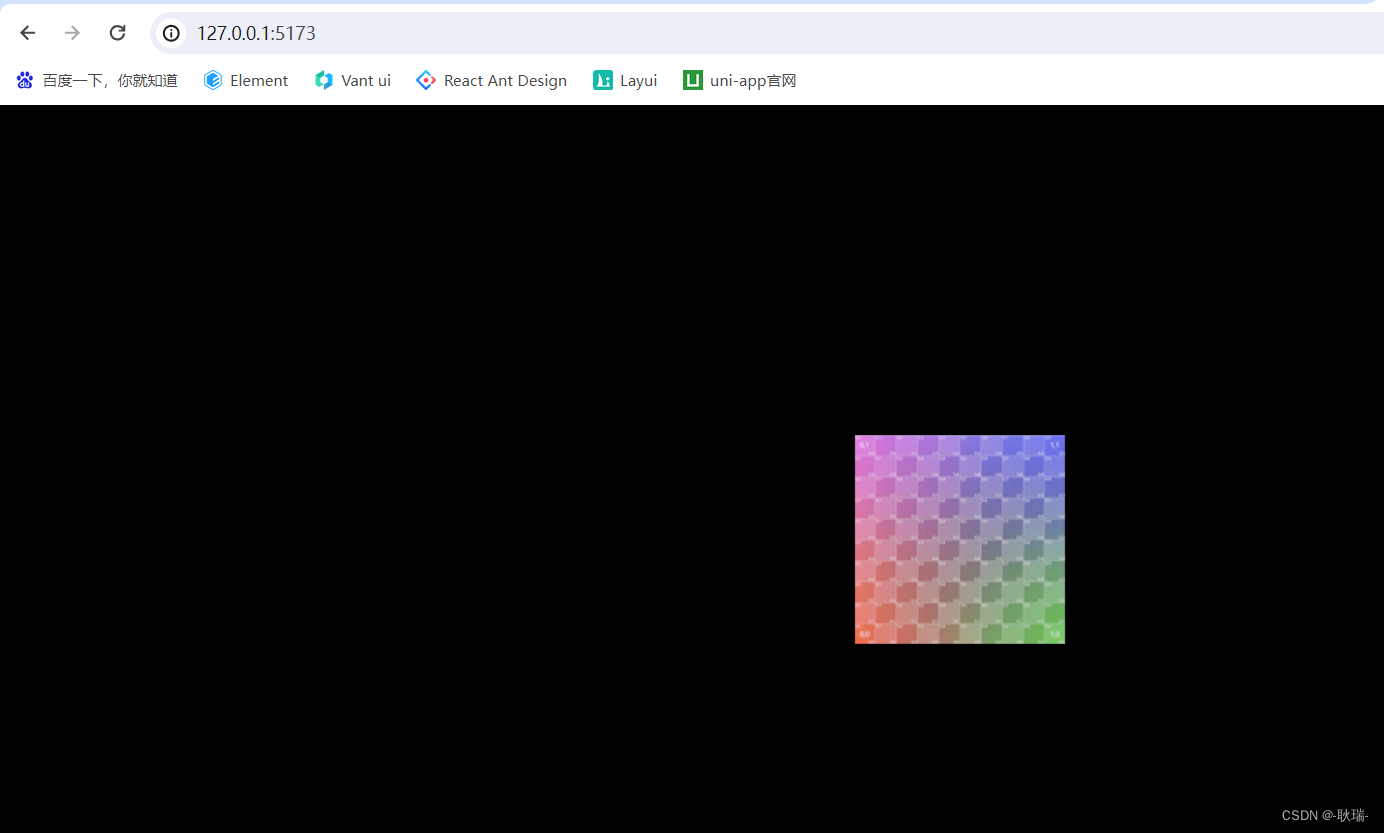
然后 我们可以在下面加上这样的代码
const geometry  = new THREE.BufferGeometry();
// 创建顶点数据
const vertices = new Float32Array([-1.0 ,-1.0 ,0.0,1.0 ,-1.0, 0.0,1.0 ,1.0 ,0.0,-1.0 ,1.0, 0.0
])
geometry.setAttribute("position", new THREE.BufferAttribute(vertices, 3));
const indices = new Uint16Array([0 ,1 ,2, 0, 3, 2]);
const material = new THREE.MeshBasicMaterial({map: uvTexture,side: THREE.DoubleSide
})
geometry.setIndex(new THREE.BufferAttribute(indices, 1));
const cube = new THREE.Mesh(geometry, material);
cube.position.x = - 3
console.log(cube);
scene.add(cube)
这里 我们用顶点的方式 创建了一个几何体
然后 也将它的贴图设置为 uvTexture
运行之后 你会发现 图没有上去
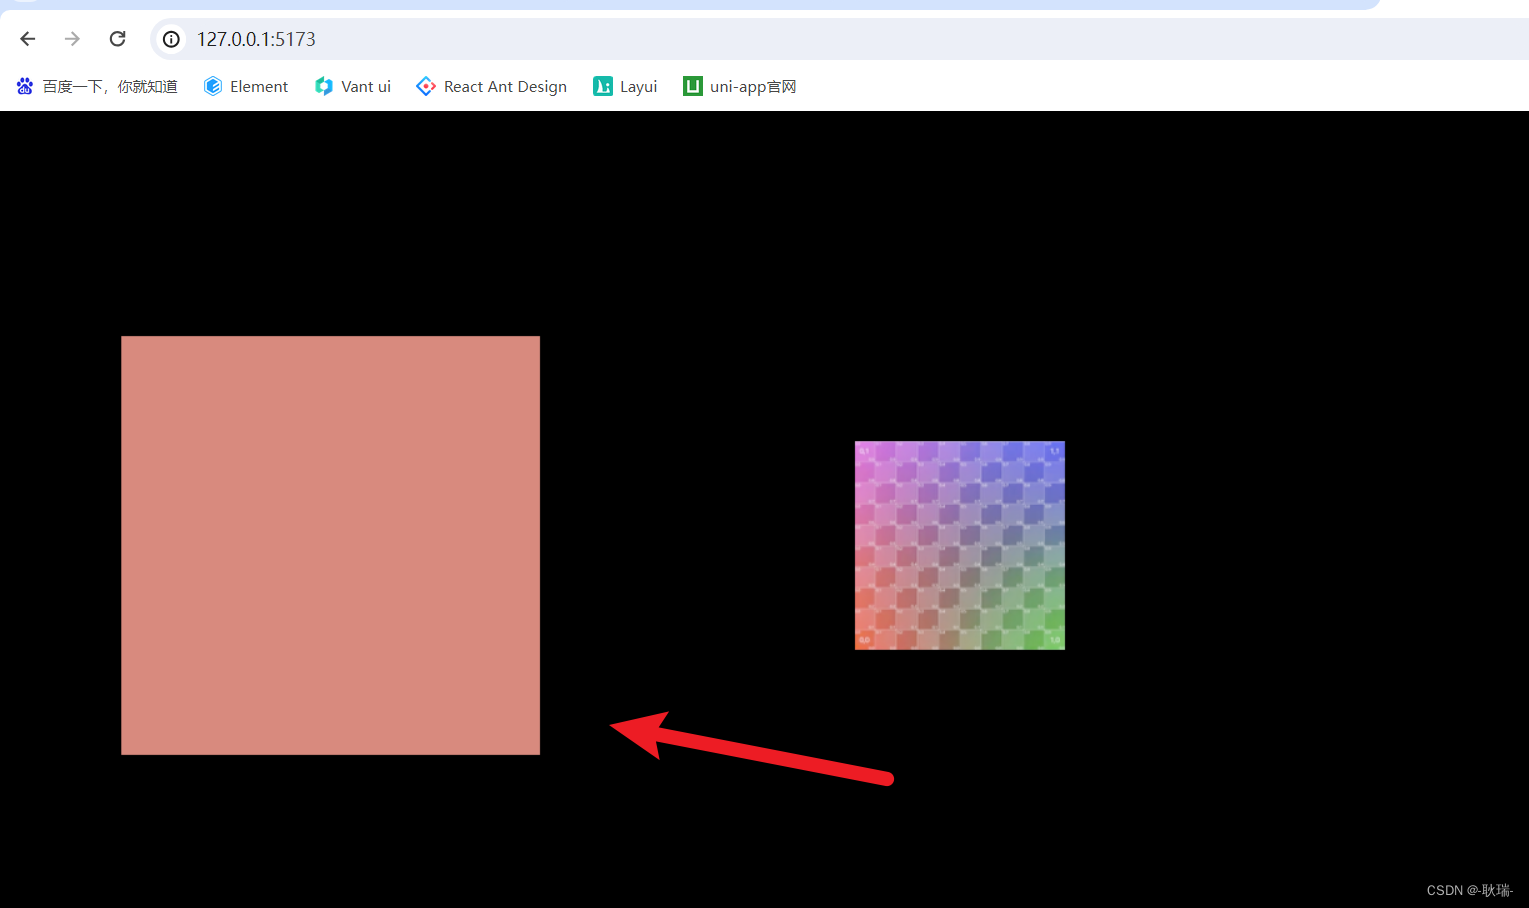
我们打开控制台查看
我们自己创建的顶点几何体 你在它的对象里 是找不到uv的
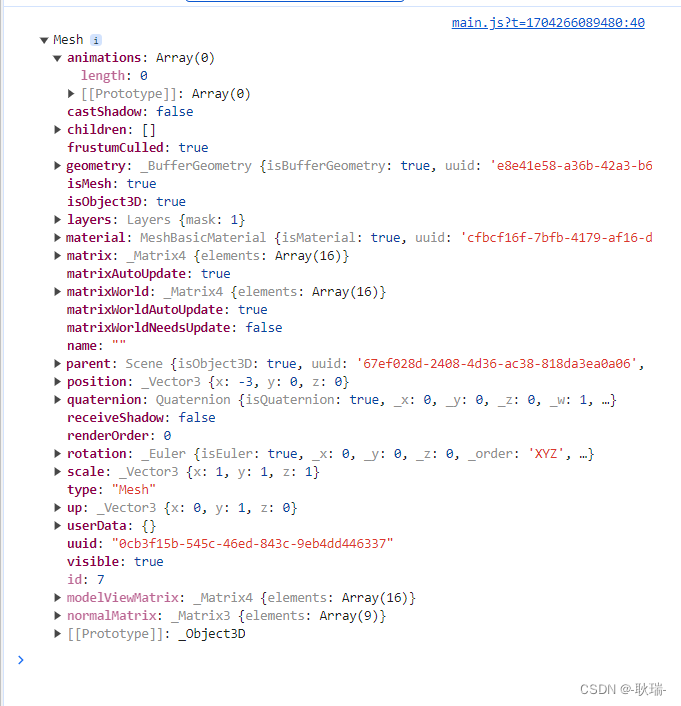
那么 它就不知道这个图怎么贴了
我们要告诉它 四个点分别对应贴图的什么位置
我们可以改写代码如下
const geometry  = new THREE.BufferGeometry();
// 创建顶点数据
const vertices = new Float32Array([-1.0 ,-1.0 ,0.0,1.0 ,-1.0, 0.0,1.0 ,1.0 ,0.0,-1.0 ,1.0, 0.0
])
geometry.setAttribute("position", new THREE.BufferAttribute(vertices, 3));
const indices = new Uint16Array([0 ,1 ,2, 0, 3, 2]);
const material = new THREE.MeshBasicMaterial({map: uvTexture,side: THREE.DoubleSide
})
const uv = new Float32Array([0, 0, 1, 0, 1, 1, 0, 1
])
geometry.setAttribute("uv", new THREE.BufferAttribute(uv, 2));
geometry.setIndex(new THREE.BufferAttribute(indices, 1));
const cube = new THREE.Mesh(geometry, material);
cube.position.x = - 3
console.log(cube);
scene.add(cube)
这里 我们定义了一个Float32Array对象 声明了
第一个参数代表 几何体左上角 承载图片的 x 轴 0 就是最左边 y轴 0 就是顶部
然后第二个代表 几何体 右上角 承载 x 轴 1 就是最右侧 y轴 0 就是顶部
第三个 几何体 右下角 承载图片 x轴 1 就是最右侧 y轴 1就是底部
最后一个 几何体 左下角 x 0就是最左侧 y轴 1 就是底部
setAttribute声明uv属性 BufferAttribute第二个参数告诉它 我们是 xy 2个为一组的
运行结果如下
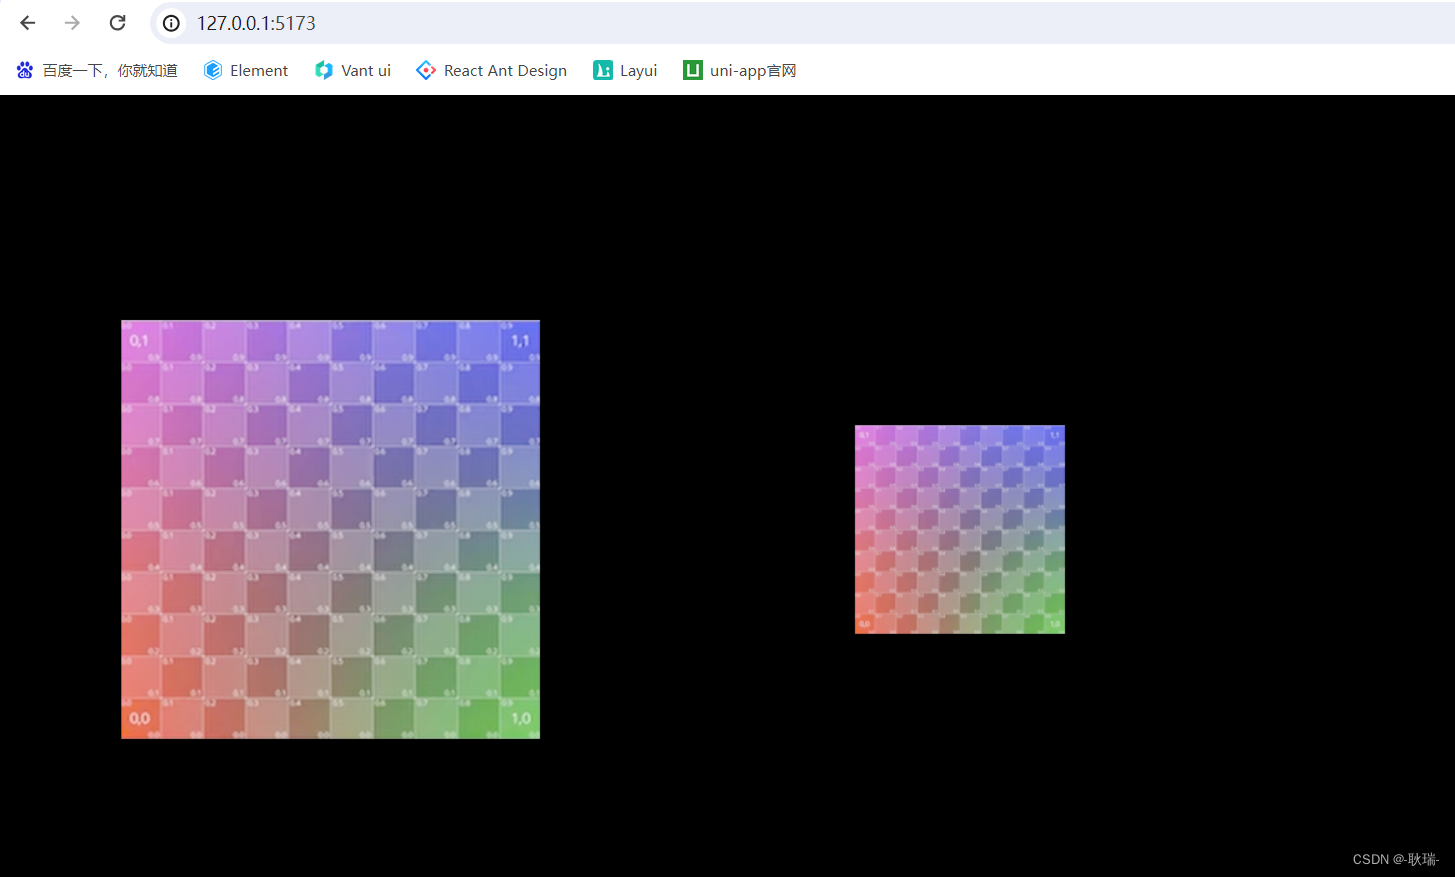
这样图片就上去了
我们 可以将 Float32Array 改成这样
const uv = new Float32Array([0, 0, 1, 0, 1, 1, 0, 0
])
这样 我们左下角 去取样 图片 x 0 最上面 y轴0 也是图片最上面的样式
这样 左边上下就都是这个角的红色了
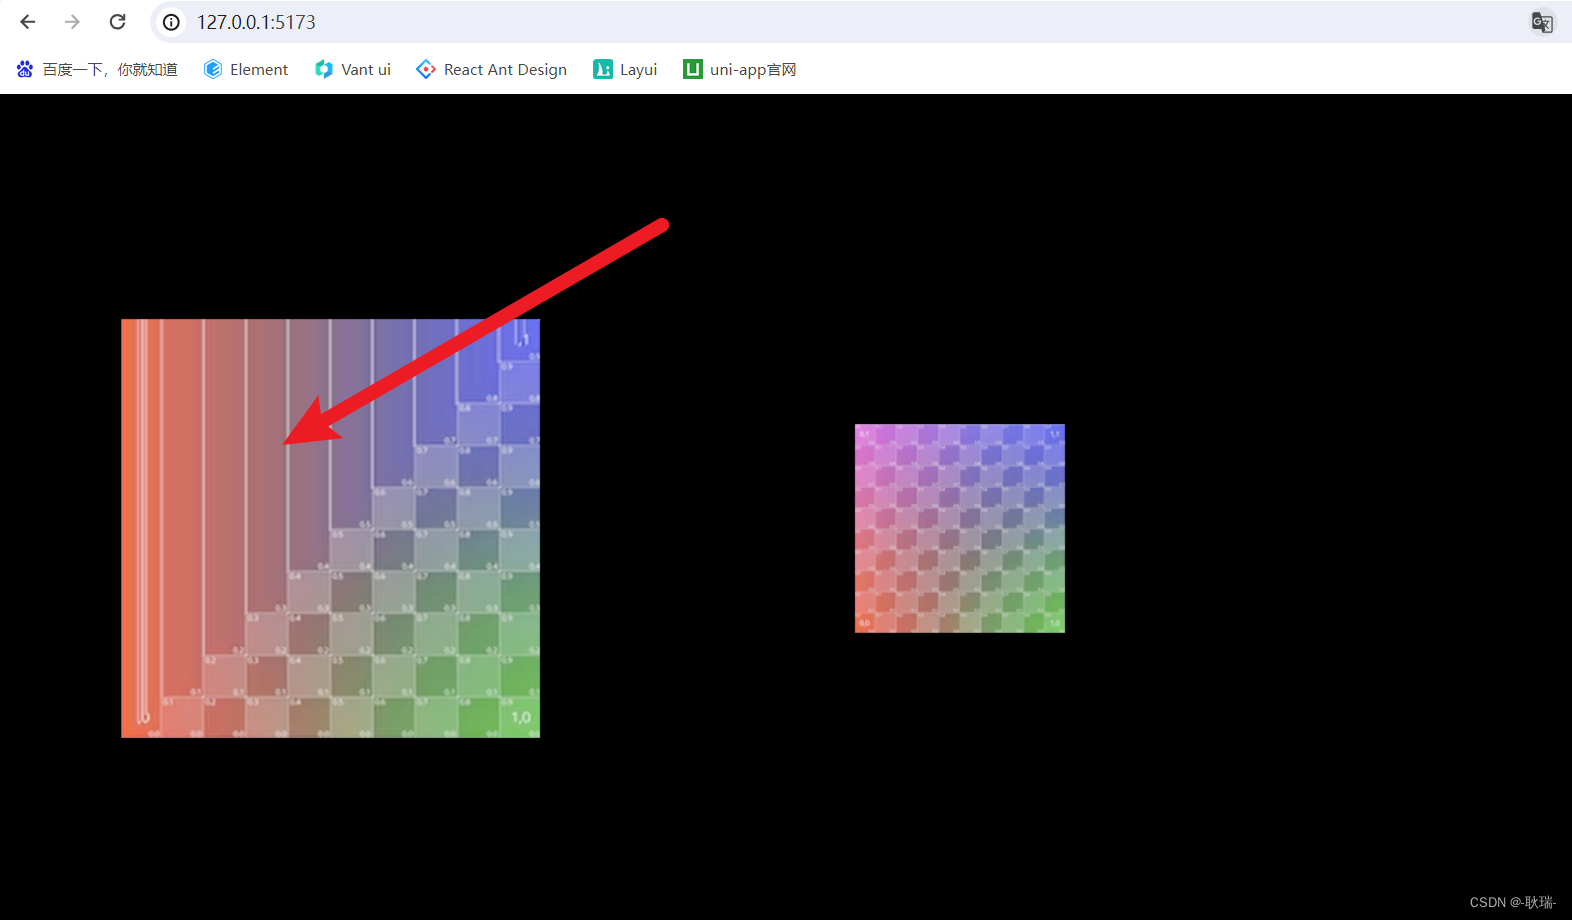
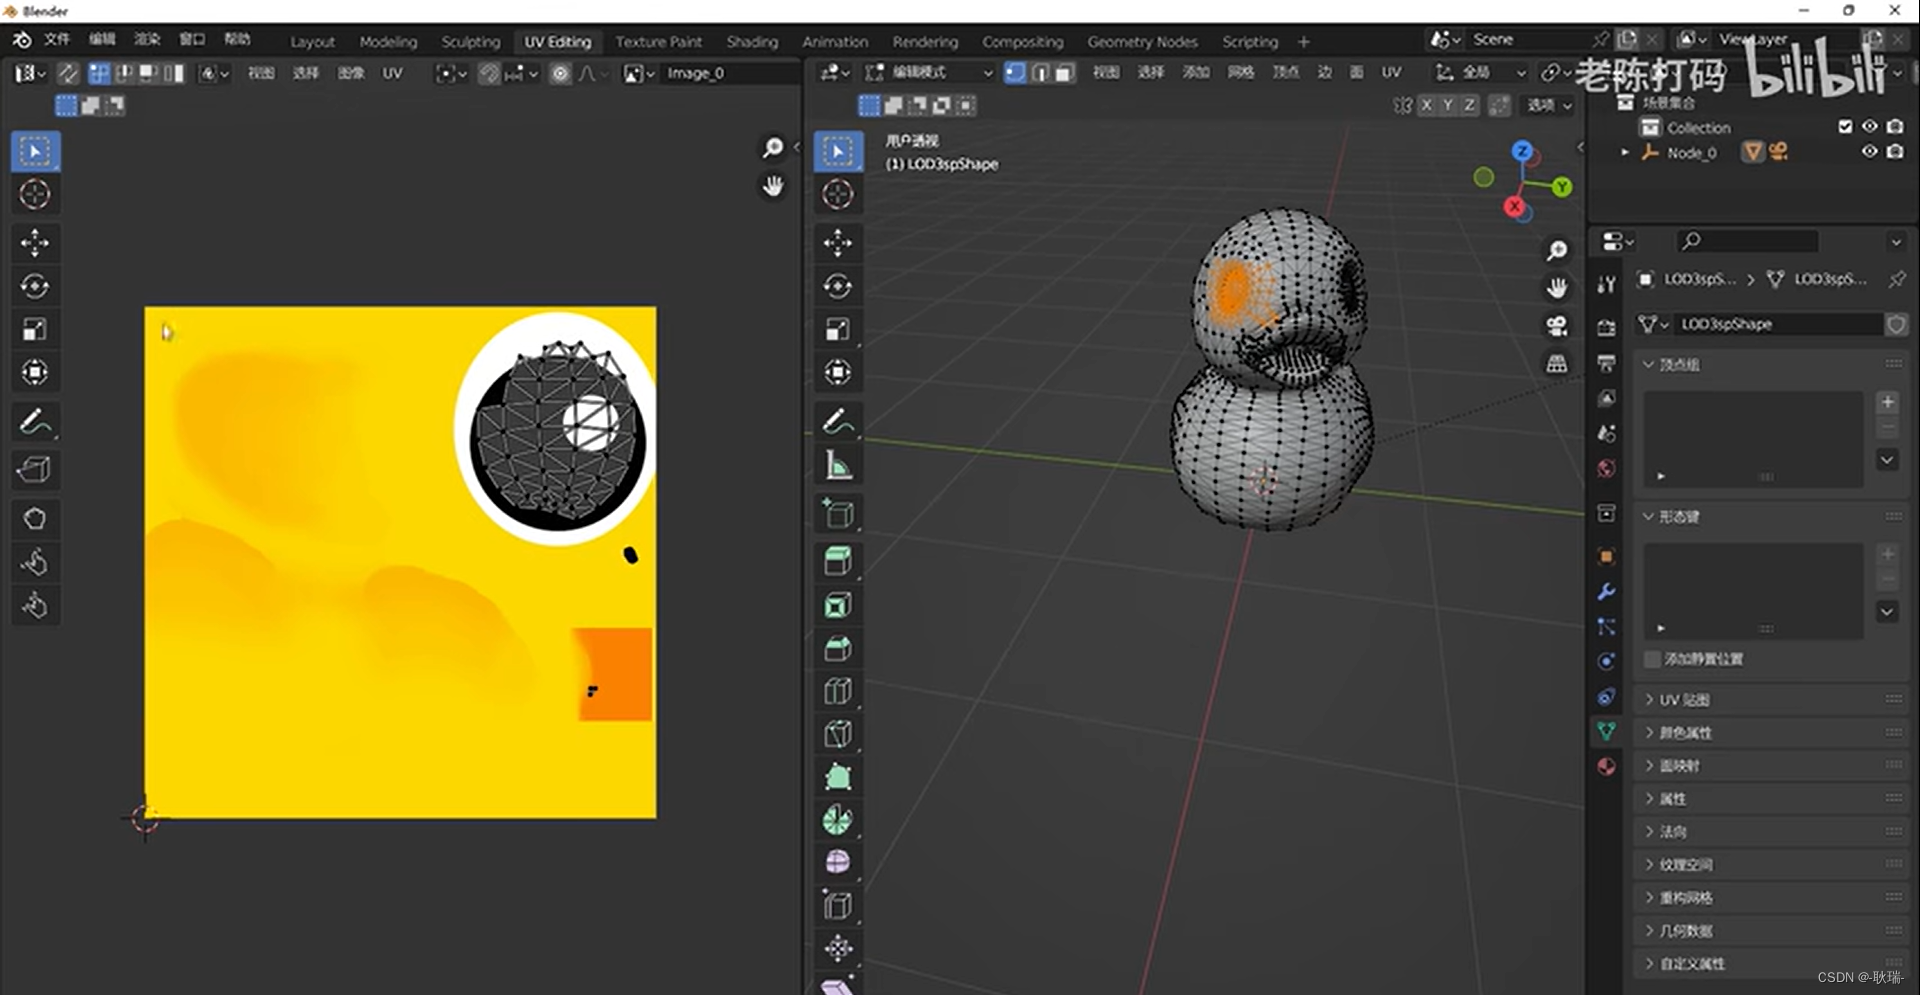
相对顶点 这样 我们把uv弄好了 一些很复杂的图形 也都是可以做出来的

![[C#]C# OpenVINO部署yolov8目标检测模型](https://img-blog.csdnimg.cn/direct/1d892b2efb894d4d86ecb9b9ce15f346.jpeg)
