1、下载Elasticsearch、kibana、logstash
本文不介绍ELK相关原理知识,只记录部署操作过程
下载地址Past Releases of Elastic Stack Software | Elastic
选择同一版本,这里选择是当前最新版本8.11.3

解压放在同目录下,方便后续操作与使用
2、安装与启动Elasticsearch
由于8.11.3使用自带jdk,这里可以不用安装jdk并配置,低版本需要电脑中安装jdk
![]()
设置一下配置文件
修改文件 F:\elasticsearch-8.11.3\config\elasticsearch.yml。

elasticesearch.bat是用于第一次安装运行和之后启动es的
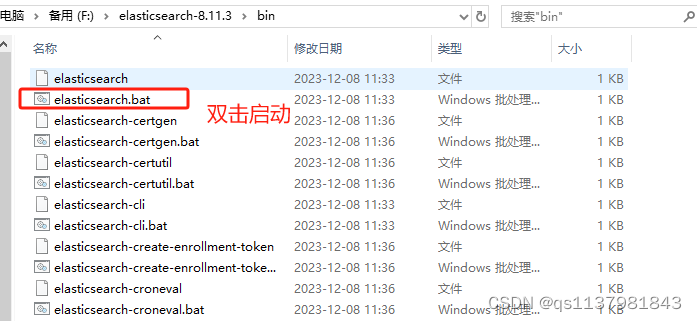
出现starting即启动成功

打开浏览器访问http://localhost:9200/

3、启用head插件(web插件)
在github上下载elasticsearch-head-master
修改文件F:\elasticsearch-8.11.3\config\elasticsearch.yml,添加下面内容
http.cors.enabled: true
 http.cors.allow-origin: "*"

定位到elasticsearch-head-master根目录,以此执行下面命令。
npm install -g grunt-clinpm installgrunt server
启动成功,访问 http://localhost:9200/
4、使用kibana
配置文件修改
F:\kibana-8.11.3\config\kibana.yml

双击启动kibana.bat,启动比较慢耐心等待一下

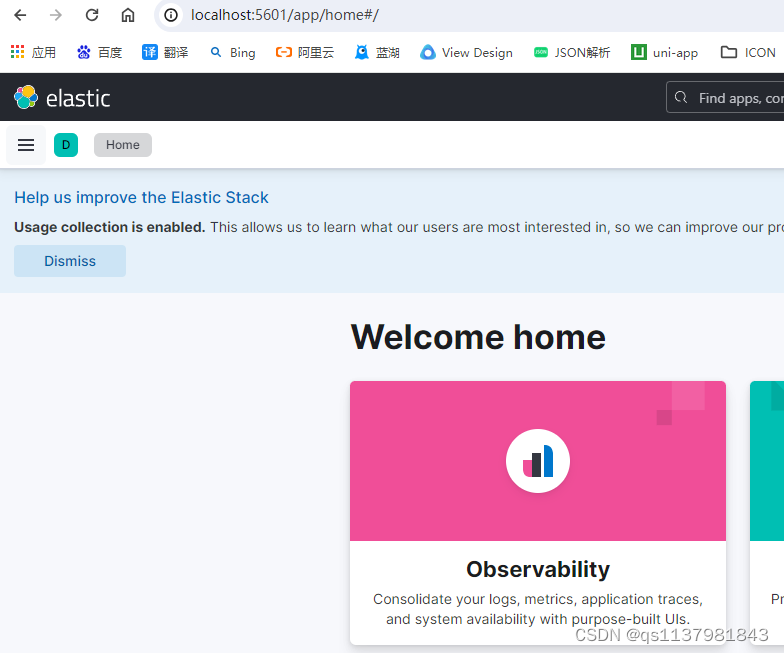
启动成功后访问 http://localhost:5601
5、使用logstash
解压logstash,配置logstash.conf文件
这里配置的是jdbc连接,将test数据库中的表website导入的es中,仅作配置参考
input {jdbc {jdbc_connection_string => "jdbc:mysql://localhost:3306/test"jdbc_user => "root"jdbc_password => "root"jdbc_validate_connection => truejdbc_driver_library => ""jdbc_driver_class => "com.mysql.cj.jdbc.Driver"statement => "SELECT * FROM website"}
}filter {mutate {rename => {"longitude" => "[location][lon]""latitude" => "[location][lat]"}}
}output {stdout {}elasticsearch {index => "website"hosts => "localhost:9200"document_type => "_doc"}
}
运行脚本
logstash -f logstash.conf先记录到这里,后续更新

