系列文章目录
unity知识点
文章目录
- 系列文章目录
- 前言
- 一、人物移动之键盘移动
- 1-1、代码如下
- 1-2、效果
- 二、人物移动之跟随鼠标点击移动
- 2-1、代码如下
- 2-2、效果
- 三、人物移动之刚体移动
- 3-1、代码如下
- 3-2、效果
- 四、人物移动之第一人称控制器移动
- 4-1、代码如下
- 4-2、效果
- 五、Android触摸手势操作脚本(单指 双指 三指)
- 5-1、代码如下
- 总结
大家好,我是心疼你的一切,不定时更新Unity开发技巧,觉得有用记得一键三连哦。
前言
人物移动代码综合记录一下(因为有很多种).所以简单记录一下
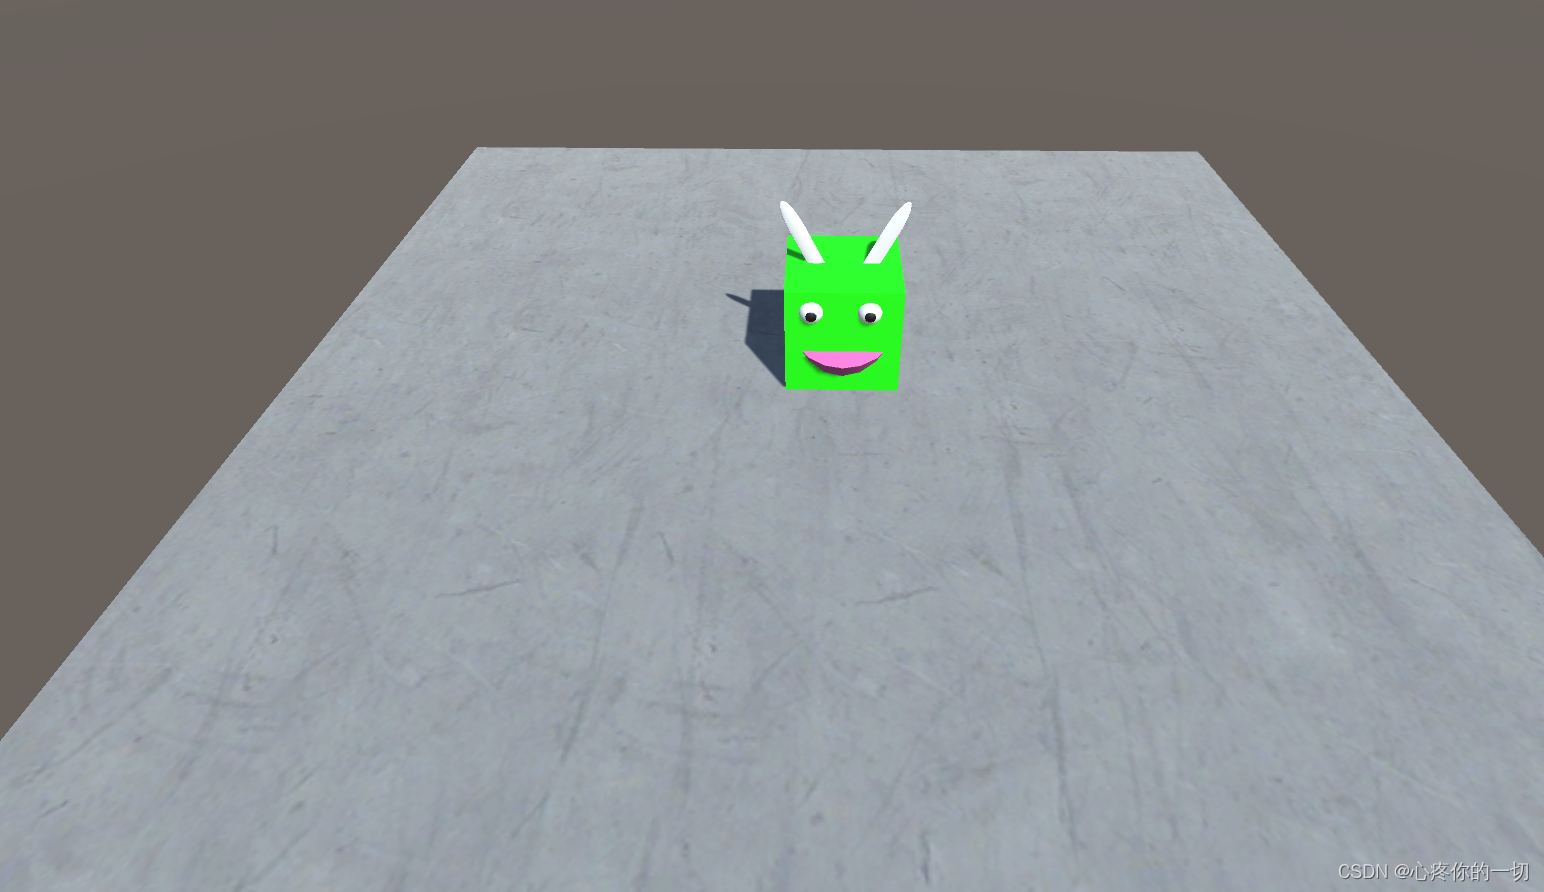
一、人物移动之键盘移动
所谓键盘移动就是我们常玩游戏的操作 wasd来进行移动
1-1、代码如下
using System.Collections;
using System.Collections.Generic;
using UnityEngine;public class PlayerToKeyPad : MonoBehaviour
{public GameObject Player;public float m_speed = 5f;void Update(){//键盘控制移动 两种方法PlayerMove_KeyPad_1();PlayerMove_KeyPad_2();}//通过Transform组件 键盘控制移动public void PlayerMove_KeyPad_1(){if (Input.GetKey(KeyCode.W) | Input.GetKey(KeyCode.UpArrow)) //前{Player.transform.Translate(Vector3.forward * m_speed * Time.deltaTime);}if (Input.GetKey(KeyCode.S) | Input.GetKey(KeyCode.DownArrow)) //后{Player.transform.Translate(Vector3.forward * -m_speed * Time.deltaTime);}if (Input.GetKey(KeyCode.A) | Input.GetKey(KeyCode.LeftArrow)) //左{Player.transform.Translate(Vector3.right * -m_speed * Time.deltaTime);}if (Input.GetKey(KeyCode.D) | Input.GetKey(KeyCode.RightArrow)) //右{Player.transform.Translate(Vector3.right * m_speed * Time.deltaTime);}}public void PlayerMove_KeyPad_2(){float horizontal = Input.GetAxis("Horizontal"); //A D 左右float vertical = Input.GetAxis("Vertical"); //W S 上 下Player.transform.Translate(Vector3.forward * vertical * m_speed * Time.deltaTime);//W S 上 下Player.transform.Translate(Vector3.right * horizontal * m_speed * Time.deltaTime);//A D 左右}
}
1-2、效果
人物移动之键盘控制效果
二、人物移动之跟随鼠标点击移动
2-1、代码如下
using System.Collections;
using System.Collections.Generic;
using UnityEngine;public class PlayerToMouse : MonoBehaviour
{public GameObject Player;Vector3 tempPoint = new Vector3(0, 0, 0);void Update(){PlayerMove_FollowMouse();}//角色移动到鼠标点击的位置public void PlayerMove_FollowMouse(){//右键点击if (Input.GetMouseButtonDown(1)){Ray ray = Camera.main.ScreenPointToRay(Input.mousePosition);RaycastHit hitInfo;if (Physics.Raycast(ray, out hitInfo)){tempPoint = new Vector3 ( hitInfo.point.x, hitInfo.point.y+0.5f, hitInfo.point.z);}}float step = 10 * Time.deltaTime;Player.transform.localPosition = Vector3.MoveTowards(Player.transform.localPosition, tempPoint, step);Player.transform.LookAt(tempPoint);}
}
2-2、效果
人物移动之跟随鼠标点击移动
三、人物移动之刚体移动
里面包含两个方法一个是:Velocity移动 一个是:AddForce移动
3-1、代码如下
using System.Collections;
using System.Collections.Generic;
using UnityEngine;public class PlayerToRigidbody : MonoBehaviour
{public GameObject Player;public float m_speed = 5f;void Update(){//PlayerMove_KeyRighidbody1();PlayerMove_KeyRighidbody2();}//通过Rigidbody组件 键盘控制移动 Velocity移动 角色身上需要挂载Rigidbody组件public void PlayerMove_KeyRighidbody1(){float horizontal = Input.GetAxis("Horizontal"); //A D 左右float vertical = Input.GetAxis("Vertical"); //W S 上 下//这个必须分开判断 因为一个物体的速度只有一个if (Input.GetKey(KeyCode.W) | Input.GetKey(KeyCode.S)){Player.GetComponent<Rigidbody>().velocity = Vector3.forward * vertical * m_speed;}if (Input.GetKey(KeyCode.A) | Input.GetKey(KeyCode.D)){Player.GetComponent<Rigidbody>().velocity = Vector3.right * horizontal * m_speed;}}//通过Rigidbody组件 键盘控制移动 AddForce移动 角色身上需要挂载Rigidbody组件public void PlayerMove_KeyRighidbody2(){float horizontal = Input.GetAxis("Horizontal"); //A D 左右float vertical = Input.GetAxis("Vertical"); //W S 上 下Player.GetComponent<Rigidbody>().AddForce(Vector3.forward * vertical * m_speed);Player.GetComponent<Rigidbody>().AddForce(Vector3.right * horizontal * m_speed);}}
3-2、效果
人物移动之刚体移动
人物移动之刚体添加力移动
四、人物移动之第一人称控制器移动
里面包含两个方法一个是:SimpleMove控制移动 一个是:Move控制移动
4-1、代码如下
using System.Collections;
using System.Collections.Generic;
using UnityEngine;public class PlayerToCharacterController : MonoBehaviour
{public GameObject Player;public float m_speed = 5f;void Update(){//PlayerMove_KeyCharacterController1();PlayerMove_KeyCharacterController2();}//通过CharacterController组件 键盘移动物体 SimpleMove控制移动public void PlayerMove_KeyCharacterController1(){float horizontal = Input.GetAxis("Horizontal"); //A D 左右float vertical = Input.GetAxis("Vertical"); //W S 上 下if (horizontal !=0&&vertical ==0){Player.GetComponent<CharacterController>().SimpleMove(transform.right * horizontal * m_speed);}else if (horizontal == 0 && vertical != 0){Player.GetComponent<CharacterController>().SimpleMove(transform.forward * vertical * m_speed);}else{//斜着走 例如w a一起按Player.GetComponent<CharacterController>().SimpleMove(transform.forward * vertical * m_speed);Player.GetComponent<CharacterController>().SimpleMove(transform.right * horizontal * m_speed);}}//通过CharacterController组件 键盘移动物体 Move控制移动public void PlayerMove_KeyCharacterController2(){float horizontal = Input.GetAxis("Horizontal"); //A D 左右float vertical = Input.GetAxis("Vertical"); //W S 上 下float moveY = 0;float m_gravity = 10f;moveY -= m_gravity * Time.deltaTime;//重力Player.GetComponent<CharacterController>().Move(new Vector3(horizontal, moveY, vertical) * m_speed * Time.deltaTime);}}
4-2、效果
人物移动之第一人称控制器移动
五、Android触摸手势操作脚本(单指 双指 三指)
相机设置如下

单指移动,双指缩放 , 三指旋转
移动和旋转动的是Pivot 缩放动的是Main Camera的Z轴距离
5-1、代码如下
using System.Collections;
using System.Collections.Generic;
using UnityEngine;
using UnityEngine.UI;public class TouchMove : MonoBehaviour
{public Camera cameraMainTrans;public Transform rotTransform;private float zoomSpeed = 0.1f;private float rotateSpeed = 1f;private Vector2 prevPos1, prevPos2;private float prevDistance;void Update(){// 处理单指触摸平移if (Input.touchCount == 1 && Input.GetTouch(0).phase == TouchPhase.Moved){Vector2 touchDeltaPosition = Input.GetTouch(0).deltaPosition;rotTransform.Translate(touchDeltaPosition.x * Time.deltaTime, rotTransform.position.y, touchDeltaPosition.y * Time.deltaTime);}// 处理双指触摸缩放if (Input.touchCount == 2){Touch touch1 = Input.GetTouch(0);Touch touch2 = Input.GetTouch(1);// 获取距离和位置的差异Vector2 curPos1 = touch1.position;Vector2 curPos2 = touch2.position;float curDistance = Vector2.Distance(curPos1, curPos2);if (touch2.phase == TouchPhase.Began){prevPos1 = curPos1;prevPos2 = curPos2;prevDistance = curDistance;}// 缩放摄像机float deltaDistance = curDistance - prevDistance;cameraMainTrans.transform.Translate(Vector3.back * -deltaDistance * 0.1f);// 更新变量prevPos1 = curPos1;prevPos2 = curPos2;prevDistance = curDistance;}// 处理三指触摸旋转if (Input.touchCount == 3 && Input.GetTouch(2).phase == TouchPhase.Moved&&Input.GetTouch(1).phase == TouchPhase.Moved){Vector2 deltaPosition = Input.GetTouch(2).deltaPosition;rotTransform.Rotate(Vector3.up, deltaPosition.x * rotateSpeed);}}}
总结
不定时更新Unity开发技巧,觉得有用记得一键三连哦。
防止后面忘记,所以记录一下
![[ACM学习] 背包问题深化](https://img-blog.csdnimg.cn/direct/f28ab53bfed74d90b65759e2761871ec.png)

