- 下载
https://rsync.samba.org/ftp/rsync/src/
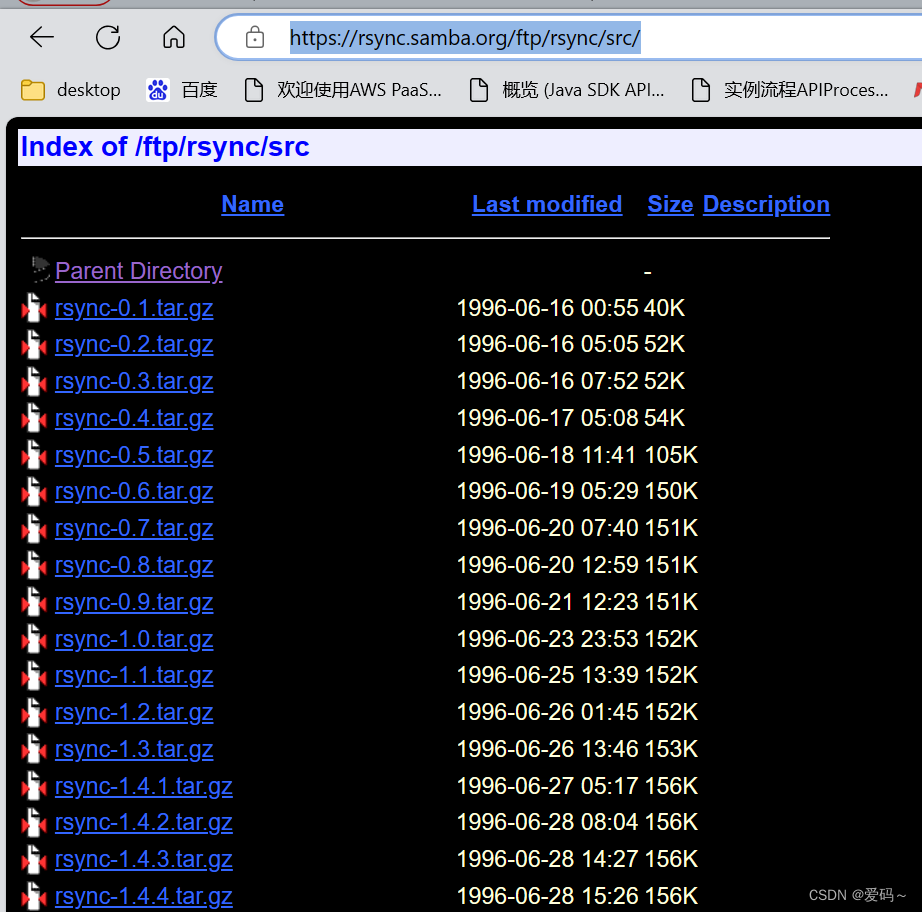

- 解压
-解压源码包tar -xvf rsync-3.1.2.tar.gz
-重命名mv rsync-3.1.2 rsync
-将软件安装到指定目录下./configure --prefi=/usr
-编译
make
- 安装
make install
安装之后启动脚本在/usr/bin/
-启动脚本 (启动之前需要配置一下此步骤在下面会记录...)
./rsync --daemon
-查看运行状态
ps -ef|grep rsync
-查看安装版本
rsync --vrsion
netstat -lntup|grep 873
rsync(remote synchronize)是一个远程数据同步工具,也可以使用 rsync 同步本地硬盘中的不同目录
rsync有两种常用的认证方式,一种是rsync-daemon方式,另外一种是ssh方式。
我们使用最多的是rsync-daemon方式。
注意:在使用rsync时,服务器和客户端都必须安装rsync程序
rsync在rsync-daemon认证方式下,默认监听TCP的873端口。
-- 设置开机自动启动
echo “/usr/local/bin/rsync --daemon -config=/etc/rsyncd.conf” >>/etc/profile
/usr/bin/rsync --daemon --config=/etc/rsyncd.conf
- 创建存放密码的配置文件
mkdir /data/rsync
touch rsync.passwordchmod 600 /data/rsync/rsync.password
- 创建rsync的配置信息文件
vim /etc/rsyncd.conf --rsyncd.conf 配置信息
uid = rsync
gid = rsync
port = 873
fake super = yes
use chroot = no
max connections = 200
timeout = 300
pid file = /var/run/rsyncd.pid
file = /var/run/rsync.lock
log file = /var/log/rsyncd.log
ignore errors
read only = false
list = false
hosts allow = 172.16.1.0/24
hosts deny = 0.0.0.0/32
auth users = rsync_backup
secrets file = /etc/rsync.password
[backup]
comment = "backup dir by oldboy"
path = /backup 不需要配置这么多 需要什么在写在配置文件中
rsync /data/xxx.txt 192.168.31.2:/data/back
rsync /data /temp
rsync -R -r /data /temp
rsync -r /data 2.2.2.2:/tmp
实战:
rsync -avz -P /data/easysite/webapps/eportalapp 192.32.2.131:/data/back/
rsync -r 2.2.2.2:/tmp /data注意 双方必须要安装rsync 确保双方rsync是正常状态 能查看 rsync --version
将rsync服务加入开机启动vi /etc/rc.local
添加:/usr/bin/rsync --daemon --config=/etc/rsync.conf
关闭selinux服务vim /etc/selnux/config将selinux改为disabled
这个两个操作注意一下
- 客户端配置文件记录一下 可以参考 但是和远程同步命令没有干系
uid=root
gid=root
port=873
max connections=2000
log file=/data/rsync/logs/rsyncd.log
lock file=/data/rsync/logs/rsync.lock
pid file=/data/rsync/logs/rsync.pid
timeout=3000
[backup]
path=/data/test
hosts allow=192.32.2.62
secretc file=/data/rsync/logs/rsyncd.password-在客户端执行同步命令 指定密码文件 避免手动输入
rsync -avz --password-file=/data/rsync/logs/rsyncd.password root@192.32.2.62::ROOT /data/test
rsync -avz --password-file=/data/rsync/logs/rsyncd.password root@192.32.2.62::ROOT /data/test/back
rsync -avz --password-file=/data/rsync/logs/rsyncd.password root@192.32.2.62::webapps /data/back
连接远程服务器 192.32.2.62 ROOT是远程服务器上配置文件中配置的模块 这个模块设置了要同步的目录
后面是本地下载同步目录
注意连接密码文件 62远程服务器rsync服务端 是后台启动的 密码文件是存放62 服务器的账户密码 格式 root:root
本地客户端不用启动 可以执行命令 但是参数--password-file= 指向的本地文件 记录是远程服务器的密码 格式 root
-- 同步命令 需要手动输入
rsync -avz root@192.32.2.62:/data/rsynctesthahah /data/test
-- 记录一下远程服务器的配置文件
uid=root
gid=root
port=873
address=192.32.2.62
hosts allow=*
log file=/var/log/rsyncd.log
pid file=/var/run/rsyncd.pid
max connections=200
timeout=30000
[ROOT]
path=/data/rsynctesthahah/
auth users=root
secrets file=/data/rsync/rsyncd.scrt
[webapps]
path=/data/easysite/webapps/
secrets file=/data/reync/rsyncd.scrt
auth users=root
- 查看定时器
crontab -l
- 编辑定时器
crontab -e
- 查看定时器日志
tail -f /var/log/cron
- 记录定时器同步命令
0 12 * * *  rsync -avz --password-file=/data/rsync/logs/rsyncd.password root@192.32.2.62::webapps /data/back/
0 12 * * *  rsync -avz --password-file=/data/rsync/logs/rsyncd.password root@192.32.2.62::ROOT /data/test/
*/1 * * * * sleep 5 && rsync -avz --password-file=/data/rsync/logs/rsyncd.password root@192.32.2.62::ROOT /data/test/
- rsync 可以实现本地同步和远程同步
- 远程同步需要双方都安装rsync
- rsync服务端必须启动 且必须带--daemon  示例;/usr/bin/rsync --daemon --config=/etc/rsyncd.conf
- rsync客户端可以不必启动但是必须安装


