用HTML5实现动画
要在HTML5中实现动画,可以使用以下几种方法:CSS动画、使用<canvas>元素和JavaScript来实现动画、使用JavaScript动画库。重点介绍前两种。
一、CSS动画
CSS3 动画:使用CSS3的动画属性和关键帧(keyframes)来创建动画效果。通过定义动画的开始状态、结束状态和过渡效果,可以实现平滑的动画效果。
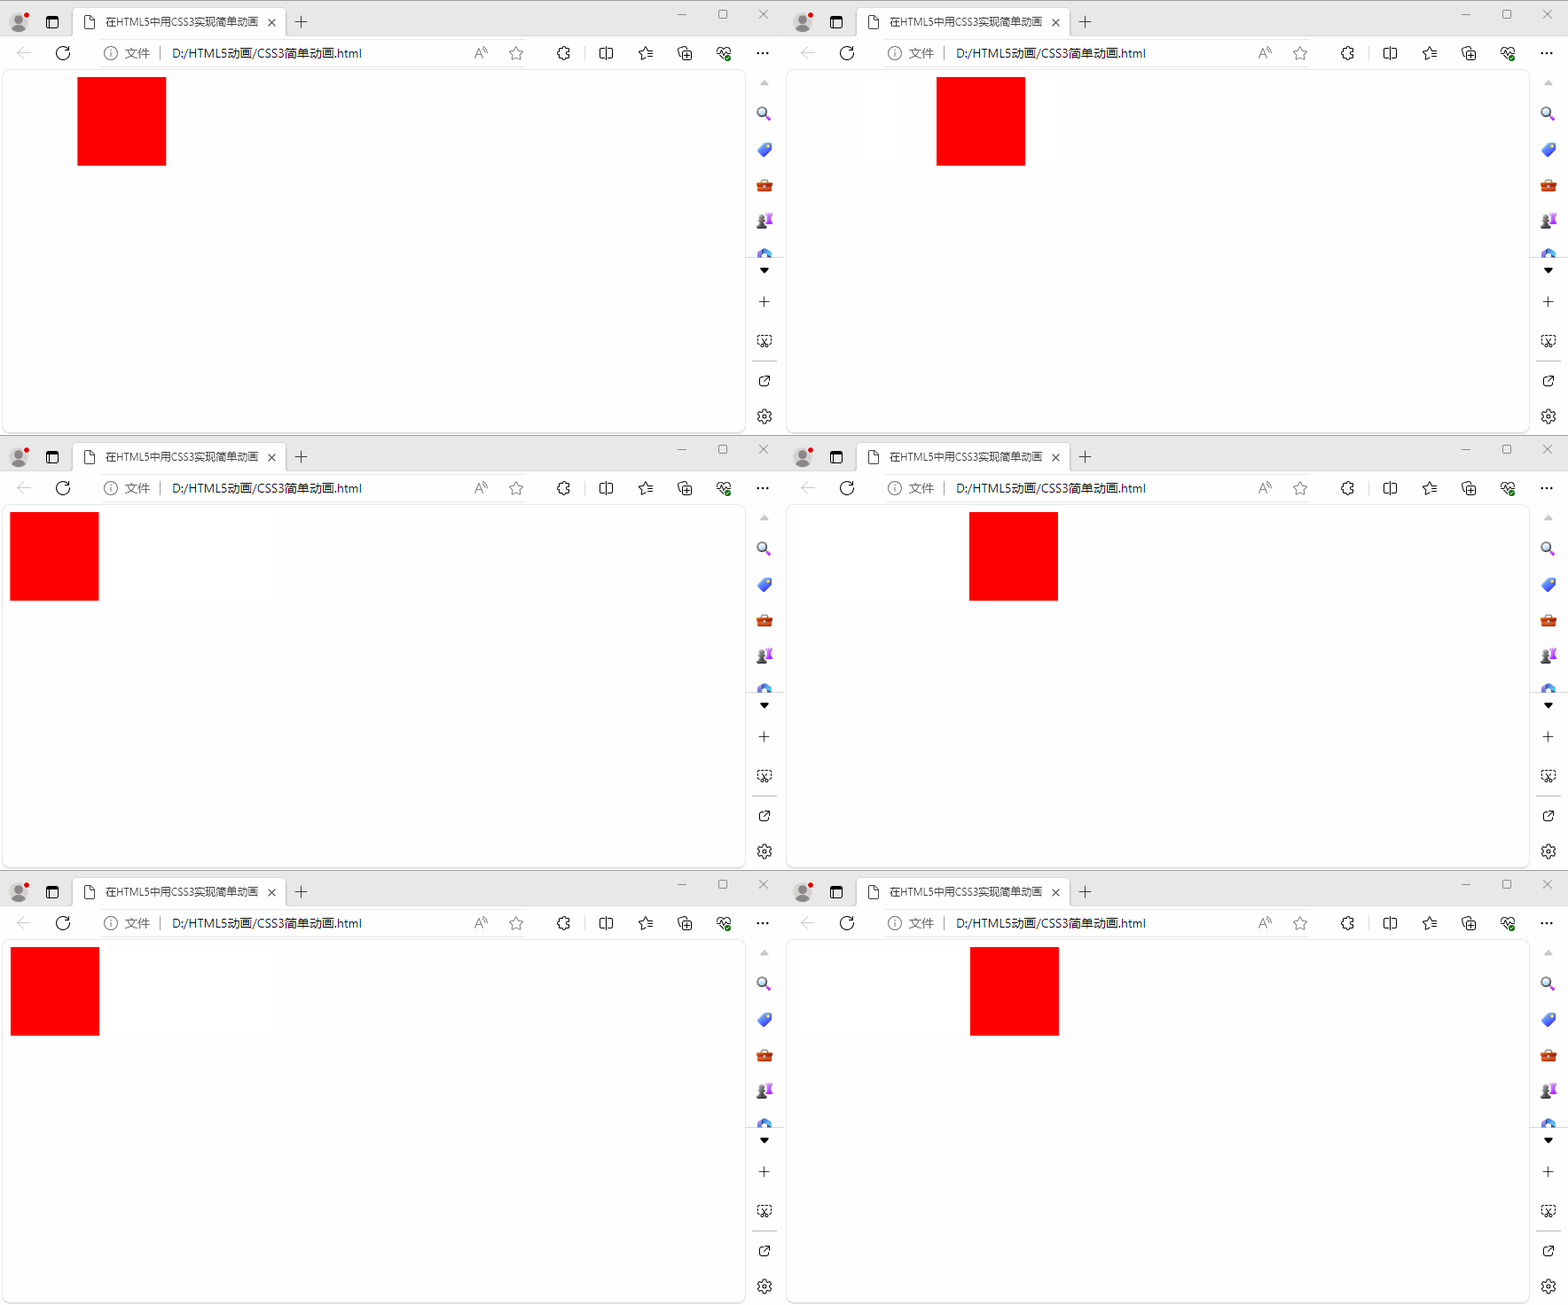
先看一个简单的例子:
<html><head><meta charset="UTF-8" /><title>在HTML5中用CSS3实现简单动画</title><style>.box {width: 100px;height: 100px;background-color: red;animation: myAnimation 2s infinite;}@keyframes myAnimation {0% { transform: translateX(0px); }50% { transform: translateX(200px); }100% { transform: translateX(0px); }}</style></head><body>  <div class="box"></div>  </body>
</html>
我这里命名为:CSS3简单动画.html
用浏览器打开,运行效果:
下面给出一个小车动画
由两部分组成:
HTML文件和CSS文件,为方便使用,我将这两个文件放在同一文件夹中。
HTML文件,我这里命名为:CSS3小车动画.html,源码如下:
<!DOCTYPE html>
<html lang="en"><head><meta charset="UTF-8" /><title>在HTML5中用CSS3实现动画</title><link rel="stylesheet" type="text/css" href="car.css"></head><body><div id="container"><div id="car"><div id="chassis"></div><div id="backtire" class="tire"><div class="hr"></div><div class="vr"></div></div><div id="fronttire" class="tire"><div class="hr"></div><div class="vr"></div></div>	</div><div id="grass"></div></div></body>
</html>CSS文件,我这里命名为:car.css,源码如下:
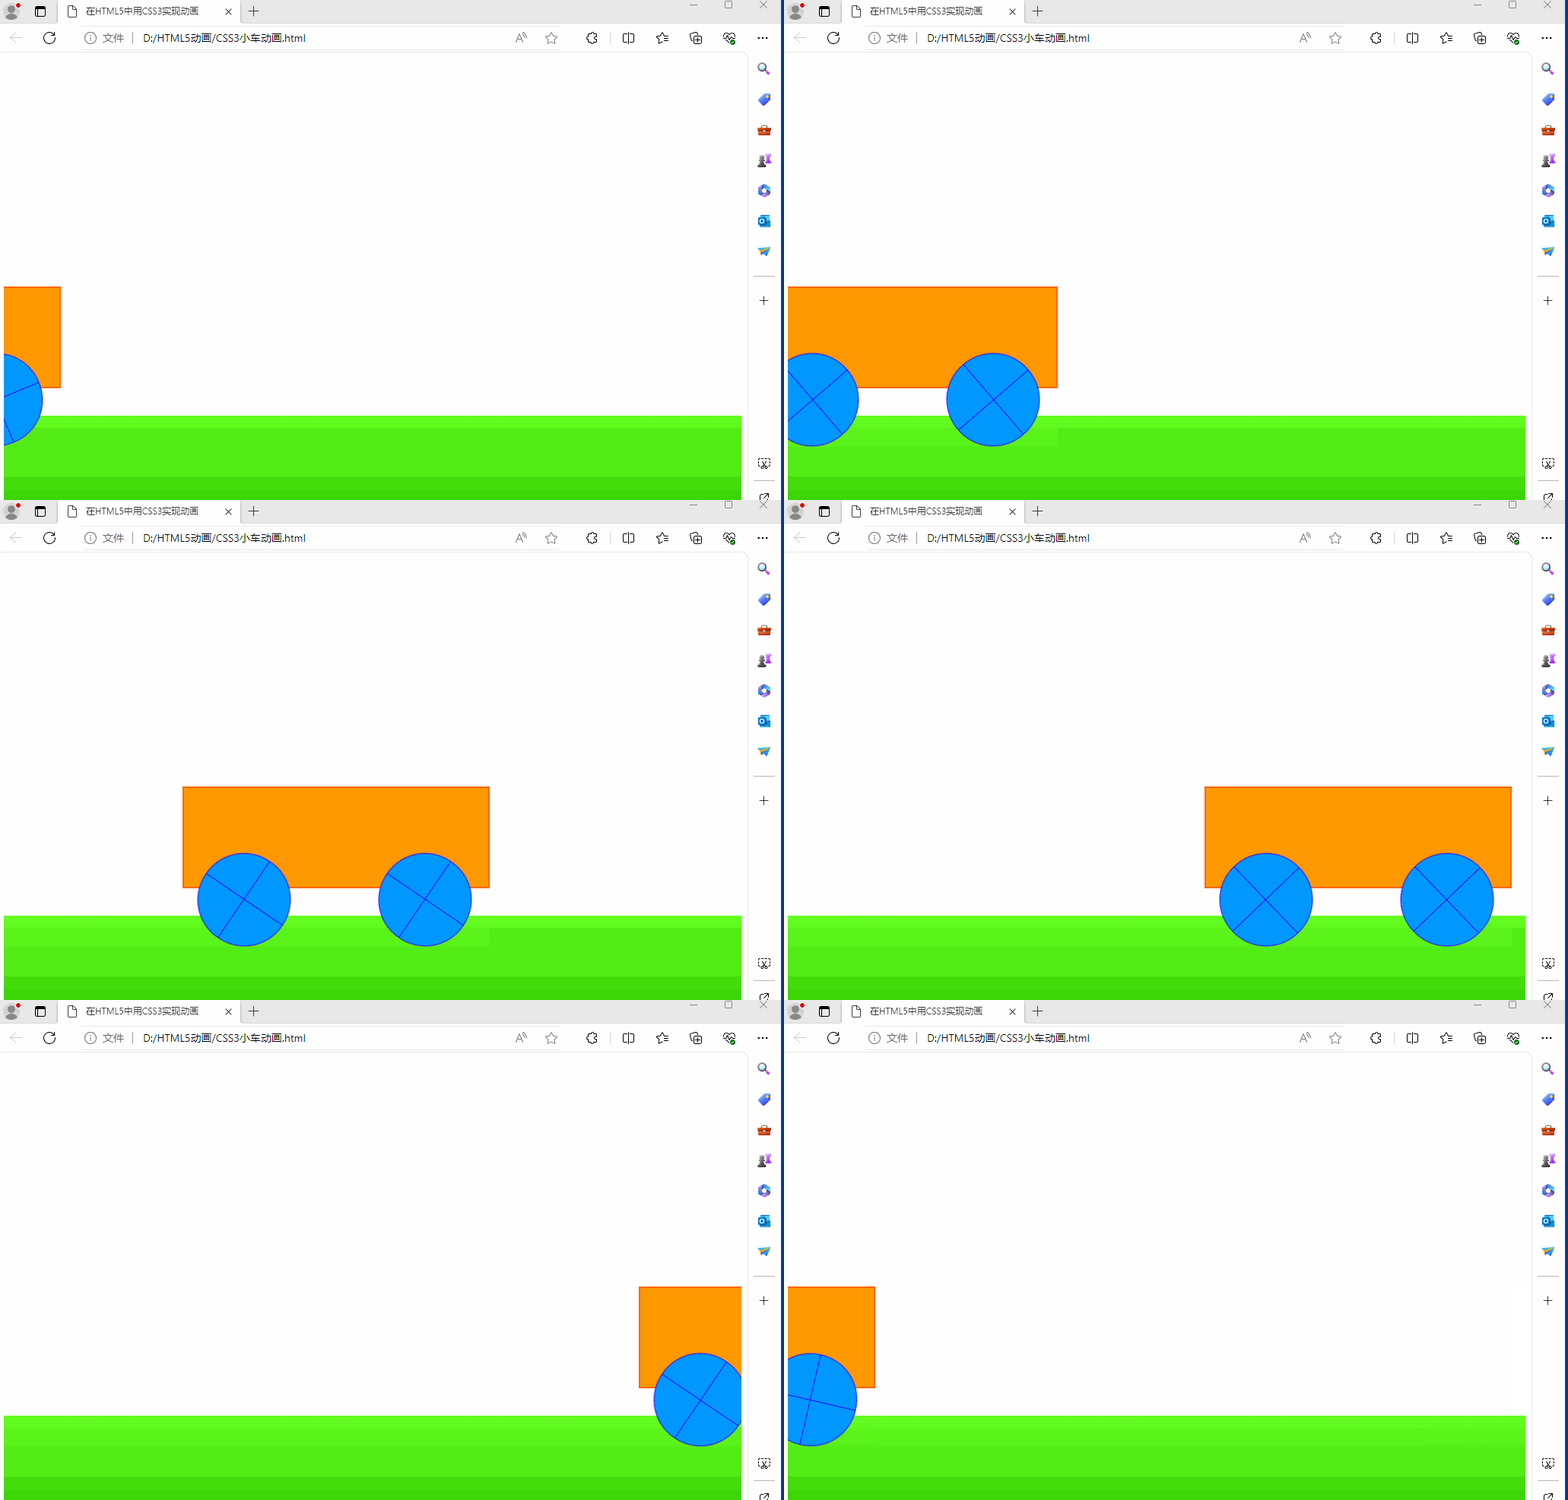
/*定义动画:从-400px的位置移动到1600px的位置 */@keyframes carAnimation {0% { left: -400px; } /* 指定初始位置*/100% { left: 1600px; } /* 指定最终位置*/}#car {position: absolute;width: 400px;height: 210px;top: 300px;left: 50px;animation: carAnimation 10s infinite linear;}#chassis {position: absolute;width: 400px;height: 130px;background: #FF9900;border: 2px solid #FF6600;}.tire {position: absolute;bottom: 0;height: 120px;width: 120px;border-radius: 60px;background: #0099FF;border: 1px solid #3300FF;animation: tyreAnimation 10s infinite linear;}#fronttire {right: 20px;}#backtire {left: 20px;}@keyframes tyreAnimation {0% { transform: rotate(0); }100% { transform: rotate(1800deg); }}#grass {position: absolute;width: 100%;height: 130px;bottom: 0;background: linear-gradient(bottom, #33CC00, #66FF22);}.hr {position: absolute;background: #3300FF;height: 2px;width: 100%;top: 60px;}.vr {position: absolute;background: #3300FF;width: 2px;height: 100%;left: 60px;top: 0;}我这里命名为:CSS3简单动画.html
用浏览器打开,运行效果:
二、使用<canvas>元素和JavaScript来实现动画
先看一个简单的例子:
<!DOCTYPE html>
<html>
<head><meta charset="UTF-8" /><title>在HTML5中用canvas+JS简单动画</title>
</head>
<body>
<canvas id="myCanvas" width="400" height="200"></canvas>
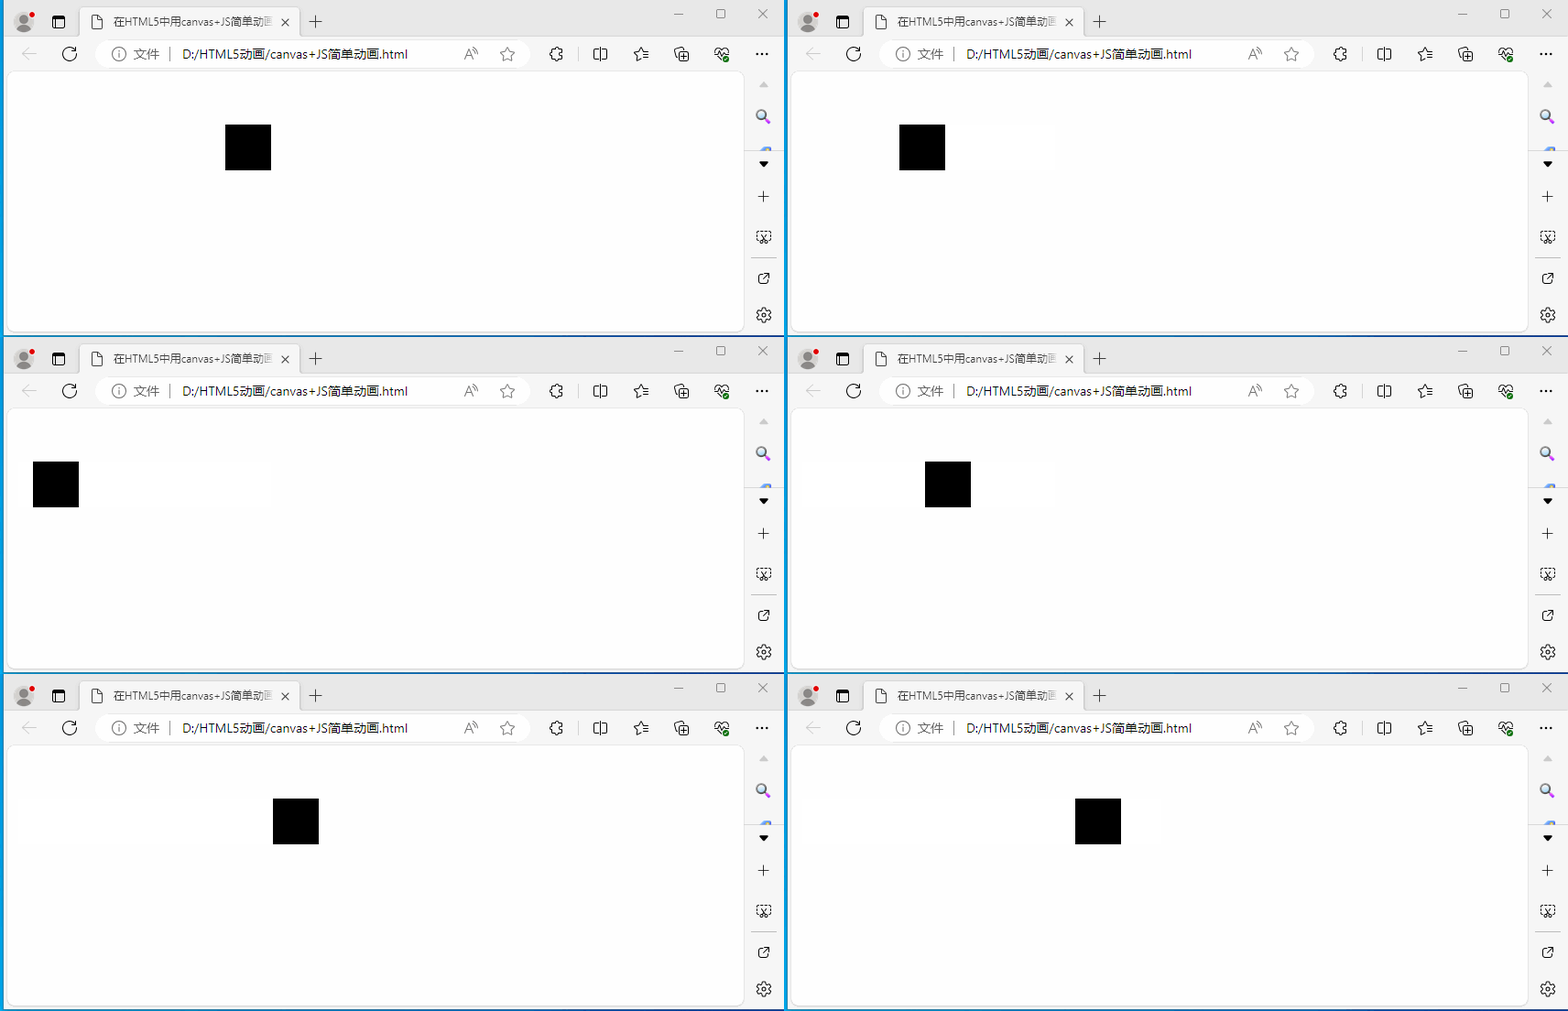
<script>var canvas = document.getElementById("myCanvas");var ctx = canvas.getContext("2d");var x = 0;var dx = 2; // 方块的移动速度以及方向function draw() {ctx.clearRect(0, 0, canvas.width, canvas.height);ctx.fillRect(x, 50, 50, 50);// 更新方块的位置x += dx;// 如果方块触碰到画布的右边缘或左边缘,反转方向if (x + 50 > canvas.width || x < 0) {dx = -dx;}requestAnimationFrame(draw);}draw();
</script>
</body>
</html>
我这里命名为:canvas+JS简单动画.html
运行效果:
下面给出一个小车动画
由两部分组成
HTML文件和JavaScript文件,为方便使用,我将这两个文件放在同一文件夹中。
HTML文件,我这里命名为:canvas+JS小车动画.html,源码如下:
<!DOCTYPE html>
<html lang="en"><head><meta charset="UTF-8" /><title>在HTML5中用canvas+JS小车动画</title><style>body {margin: 0;overflow: hidden;}canvas {display: block;}
</style>
</head>
<body><canvas id="canvas"></canvas><script src="car.js"></script>
</body>
</html>
JavaScript文件,我这里命名为:car.js,源码如下:
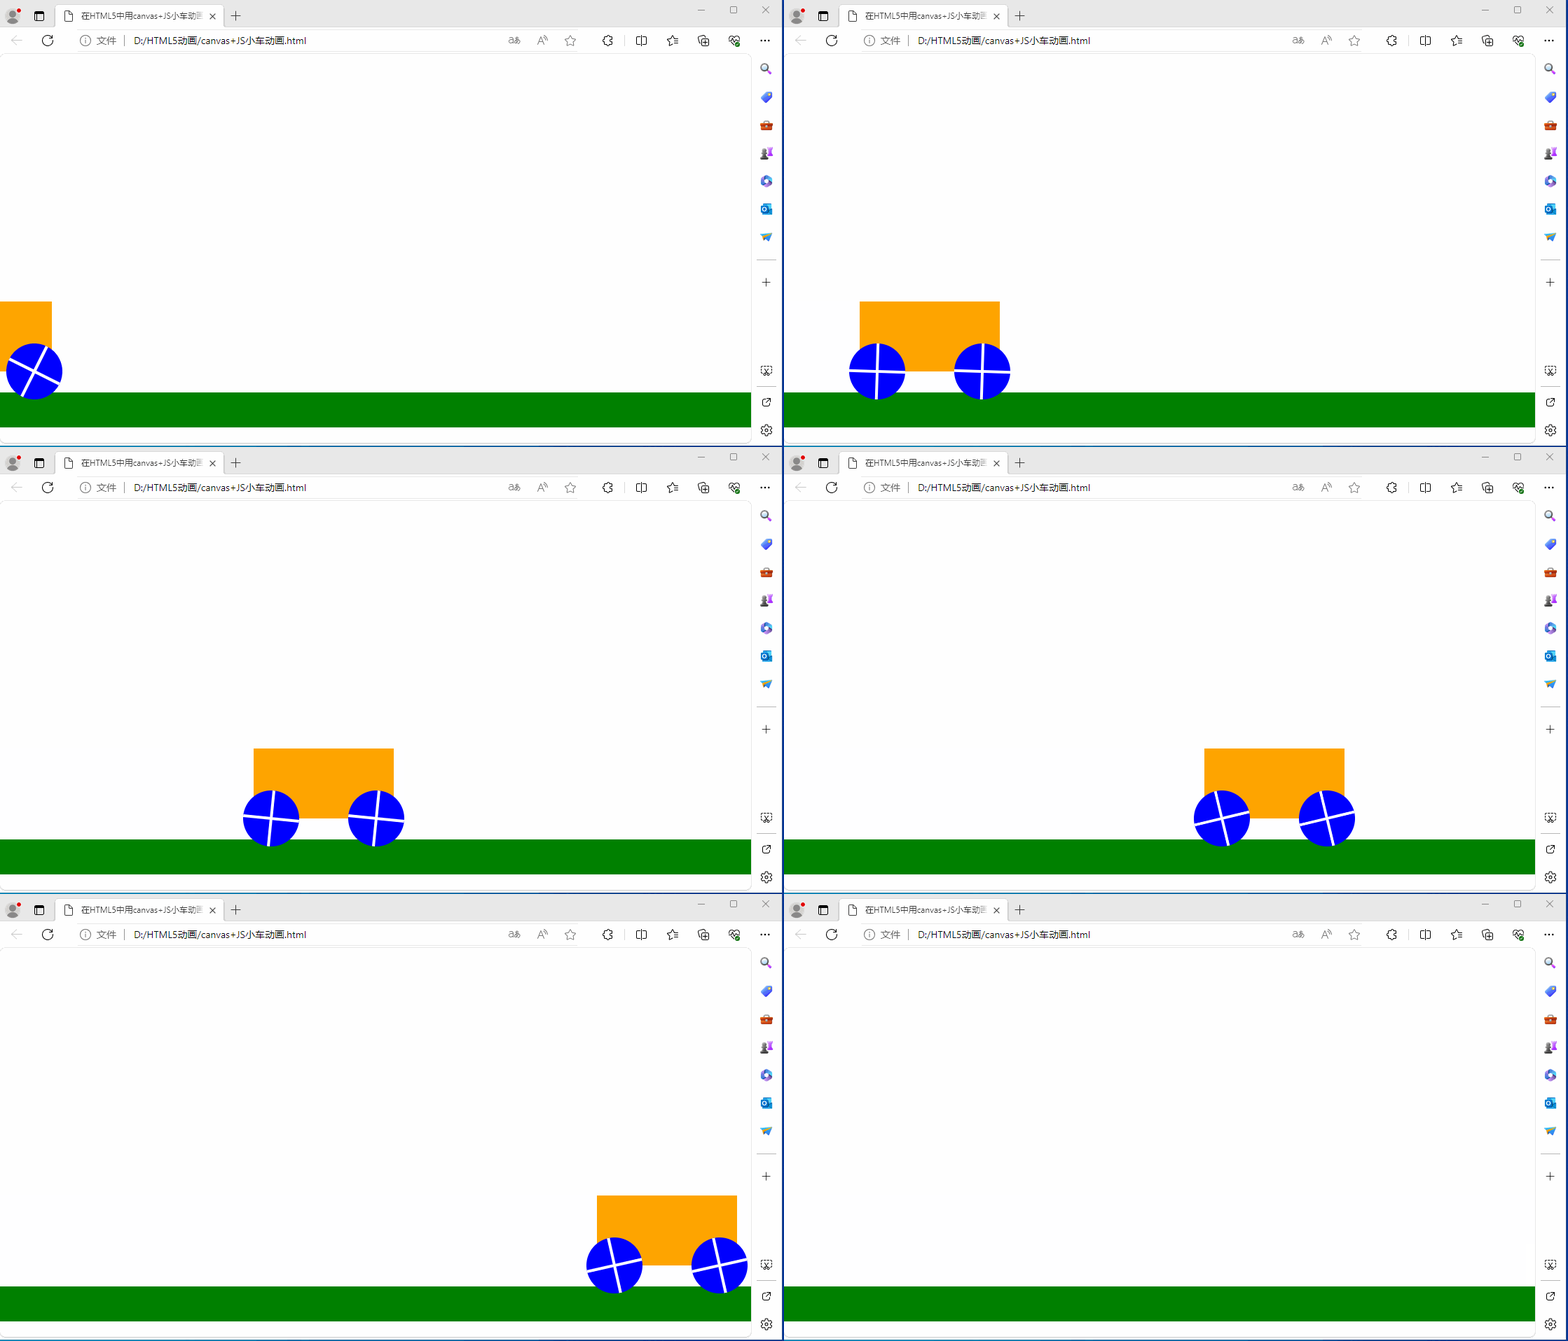
const canvas = document.getElementById('canvas');const ctx = canvas.getContext('2d');// Set canvas full screencanvas.width = window.innerWidth;canvas.height = window.innerHeight-120; //const car = {x: 50,y: canvas.height - 180, //width: 200,height: 100,wheelRadius: 40,wheelOffset: 25,wheelRotation: 0};function drawCar(x, y, width, height, wheelRadius, wheelOffset, wheelRotation) {// Draw car bodyctx.fillStyle = 'orange';ctx.fillRect(x, y, width, height);// Draw wheelsconst wheelPositions = [{ x: x + wheelOffset, y: y + height },{ x: x + width - wheelOffset, y: y + height }];wheelPositions.forEach(wheelPos => {ctx.save();ctx.translate(wheelPos.x, wheelPos.y);ctx.rotate(wheelRotation);// Draw wheelctx.beginPath();ctx.arc(0, 0, wheelRadius, 0, Math.PI * 2);ctx.fillStyle = 'blue';ctx.fill();// Draw spokesctx.beginPath();ctx.moveTo(-wheelRadius, 0);ctx.lineTo(wheelRadius, 0);ctx.moveTo(0, -wheelRadius);ctx.lineTo(0, wheelRadius);ctx.strokeStyle = 'white';ctx.lineWidth = 4;ctx.stroke();ctx.restore();});}function animate() {ctx.clearRect(0, 0, canvas.width, canvas.height);// Draw groundctx.fillStyle = 'green';ctx.fillRect(0, canvas.height - 50, canvas.width, 50);// Update wheel rotationcar.wheelRotation += 0.05;// Draw cardrawCar(car.x, car.y, car.width, car.height, car.wheelRadius, car.wheelOffset, car.wheelRotation);// Move carcar.x += 2;if (car.x > canvas.width) {car.x = -car.width;}requestAnimationFrame(animate);}animate();
用浏览器打开,效果如下:
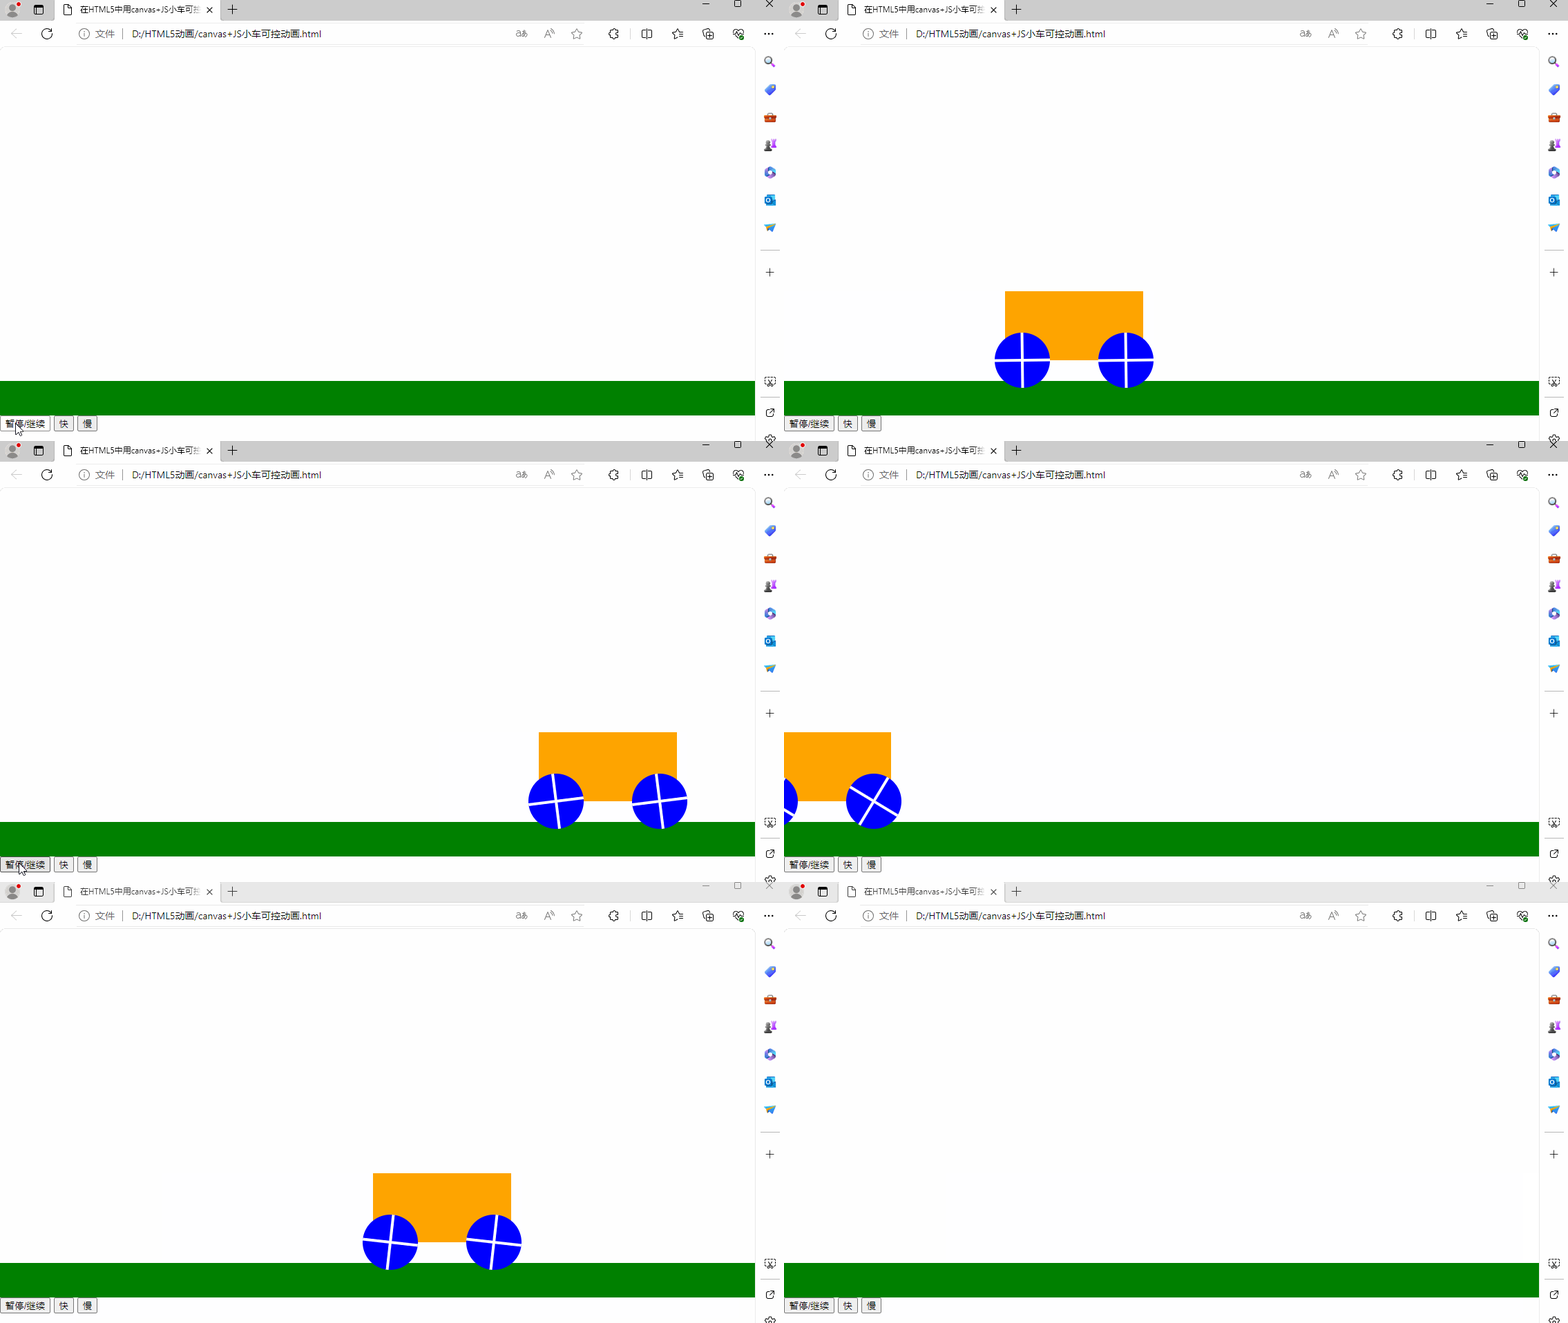
修改上面源码,将两个文件合二为一,并添加几个控制按钮“暂停/继续”、“快”、“慢”,并实现相关功能:
点击pauseResumeBtn按钮会切换动画的暂停和继续状态。
点击speedUpBtn按钮会增加小车的速度。
点击speedDownBtn按钮会减慢小车的速度,但速度不能小于1。
源码如下:
<!DOCTYPE html>
<html lang="en">
<head>
<meta charset="UTF-8">
<title>在HTML5中用canvas+JS小车可控动画</title>
<style>body {margin: 0;overflow: hidden;}canvas {display: block;}
</style>
</head>
<body>
<canvas id="canvas"></canvas>
<button id="pauseResumeBtn">暂停/继续</button>
<button id="speedUpBtn">快</button>
<button id="speedDownBtn">慢</button>
<script>const canvas = document.getElementById('canvas');const ctx = canvas.getContext('2d');// Set canvas full screencanvas.width = window.innerWidth;canvas.height = window.innerHeight - 120;  //const car = {x: 50,y: canvas.height - 180,  //width: 200,height: 100,wheelRadius: 40,wheelOffset: 25,wheelRotation: 0,speed: 2};let isPaused = false;function drawCar(x, y, width, height, wheelRadius, wheelOffset, wheelRotation) {// Draw car bodyctx.fillStyle = 'orange';ctx.fillRect(x, y, width, height);// Draw wheelsconst wheelPositions = [{ x: x + wheelOffset, y: y + height },{ x: x + width - wheelOffset, y: y + height }];wheelPositions.forEach(wheelPos => {ctx.save();ctx.translate(wheelPos.x, wheelPos.y);ctx.rotate(wheelRotation);// Draw wheelctx.beginPath();ctx.arc(0, 0, wheelRadius, 0, Math.PI * 2);ctx.fillStyle = 'blue';ctx.fill();// Draw spokesctx.beginPath();ctx.moveTo(-wheelRadius, 0);ctx.lineTo(wheelRadius, 0);ctx.moveTo(0, -wheelRadius);ctx.lineTo(0, wheelRadius);ctx.strokeStyle = 'white';ctx.lineWidth = 4;ctx.stroke();ctx.restore();});}function animate() {ctx.clearRect(0, 0, canvas.width, canvas.height);// Draw groundctx.fillStyle = 'green';ctx.fillRect(0, canvas.height - 50, canvas.width, 50);// Update wheel rotationcar.wheelRotation += 0.05;// Draw cardrawCar(car.x, car.y, car.width, car.height, car.wheelRadius, car.wheelOffset, car.wheelRotation);// Move carcar.x += car.speed;if (car.x > canvas.width) {car.x = -car.width;}if (!isPaused) {requestAnimationFrame(animate);}}// Button event listenersdocument.getElementById('pauseResumeBtn').addEventListener('click', function() {isPaused = !isPaused;if (!isPaused) {animate();}});document.getElementById('speedUpBtn').addEventListener('click', function() {car.speed += 1;});document.getElementById('speedDownBtn').addEventListener('click', function() {if (car.speed > 1) {car.speed -= 1;}});animate();
</script>
</body>
</html>
我这里保存命名为:canvas+JS小车可控动画.html
用浏览器打开,效果如下:
三、使用JavaScript动画库
使用JavaScript动画库(如Anime.js、Velocity.js、Three.js等)可以更方便地创建复杂的动画效果,我没有深入学习了解,在此就不介绍了。
附录:
CSS3动画详解(图文教程) https://www.cnblogs.com/qianguyihao/p/8435182.html
anime.js 简单入门教程https://www.cnblogs.com/joyco773/p/10734850.html
Velocity.js 中文文档https://www.cnblogs.com/guandekuan/p/6643988.html
