Running Cockpit — Cockpit Project
ip:9090
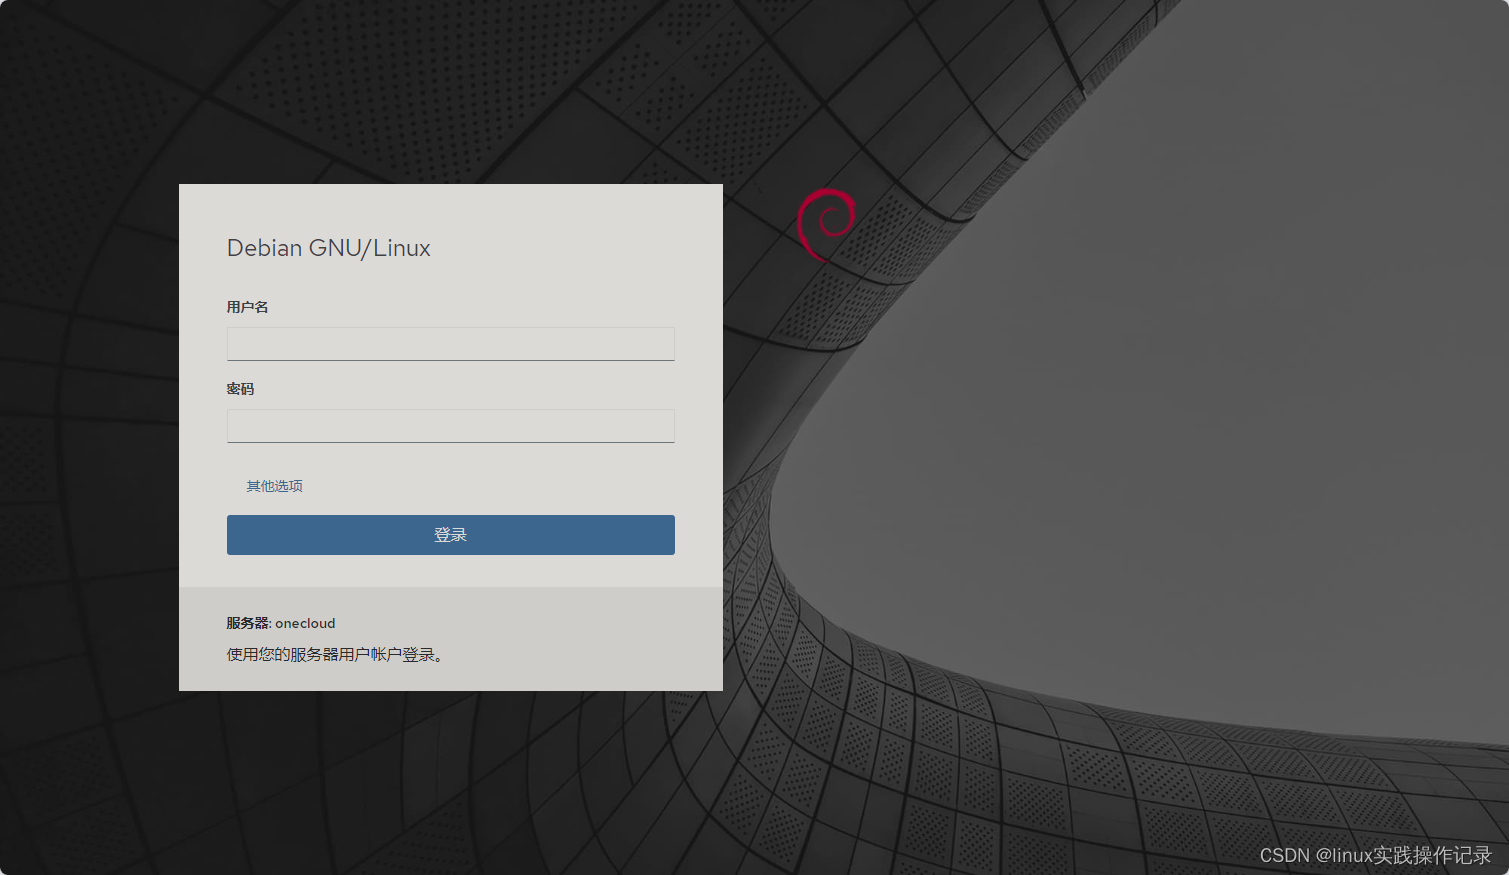
如果9090端口被占用,可以改为9091
 cat /etc/systemd/system/sockets.target.wants/cockpit.socket
[Unit]
Description=Cockpit Web Service Socket
Documentation=man:cockpit-ws(8)
Wants=cockpit-motd.service[Socket]
#ListenStream=9090
ListenStream=9091
ExecStartPost=-/usr/share/cockpit/motd/update-motd '' localhost
ExecStartPost=-/bin/ln -snf active.motd /run/cockpit/motd
ExecStopPost=-/bin/ln -snf inactive.motd /run/cockpit/motd[Install]
WantedBy=sockets.target
systemctl daemon-reloadsystemctl restart cockpit root无法登录的问题需要修改
cat /etc/cockpit/disallowed-users
# List of users which are not allowed to login to Cockpit
#root
Fedora
Cockpit comes installed by default in Fedora Server.
To install Cockpit on other variants of Fedora use the following commands. For the latest versions use COPR.
- Install cockpit:
sudo dnf install cockpit - Enable cockpit:
sudo systemctl enable --now cockpit.socket - Open the firewall if necessary:
sudo firewall-cmd --add-service=cockpit
sudo firewall-cmd --add-service=cockpit --permanent
Red Hat Enterprise Linux
Cockpit is available in Red Hat Enterprise Linux 7 and later.
- On RHEL 7, enable the Extras repository.
sudo subscription-manager repos --enable rhel-7-server-extras-rpmsRHEL 8 does not need any non-default repositories.
- Install cockpit:
sudo yum install cockpit - Enable cockpit:
sudo systemctl enable --now cockpit.socket - On RHEL 7, or if you use non-default zones on RHEL 8, open the firewall:
sudo firewall-cmd --add-service=cockpit
sudo firewall-cmd --add-service=cockpit --permanent
Fedora CoreOS
The standard Fedora CoreOS image does not contain Cockpit packages.
- Install Cockpit packages as overlay RPMs:
rpm-ostree install cockpit-system cockpit-ostree cockpit-podmanDepending on your configuration, you may want to use other cockpit-* extensions as well, such as
cockpit-kdumporcockpit-networkmanager.If you have a custom-built OSTree, simply include the same packages in your build.
- Reboot
Steps 1 and 2 are enough when the CoreOS machine is only connected to through another host running Cockpit.
If you want to also run a web server to log in directly on the CoreOS host:
- Enable password based SSH logins, unless you only use SSO logins:
echo 'PasswordAuthentication yes' | sudo tee /etc/ssh/sshd_config.d/02-enable-passwords.conf sudo systemctl try-restart sshd - Run the Cockpit web service with a privileged container (as root):
podman container runlabel --name cockpit-ws RUN quay.io/cockpit/ws - Make Cockpit start on boot:
podman container runlabel INSTALL quay.io/cockpit/ws
systemctl enable cockpit.service
Afterward, use a web browser to log into port 9090 on your host IP address as usual.
CentOS
Cockpit is available in CentOS 7 and later:
- Install cockpit:
sudo yum install cockpit - Enable cockpit:
sudo systemctl enable --now cockpit.socket - Open the firewall if necessary:
sudo firewall-cmd --permanent --zone=public --add-service=cockpit
sudo firewall-cmd --reload
Debian
These commands require a POSIX compatible shell like bash. For other shells like fish, temporarily run bash -i.
Cockpit is available in Debian since version 10 (Buster).
- To get the latest version, we recommend to enable the backports repository (as root):
. /etc/os-release echo "deb http://deb.debian.org/debian ${VERSION_CODENAME}-backports main" > \/etc/apt/sources.list.d/backports.list apt update - Install or update the package:
apt install -t ${VERSION_CODENAME}-backports cockpit
armbian debian可以使用debian的方法
systemctl enable cockpit --now
ip:9090
When updating Cockpit-related packages and any dependencies, make sure to use -t ...-backports as above, so backports are included.
Ubuntu
These commands require a POSIX compatible shell like bash. For other shells like fish, temporarily run bash -i.
Cockpit is available in Ubuntu, with updated versions in official backports for LTS releases.
We recommend installing or updating the latest version from backports. This repository is enabled by default, but if you customized apt sources you might need to enable them manually.
. /etc/os-release
sudo apt install -t ${VERSION_CODENAME}-backports cockpit
When updating Cockpit-related packages and any dependencies, make sure to use -t ...-backports as above, so backports are included.
Arch Linux
Cockpit is available in Arch Linux:
sudo pacman -S cockpit
sudo systemctl enable --now cockpit.socket
If the first command fails with “database file for … does not exist”, refresh/update your system with sudo pacman -Syu first.
Clear Linux
Cockpit is in Clear Linux OS and can be installed using swupd:
sudo swupd bundle-add sysadmin-remote
sudo systemctl enable --now cockpit.socket
openSUSE Tumbleweed
Cockpit is available in openSUSE Tumbleweed:
- Install cockpit:
# zypper in cockpit - Enable cockpit:
# systemctl enable --now cockpit.socket - Open the firewall if necessary:
# firewall-cmd --permanent --zone=public --add-service=cockpit
# firewall-cmd --reload
SUSE Linux Enterprise Micro
Cockpit is included in SUSE Linux Enterprise (SLE) Micro 5.x.
- Install cockpit (already present in the pre-built images):
transactional-update pkg install -t pattern microos-cockpit - Enable the socket:
systemctl enable --now cockpit.socket - In case you have enabled the firewall, you also must open the port:
firewall-cmd --permanent --zone=public --add-service=cockpit firewall-cmd --reload - Access through the web interface:
https://IP_ADDRESS_OF_MACHINE:9090


