修改onlyoffice
在开始将您的ONLYOFFICE Docs切换到HTTPS协议之前,您需要创建一个安全证书和证书私钥。将它们放到安装ONLYOFFICE Docs的计算机上的一个文件夹中。
获得证书后,请执行以下步骤:
所有命令都应以管理员权限执行。要以管理员身份启动命令提示符,请右键单击桌面左下角的 "开始 "菜单按钮,然后单击 "命令提示符(管理员)"选项。
- 停掉onlyoffice代理服务

- 复制
%ProgramFiles%\ONLYOFFICE\DocumentServer\nginx\conf\ds-ssl.conf.tmpl到%ProgramFiles%\ONLYOFFICE\DocumentServer\nginx\conf\ds.conf
COPY /Y "%ProgramFiles%\ONLYOFFICE\DocumentServer\nginx\conf\ds-ssl.conf.tmpl" "%ProgramFiles%\ONLYOFFICE\DocumentServer\nginx\conf\ds.conf"
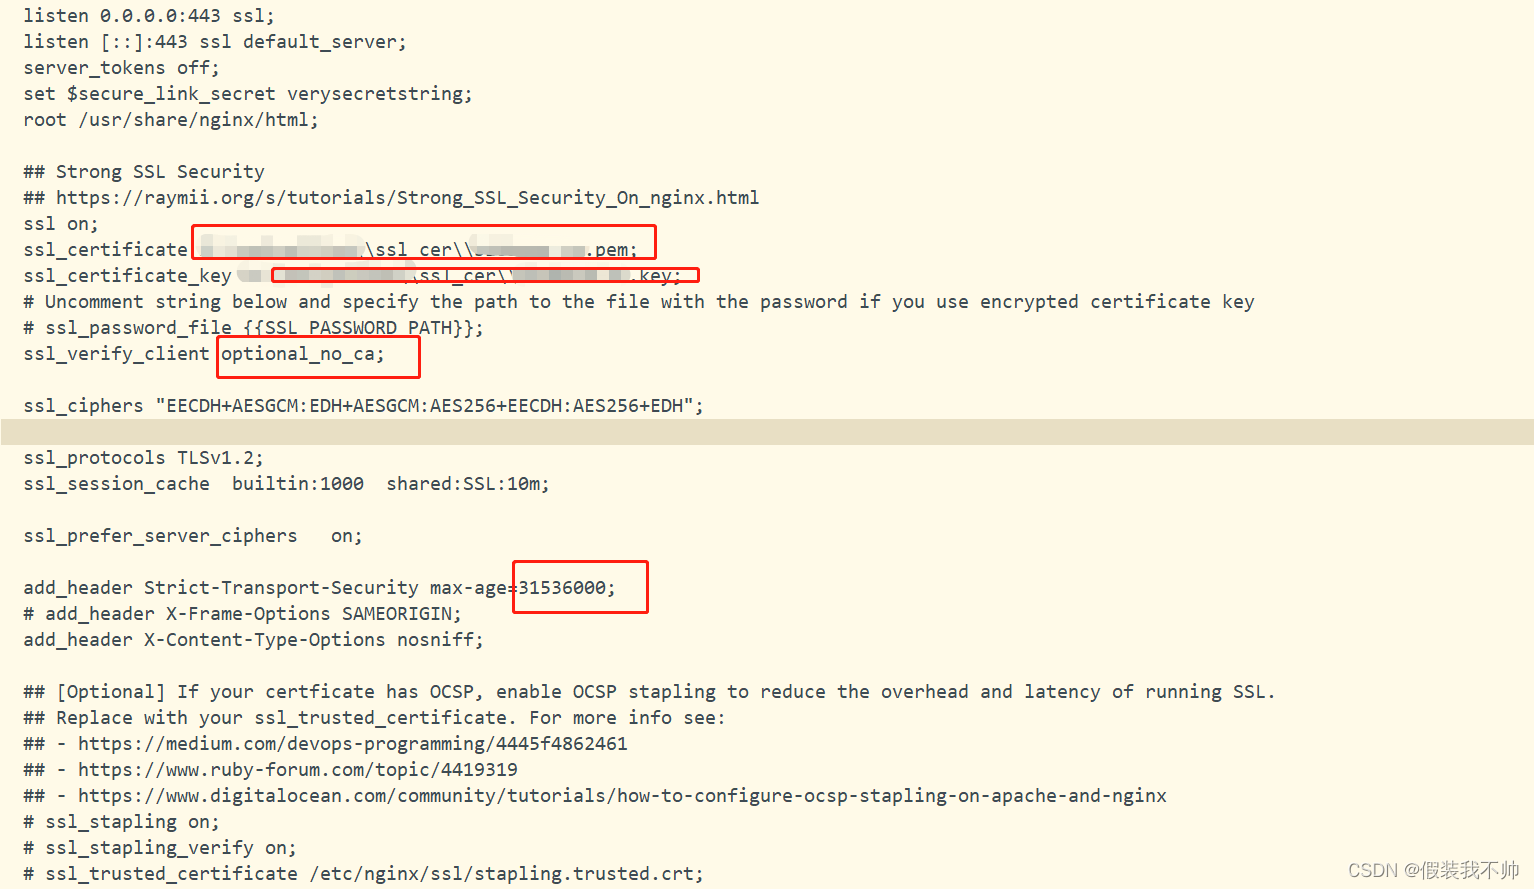
- 编辑
%ProgramFiles%ONLYOFFICE\DocumentServer\nginx\confds.conf文件,将双引号{{…}}中的所有参数改为实际使用的参数。
{{SSL_CERTIFICATE_PATH}}-您获得的SSL证书的路径;
{{SSL_KEY_PATH}}- SSL证书私钥的路径;
{{SSL_VERIFY_CLIENT}}- 是否启用客户端证书验证(可用值为on、off、optional和optional_no_ca);
{{CA_CERTIFICATES_PATH}}- 客户端证书的路径,如果使用先前的参数启用,则将验证该路径;;
{{ONLYOFFICE_HTTPS_HSTS_MAXAGE}}-高级配置选项,用于在ONLYOFFICE Docs NGINX vHost配置中设置HSTS最大使用期限,仅在使用SSL时适用(通常默认为31536000,这被认为足够安全);
{{SSL_DHPARAM_PATH}}- Diffie-Hellman参数的路径;
有关配置文件中使用的 SSL 参数的更多信息,请参阅 NGINX 文档。
完成所有更改后,您可以再次启动 ONLYOFFICE DocumentServer 代理服务:

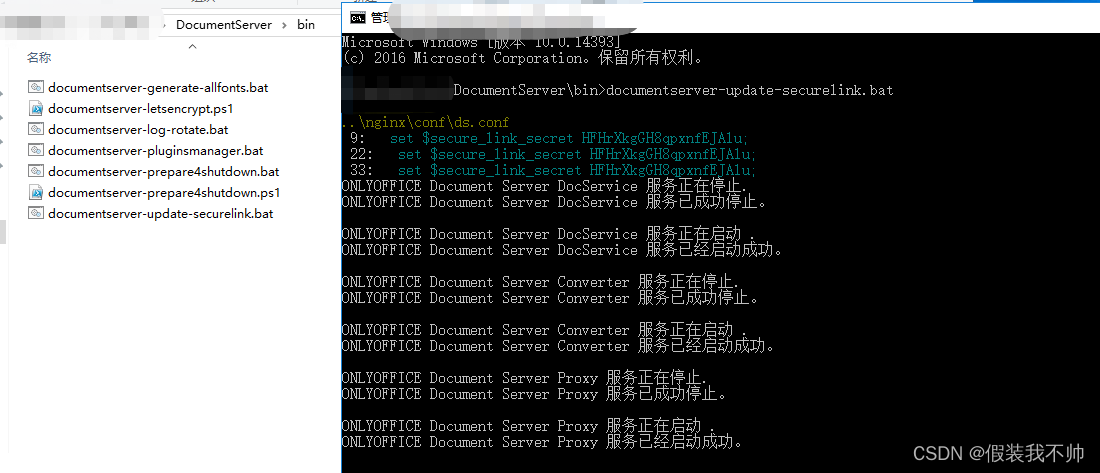
5. Execute %ProgramFiles%\ONLYOFFICE\DocumentServer\bin\documentserver-update-securelink.bat
https://helpcenter.onlyoffice.com/installation/docs-enterprise-https-windows.aspx
按照上述教程弄好之后确实能访问https但是websocket连接报错,找了半天没有找到合适的解决方案,重新安装,准备尝试反向代理

反向代理
iis
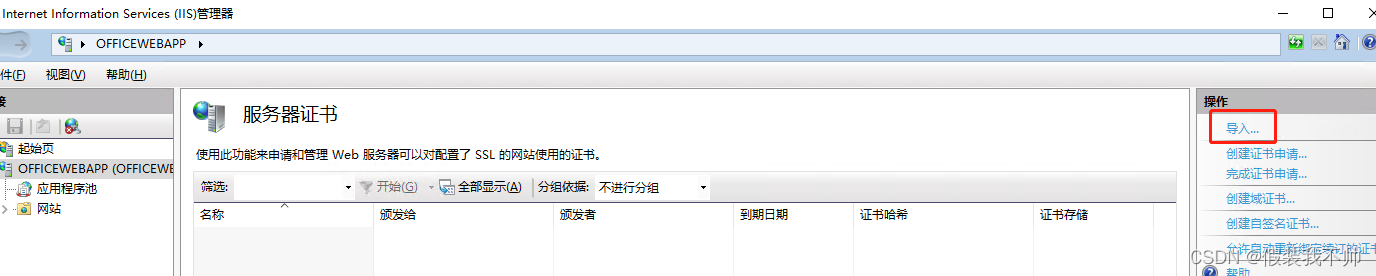
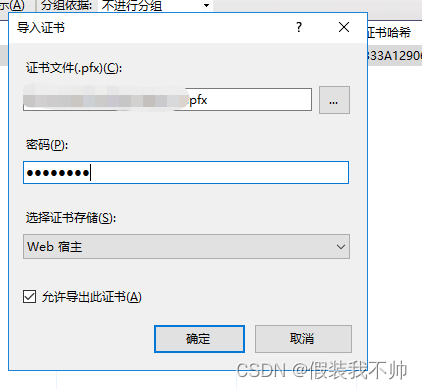
安装https证书
准备好https的证书,解压,安装证书
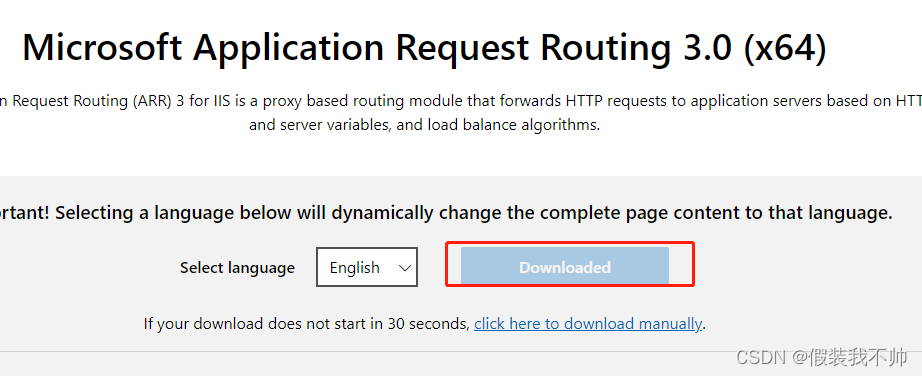
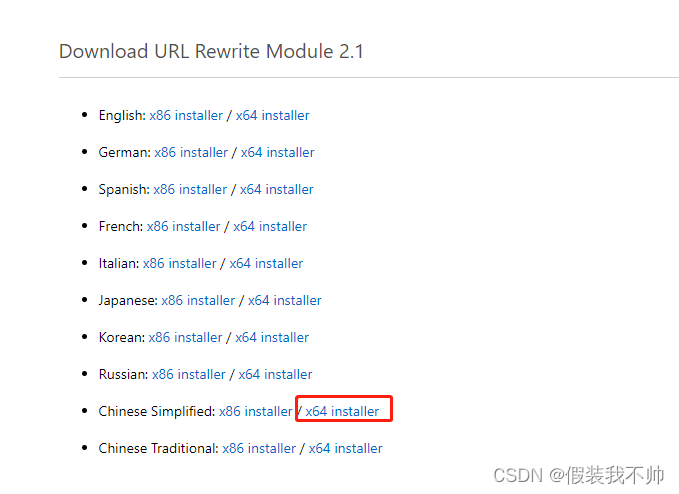
安装插件
Application Request Routing
URL Rewrite
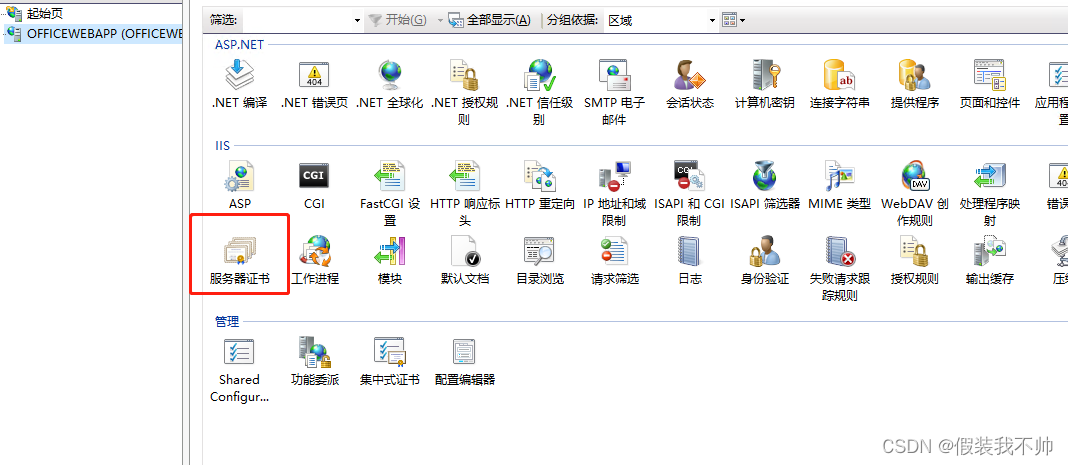
安装完成之后打开iis查看是否多了两个功能
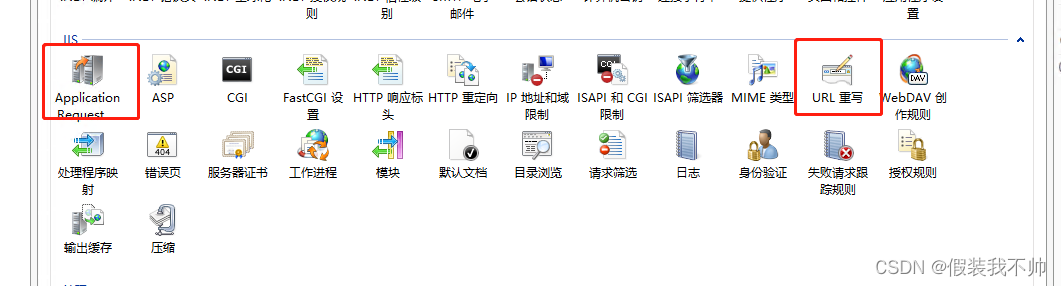
双击Application Request
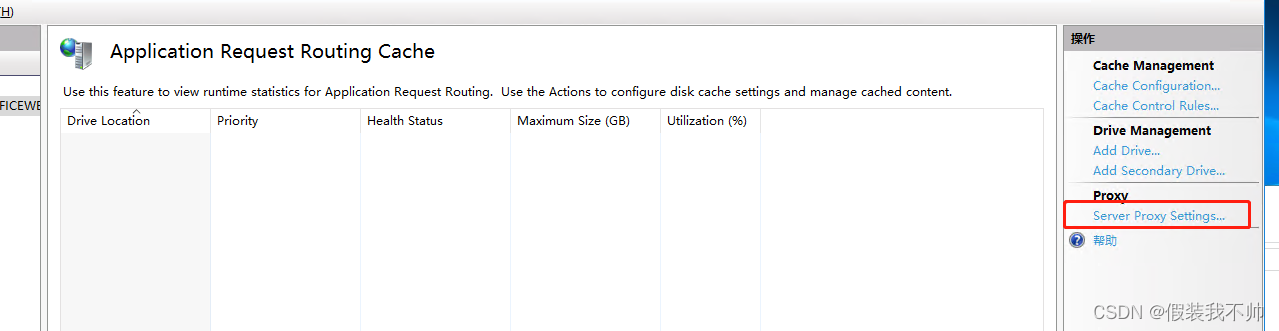
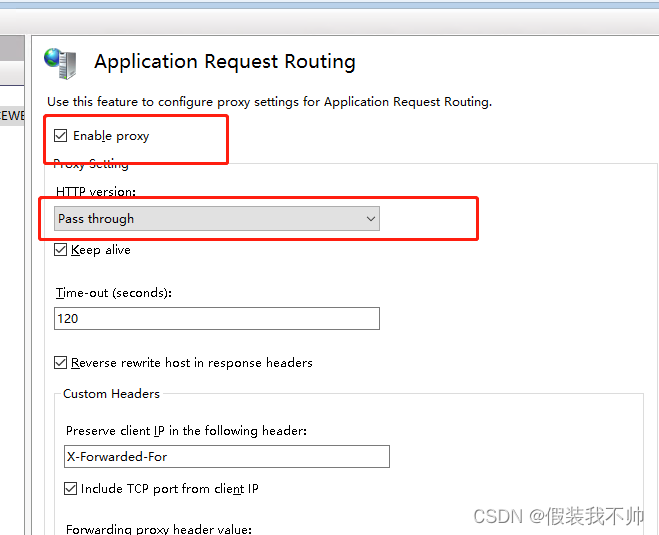
开启代理即可,别忘记点击应用
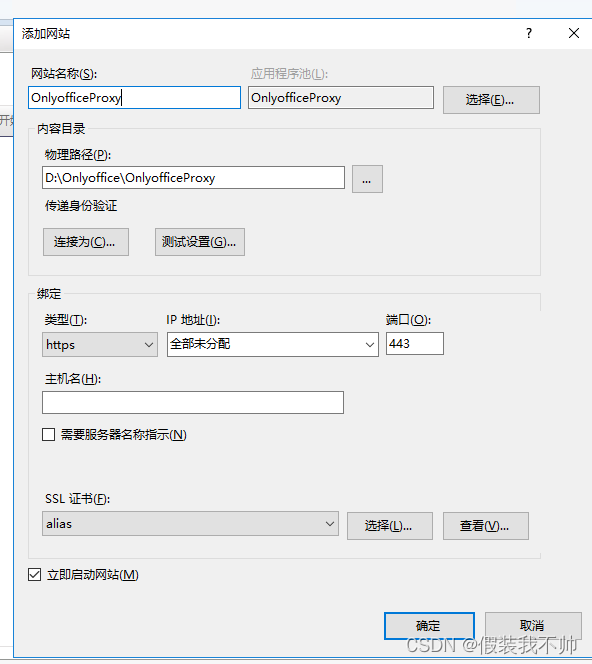
新建网站
URL重写代理
https://helpcenter.onlyoffice.com/installation/docs-community-proxy.aspx
iis尝试失败

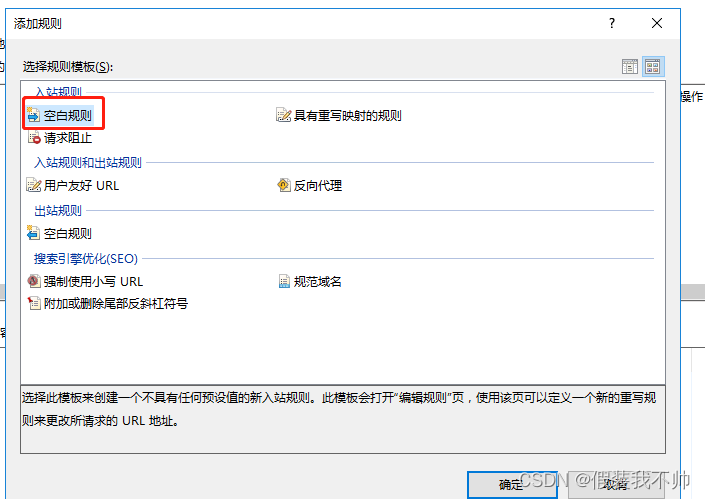
双击URL重写,添加规则,选择空白规则

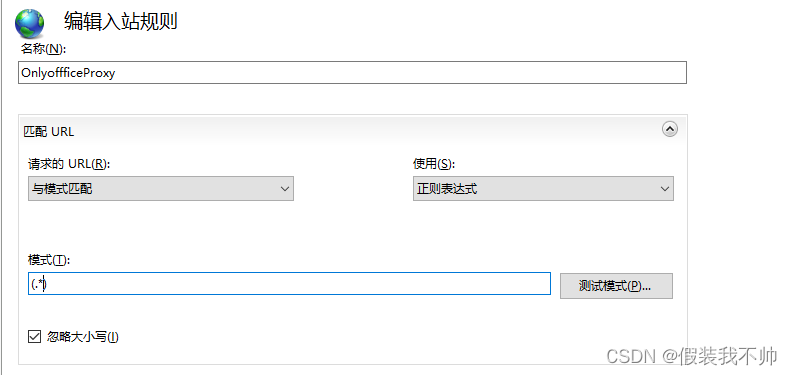
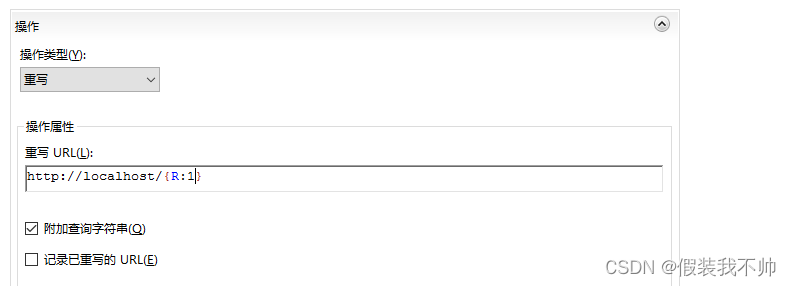
模式填写(.*),重写填写http://localhost/{R:1}
点击应用访问https://localhost

但是这时候websocket还不行,需要代理websocket,再次修改规则
注意一下,只有IIS8.0以上才支持websocket。
{CACHE_URL} (.+)s://和{CACHE_URL} (.*)s://
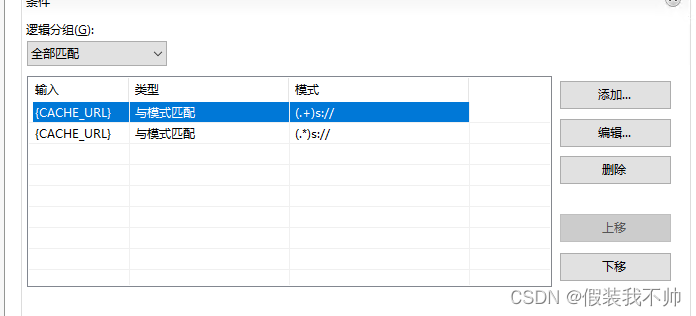
rewrite URL改为:{C:1}😕/需要代理的项目地址/{R:1}例如{C:1}://localhost/{R:1}
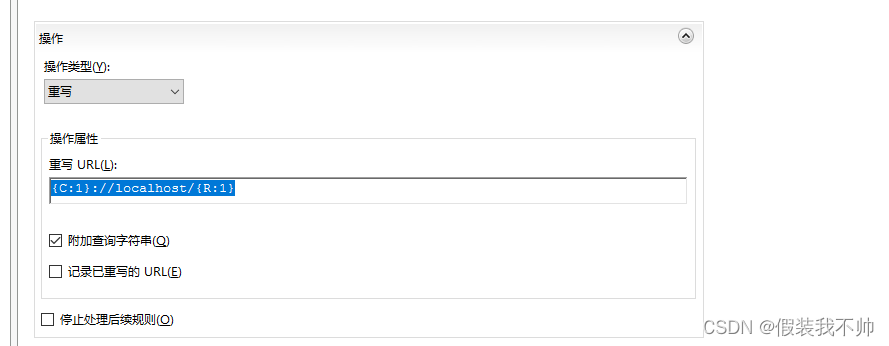
这样就实现了https和websocket的代理
最后的web.config配置如下
<?xml version="1.0" encoding="UTF-8"?>
<configuration><system.webServer><rewrite><rules><rule name="OnlyofficeWebsocketProxy"><match url="(.*)" /><conditions><add input="{CACHE_URL}" pattern="(.+)s://" /><add input="{CACHE_URL}" pattern="(.*)s://" /></conditions><action type="Rewrite" url="{C:1}://localhost/{R:1}" /></rule></rules></rewrite></system.webServer>
</configuration>
不过运行项目遇到了一个错误,文档预览下载失败
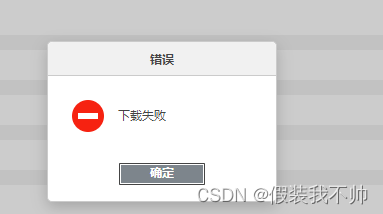

iis尝试失败,如果有大佬知道请告知~~
nginx
下载
nginx版本1.25.4
下载nginxhttp://nginx.org/en/download.html
修改配置
修改nginx.conf
#user  nobody;
worker_processes  1;#error_log  logs/error.log;
#error_log  logs/error.log  notice;
#error_log  logs/error.log  info;#pid        logs/nginx.pid;events {worker_connections  1024;
}http {include       mime.types;default_type  application/octet-stream;#log_format  main  '$remote_addr - $remote_user [$time_local] "$request" '#                  '$status $body_bytes_sent "$http_referer" '#                  '"$http_user_agent" "$http_x_forwarded_for"';#access_log  logs/access.log  main;# Use this example for proxy HTTPS traffic to the document server running at 'backendserver-address'.# Replace {{SSL_CERTIFICATE_PATH}} with the path to the ssl certificate file# Replace {{SSL_KEY_PATH}} with the path to the ssl private key fileupstream docservice {server 127.0.0.1;}map $http_host $this_host {"" $host;default $http_host;}map $http_x_forwarded_proto $the_scheme {default $http_x_forwarded_proto;"" $scheme;}map $http_x_forwarded_host $the_host {default $http_x_forwarded_host;"" $this_host;}map $http_upgrade $proxy_connection {default upgrade;"" close;}proxy_set_header Upgrade $http_upgrade;proxy_set_header Connection $proxy_connection;proxy_set_header X-Forwarded-Host $the_host;proxy_set_header X-Forwarded-Proto $the_scheme;proxy_set_header X-Forwarded-For $proxy_add_x_forwarded_for;## Normal HTTP host#server {#  listen 0.0.0.0:80;#  listen [::]:80 default_server;#  server_name _;#  server_tokens off;##  ## Redirects all traffic to the HTTPS host#  return 301 https://$server_name:443$request_uri;#}server {listen 0.0.0.0:443 ssl;listen [::]:443 ssl default_server;server_tokens off;root /usr/share/nginx/html;## Strong SSL Security## https://raymii.org/s/tutorials/Strong_SSL_Security_On_nginx.html# ssl on;ssl_certificate D:\\Onlyoffice\\nginx\\xxxx.pem;ssl_certificate_key D:\\Onlyoffice\\nginx\\xxxx.key;ssl_verify_client off;ssl_ciphers "EECDH+AESGCM:EDH+AESGCM:AES256+EECDH:AES256+EDH";ssl_protocols  TLSv1 TLSv1.1 TLSv1.2;ssl_session_cache  builtin:1000  shared:SSL:10m;ssl_prefer_server_ciphers   on;## [Optional] Before enabling Strict-Transport-Security headers, ensure your server is properly configured for SSL.## This directive informs the browser to always use HTTPS. For more info see:## - https://developer.mozilla.org/en-US/docs/Web/HTTP/Headers/Strict-Transport-Security# add_header Strict-Transport-Security "max-age=31536000; includeSubDomains" always;# add_header X-Frame-Options SAMEORIGIN;add_header X-Content-Type-Options nosniff;## [Optional] If your certficate has OCSP, enable OCSP stapling to reduce the overhead and latency of running SSL.## Replace with your ssl_trusted_certificate. For more info see:## - https://medium.com/devops-programming/4445f4862461## - https://www.ruby-forum.com/topic/4419319## - https://www.digitalocean.com/community/tutorials/how-to-configure-ocsp-stapling-on-apache-and-nginx# ssl_stapling on;# ssl_stapling_verify on;# ssl_trusted_certificate /etc/nginx/ssl/stapling.trusted.crt;# resolver 208.67.222.222 208.67.222.220 valid=300s; # Can change to your DNS resolver if desired# resolver_timeout 10s;## [Optional] Generate a stronger DHE parameter:##   cd /etc/ssl/certs##   sudo openssl dhparam -out dhparam.pem 4096### ssl_dhparam /etc/ssl/certs/dhparam.pem;location / {proxy_pass http://docservice;proxy_http_version 1.1;}}}
启动nginx即可~~,感觉比iis简单
目前nginx测试没问题,如果想要监听80端口也可以开启,如果关闭系统或者注销可能就不能用了,需要以服务方式安装nginx
https://www.cnblogs.com/wcrBlog/p/11881656.html
https://www.cnblogs.com/nonkicat/p/10672787.html
https://blog.csdn.net/m0_53401243/article/details/133869439
https://weiku.co/article/561/
https://stackoverflow.com/questions/14841986/iis-aar-url-rewrite-for-reverse-proxy-how-to-send-http-host/14842856#14842856
https://techcommunity.microsoft.com/t5/iis-support-blog/arr-change-the-hostname-on-re-routing-to-backend-node-the/ba-p/1340780