- http的请求、响应过程是无状态的。
- 会话状态的跟踪
(1)session + cookie
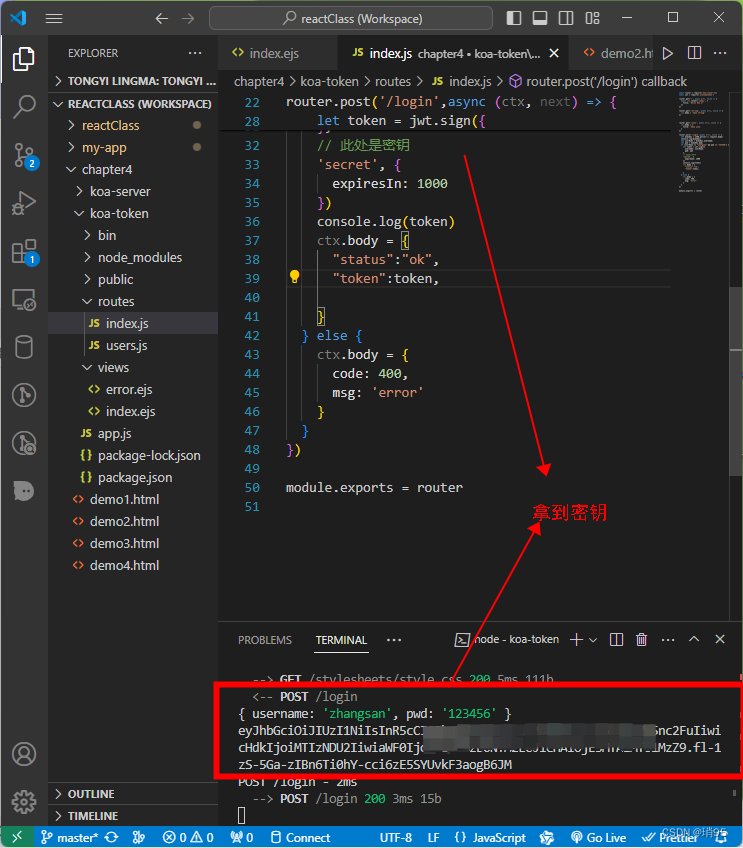
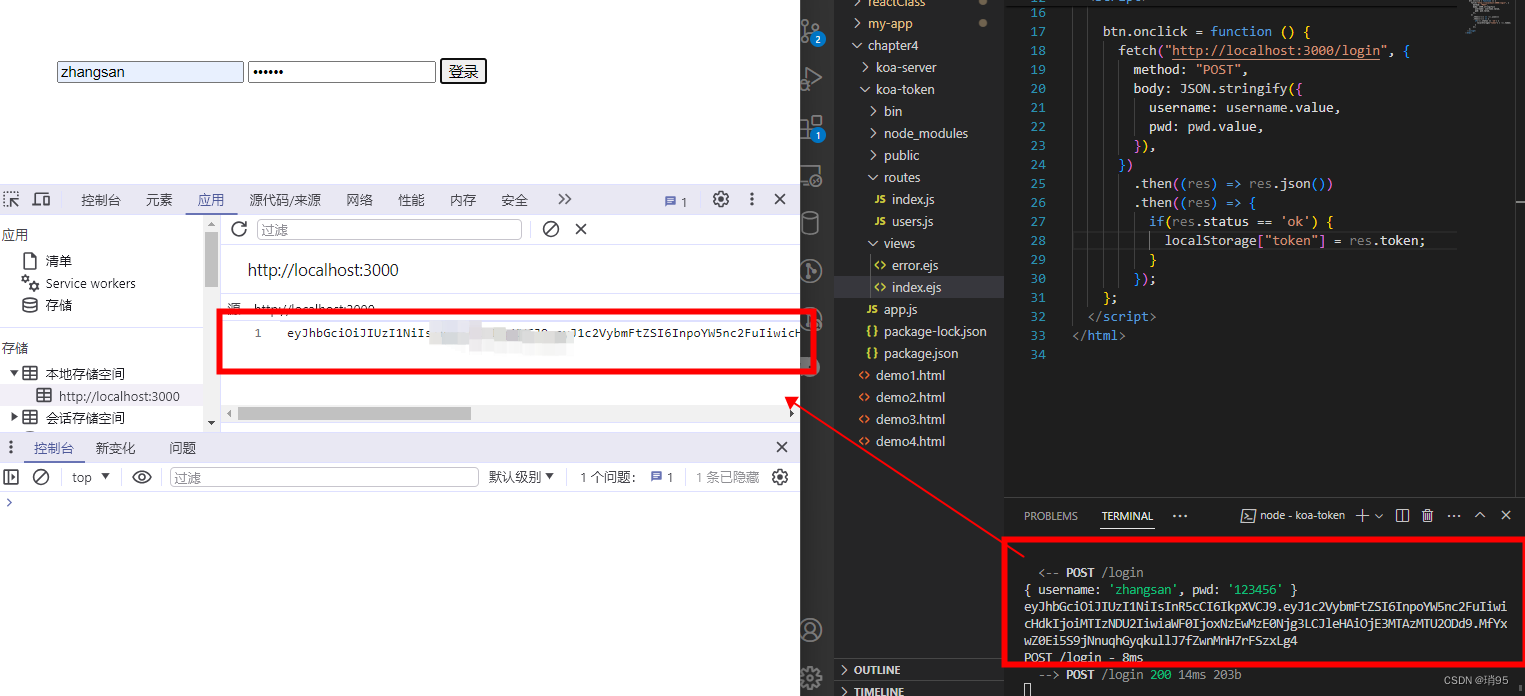
(2)token 校验的方式(用户登陆成功之后,生成token,讲token响应到客户端去,客户端在本地存储中存储token,下次请求时,携带上token,到服务端后,服务端校验token的有效性进行后续的操作)
初始化一个token项目(可以是中文路径)
koa2 -e koa-token
cd koa-token
npm install
npm start
http://localhost:3000/设置允许跨域
views/index.ejs
<!DOCTYPE html>
<html><head><title>作业展示</title><link rel="stylesheet" href="/stylesheets/style.css" /></head><body><input type="text" id="username" /><input type="password" id="pwd" /><button id="btn">登录</button></body><script>let username = document.querySelector("#username");let pwd = document.querySelector("#pwd");let btn = document.querySelector("#btn");btn.onclick = function () {fetch("http://localhost:3000/login", {method: "POST",body: JSON.stringify({username: username.value,pwd: pwd.value,}),}).then((res) => res.json()).then((res) => {console.log(res);});};</script>
</html>
然后就是设置路由:routes/index.js,先写请求过程
const router = require('koa-router')()router.get('/', async (ctx, next) => {await ctx.render('index', {title: 'Hello Koa 2!'})
})router.get('/string', async (ctx, next) => {ctx.body = 'koa2 string'
})router.get('/json', async (ctx, next) => {ctx.body = {title: 'koa2 json'}
})router.post('/login',async (ctx, next) => {let bodyObj = JSON.parse(ctx.request.body)console.log(bodyObj)let userName = bodyObj.username;let pwd = bodyObj.pwd;if (userName == "zhangsan" && pwd == "123456") {ctx.body = {"status":"ok",}} else {ctx.body = {code: 400,msg: 'error'}}
})module.exports = router
下面就是生成token,下面是参考方法的网址
jsonwebtoken - npm

安装:npm install jsonwebtoken
