今日简单分享 message 组件的源码,主要从以下四个方面来分享:
1、message 组件的页面结构
2、message 组件的 options 配置
3、mesage 组件的方法
4、个人总结
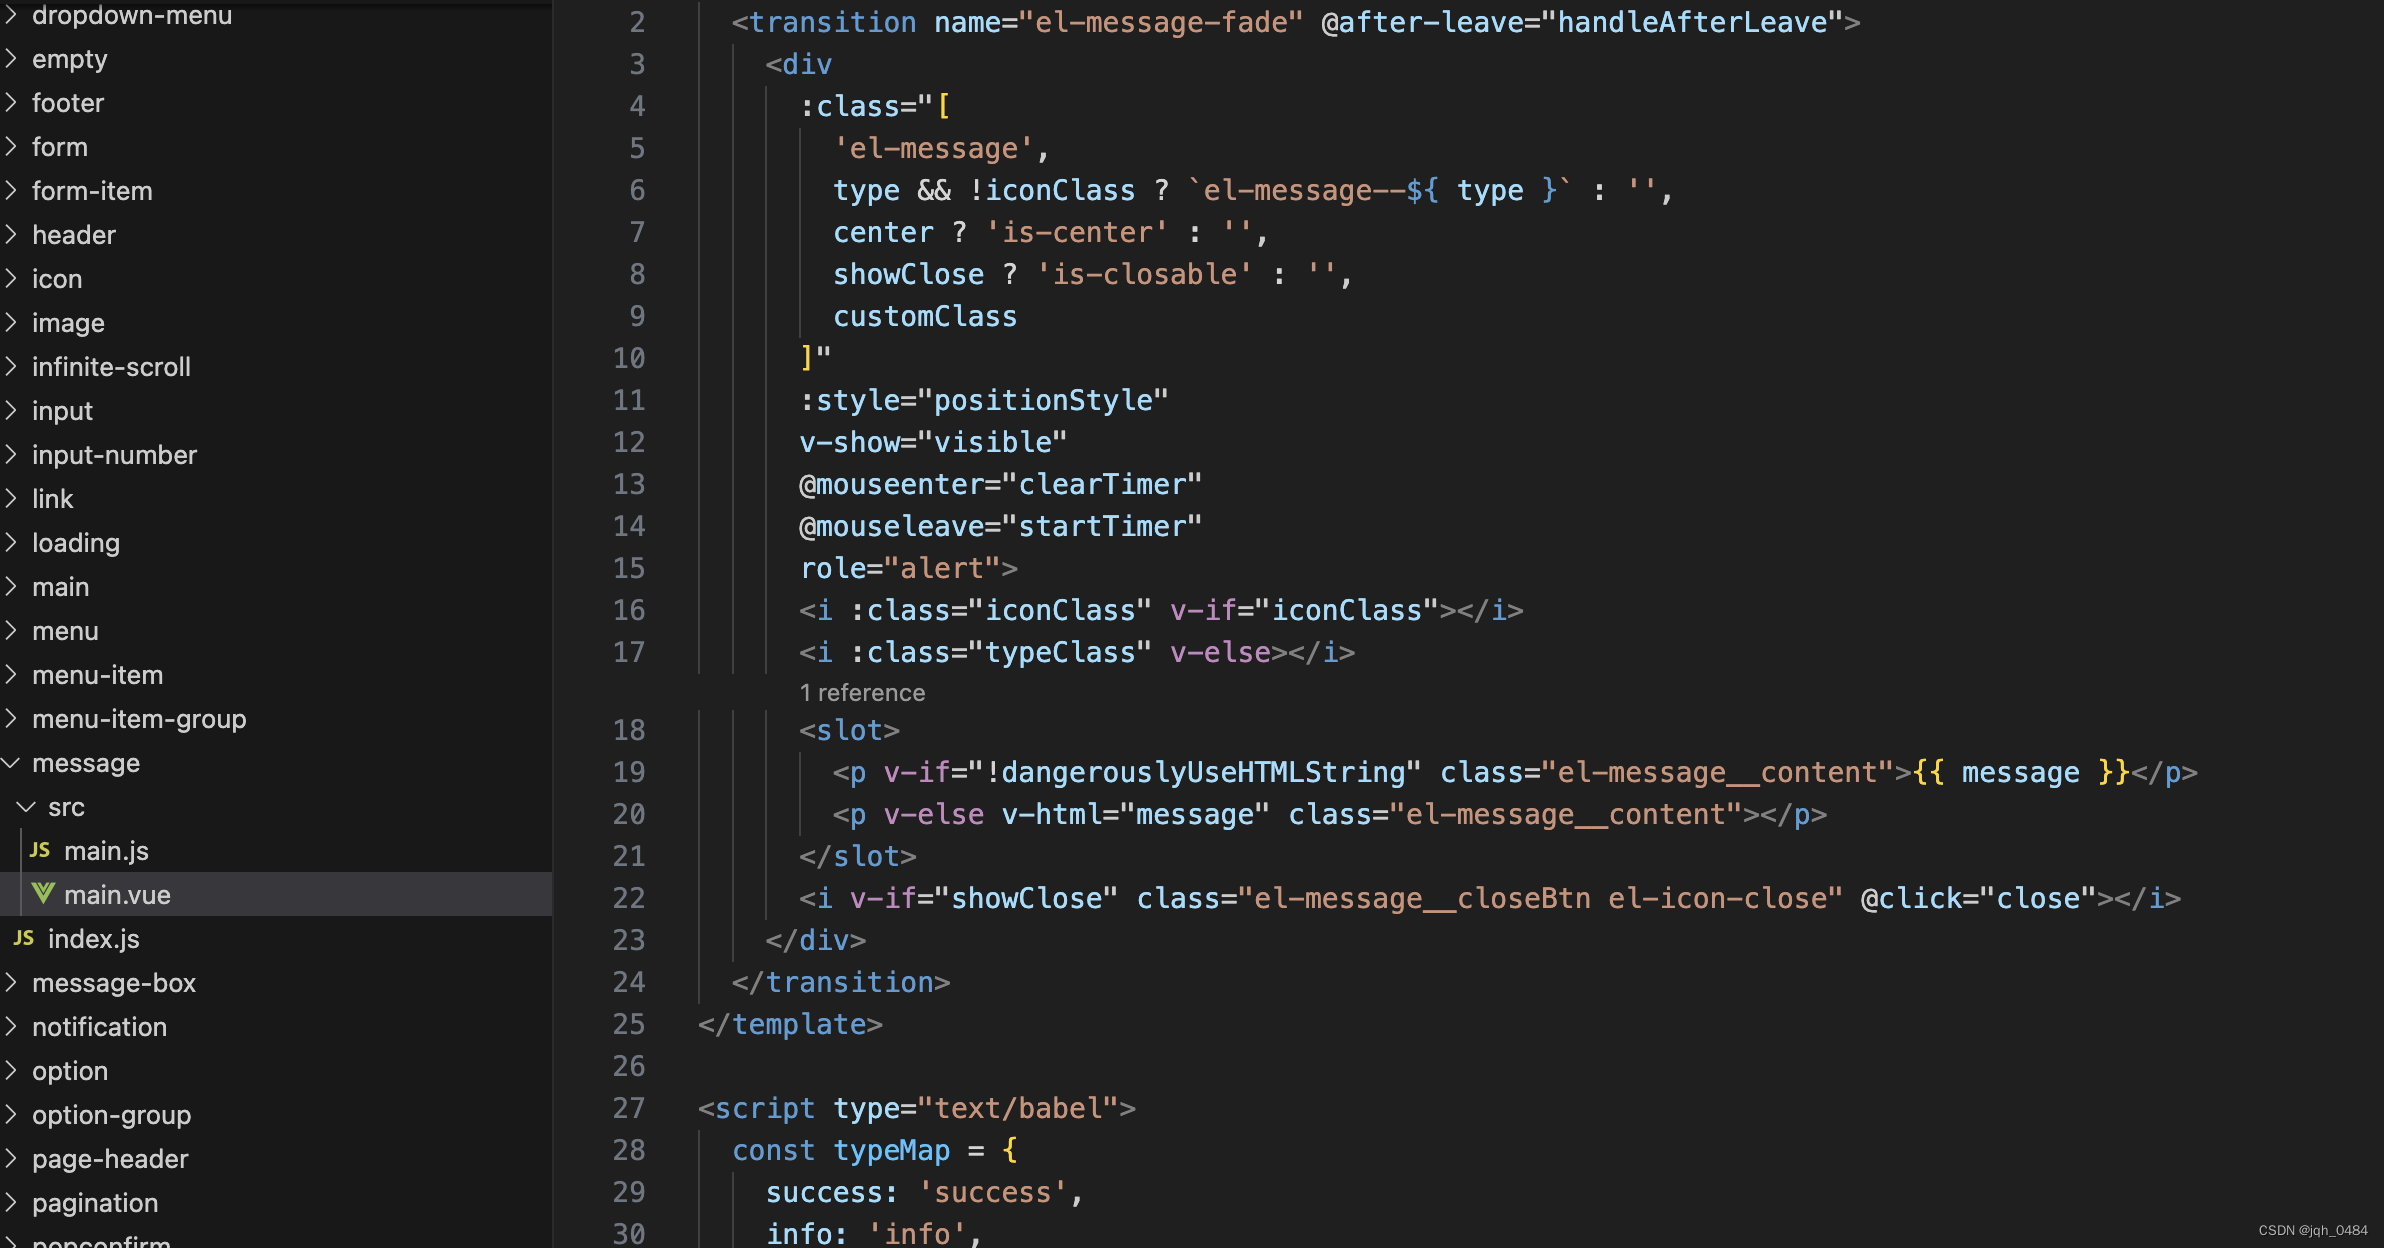
一、message 组件的页面结构
二、message 组件的 options 配置
前置说明:message 并没有注册到 Vue 实例上,而是创建了一个构造函数,并将其添加到 Vue 的原型链上,可在任何一个 Vue 组件内部通过 this.$message 的方式访问。
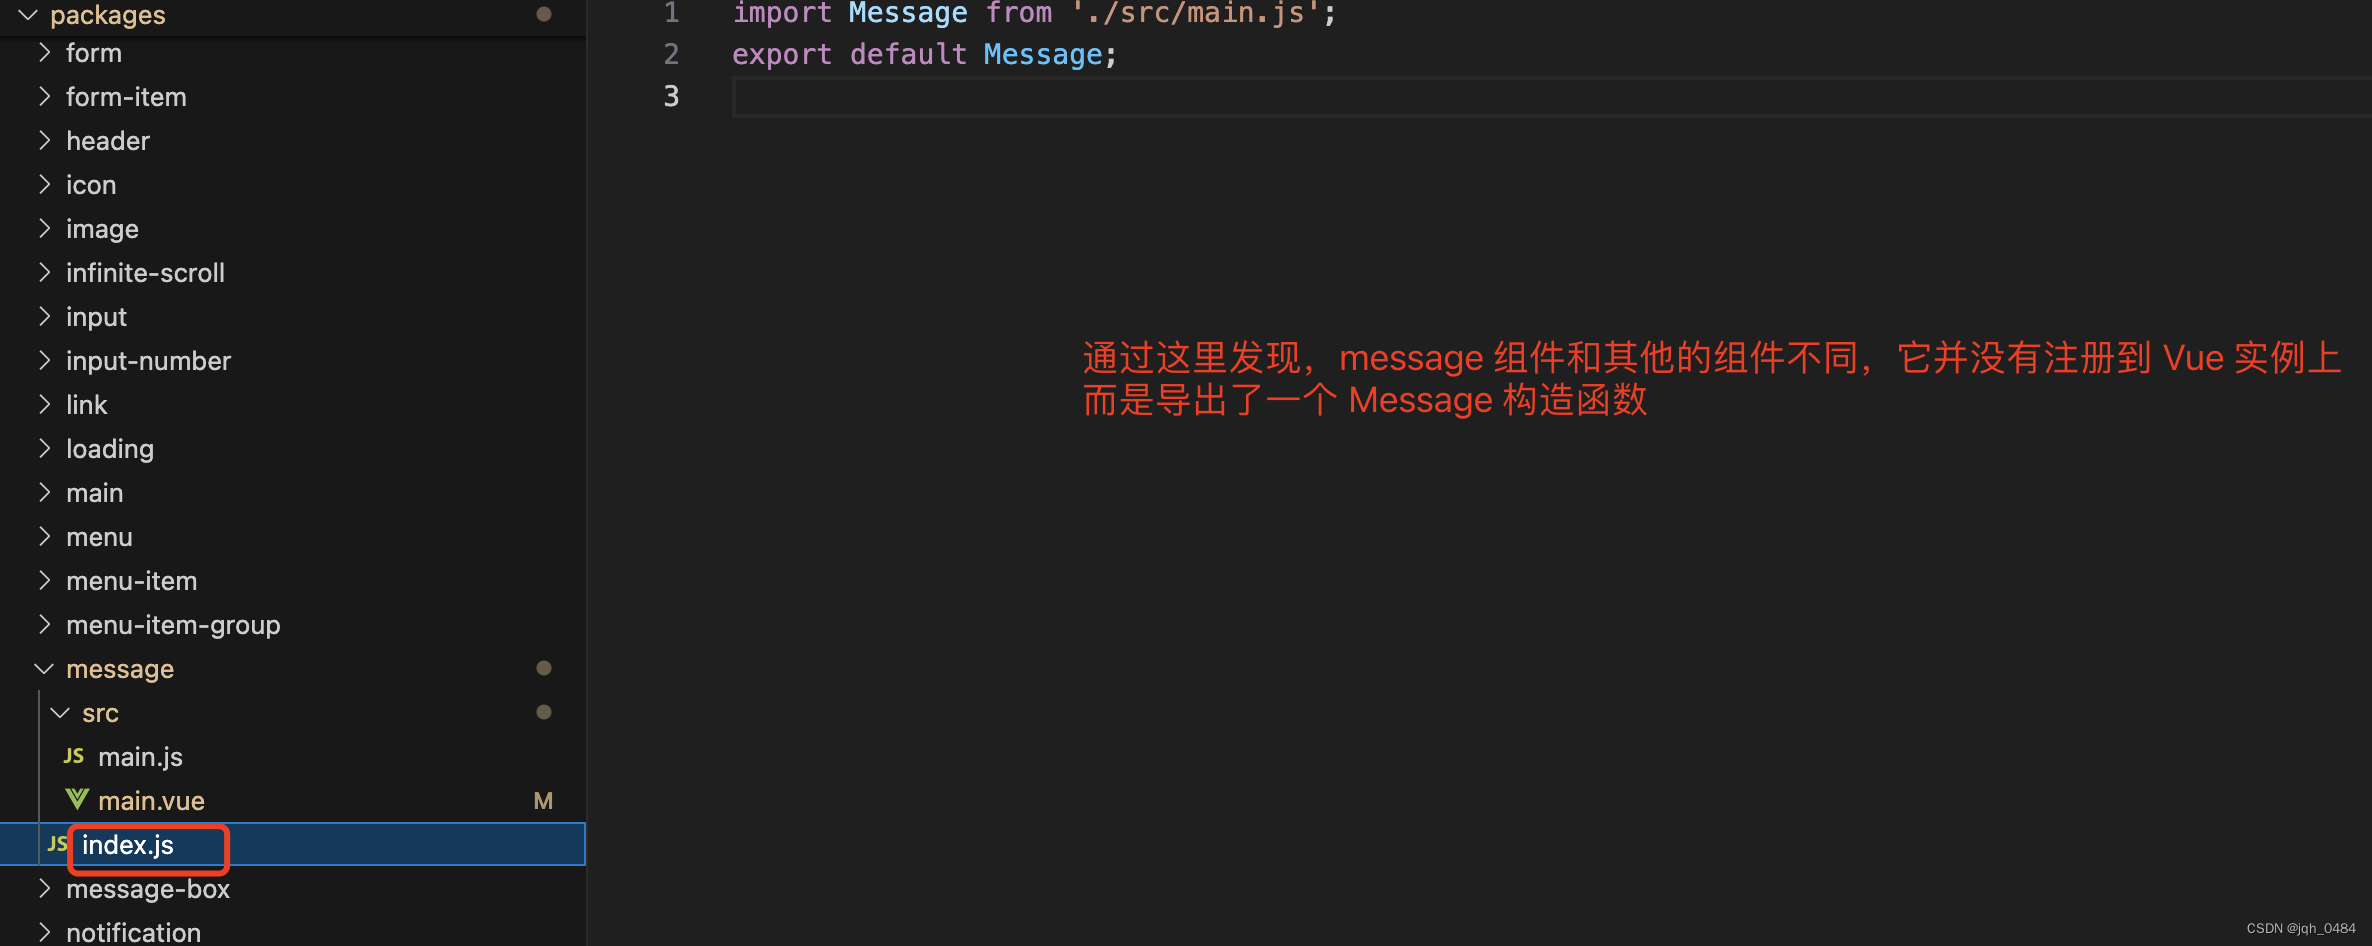

main.js 代码位置:
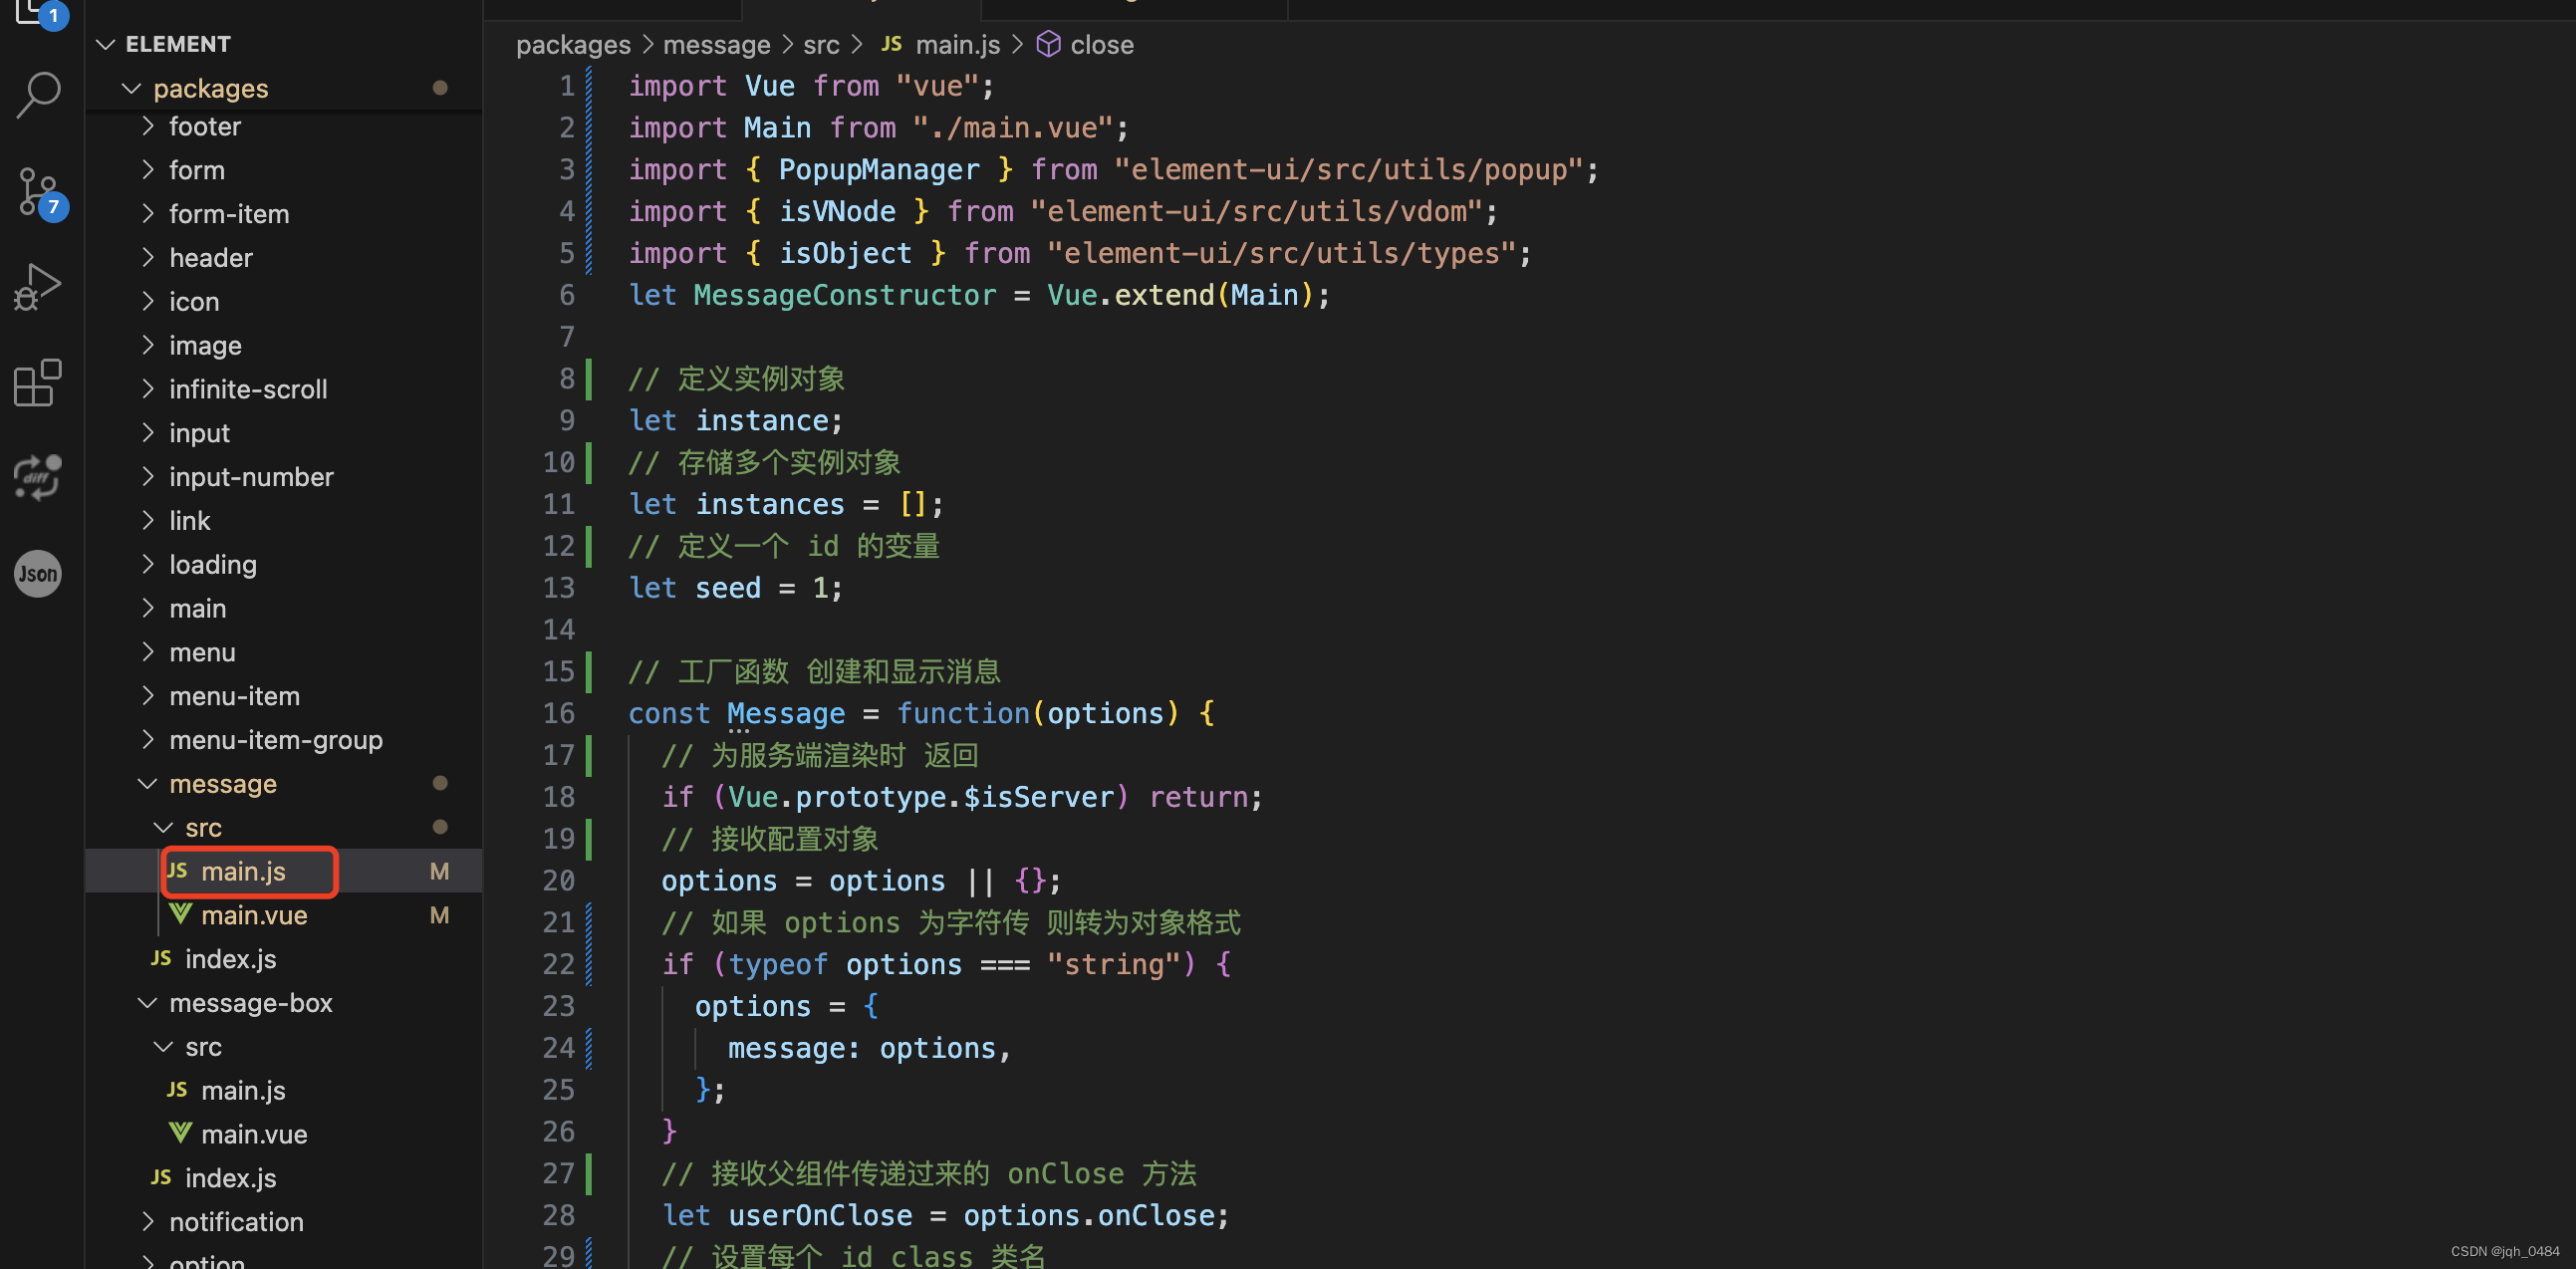
main.js 的代码讲解,主要有三个功能功能:
- 将 Message 实例化,并挂载到 body 中。
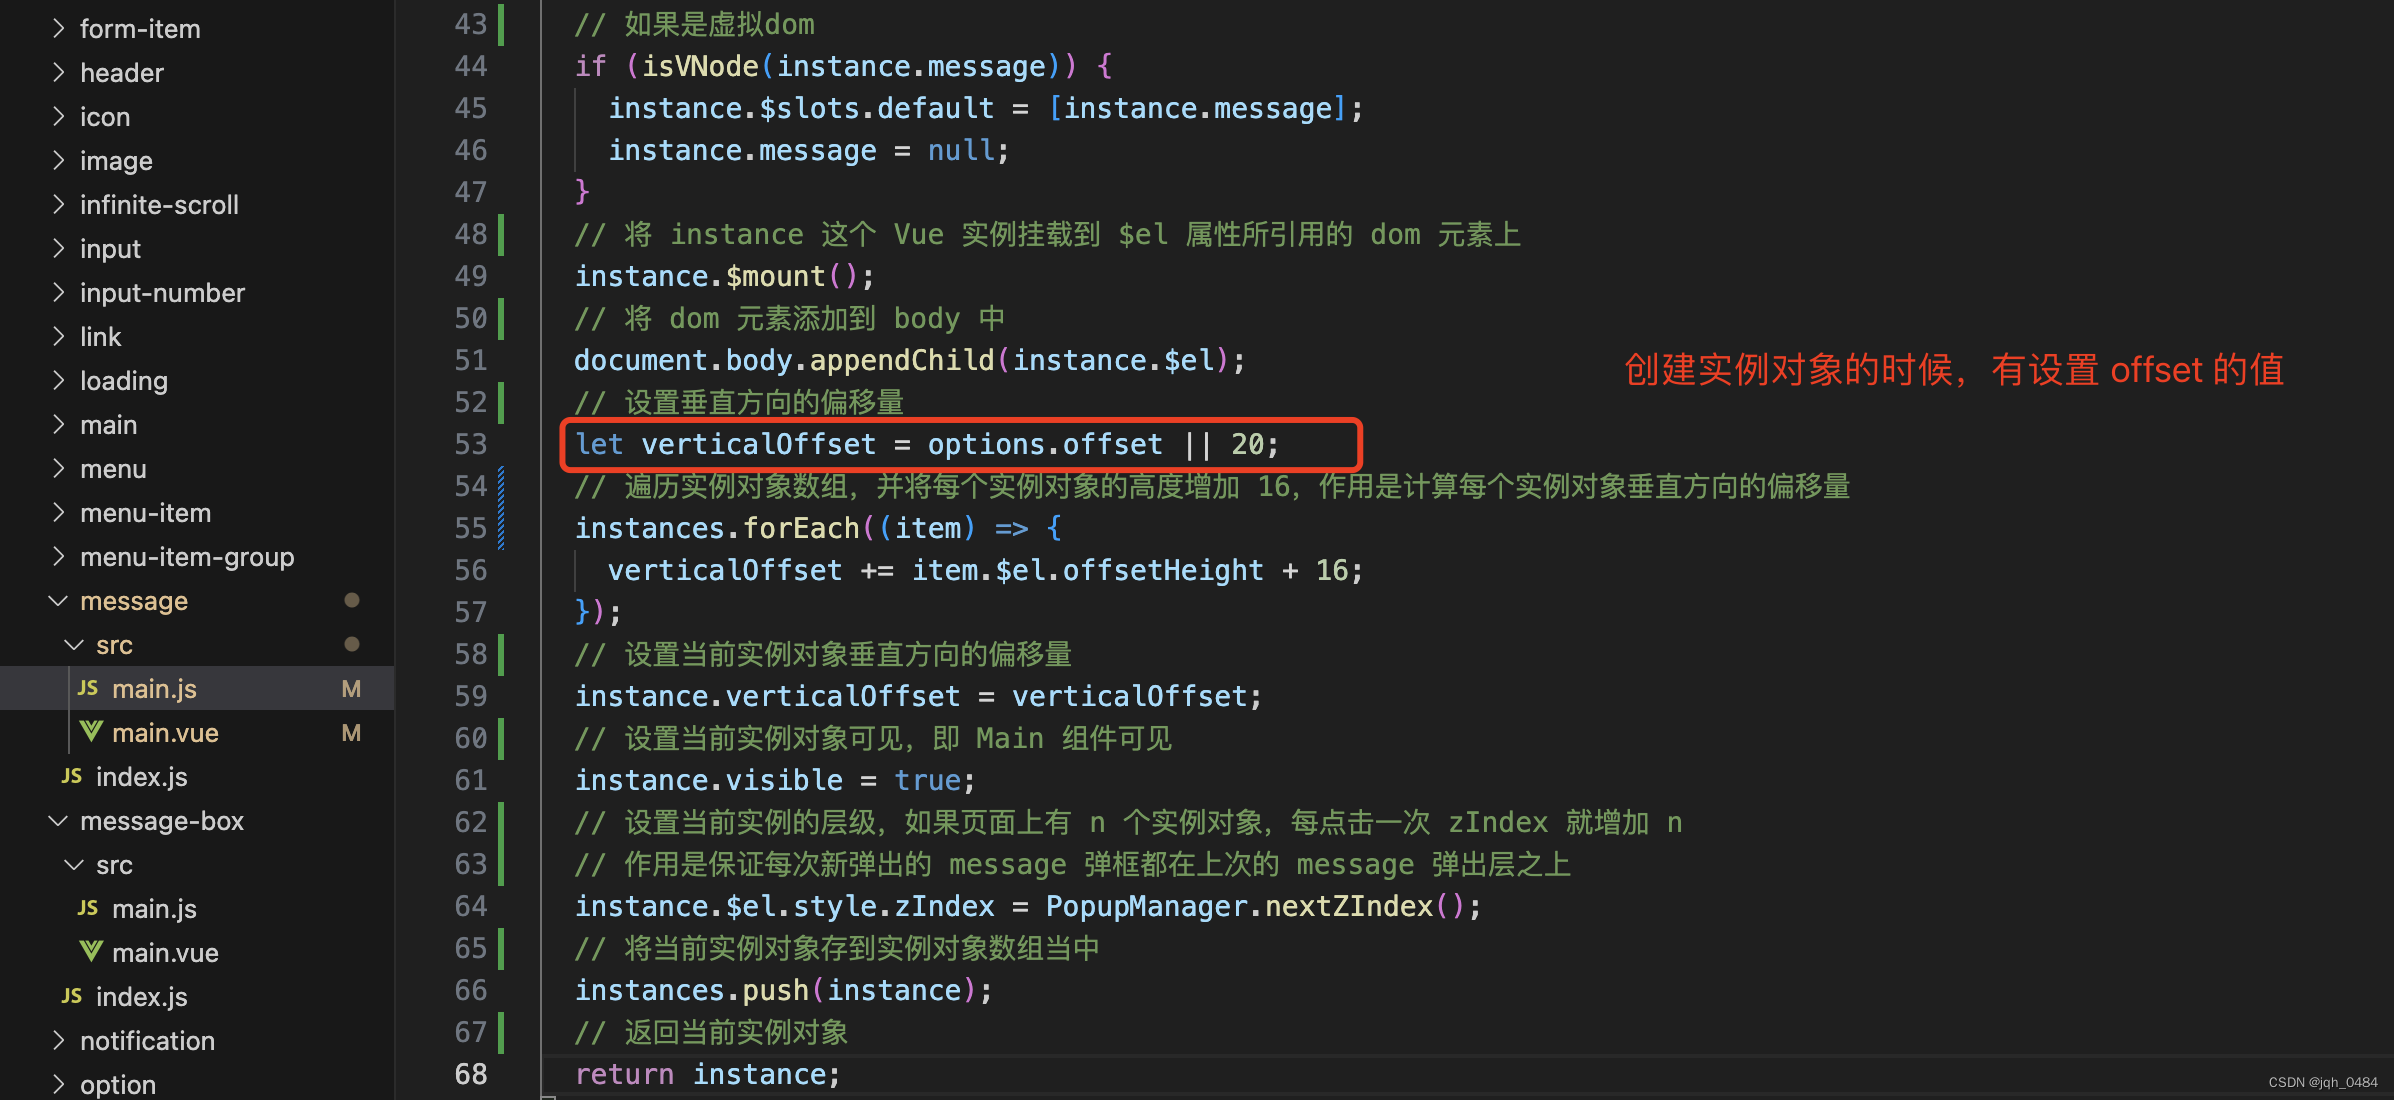
- 处理一个页面多个实例对象的情况。如果一个页面多个实例对象,使用数组的方式存储,并改变每个实例对象垂直方向的偏移量。
- 关闭的事件回调。处理当页面有多个实例对象时,关闭 Message 时,移除当前实例对象额高度,并调整其他实例对象的高度。设置关闭后的回调函数。
import Vue from "vue";
import Main from "./main.vue";
import { PopupManager } from "element-ui/src/utils/popup";
import { isVNode } from "element-ui/src/utils/vdom";
import { isObject } from "element-ui/src/utils/types";
let MessageConstructor = Vue.extend(Main);// 定义实例对象
let instance;
// 存储多个实例对象
let instances = [];
// 定义一个 id 的变量
let seed = 1;// 工厂函数 创建和显示消息
const Message = function(options) {// 为服务端渲染时 返回if (Vue.prototype.$isServer) return;// 接收配置对象options = options || {};// 如果 options 为字符传 则转为对象格式if (typeof options === "string") {options = {message: options,};}// 接收父组件传递过来的 onClose 方法let userOnClose = options.onClose;// 设置每个 id class 类名let id = "message_" + seed++;// 关闭的函数,调用 Message 的 close 方法options.onClose = function() {// 父组件调用实例对象中的关闭方法Message.close(id, userOnClose);};// 创建新的 Vue实例对象 MessageConstructor,并将其赋值给 instace 变量instance = new MessageConstructor({data: options,});// 设置当前实例的 id 值,此 id 作为当前实例的唯一标识instance.id = id;// 如果是虚拟domif (isVNode(instance.message)) {instance.$slots.default = [instance.message];instance.message = null;}// 将 instance 这个 Vue 实例挂载到 $el 属性所引用的 dom 元素上instance.$mount();// 将 dom 元素添加到 body 中document.body.appendChild(instance.$el);// 设置垂直方向的偏移量let verticalOffset = options.offset || 20;// 遍历实例对象数组,并将每个实例对象的高度增加 16,作用是计算每个实例对象垂直方向的偏移量instances.forEach((item) => {verticalOffset += item.$el.offsetHeight + 16;});// 设置当前实例对象垂直方向的偏移量instance.verticalOffset = verticalOffset;// 设置当前实例对象可见,即 Main 组件可见instance.visible = true;// 设置当前实例的层级,如果页面上有 n 个实例对象,每点击一次 zIndex 就增加 n// 作用是保证每次新弹出的 message 弹框都在上次的 message 弹出层之上instance.$el.style.zIndex = PopupManager.nextZIndex();// 将当前实例对象存到实例对象数组当中instances.push(instance);// 返回当前实例对象return instance;
};["success", "warning", "info", "error"].forEach((type) => {Message[type] = (options) => {if (isObject(options) && !isVNode(options)) {return Message({...options,type,});}return Message({type,message: options,});};
});// Message 定义 close 关闭方法,传入两个参数,当前实例对象的 id 和 onClose 方法
// id 为一个带有 id 参数的 className 类名
// userOnClose 为父组件传递过来的 onClose 方法
Message.close = function(id, userOnClose) {let len = instances.length;let index = -1;let removedHeight;for (let i = 0; i < len; i++) {// 关闭的当前实例对象的 id 等于实例对象组中的 id,则获取垂直方向的偏移量,并更新当前的索引if (id === instances[i].id) {removedHeight = instances[i].$el.offsetHeight;index = i;// 如果父组件传递过来的 onClose 是一个回调函数,则将当前实例对象回传给父组件if (typeof userOnClose === "function") {userOnClose(instances[i]);}// 删除实例对象组中的当前实例instances.splice(i, 1);break;}}// 如果页面无 instance 实例对象,返回if (len <= 1 || index === -1 || index > instances.length - 1) return;// 将当前实例对象后面的实例对象的垂直方向的偏移量的高度上移for (let i = index; i < len - 1; i++) {let dom = instances[i].$el;dom.style["top"] =parseInt(dom.style["top"], 10) - removedHeight - 16 + "px";}
};// closeAll 关闭所有实例对象
Message.closeAll = function () {for (let i = instances.length - 1; i >= 0; i--) {// 关闭当前实例对象instances[i].close();}
};export default Message;
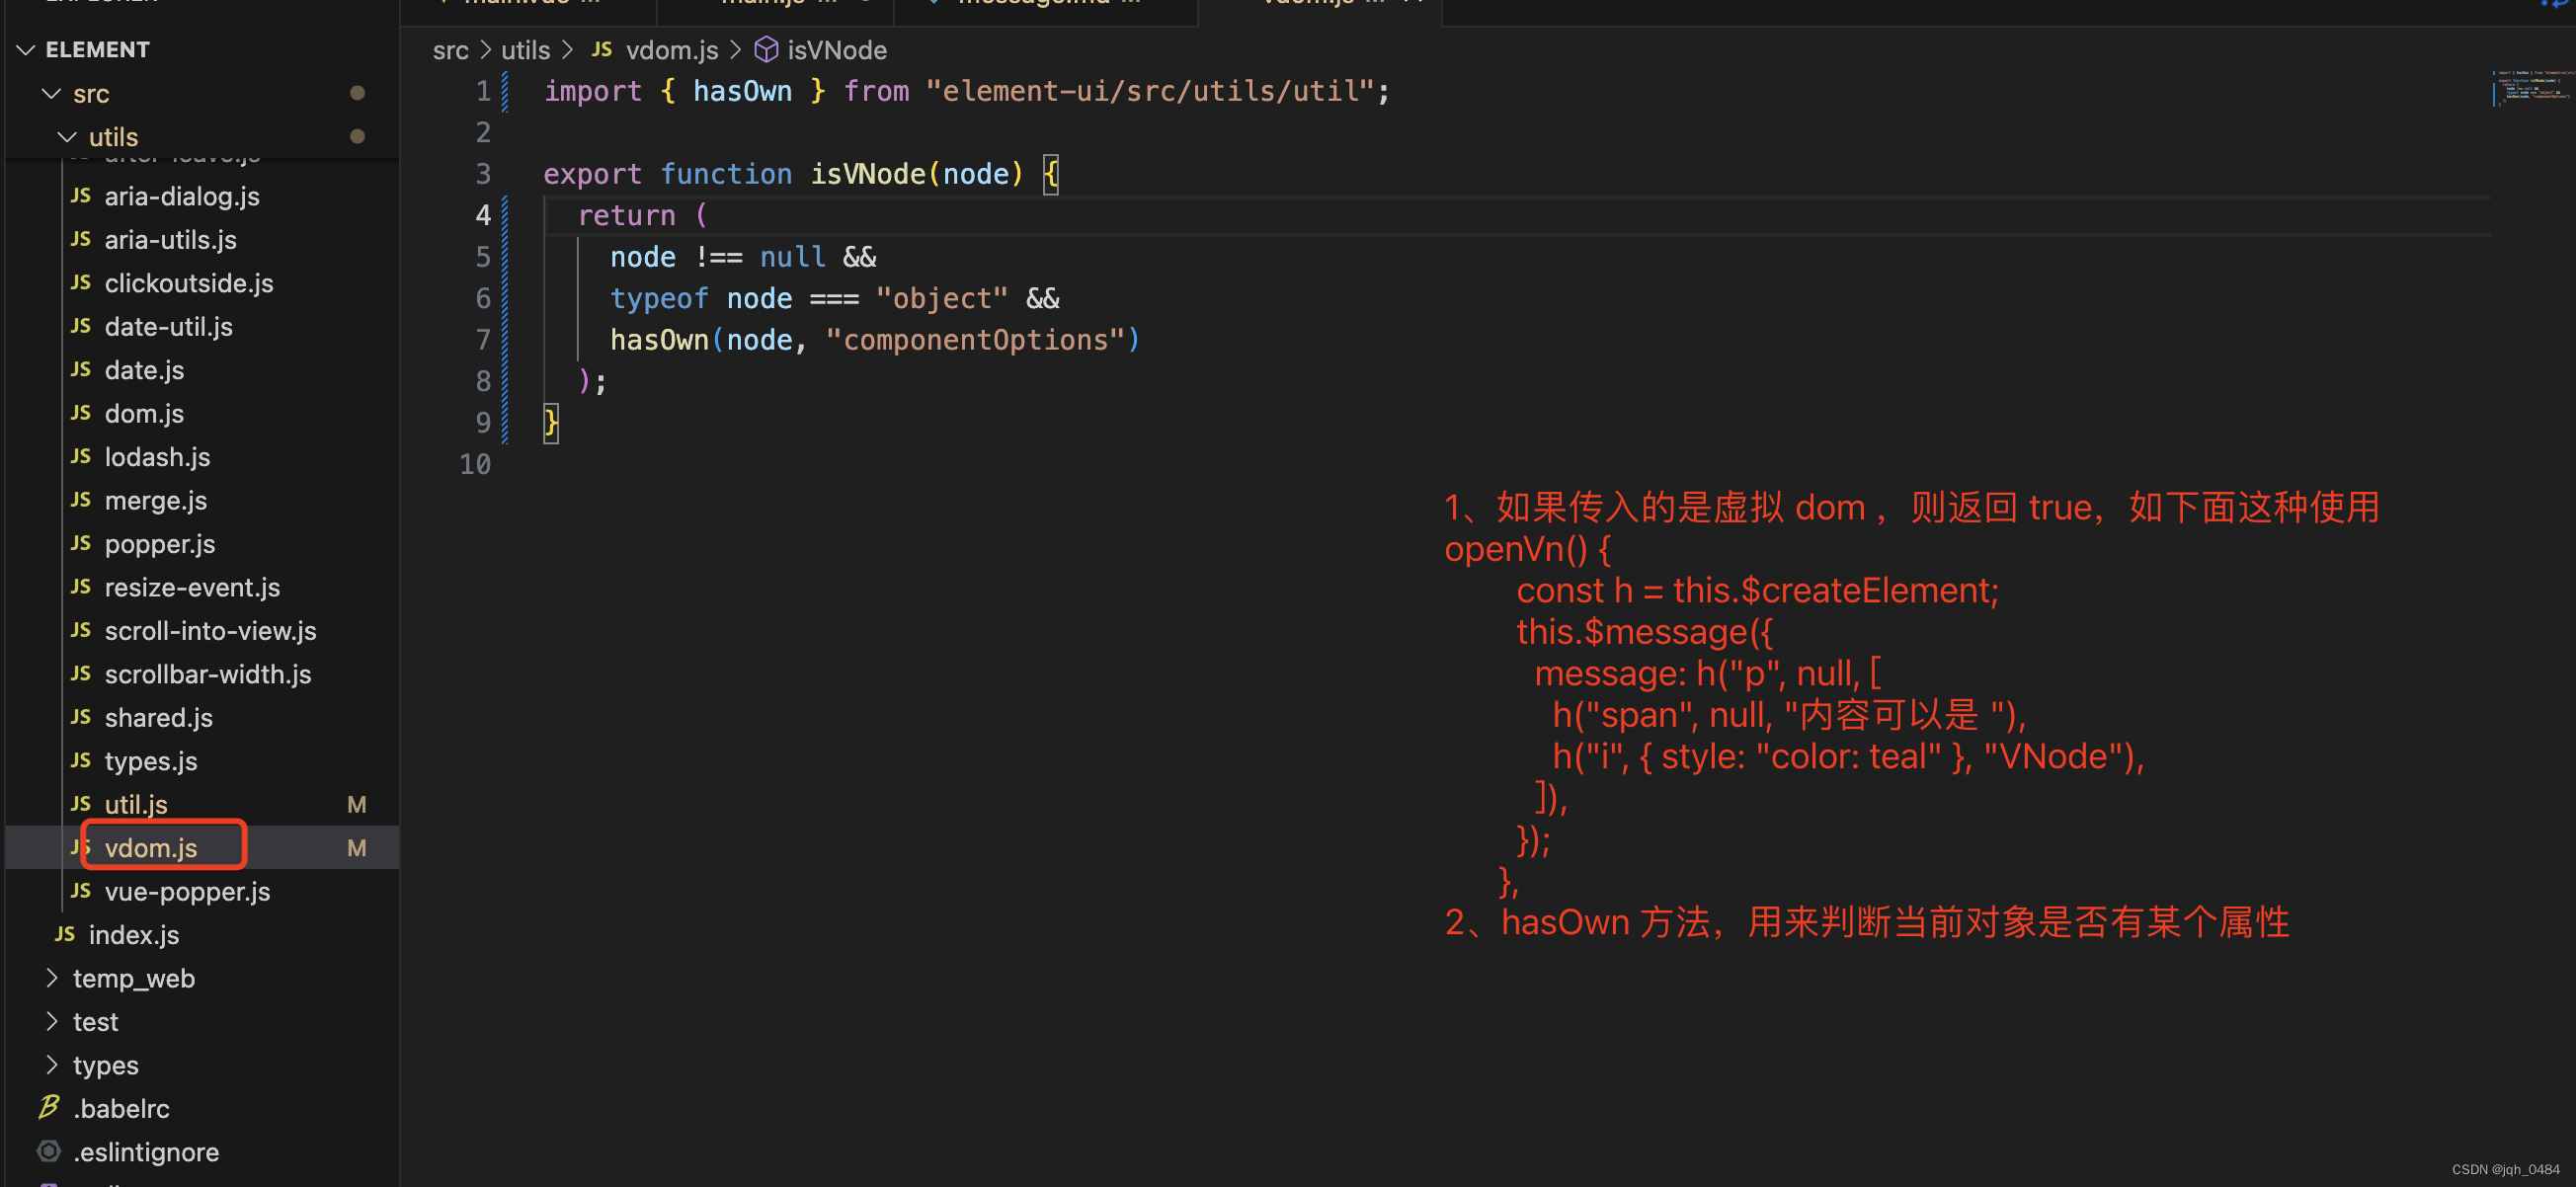
isNode 方法:


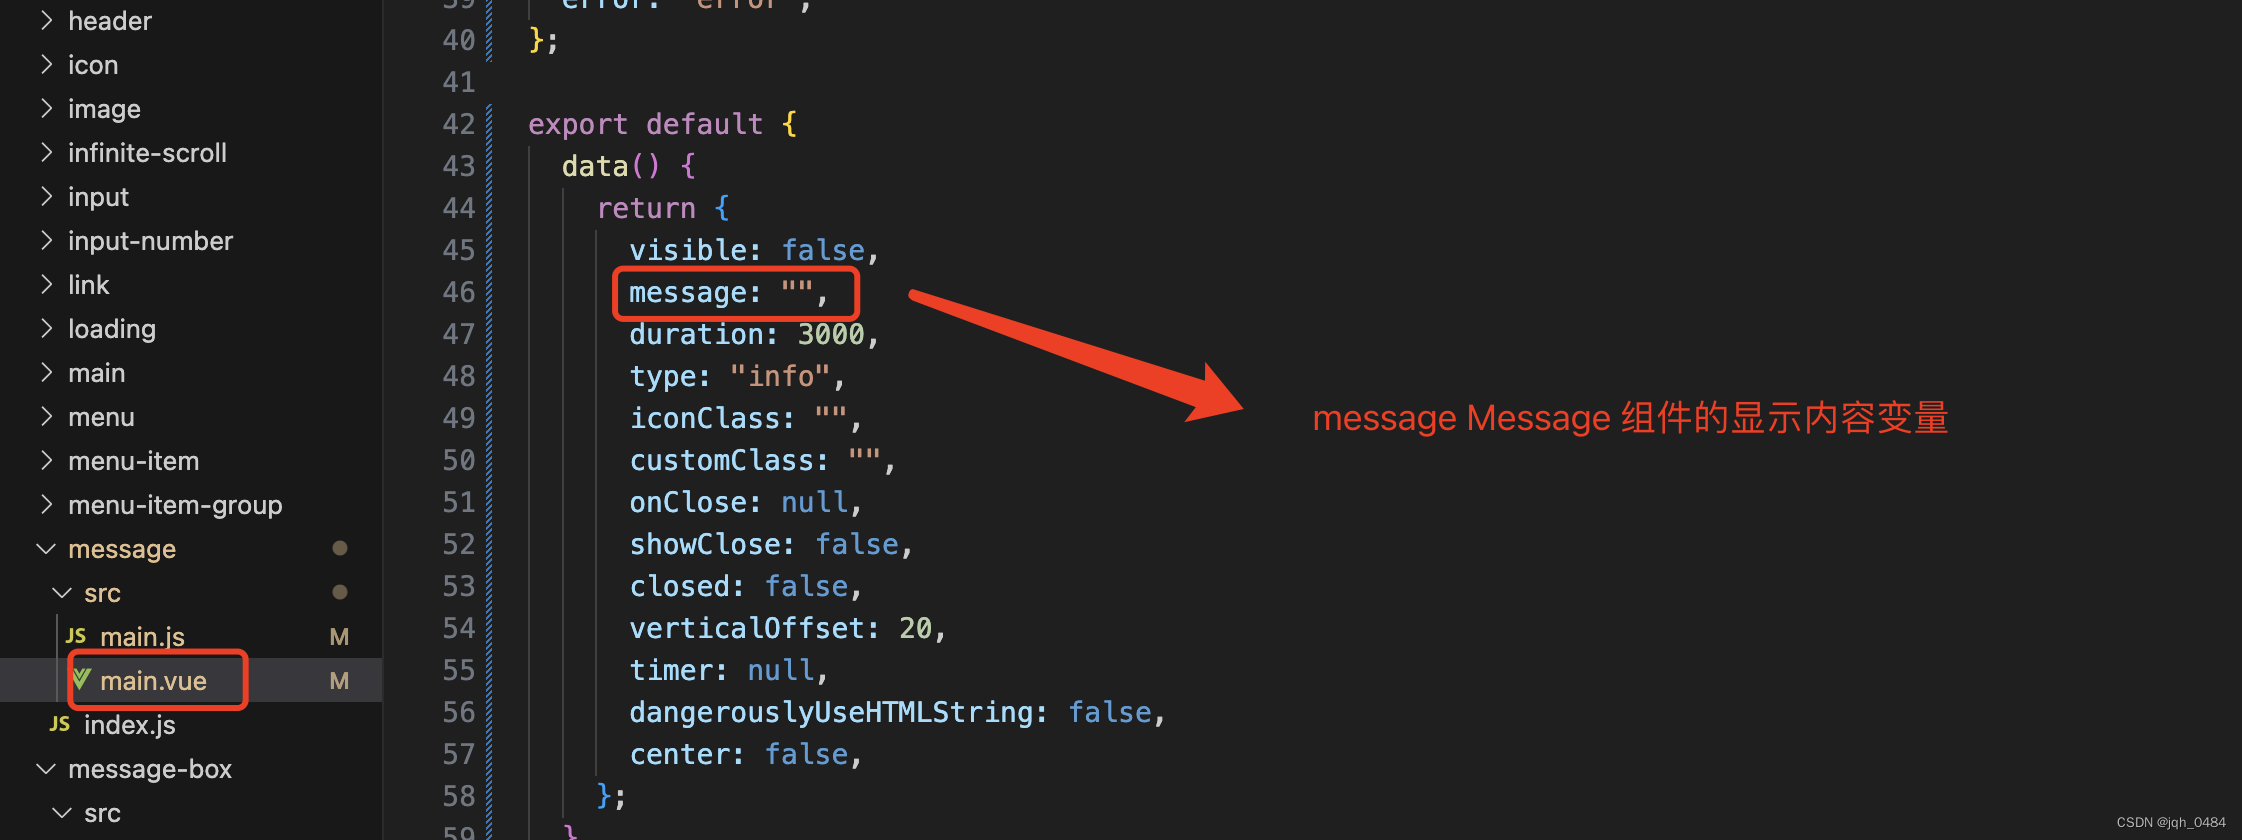
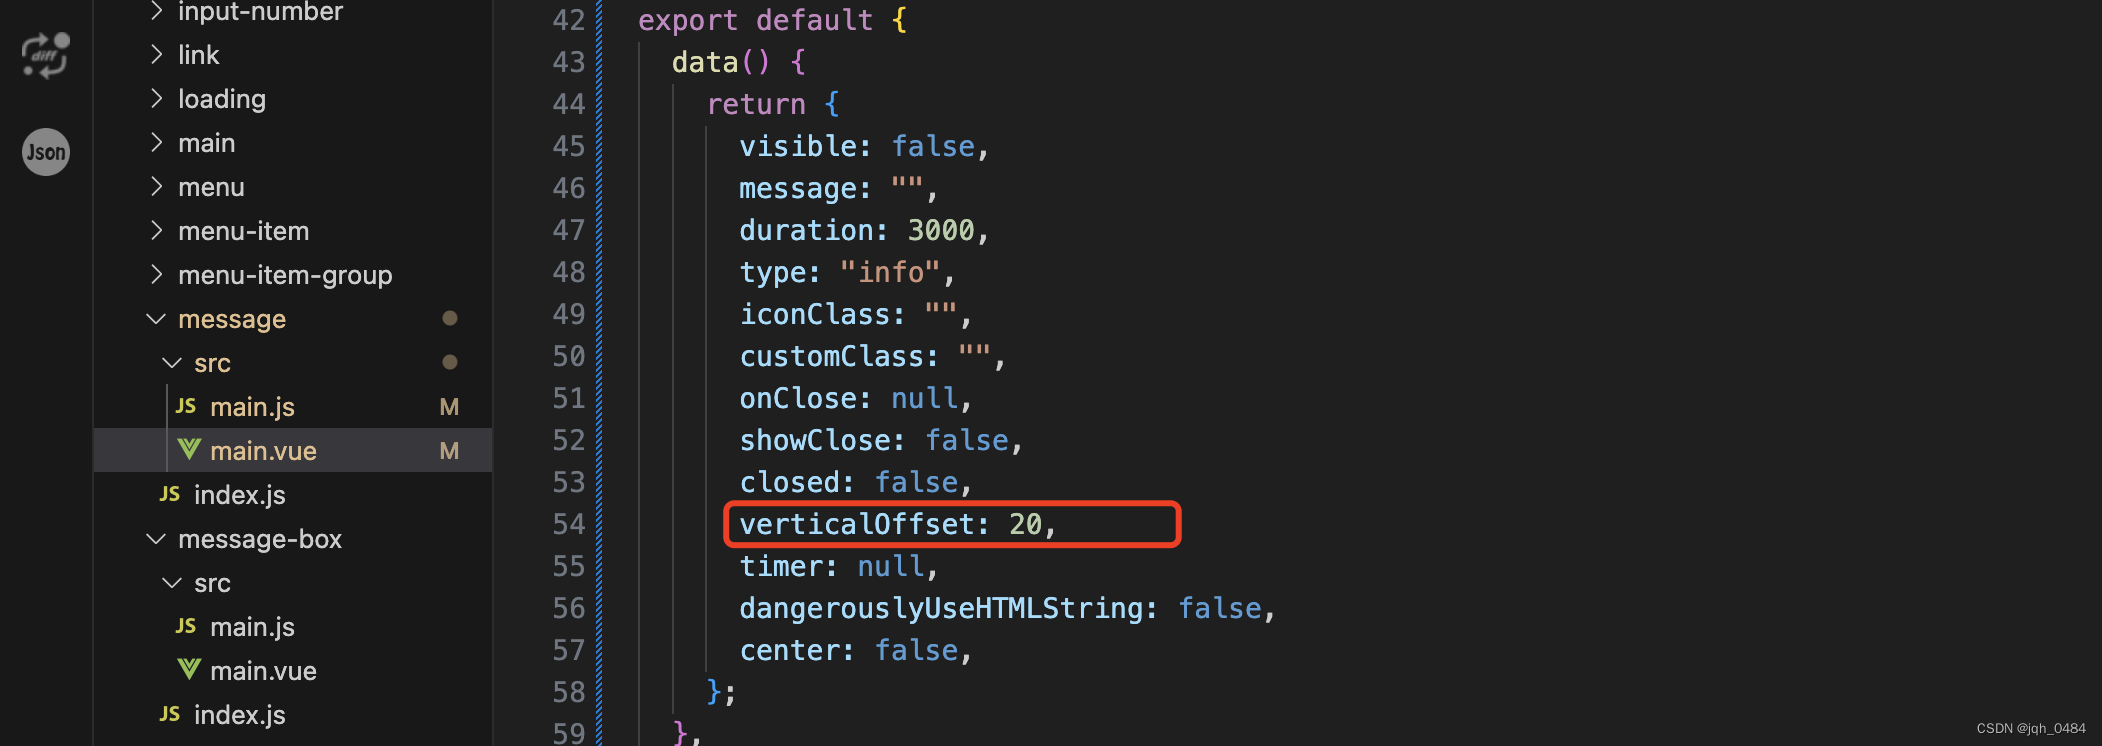
2.1 message 属性,消息文字,类型 string / VNode,无默认值。

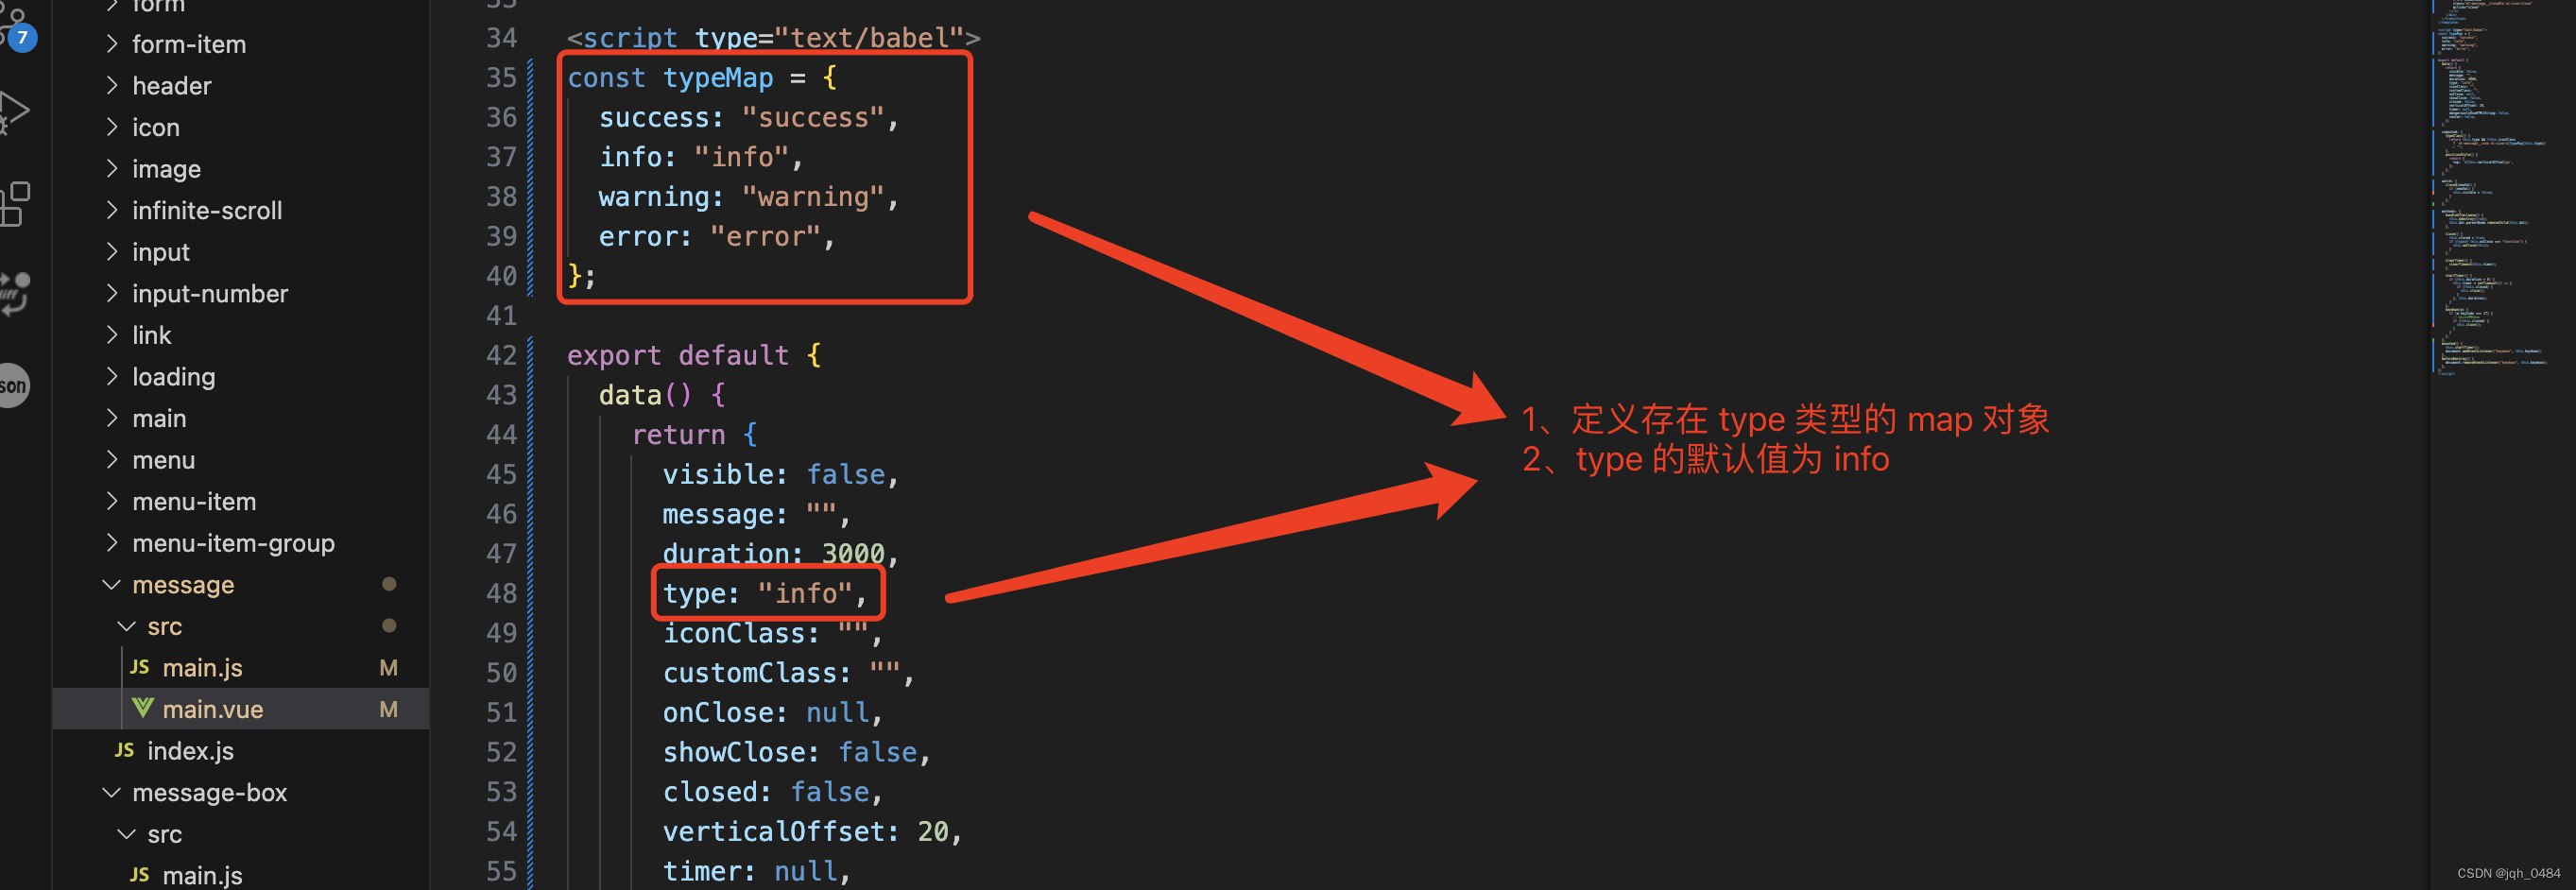
2.2 type 属性,主题,类型 string,success/warning/info/error,默认 info。

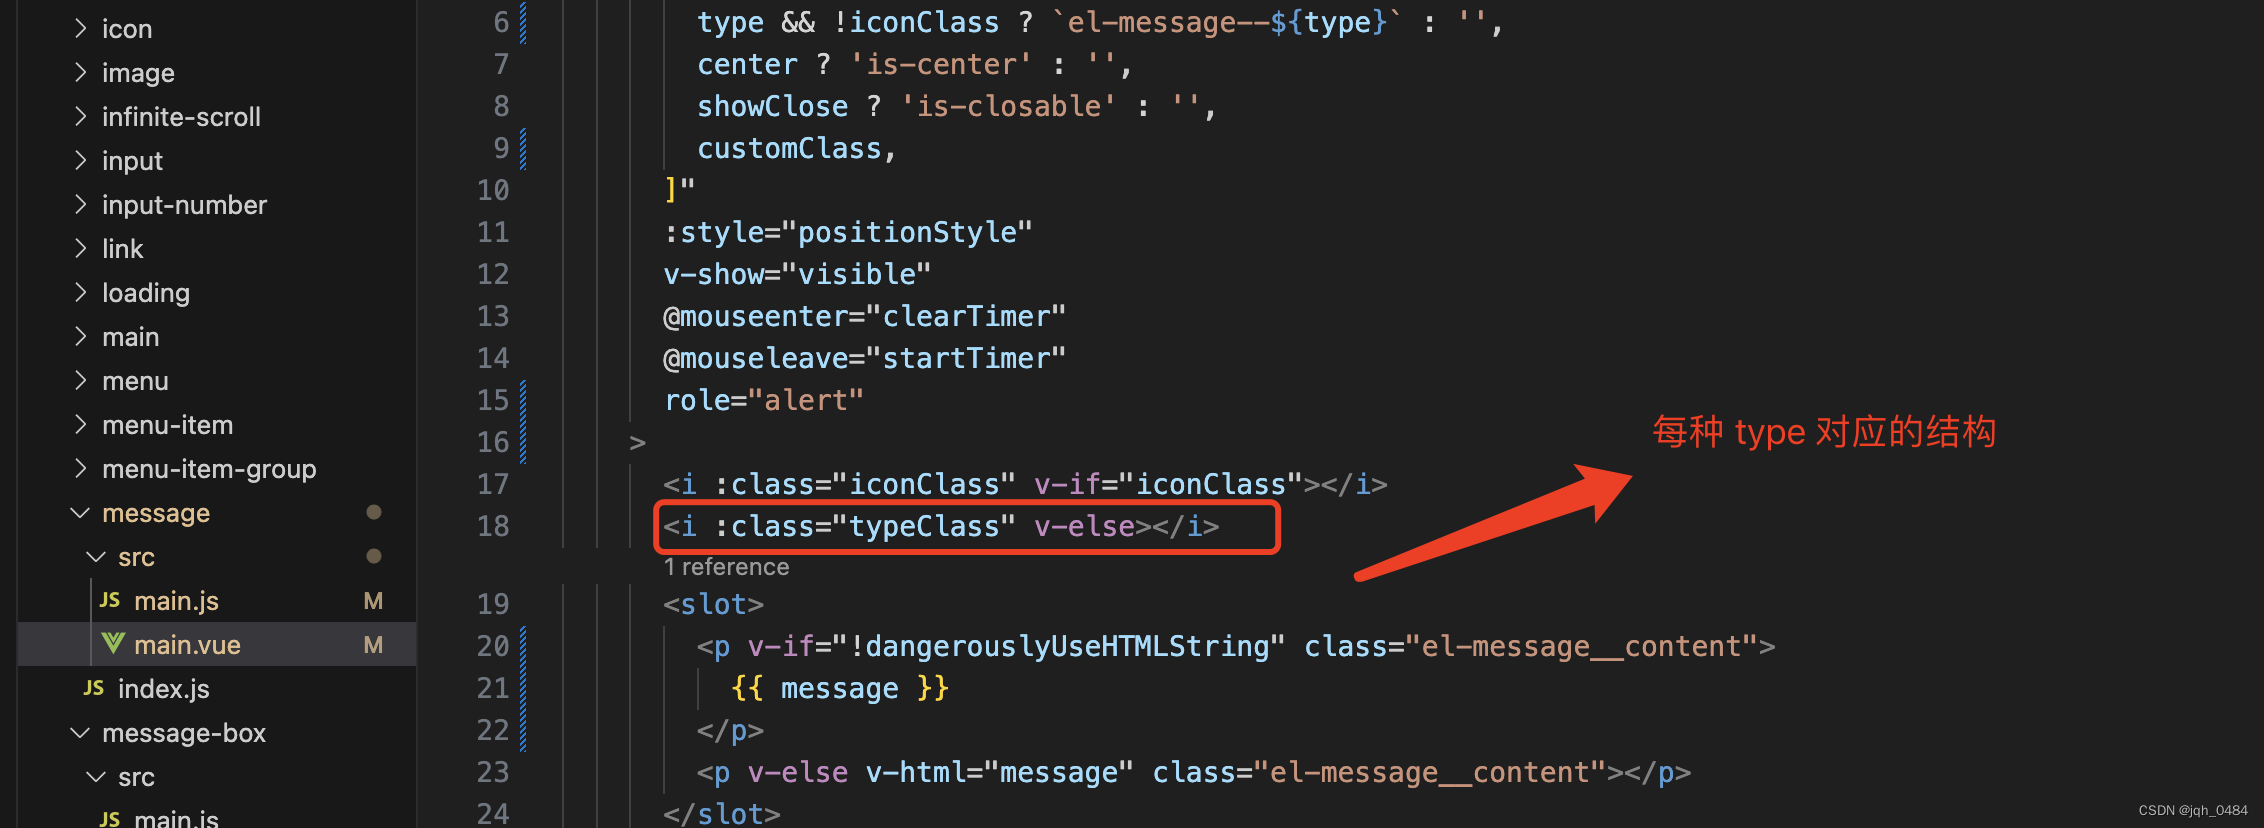
2.3 iconClass 属性,自定义图标的类名,会覆盖 type,类型 string,无默认值。


2.4 dangerouslyUseHTMLString 属性,是否将 message 属性作为 HTML 片段处理,类型 boolean,默认 false。


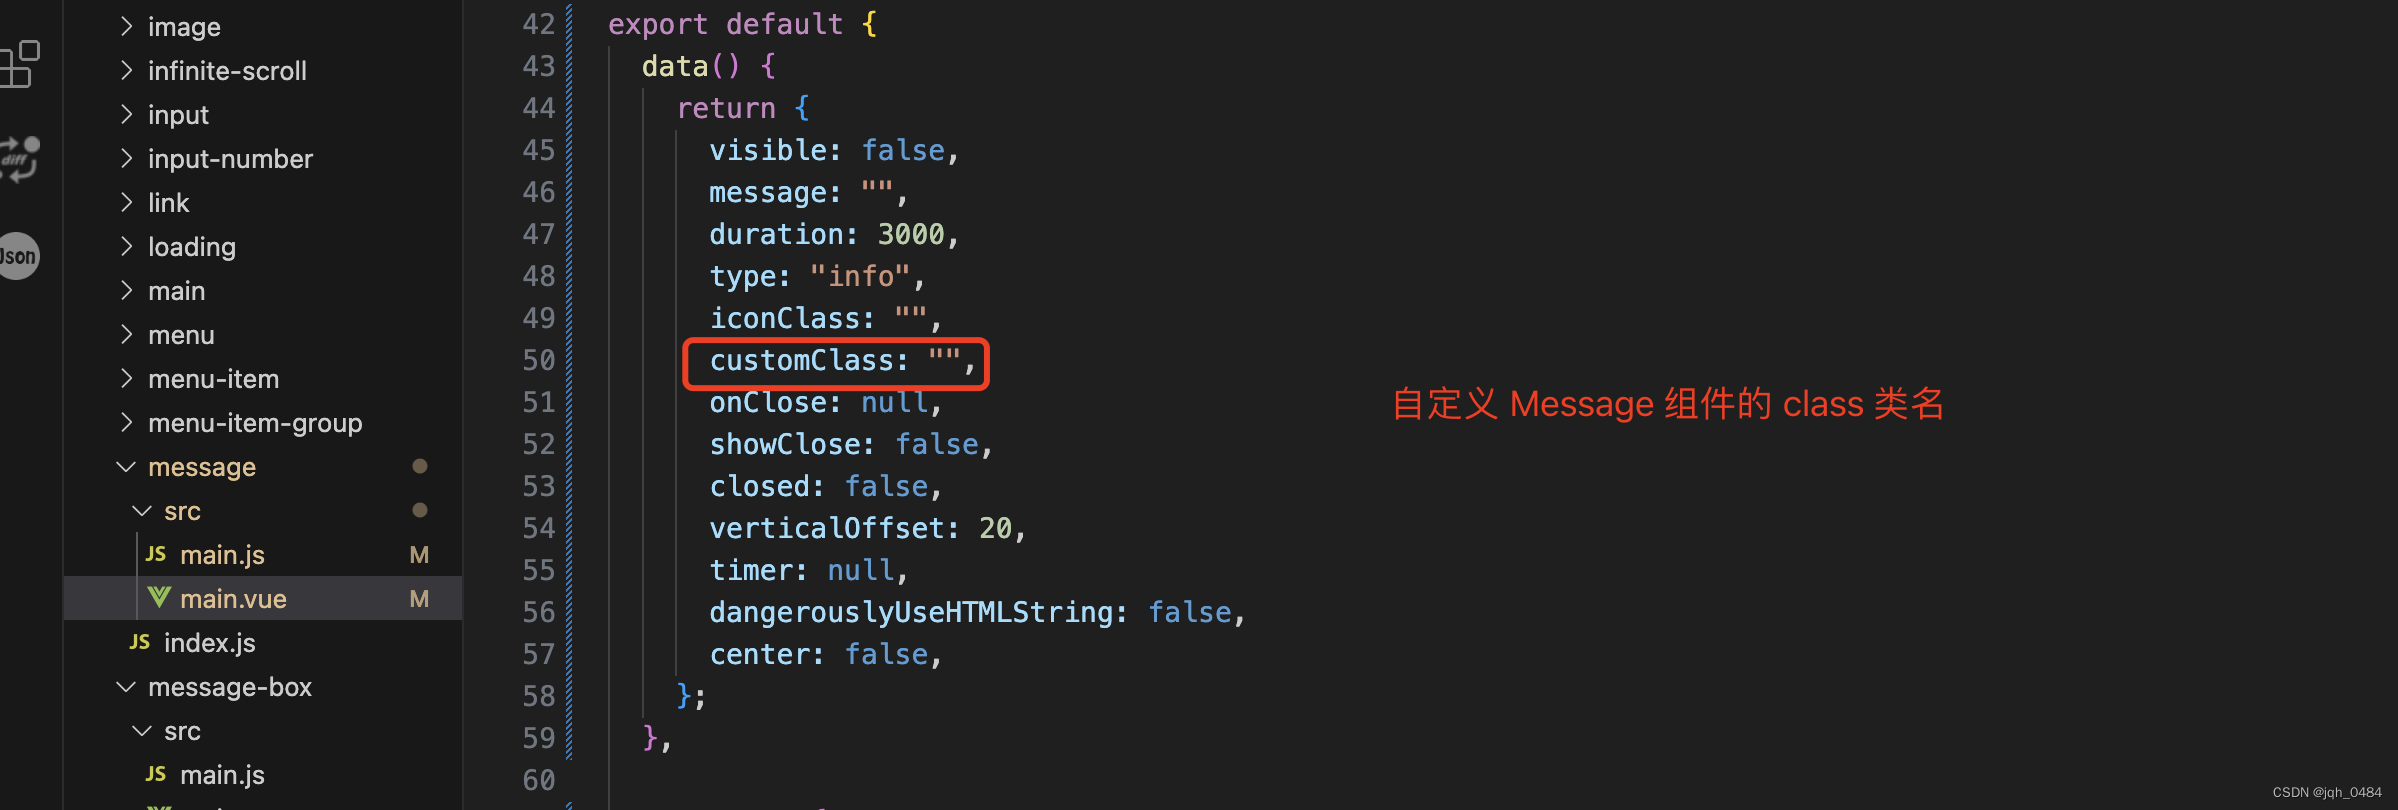
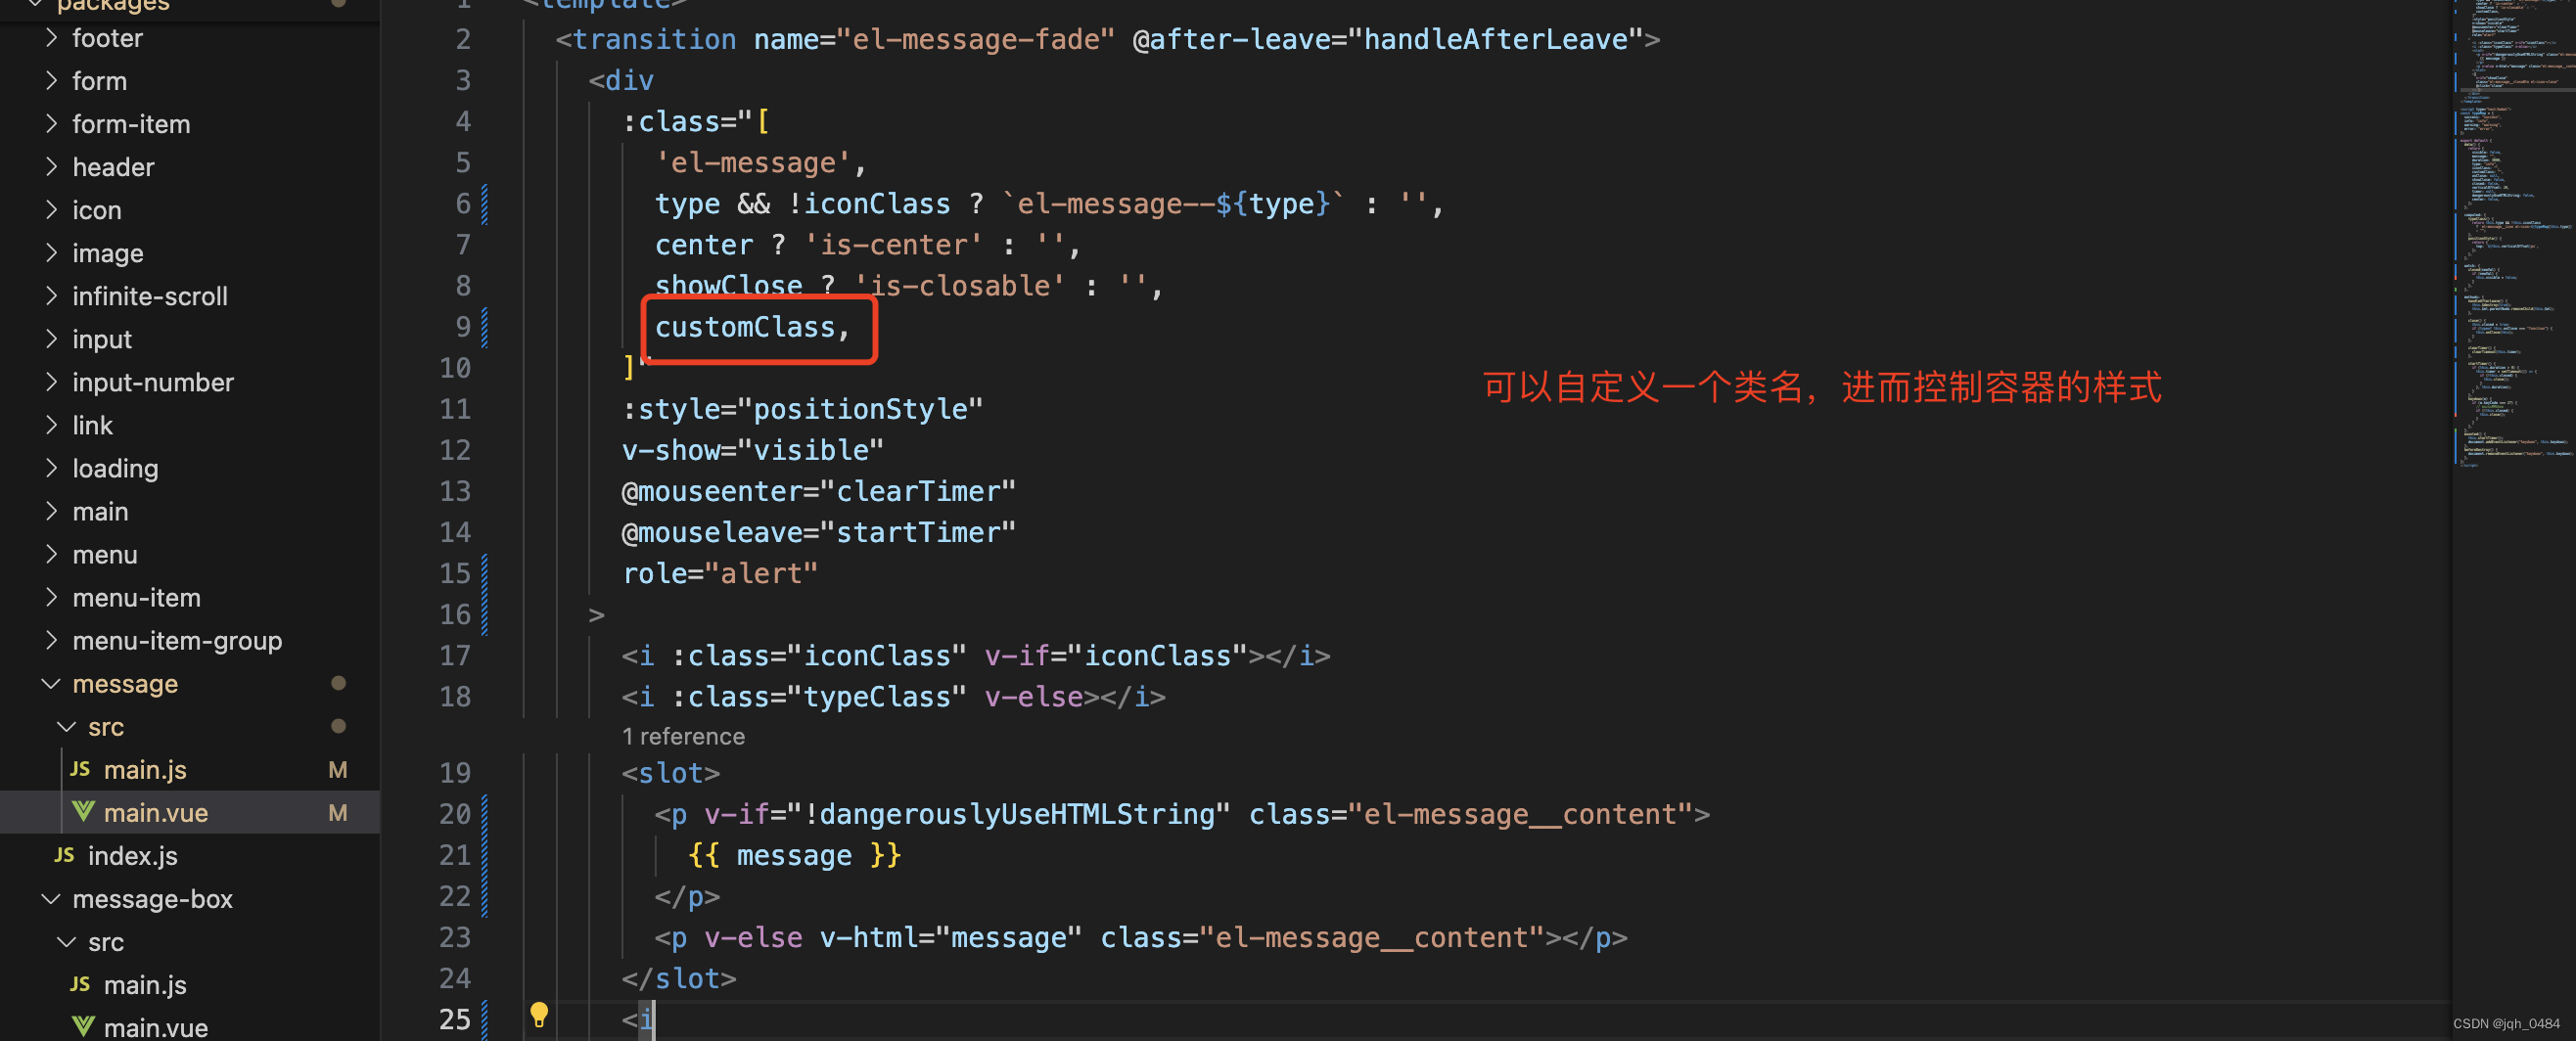
2.5 customClass 属性,自定义类名,类型 string,无默认值。
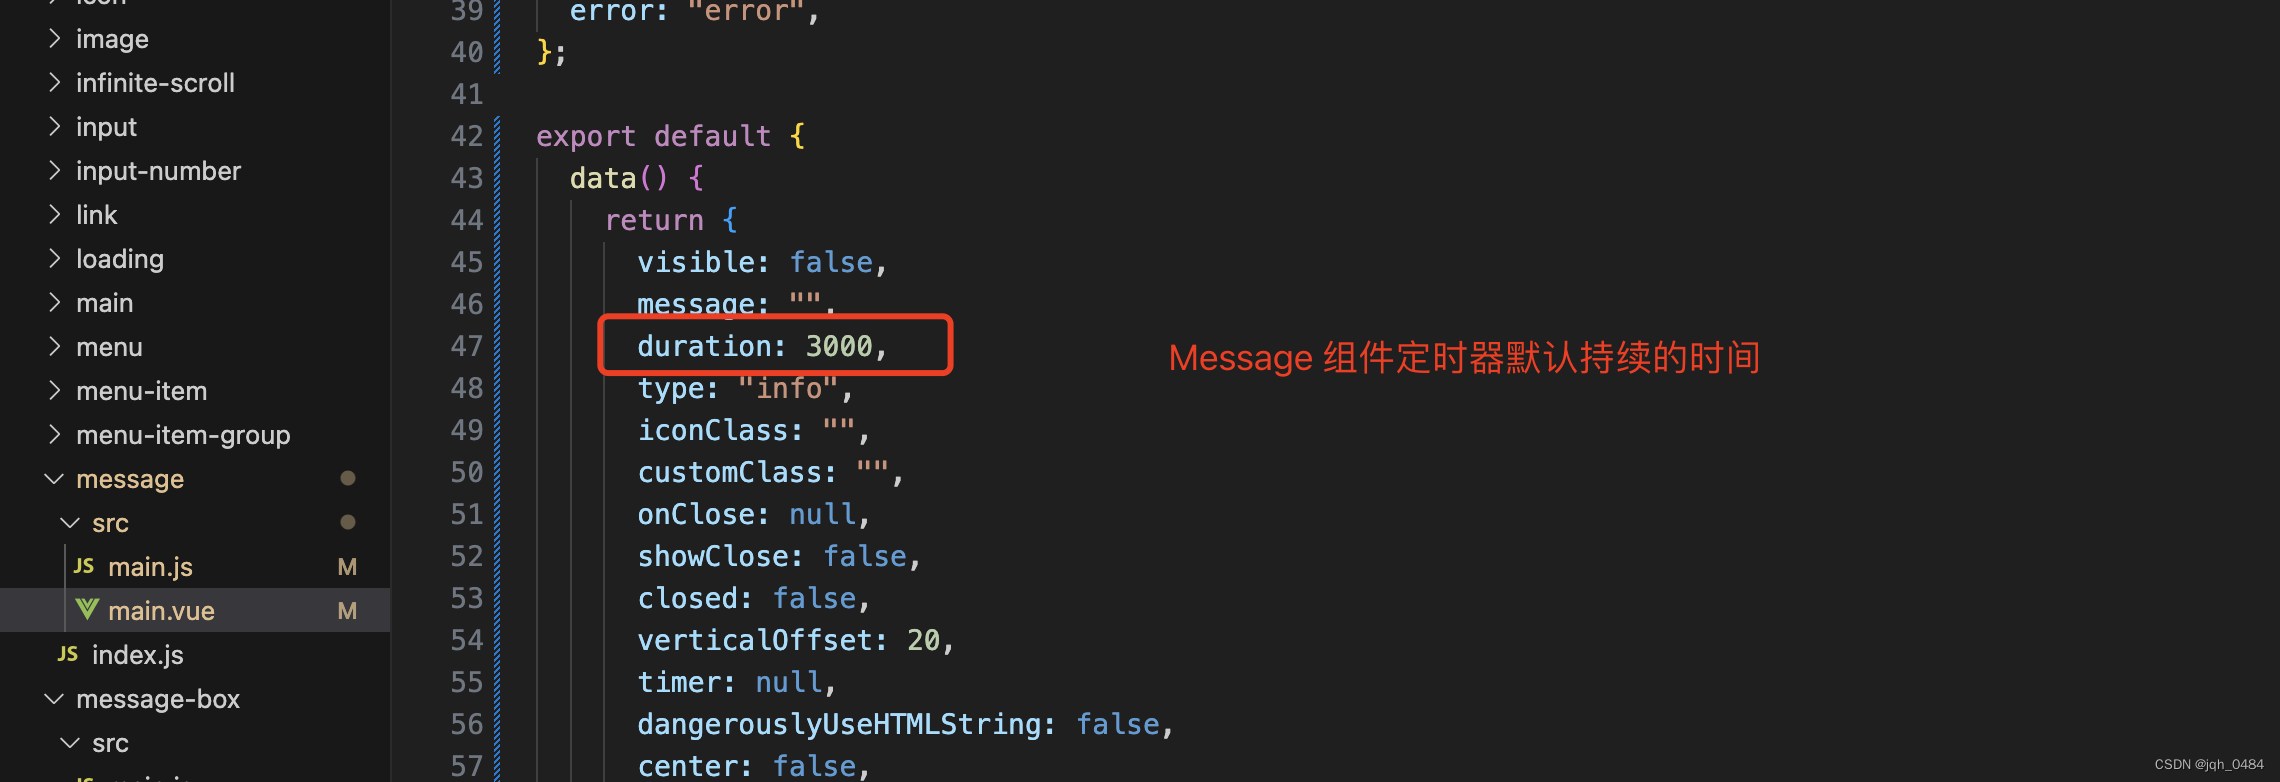
2.6 duration 属性,显示时间, 毫秒。设为 0 则不会自动关闭,类型 boolean,默认 false。

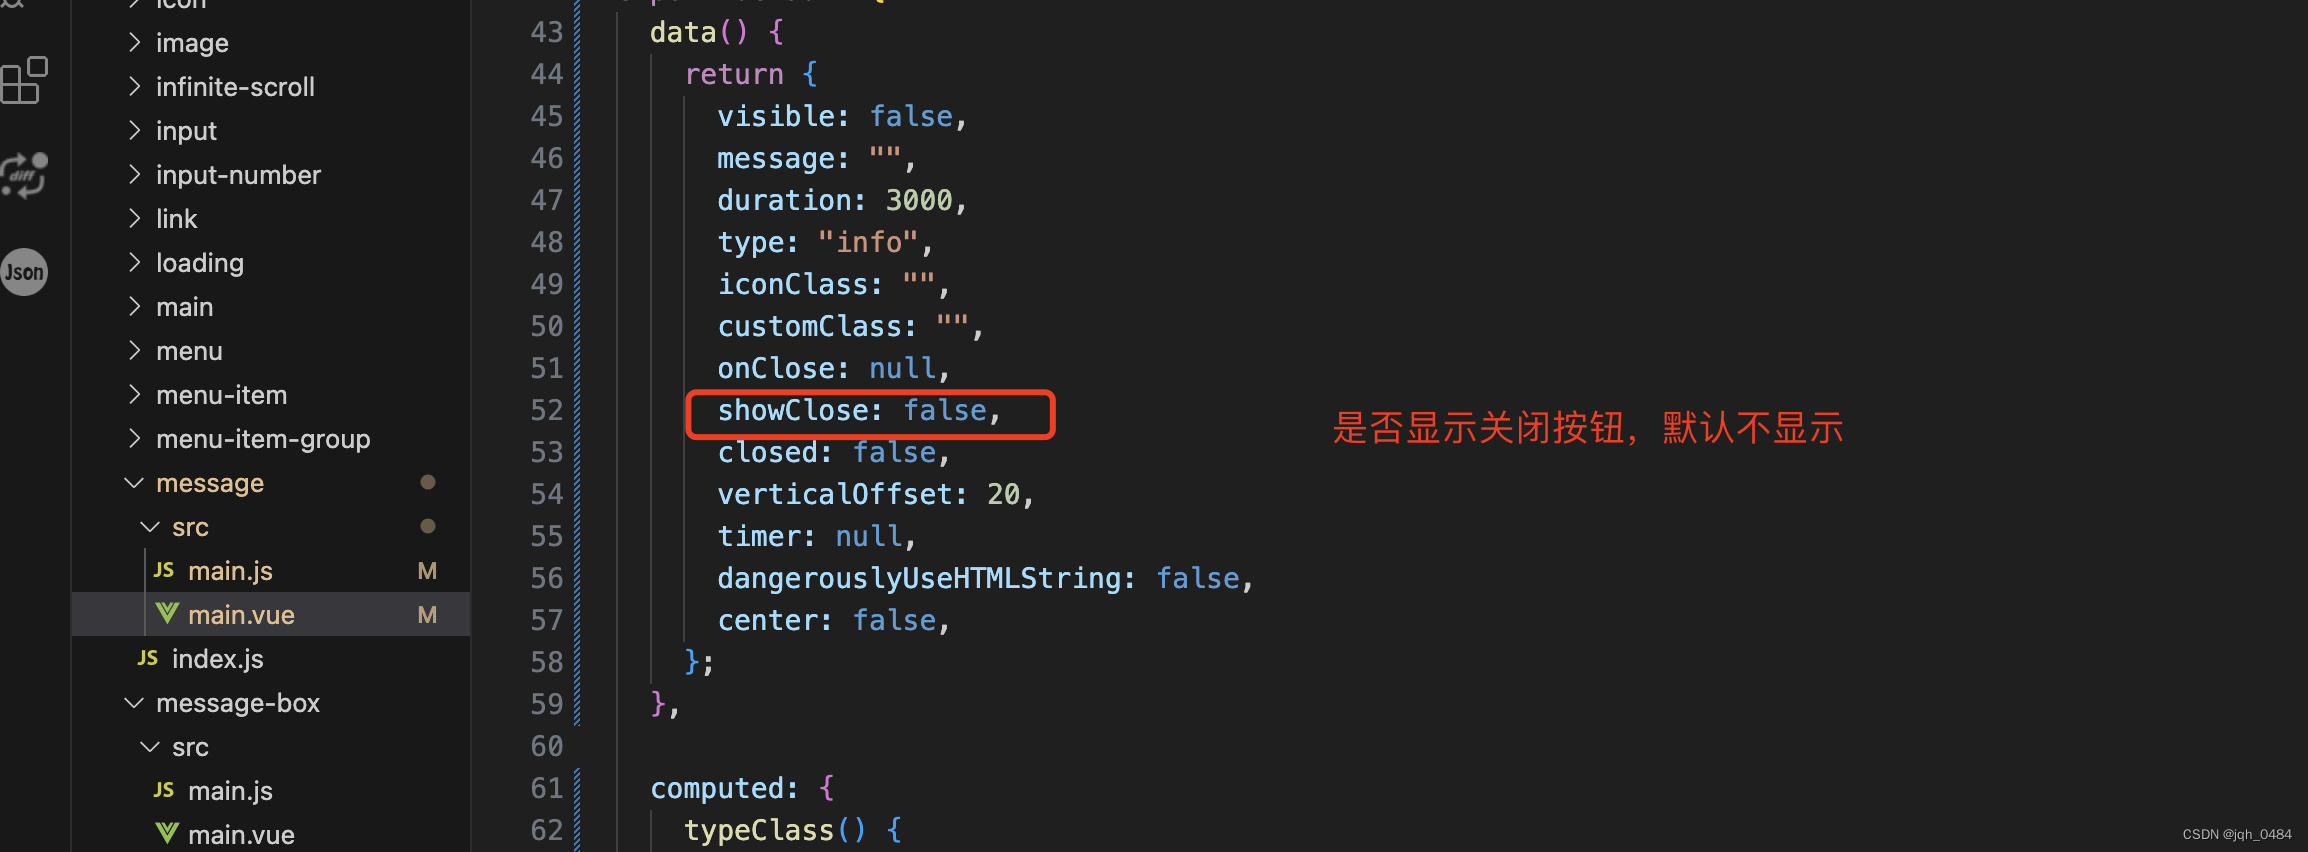
2.7 showClose 属性,是否显示关闭按钮,类型 boolean,默认 false。


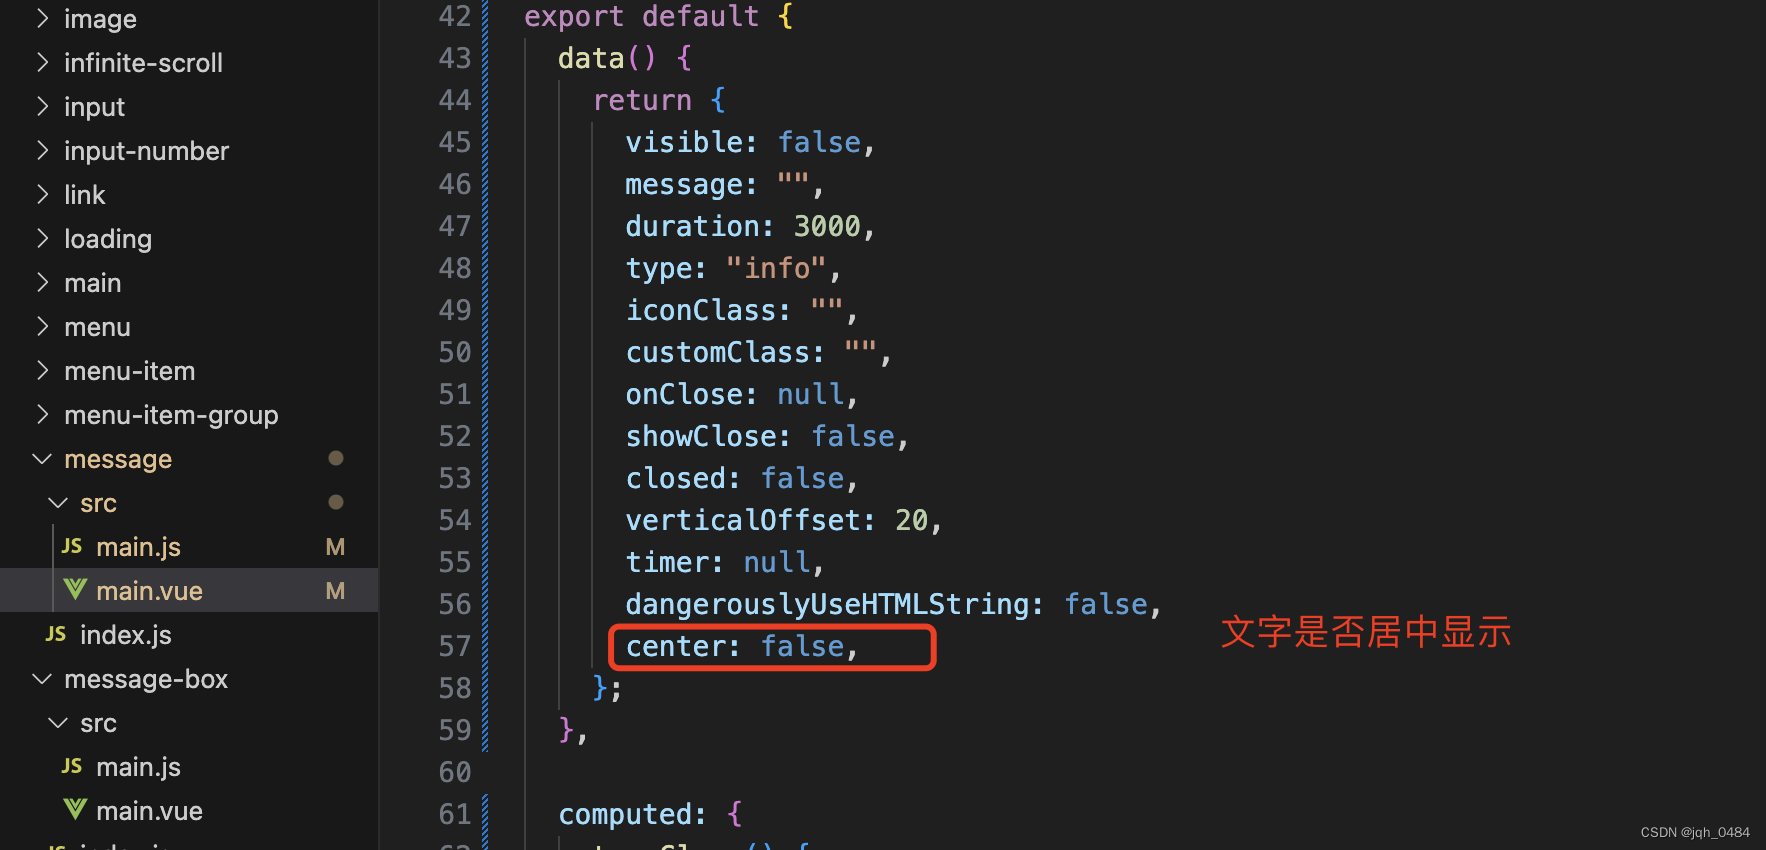
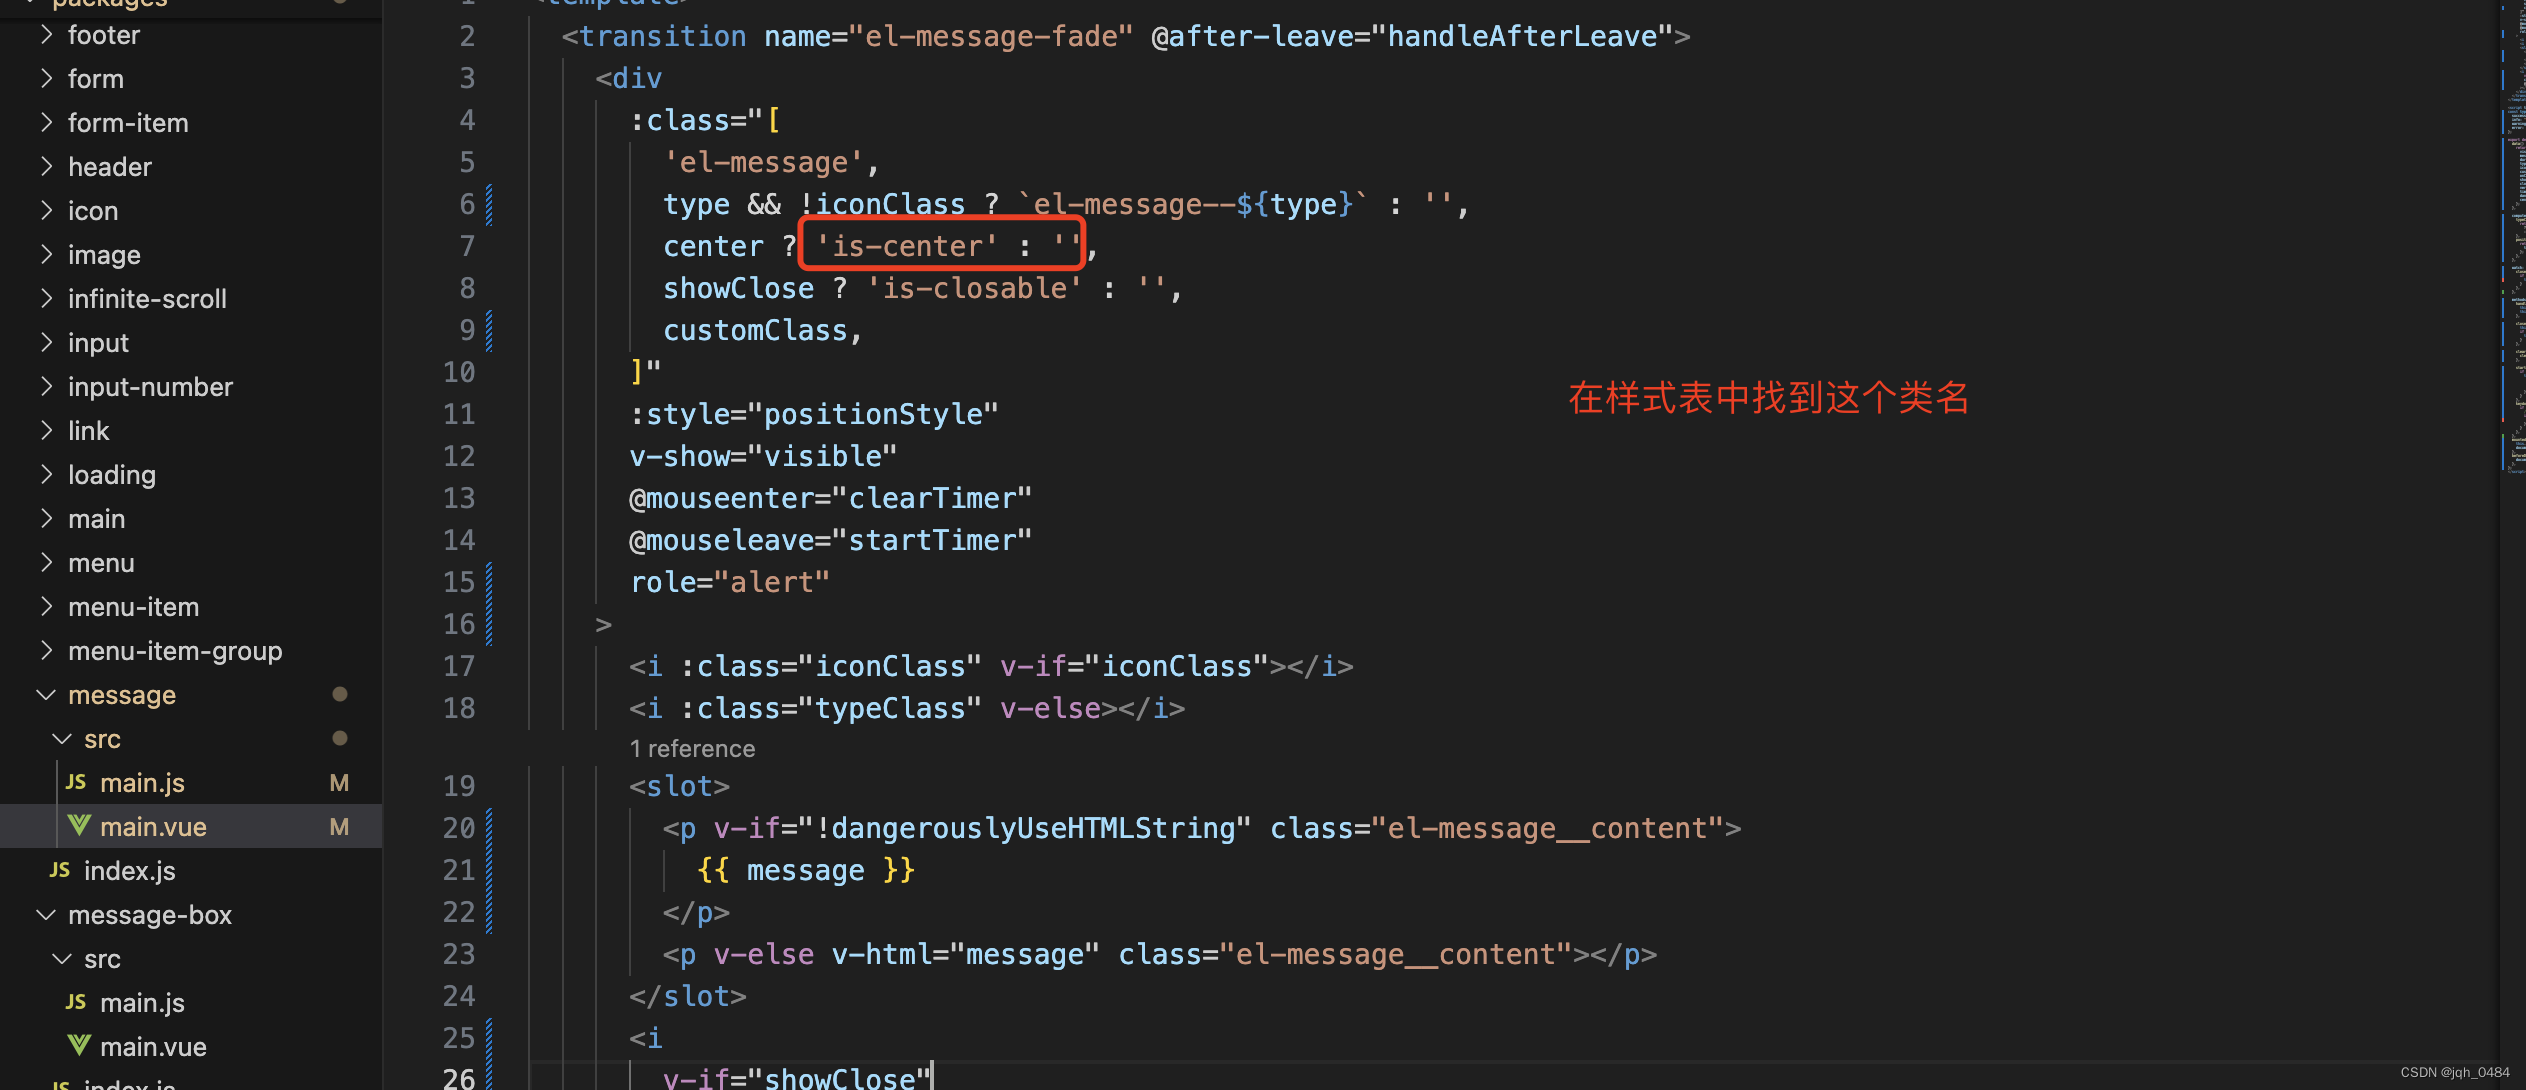
2.8 center 属性,文字是否居中,类型 boolean,默认 false。

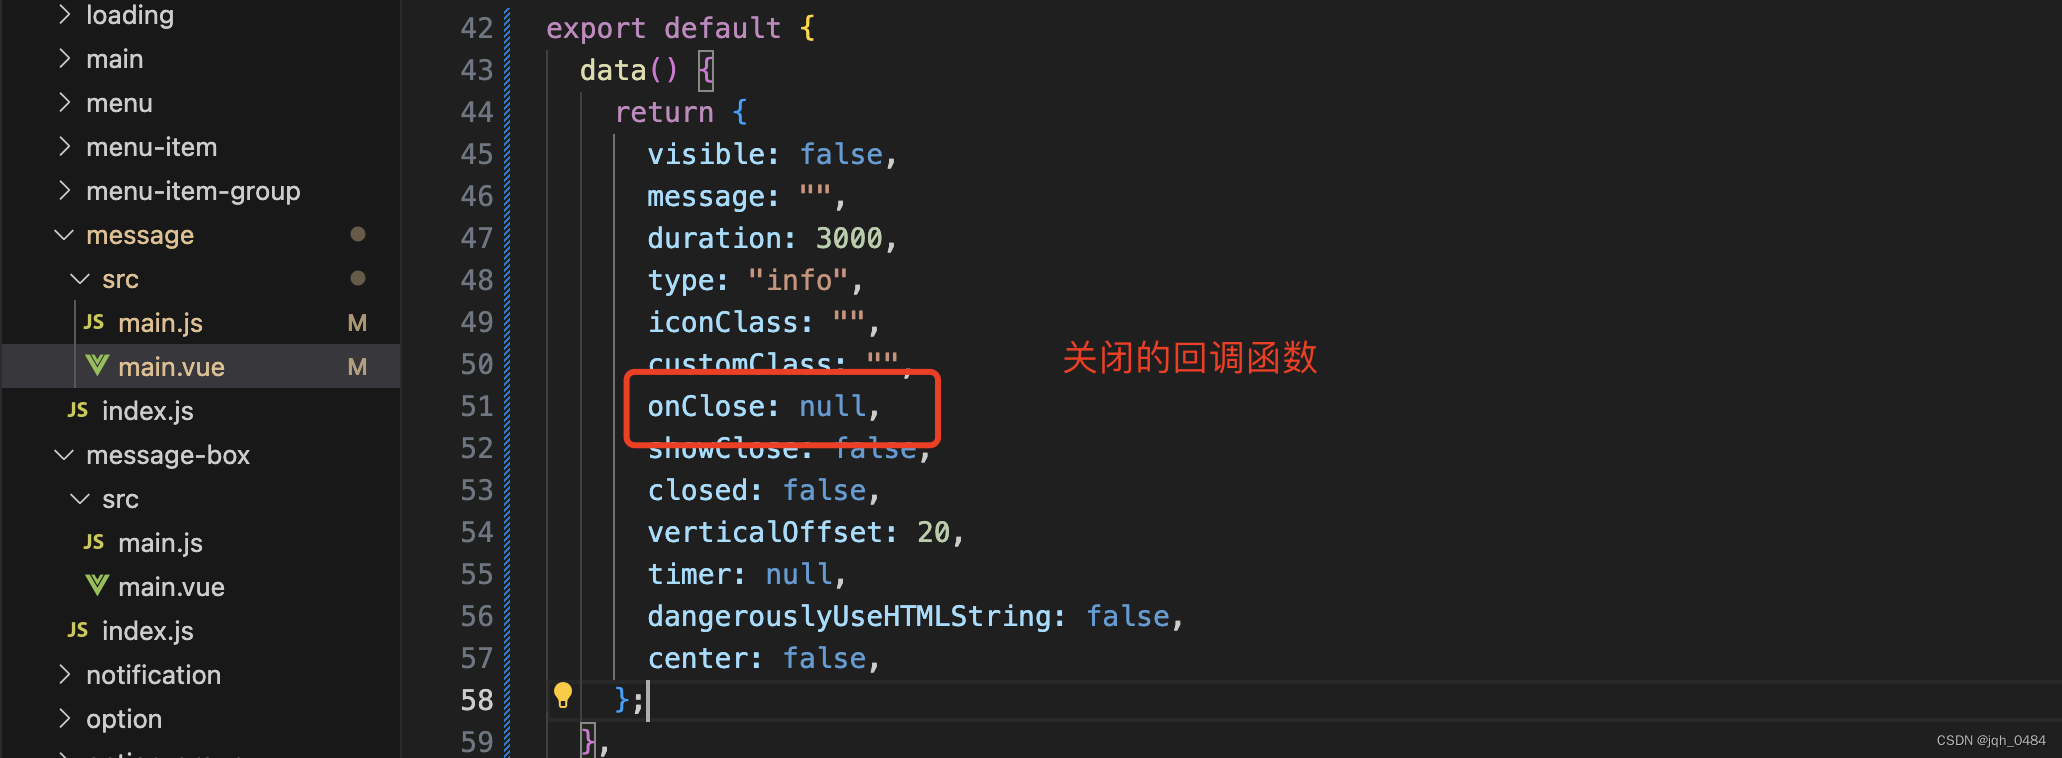
2.9 onClose 方法,关闭时的回调函数, 参数为被关闭的 message 实例,类型 function,无默认值。


2.10 offset 属性,Message 距离窗口顶部的偏移量,类型 number,默认 20。
三、message 组件的方法
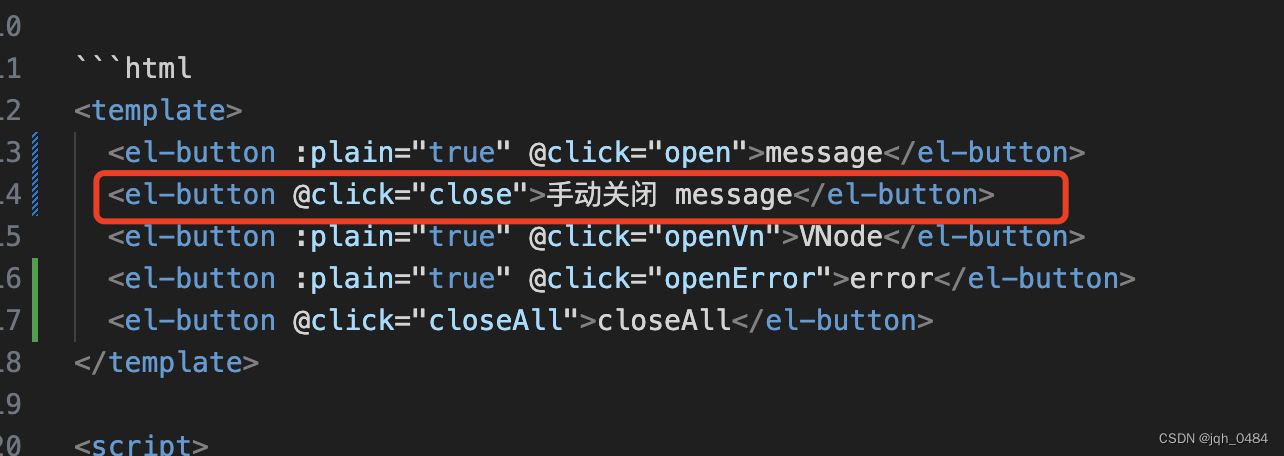
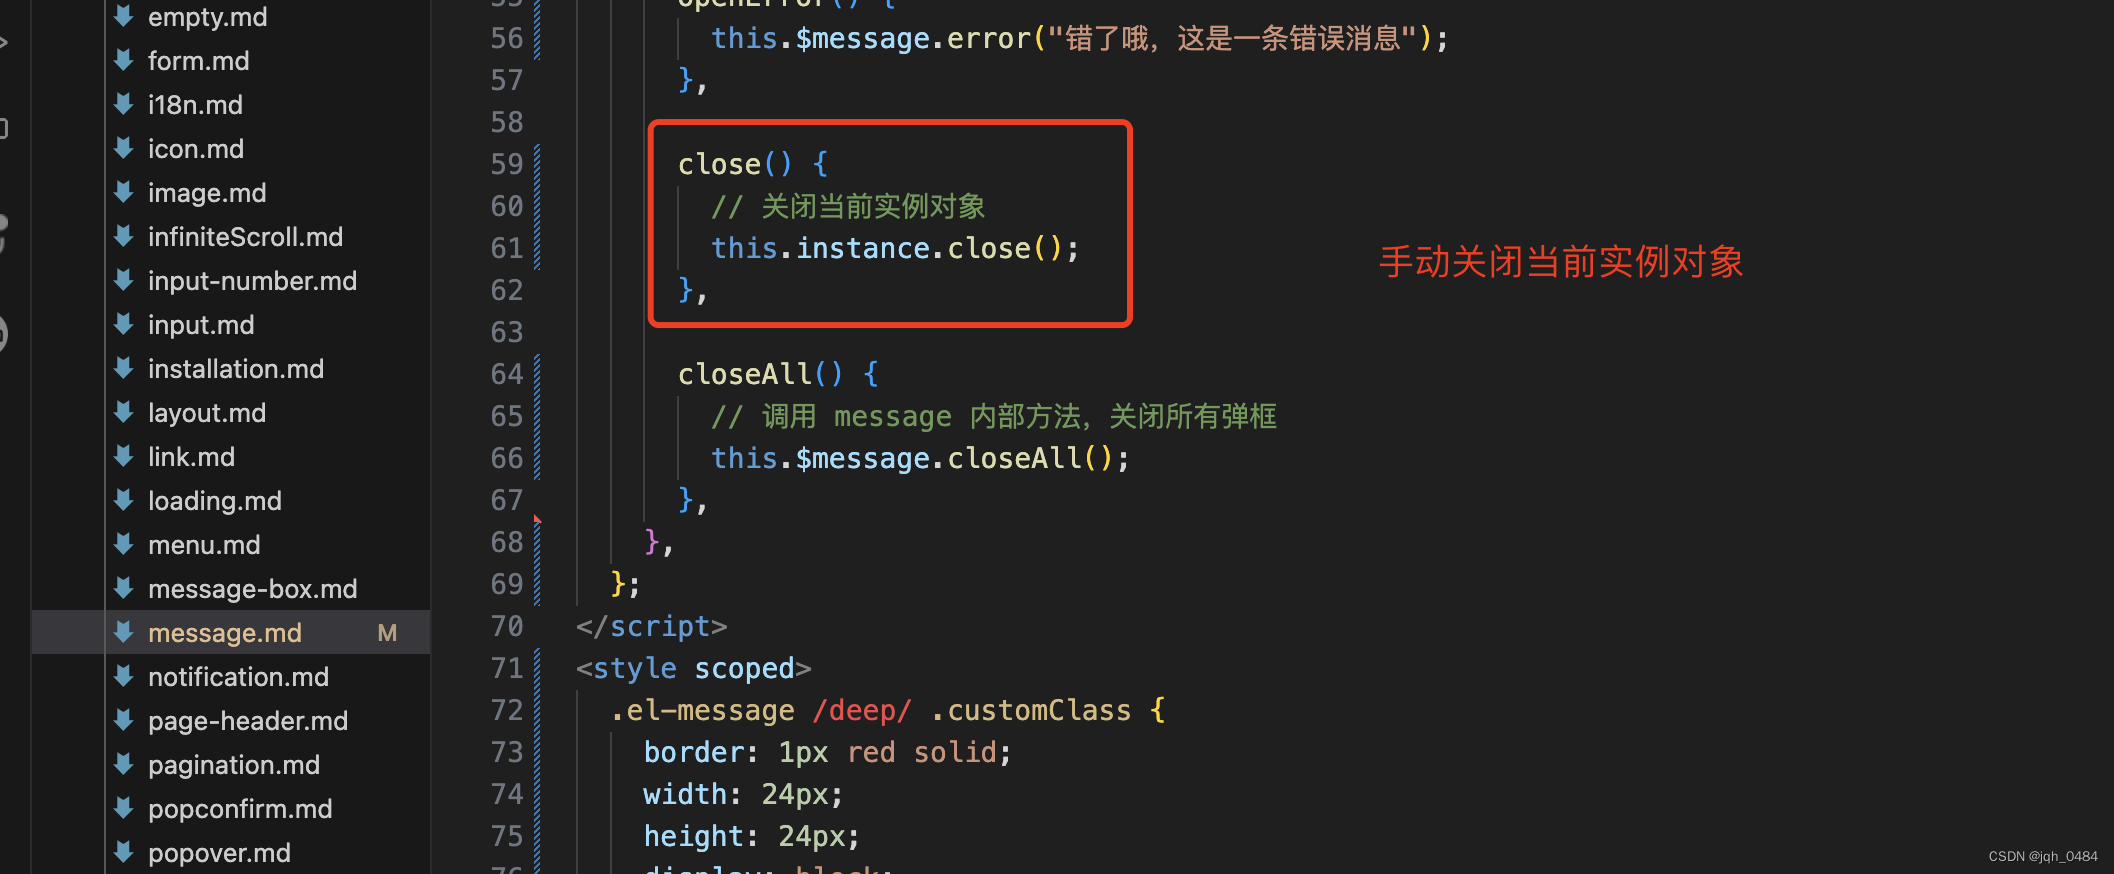
3.1 close 关闭当前的 Message。


close 方法使用的代码:

展示效果如下:

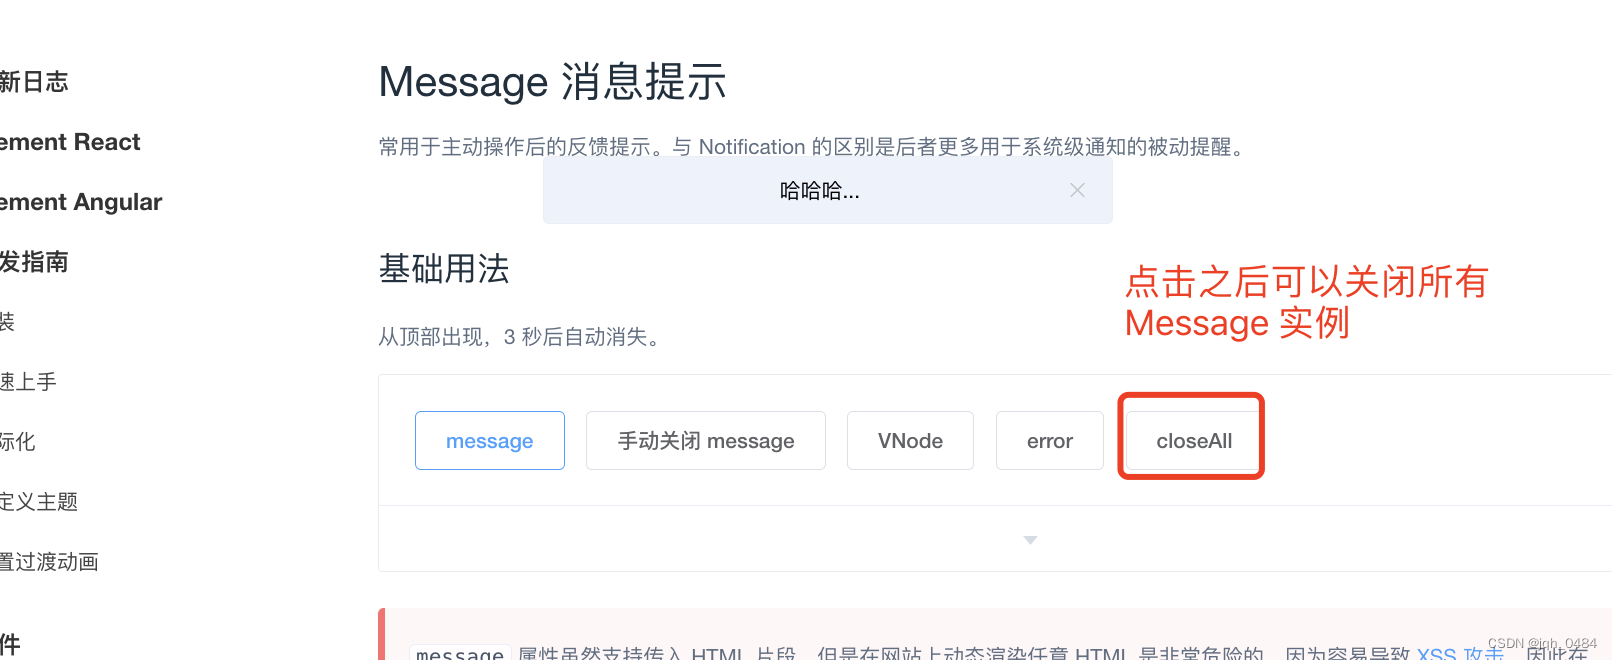
3.2 closeAll 手动关闭所有 Message。
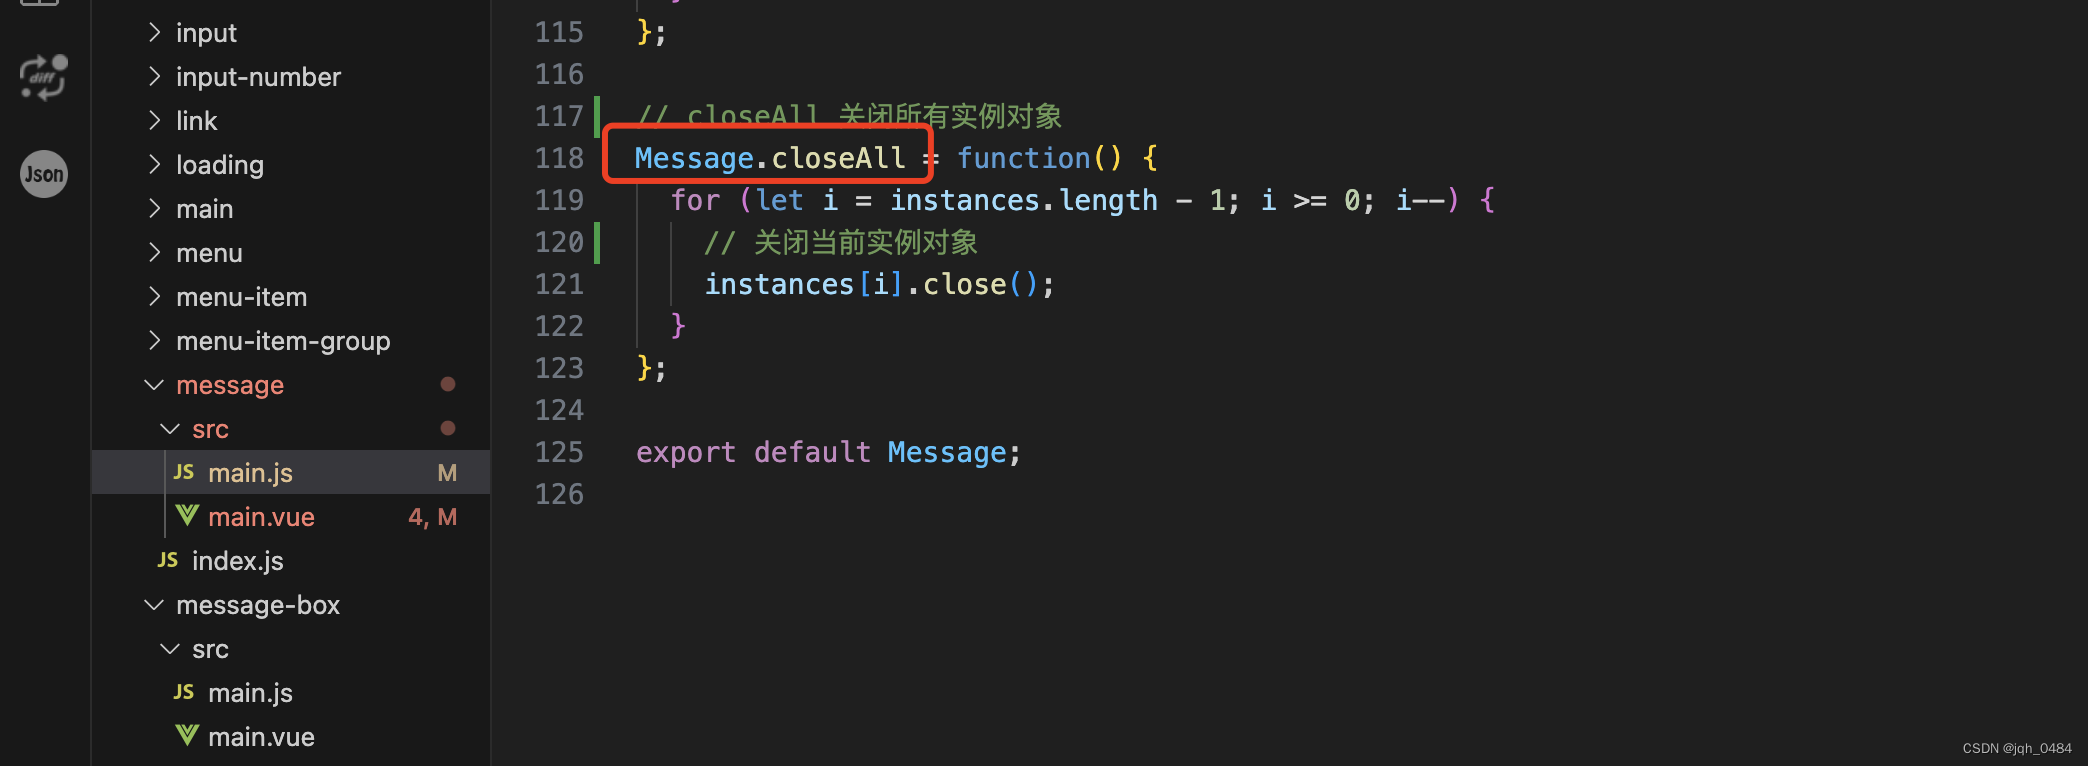
方法使用的代码如下:

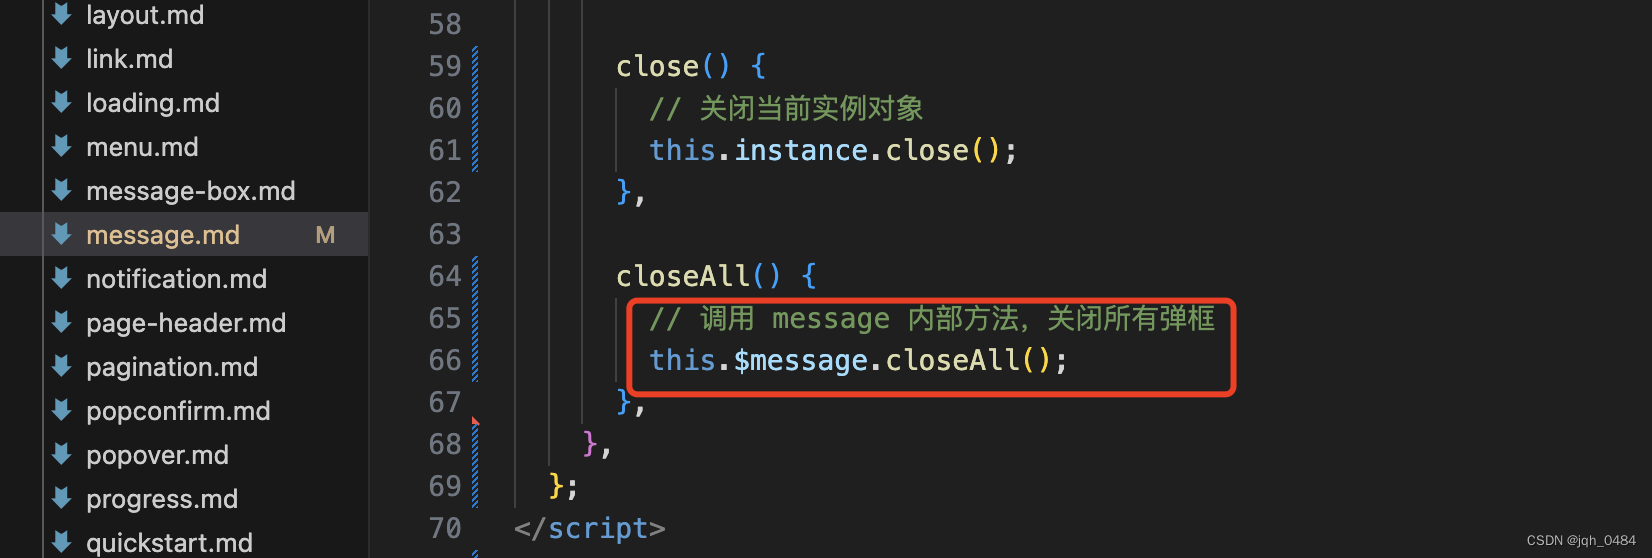
展示效果如下:
四、个人总结
第一次研究动态创建组件实例,有两个心得:
4.1 和模板中静态声明组件略有不同,核心点是使用 Vue.extend,创建可复用组件构造器。
4.2 动态创建组件灵活性高,主要表现在它是编程式的,可以很方便的进行手动调用,而模板创建的组件则更易于理解和维护,各有不同的使用场景。
