ubuntu22.04@Jetson Orin Nano安装&配置VNC服务端
- 1. 源由
- 2. 环境
- 3. VNC安装
- Step 1: update and install xserver-xorg-video-dummy
- Step 2: Create config for dummy virtual display
- Step3: Add the following contents in xorg.conf.dummy
- Step 4: Update /etc/X11/xorg.conf
- Step 5: Reboot the board
- 4. 效果
- 5. 参考资料
1. 源由
最近准备出差,带着Jetson Orin Nano配套的裸奔屏幕,非常不方便。所以打算采用Headless的方式带着主机跑。
要做到这样,当然需要最基本的就是远程登录ssh/vnc。可惜当不接物理屏幕的时候,远程VNC只能看到一个logo。
好吧,谁叫咱们技术出生,搞定了,希望永远别来折腾了,记录下来。
2. 环境
$ uname -a
Linux daniel-nvidia 5.15.122-tegra #1 SMP PREEMPT Mon Dec 18 21:24:25 PST 2023 aarch64 aarch64 aarch64 GNU/Linux$ lsb_release -a
No LSB modules are available.
Distributor ID: Ubuntu
Description:    Ubuntu 22.04.4 LTS
Release:        22.04
Codename:       jammy
3. VNC安装
Step 1: update and install xserver-xorg-video-dummy
$ sudo apt update
$ sudo apt install xserver-xorg-video-dummy
Step 2: Create config for dummy virtual display
$ cd /etc/X11
$ sudo vim xorg.conf.dummy
Step3: Add the following contents in xorg.conf.dummy
Note:Resolution 19201080 as example*
Section "Device"Identifier "DummyDevice"Driver "dummy"VideoRam 256000
EndSectionSection "Screen"Identifier "DummyScreen"Device "DummyDevice"Monitor "DummyMonitor"DefaultDepth 24SubSection "Display"Depth 24Modes "1920x1080_60.0"EndSubSection
EndSectionSection "Monitor"Identifier "DummyMonitor"HorizSync 30-70VertRefresh 50-75ModeLine "1920x1080" 148.50 1920 2448 2492 2640 1080 1084 1089 1125 +Hsync +Vsync
EndSection
Step 4: Update /etc/X11/xorg.conf
$ sudo cp xorg.conf xorg.conf.backup
$ sudo cp xorg.conf.dummy xorg.conf
Step 5: Reboot the board
$ sudo reboot
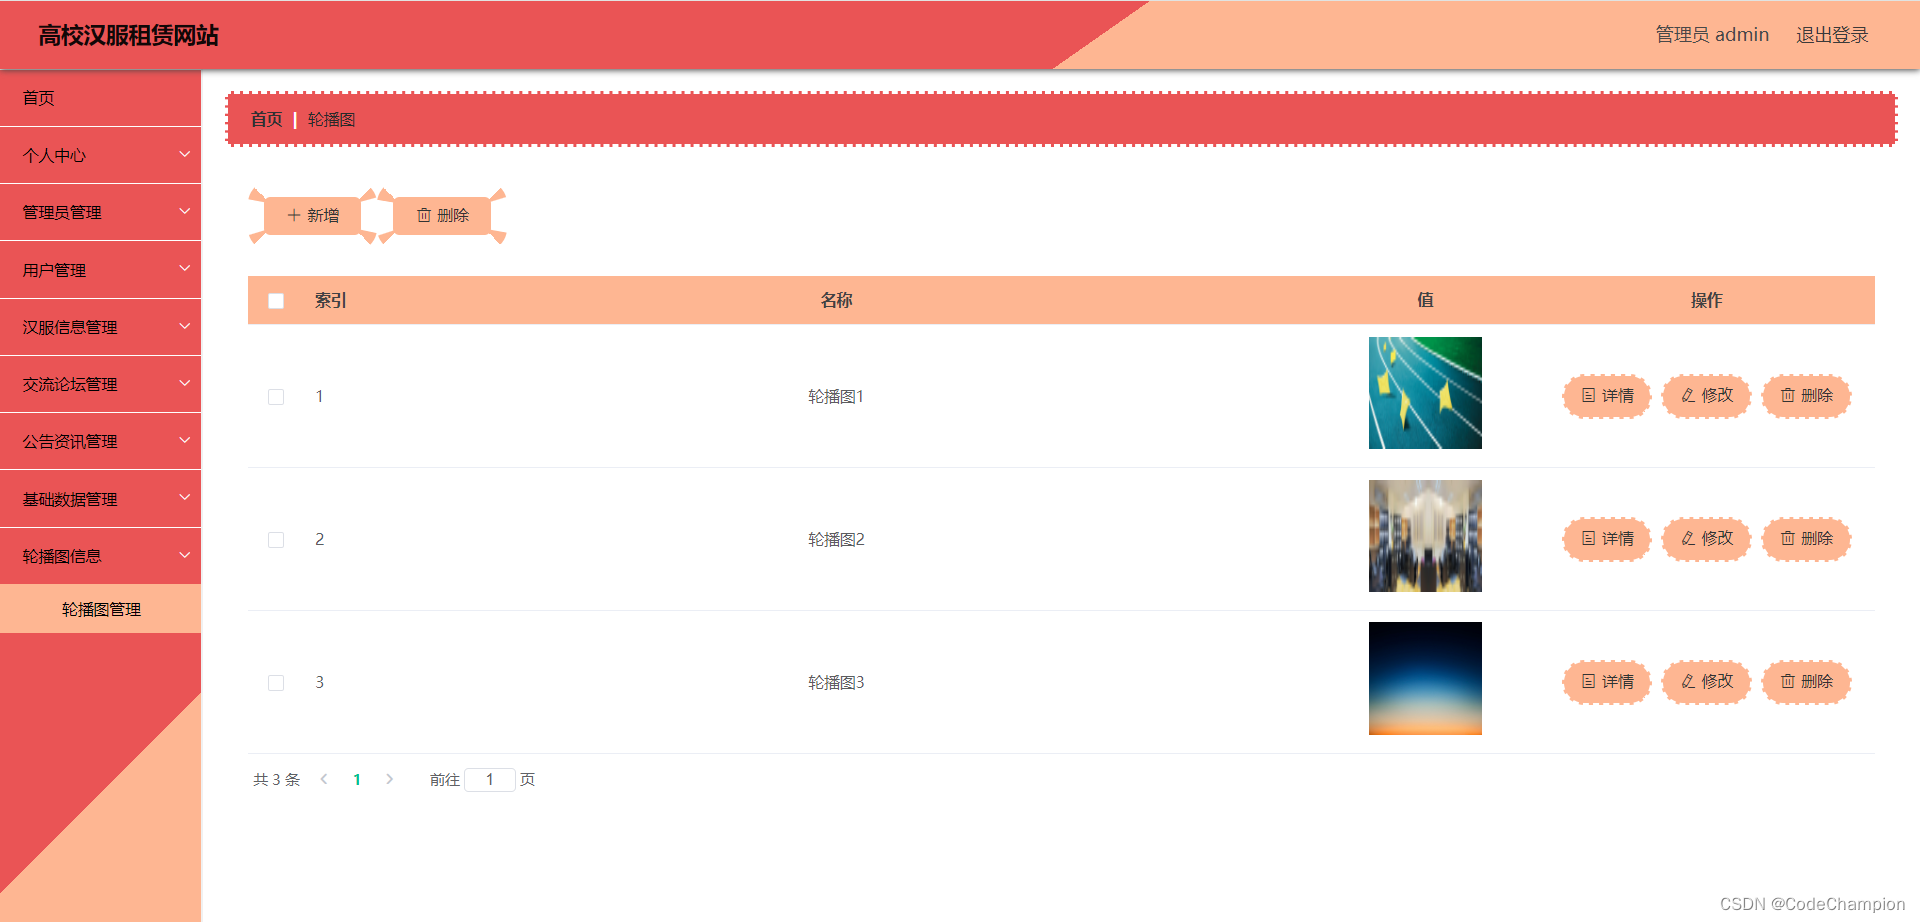
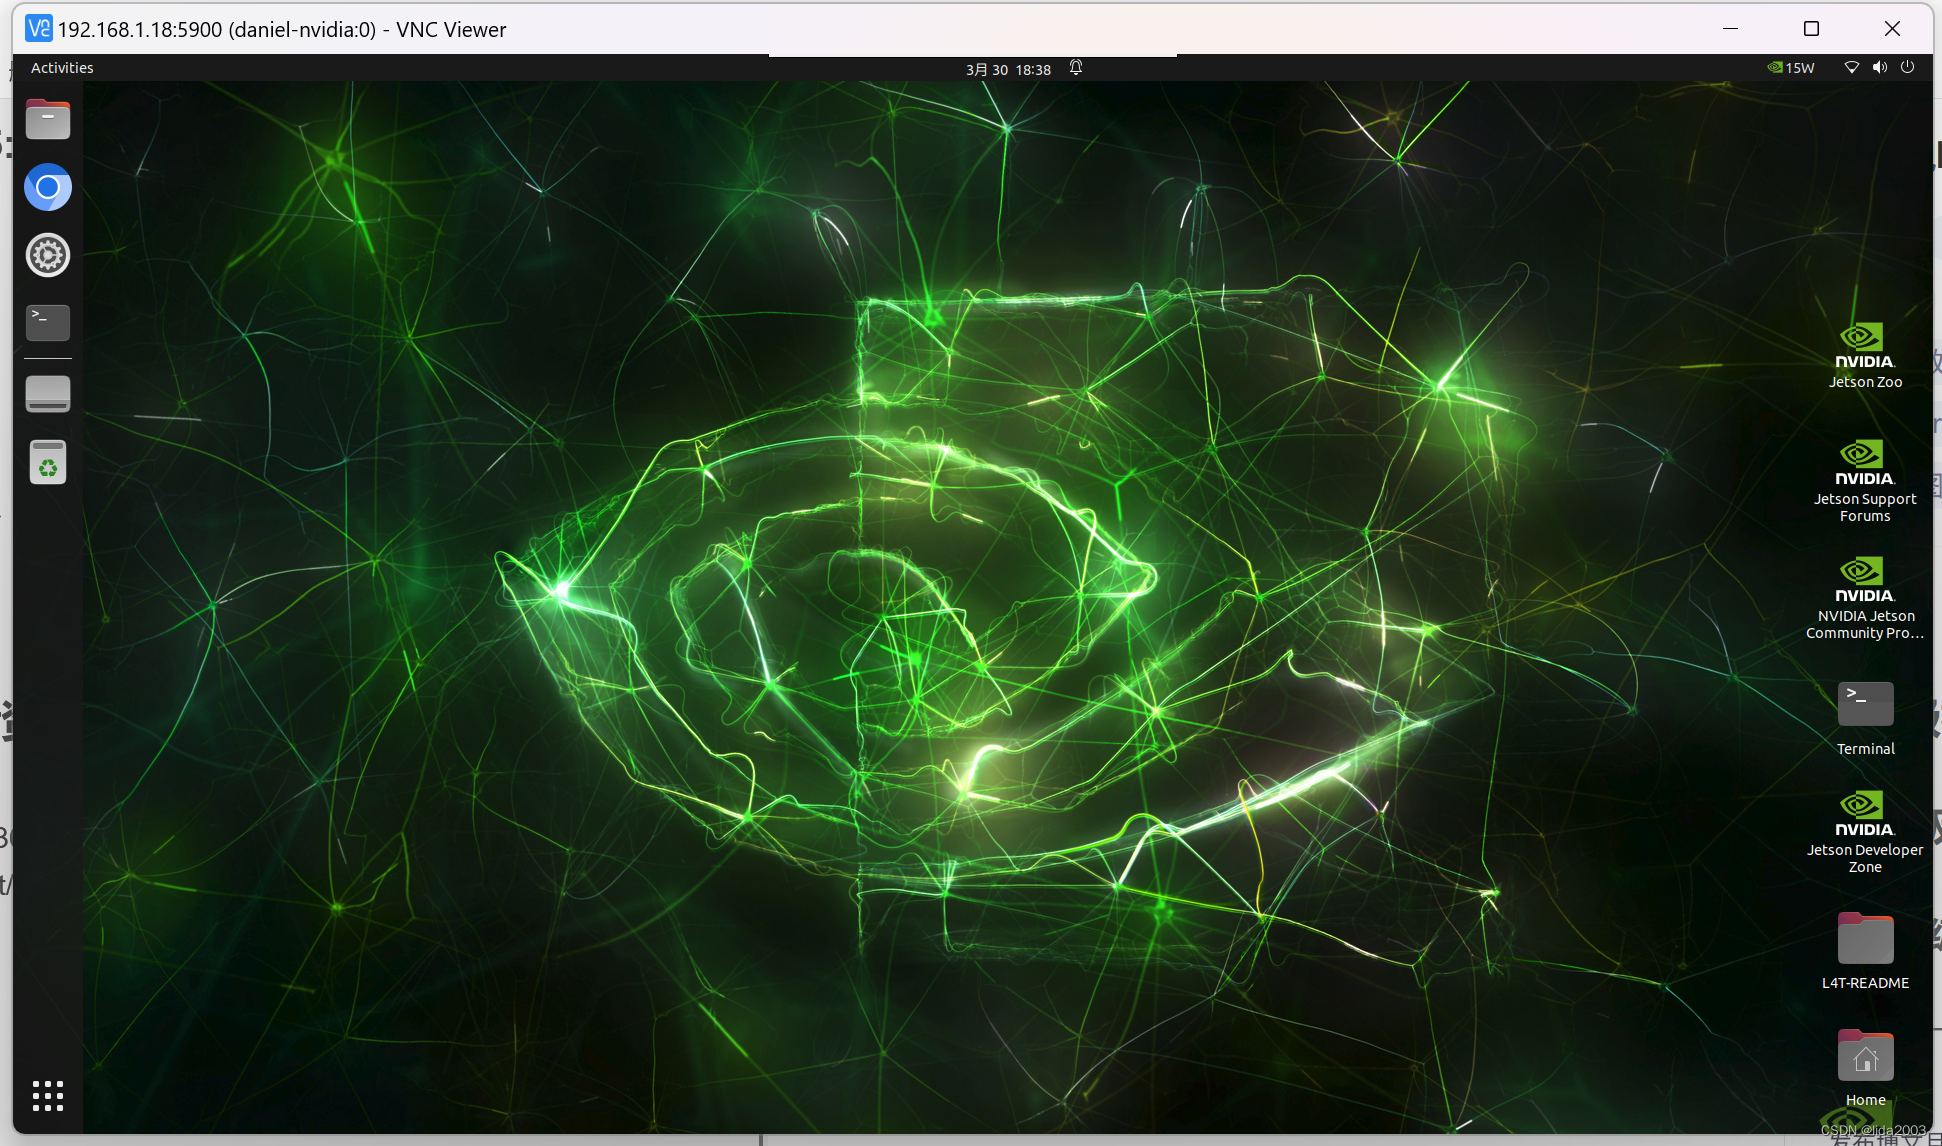
4. 效果
5. 参考资料
【1】Linux 36.2@Jetson Orin Nano之基础环境构建

