参考
官方文档:https://docs.influxdata.com/influxdb/v2/
下载
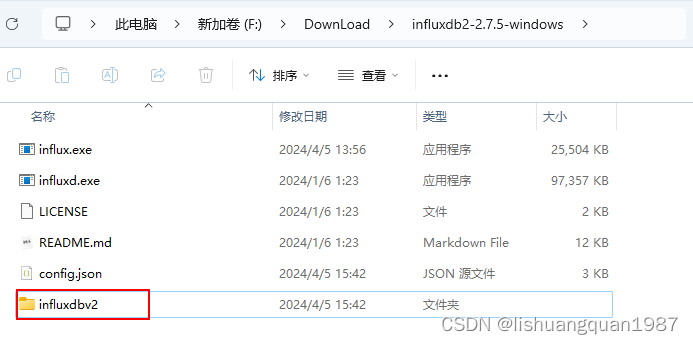
需要下载两样东西:influxd.exe和influx.exe
- influxd:influx数据库的服务端。下载地址:https://dl.influxdata.com/influxdb/releases/influxdb2-2.7.5-windows.zip
- influx:连接influx数据库用的cli工具。下载地址:https://dl.influxdata.com/influxdb/releases/influxdb2-client-2.7.3-windows-amd64.zip
下载后解压,都放到一个文件夹里:

启动
默认配置启动
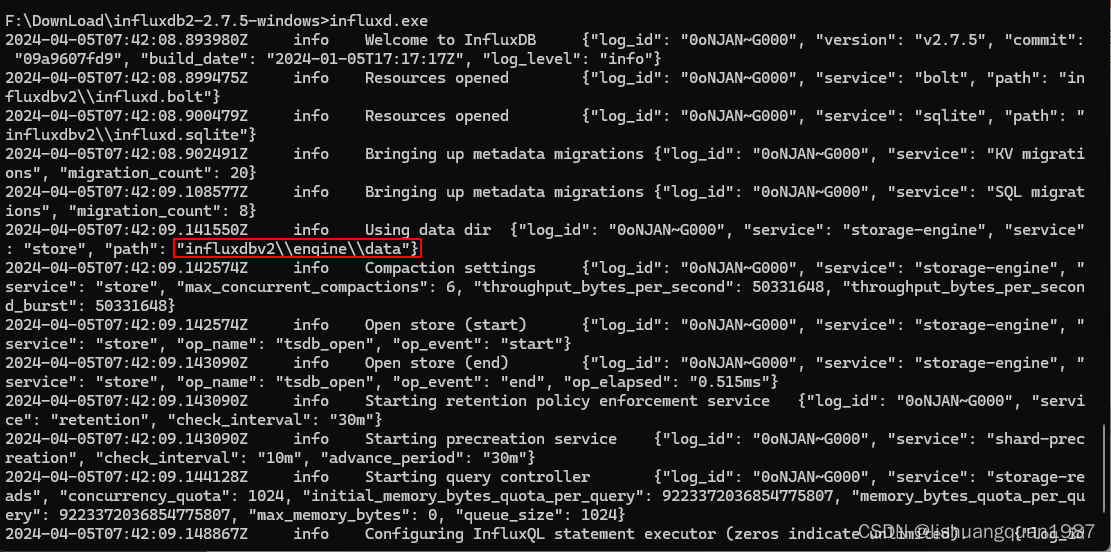
在该目录下打开命令行窗口,输入influxd.exe即可启动:
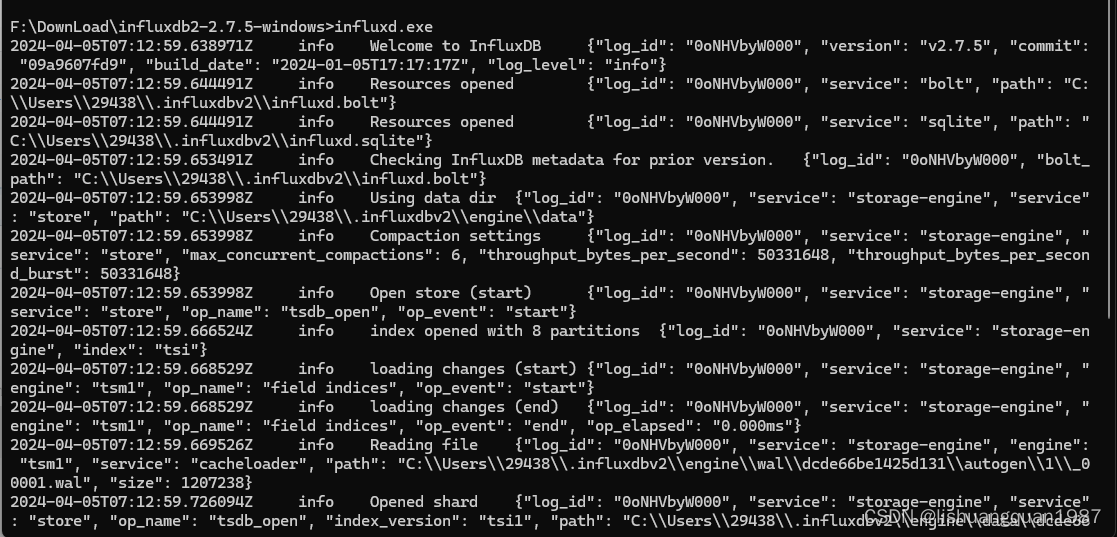
但是它使用的配置都是它默认的,存储数据的地方也是默认的(C:\Users\29438\.influxdbv2)。有时候有这个需求:电脑上想运行多个独立的InfluxDB实例,他们相互不影响,我想改成自定义的配置怎么办?
自定义配置启动
自定义配置步骤:
- 网页设置API TOKEN
influx.exe使用API TOKEN设置连接- 导出配置
- 修改相关路径,保存配置
- 重新以新配置启动
influxd.exe
初步设置使用默认配置启动的influxd
打开网址:http://localhost:8086
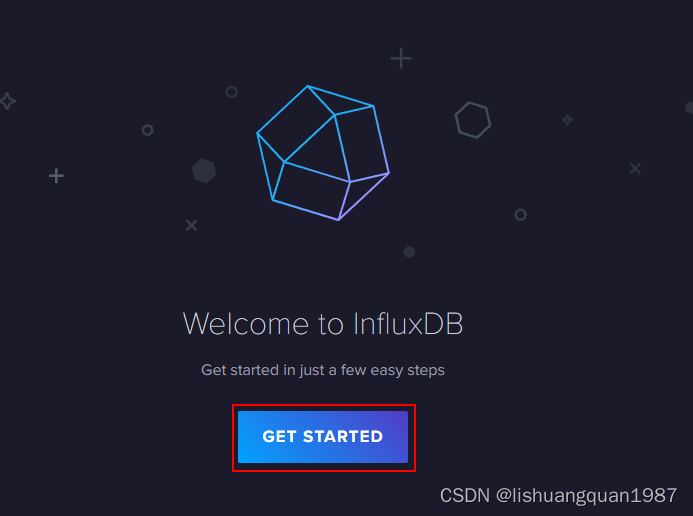
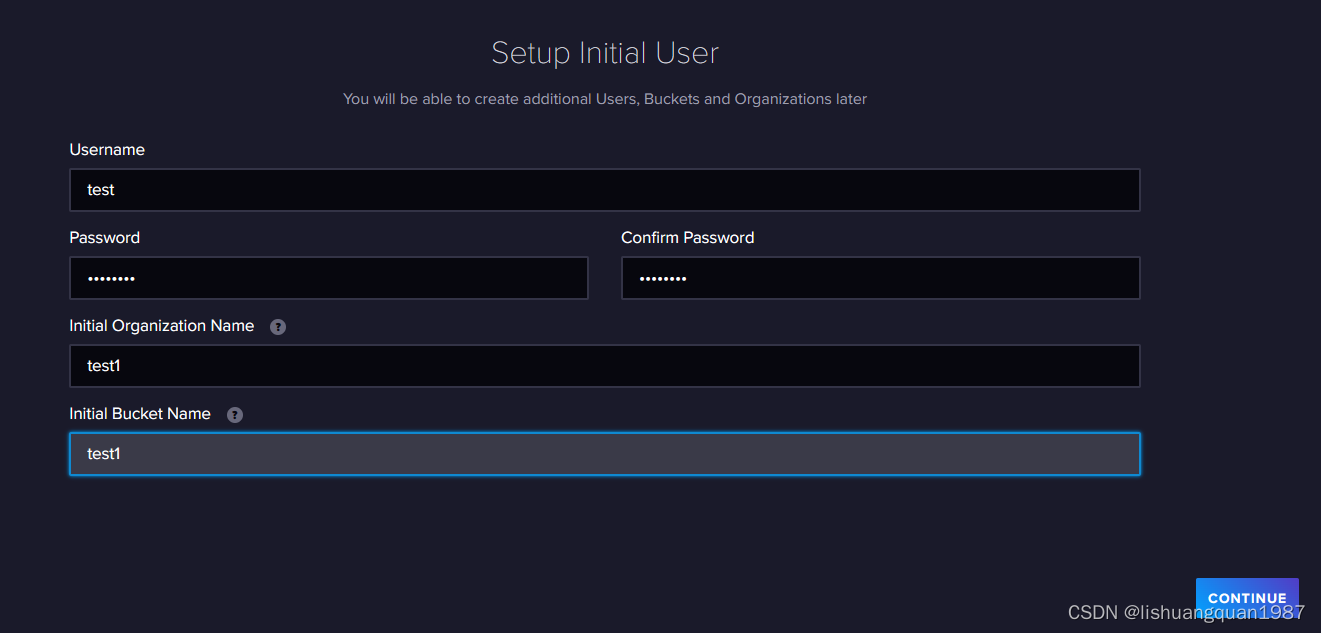
点击GET STARTED,然后输入一些基本信息,点击Continue
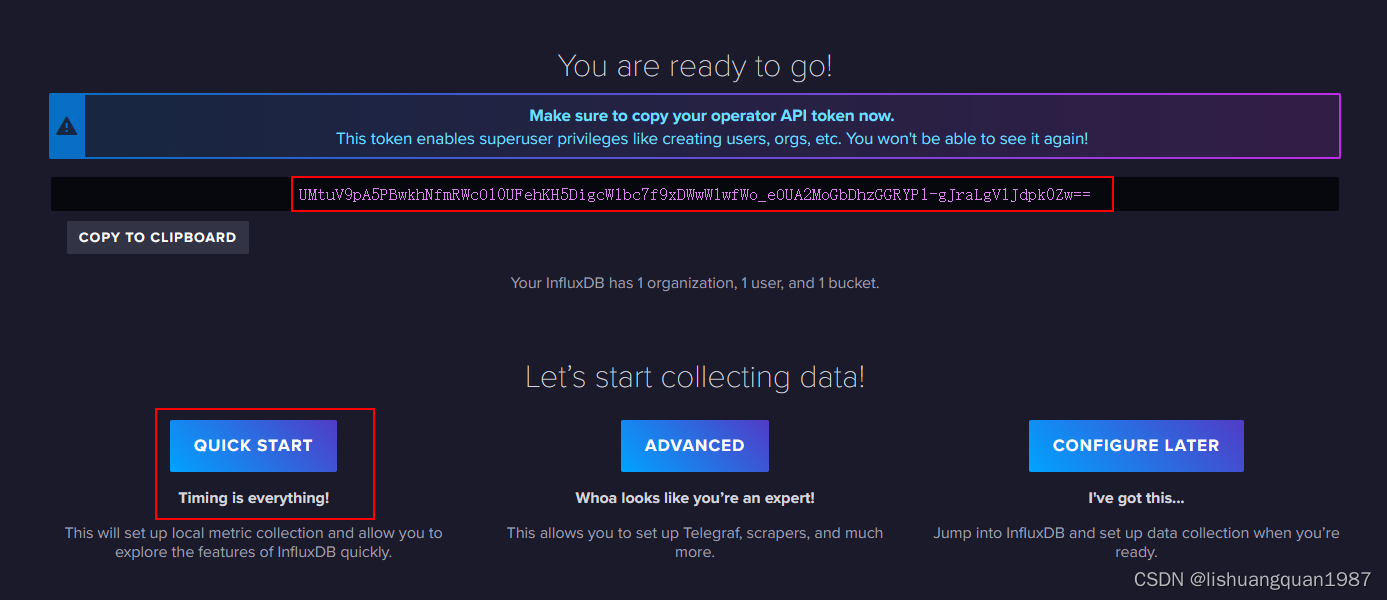
上面那个token需要记录下来,等会用influx.exe去连的时候要用到。
使用influx(cli)连接默认配置的influxd
设置influx的连接:
打开Power shell:
输入如下命令:
.\influx config create --config-name test `--host-url "http://localhost:8086" `--org "test1" `--token "UMtuV9pA5PBwkhNfmRWcOl0UFehKH5DigcW1bc7f9xDWwWlwfWo_eOUA2MoGbDhzGGRYP1-gJraLgVlJdpk0Zw==" `--active
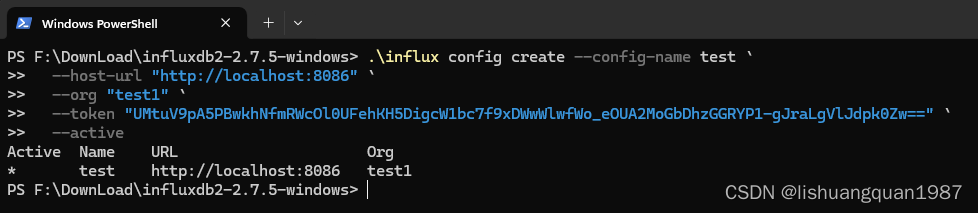
即设置了名称为test的连接,并把这个连接设置为活跃(默认)状态
导出数据库服务端的运行配置
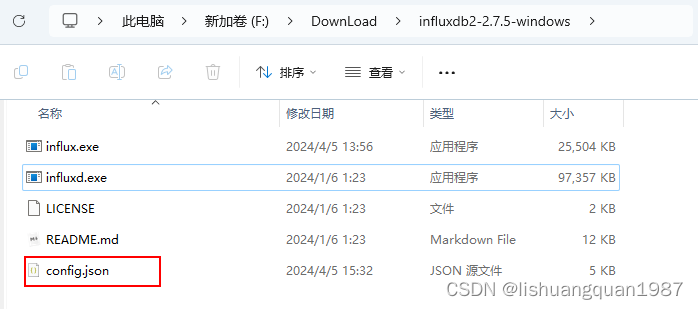
.\influx server-config > config.json
可以看到在目录下生成了一个config.json的文件
编辑配置文件
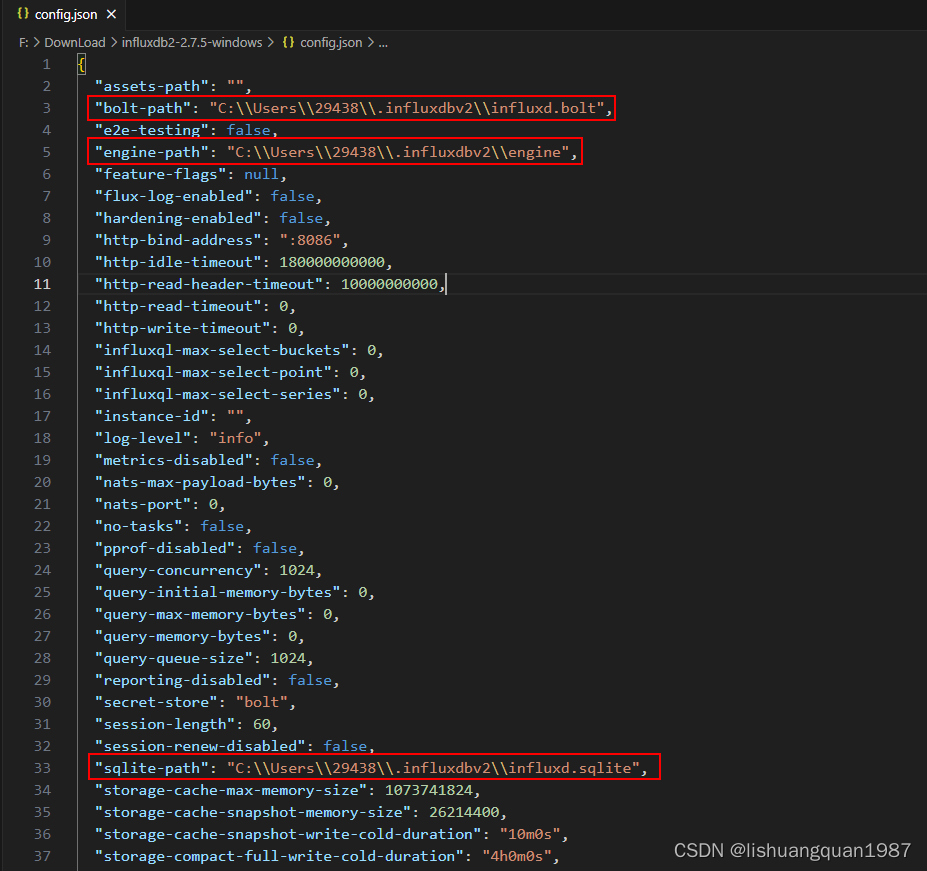
把上图的路径改成自定义的文件夹即可:
config.json:
{"assets-path": "","bolt-path": "influxdbv2\\influxd.bolt","e2e-testing": false,"engine-path": "influxdbv2\\engine","feature-flags": null,"flux-log-enabled": false,"hardening-enabled": false,"http-bind-address": ":8086","http-idle-timeout": 180000000000,"http-read-header-timeout": 10000000000,"http-read-timeout": 0,"http-write-timeout": 0,"influxql-max-select-buckets": 0,"influxql-max-select-point": 0,"influxql-max-select-series": 0,"instance-id": "","log-level": "info","metrics-disabled": false,"nats-max-payload-bytes": 0,"nats-port": 0,"no-tasks": false,"pprof-disabled": false,"query-concurrency": 1024,"query-initial-memory-bytes": 0,"query-max-memory-bytes": 0,"query-memory-bytes": 0,"query-queue-size": 1024,"reporting-disabled": false,"secret-store": "bolt","session-length": 60,"session-renew-disabled": false,"sqlite-path": "influxdbv2\\influxd.sqlite","storage-cache-max-memory-size": 1073741824,"storage-cache-snapshot-memory-size": 26214400,"storage-cache-snapshot-write-cold-duration": "10m0s","storage-compact-full-write-cold-duration": "4h0m0s","storage-compact-throughput-burst": 50331648,"storage-max-concurrent-compactions": 0,"storage-max-index-log-file-size": 1048576,"storage-no-validate-field-size": false,"storage-retention-check-interval": "30m0s","storage-series-file-max-concurrent-snapshot-compactions": 0,"storage-series-id-set-cache-size": 0,"storage-shard-precreator-advance-period": "30m0s","storage-shard-precreator-check-interval": "10m0s","storage-tsm-use-madv-willneed": false,"storage-validate-keys": false,"storage-wal-fsync-delay": "0s","storage-wal-max-concurrent-writes": 0,"storage-wal-max-write-delay": 600000000000,"storage-write-timeout": 10000000000,"store": "disk","testing-always-allow-setup": false,"tls-cert": "","tls-key": "","tls-min-version": "1.2","tls-strict-ciphers": false,"tracing-type": "","ui-disabled": false,"vault-addr": "","vault-cacert": "","vault-capath": "","vault-client-cert": "","vault-client-key": "","vault-client-timeout": 0,"vault-max-retries": 0,"vault-skip-verify": false,"vault-tls-server-name": "","vault-token": ""
}
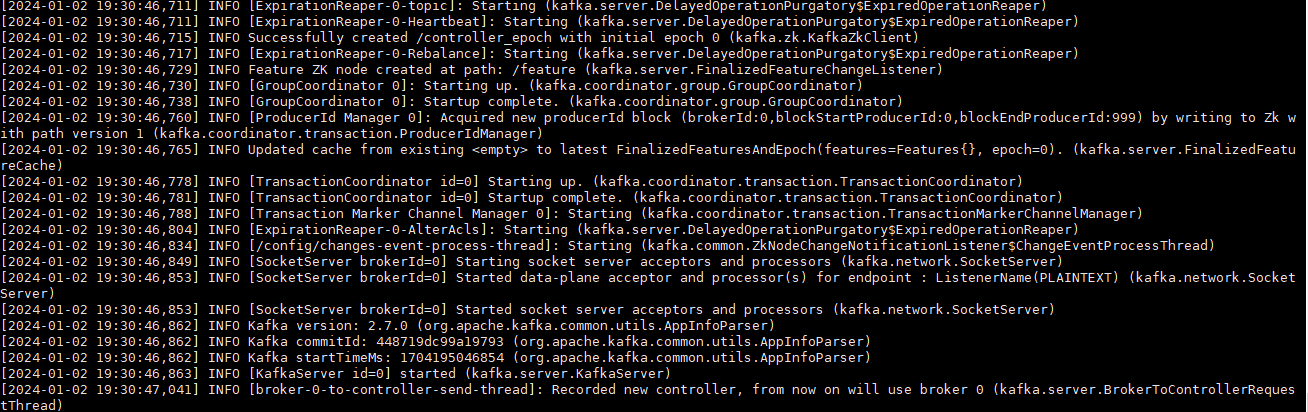
然后再重新启动influxd.exe:
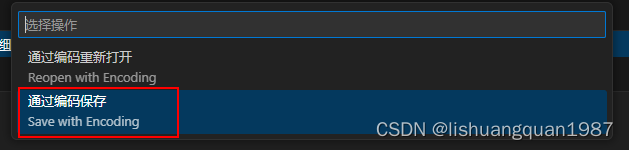
发现报这个错误:

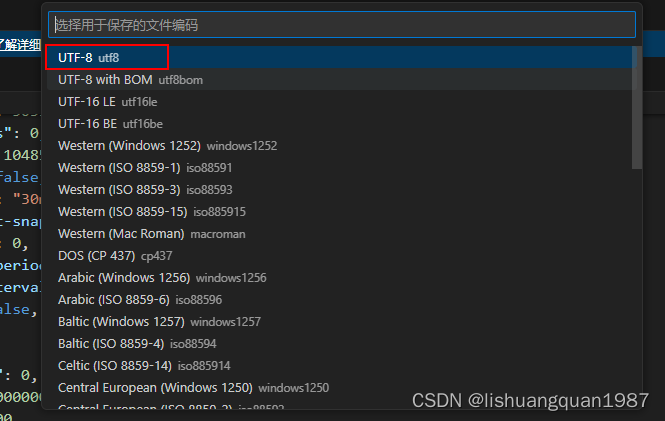
刚刚我改配置文件是使用vscode改的,保存的时候编码不对,现在把编码改回来(utf-8)然后重新保存:
再次运行:
它的路径就变了,目录下也会自动生成influxdbv2文件夹。
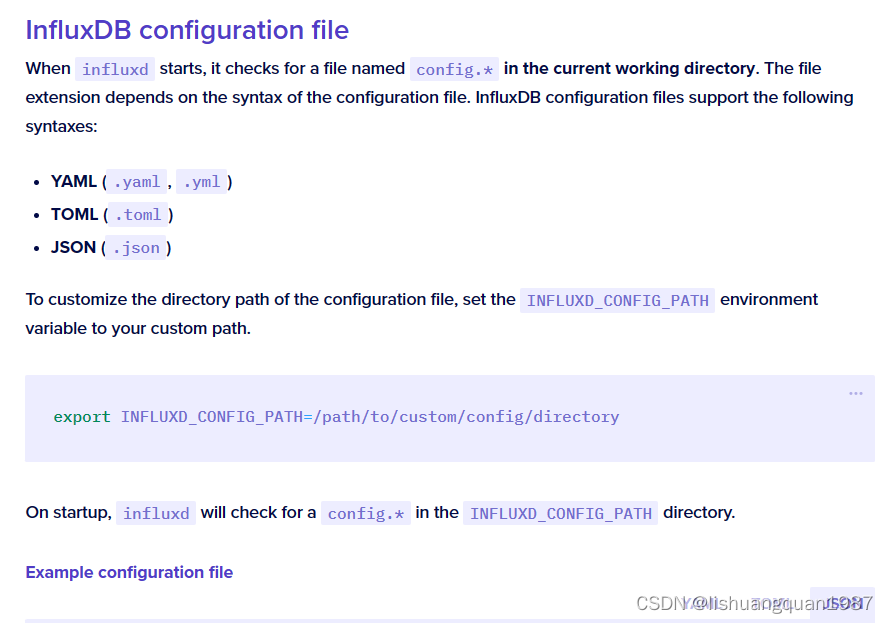
注意这里程序目录为何有一个config.json,influxd.exe启动的时候就能找到它,参考文档:https://docs.influxdata.com/influxdb/v2/reference/config-options/?t=JSON#influxdb-configuration-file
以后数据和配置文件要迁移到其他电脑,直接打包整个文件夹拷贝过去就可以啦: