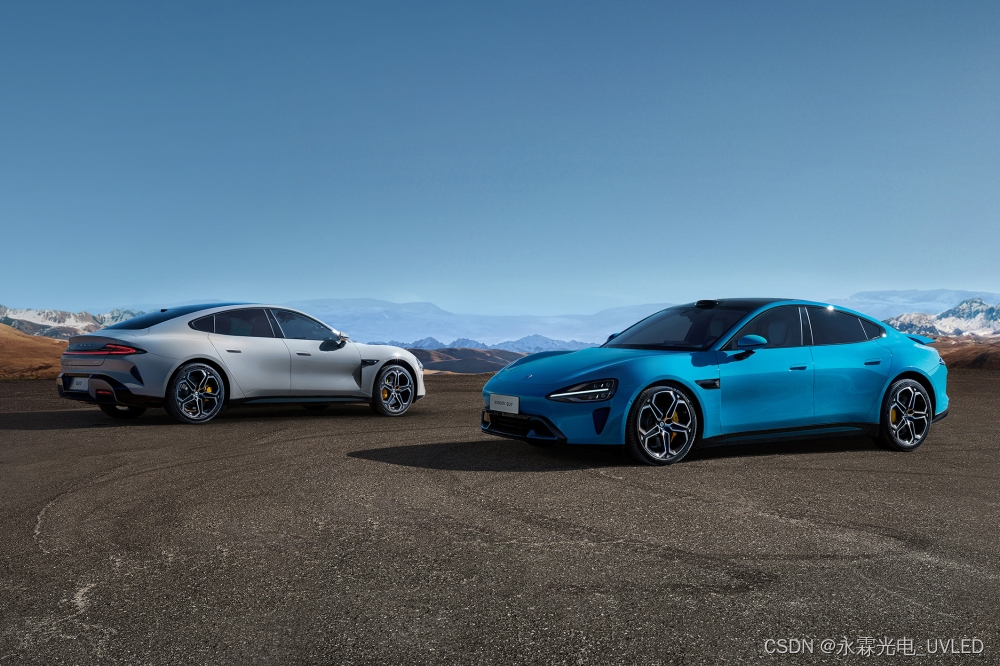
效果图
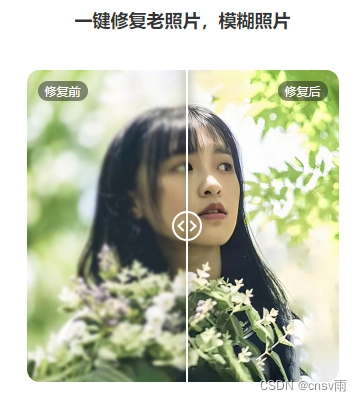
不废话,直接上源码!
组件直接用
<template><viewclass="img-comparison-container":style="'width:' + width + 'rpx;height:' + height + 'rpx'"><view class="before-image" :style="'width:' + x + 'rpx'"><view :style="'width:' + width + 'rpx;height:' + height + 'rpx'"><image:src="beforeImageUrl"class="images"mode="aspectFill"data-type="before"@tap="previewImage"/></view><view v-if="beforeText" class="before-text">{{ beforeText }}</view></view><view class="after-image"><view :style="'width:' + width + 'rpx;height:' + height + 'rpx'"><image:src="afterImageUrl"class="images"mode="aspectFill"data-type="after"@tap="previewImage"/></view><view v-if="afterText" class="after-text">{{ afterText }}</view></view><viewclass="slider-bar":style="'left:' + x + 'rpx'"@touchmove="handleTouchMove"@touchstart="handleTouchStart"@touchend="handleTouchEnd"><view class="slider-button"></view></view></view>
</template><script>
export default {props: {width: {type: String,default: "750",},height: {type: String,default: "850",},beforeImageUrl: {type: String,},afterImageUrl: {type: String,},beforeText: {type: String,default: "制作前",},afterText: {type: String,default: "制作后",},},data() {return {isPressDown: false, //鼠标是否正按住x: this.width / 2, //设置位置};},methods: {handleTouchStart(event) {this.isPressDown = true;this.startX = event.touches[0].clientX; // 记录触摸起始点this.sliderStartX = this.x; // 记录slider起始位置},handleTouchMove(event) {if (!this.isPressDown) {return;}const moveX = event.touches[0].clientX - this.startX; // 计算移动距离let newX = this.sliderStartX + moveX * 2; // 计算slider新位置// 限制 newX 在 0 和 this.width 之间newX = Math.max(0, Math.min(newX, this.width));this.x = newX; // 更新位置},handleTouchEnd() {this.isPressDown = false;},previewImage(e) {const staticPrefix = "static";const imageType = e.currentTarget.dataset.type;const imageUrlMap = {before: this.beforeImageUrl,after: this.afterImageUrl,};// 如果当前图片URL中包含静态前缀,则直接返回if (imageUrlMap[imageType].includes(staticPrefix)) {return;}// 获取当前图片的URL,并使用uni.previewImage方法展示图片const currentImageUrl = imageUrlMap[imageType];uni.previewImage({urls: [imageUrlMap.before, imageUrlMap.after],current: currentImageUrl,});}},
};
</script><style lang="scss" scoped>
.img-comparison-container {position: relative;display: inline-block;overflow: hidden;border-radius: 20rpx;.before-image {position: absolute;top: 0;left: 0;z-index: 1;width: 50%;overflow: hidden;.before-text {position: absolute;left: 22rpx;top: 22rpx;color: #ffffff;background: rgba(34, 34, 34, 0.5);border-radius: 20rpx;padding: 5rpx 15rpx 5rpx 15rpx;font-size: 24rpx;white-space: nowrap;}}.after-image {position: absolute;top: 0;left: 0;z-index: 0;.after-text {position: absolute;right: 22rpx;top: 22rpx;color: #ffffff;background: rgba(34, 34, 34, 0.5);border-radius: 20rpx;padding: 5rpx 15rpx 5rpx 15rpx;font-size: 24rpx;white-space: nowrap;}}.images {width: 100%;height: 100%;}.slider-bar {cursor: move;position: absolute;width: 4rpx;left: 50%;top: 0rpx;background: #ffffff;height: 100%;display: block;z-index: 2;box-shadow: 0 0 20rpx 1px rgba(0, 0, 0, 0.4);.slider-button {position: absolute;width: 60rpx;height: 60rpx;border-radius: 50%;border: 4rpx solid #ffffff;background-color: transparent;left: calc(50% - 30rpx);top: calc(50% - 30rpx);}&::before {content: "";padding: 6rpx;border: solid #ffffff;border-width: 0 4rpx 4rpx 0;position: absolute;top: calc(50% - 8rpx);left: calc(50% - 16rpx);transform: rotate(135deg);z-index: 1;}&::after {content: "";padding: 6rpx;border: solid #ffffff;border-width: 0 4rpx 4rpx 0;position: absolute;top: calc(50% - 8rpx);left: 50%;transform: rotate(-45deg);}}
}
</style>
使用方法
引入组件
import compareImage from "../components/index.vue";
<compare-image:beforeImageUrl="image.beforeImg":afterImageUrl="image.afterImg"width="624"height="624"beforeText="修复前"afterText="修复后"
/>
感谢你的阅读,如对你有帮助请收藏+关注!
只分享干货实战和精品,从不啰嗦!!!
如某处不对请留言评论,欢迎指正~
博主可收徒、常玩QQ飞车,可一起来玩玩鸭~

