01 CSS定位概念理解
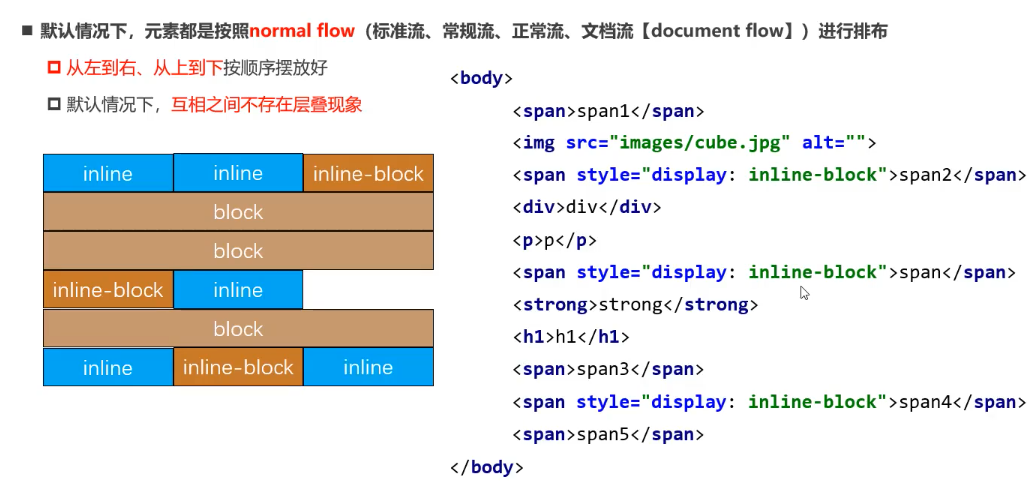
01 标准流布局概念的理解
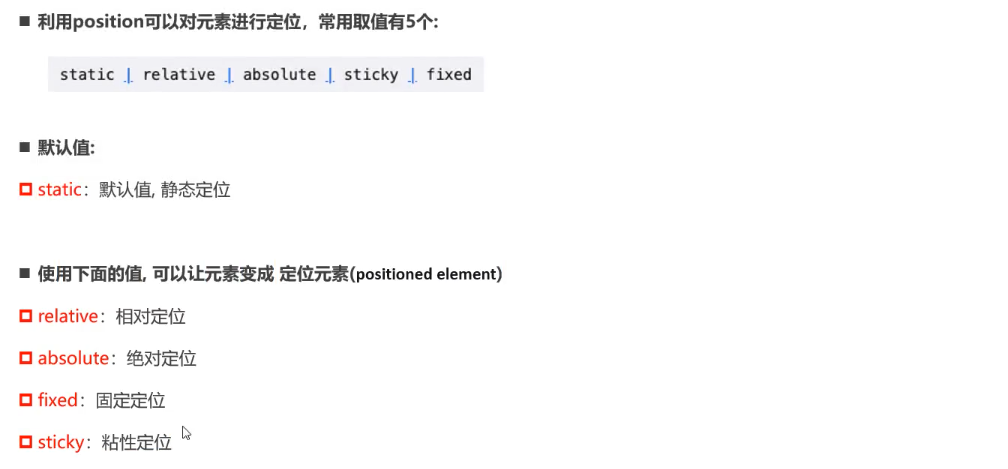
02 position属性
02 相对定位
依然在标准流中
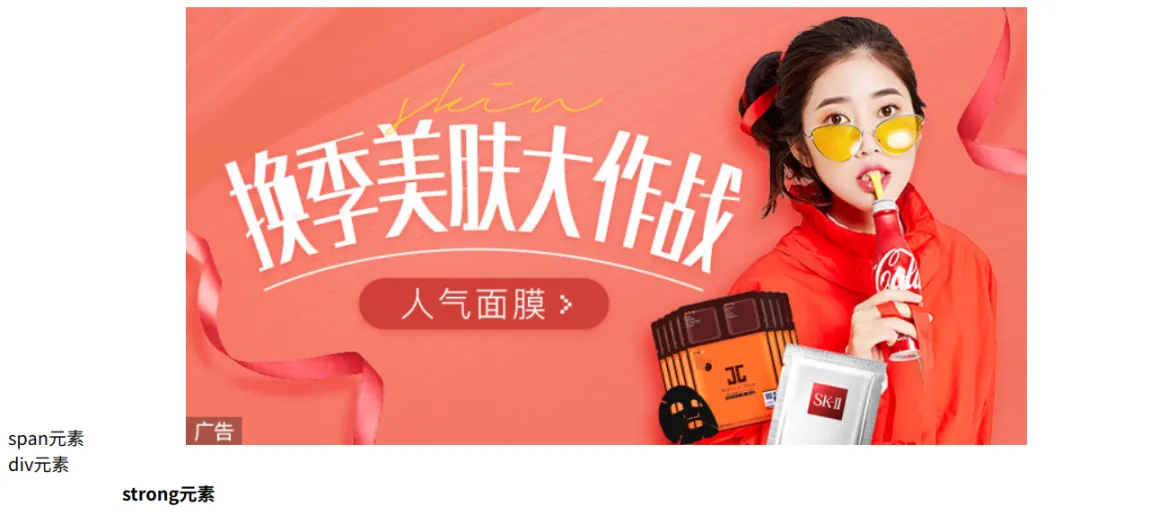
应用场景: 在不影响其它元素的情况下,对当前元素进行微调
<!DOCTYPE html>
<html lang="en"><head><meta charset="UTF-8"><meta http-equiv="X-UA-Compatible" content="IE=edge"><meta name="viewport" content="width=device-width, initial-scale=1.0"><title>Document</title><style>.text {/* 相对定位: 相对元素自己原来的位置 */position: relative;left: 30px;top: 50px;}</style></head><body><span>span元素</span><strong class="text">strong元素</strong><img src="../images/gouwujie01.jpg" alt=""><div>div元素</div></body>
</html>
2.1 案例1

<!DOCTYPE html>
<html lang="en">
<head><meta charset="UTF-8"><meta name="viewport" content="width=device-width, initial-scale=1.0"><title>Document</title><style>span {position: relative;font-size: 10px;top: -8px;}</style>
</head>
<body><div>3<span>2</span> + 2<span>3</span> = 17</div>
</body>
</html>
2.2 案例2
梦幻西游使用背景的方法让图片的重要内容始终居中
<html lang="en">
<head><meta charset="UTF-8"><meta name="viewport" content="width=device-width, initial-scale=1.0"><title>Document</title><style>body {margin: 0;padding: 0;}.box {height: 489px;overflow: hidden;}.box img {position: relative;/* 先把图片移到最左边 */left: -960px;/* 再把图片移动包含块的一半{marigin-left的百分比是相对于包含块的} */margin-left: 50%;}</style>
</head>
<body><div class="box"><img src="./imgs/mhxy.jpg" alt=""></div>
</body>
</html>
 但是这种方案图片向左移的距离写死了,如果图片的宽度发生了变化,还需要我们去手动修改这是不方便的
修改代码
```html
03 固定定位
脱离标准流(相对于视口即可见区域)
使用固定定位前
<!DOCTYPE html>
<html lang="en">
<head><meta charset="UTF-8"><meta name="viewport" content="width=device-width, initial-scale=1.0"><title>Document</title>
</head>
<body><span>span元素</span><img src="./imgs/gouwujie01.jpg" alt=""><strong>strong元素</strong>
</body>
</html>
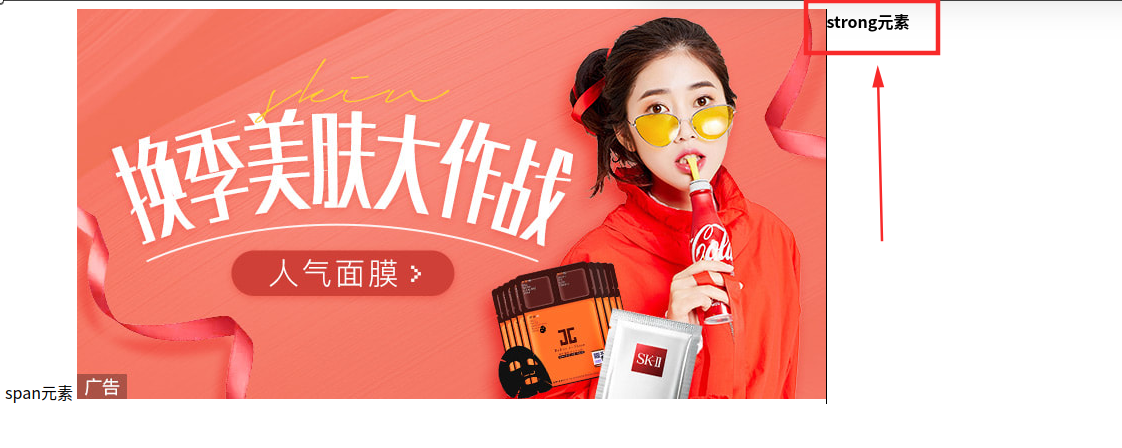
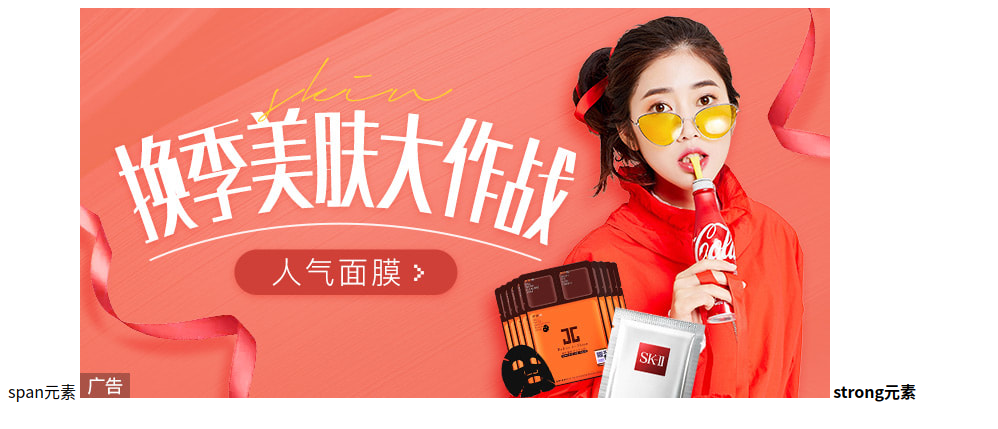 使用固定定位后(相当于把原来的元素拿走了,自己再决定放在哪里[用left/right/top/bottom等属性来决定])
```html
 strong元素```
3.1 案例1
<!DOCTYPE html>
<html lang="en">
<head><meta charset="UTF-8"><meta name="viewport" content="width=device-width, initial-scale=1.0"><title>Document</title><style>.handle {position: fixed;right: 30px;bottom: 30px;}.handle .item {text-align: center;width: 80px;height: 40px;color: #fff;line-height: 40px;background-color: brown;border-radius: 8px;cursor: pointer;}.handle .item:hover {background-color: red;}.handle .top {margin-bottom: 5px;}</style>
</head>
<body><div class="handle"><div class="item top">顶部</div><div class="item bottom">底部</div></div>
</body>
</html>
04-绝对定位
脱离标准流(参考的是最临近的定位祖先元素如果没有找到这样的祖先元素,参考的是视口)
4.1 基本使用
<!DOCTYPE html>
<html lang="en">
<head><meta charset="UTF-8"><meta name="viewport" content="width=device-width, initial-scale=1.0"><title>Document</title><style>.box .item1 {position: relative;width: 400px;height: 400px;background-color: green;}.box .item1 > .item2 {position: absolute;right: 0;bottom: 0;width: 200px;height: 200px;background-color: red;}.box .item1 > .item2 strong {position: absolute;left: 0;bottom: 0;}</style>
</head>
<body><div class="box"><div class="item1"><div class="item2"><strong>strong元素</strong></div></div></div>
</body>
</html>
05-绝对定位
脱离标准流(参考的是最临近的定位祖先元素如果没有找到这样的祖先元素,参考的是视口)
5.1 基本使用
<!DOCTYPE html>
<html lang="en">
<head><meta charset="UTF-8"><meta name="viewport" content="width=device-width, initial-scale=1.0"><title>Document</title><style>.box .item1 {position: relative;width: 400px;height: 400px;background-color: green;}.box .item1 > .item2 {position: absolute;right: 0;bottom: 0;width: 200px;height: 200px;background-color: red;}.box .item1 > .item2 strong {position: absolute;left: 0;bottom: 0;}</style>
</head>
<body><div class="box"><div class="item1"><div class="item2"><strong>strong元素</strong></div></div></div>
</body>
</html>
06-position为absolute或fixed的元素的特点
代码案例
<!DOCTYPE html>
<html lang="en">
<head><meta charset="UTF-8"><meta http-equiv="X-UA-Compatible" content="IE=edge"><meta name="viewport" content="width=device-width, initial-scale=1.0"><title>Document</title><style>.box {background-color: red;}/* 可以看到box这个元素直接在页面消失了,所以当设置元素为absolute它就不会向父元素汇报自己的宽度和高度了 */.box .container {position: absolute;}    </style>
</head>
<body><div class="box"><div class="container">div元素</div></div>
</body>
</html>
07-绝对定位让元素水平居中
<!DOCTYPE html>
<html lang="en">
<head><meta charset="UTF-8"><meta http-equiv="X-UA-Compatible" content="IE=edge"><meta name="viewport" content="width=device-width, initial-scale=1.0"><title>Document</title><style>.box {position: relative;width: 800px;height: 300px;background-color: red;}.container {position: absolute;width: 200px;height: 100px;left: 0;right: 0;bottom: 0;margin: auto;background-color: green;}</style>
</head>
<body><!-- 水平方向的公式: red box的宽度=绿色盒子的宽度+left+right+margin left + margin right --><div class="box"><div class="container"></div></div>
</body>
</html>
08-绝对定位让元素垂直居中
<!DOCTYPE html>
<html lang="en">
<head><meta charset="UTF-8"><meta name="viewport" content="width=device-width, initial-scale=1.0"><title>Document</title><style>.container {position: relative;width: 800px;height: 300px;background-color: green;}.box {position: absolute;width: 200px;height: 100px;background-color: red;left: 0;right: 0;top: 0;bottom: 0;margin: auto;}</style>
</head>
<body><div class="container"><div class="box"></div></div>
</body>
</html>
09-粘性定位
代码示例
