腾讯/阿里云对象存储上传+删除
- 创建储存桶 (后面会用到 储存库名称、访问域名、以及region) region(地域和访问域名)的查询参考: https://cloud.tencent.com/document/product/436/6224
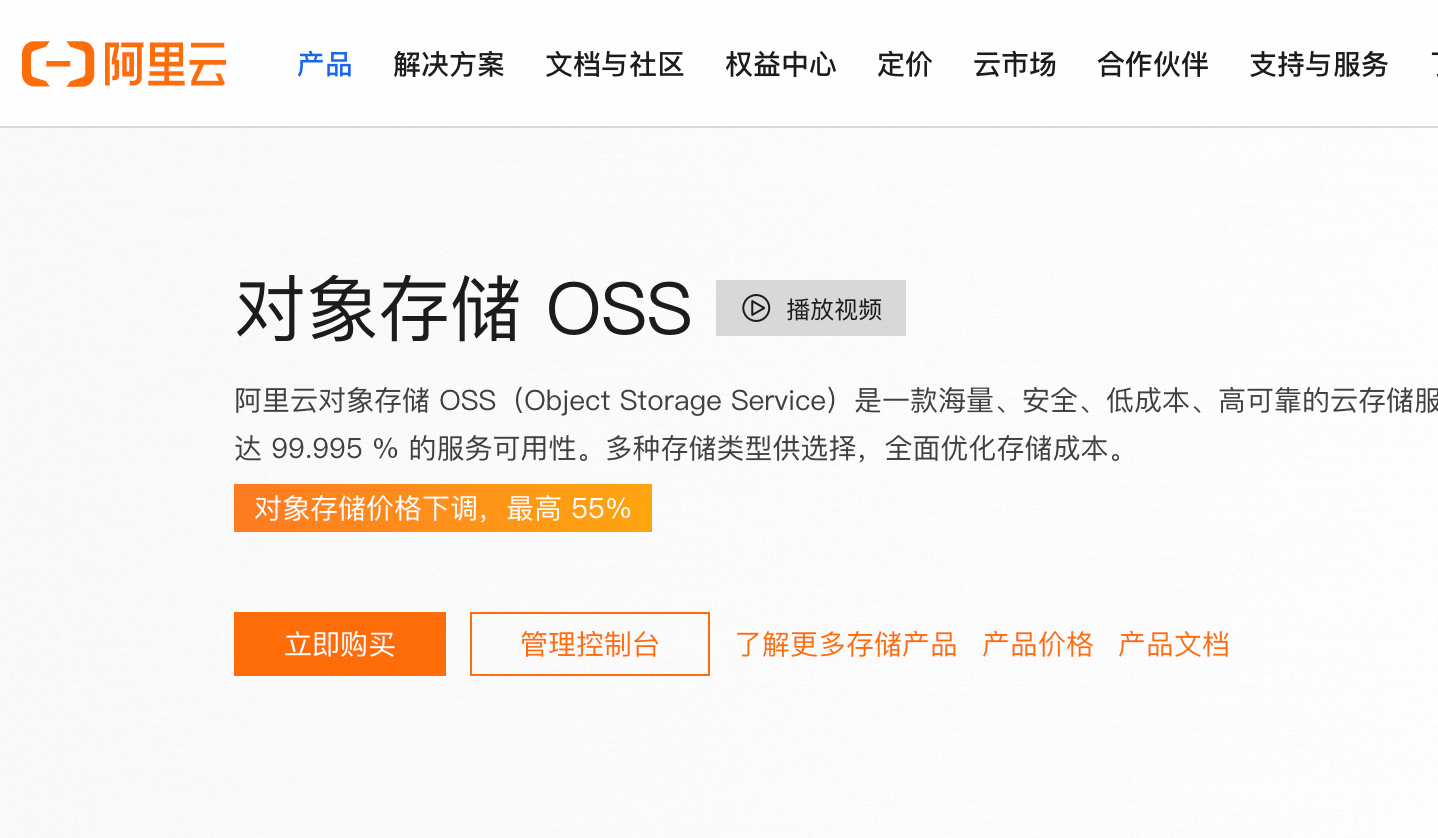
- https://www.aliyun.com/product/oss
常用的阿里云、腾讯云
2.创建Api密钥 (后面会用到 secretId、secretKey)
application.yml
qcloud:path: 域名地址bucketName: 储存库名称secretId: 密钥生成的secretIdsecretKey: 密钥生成的secretKeyregion: 地域简称prefix: /images/
工具类:
import com.qcloud.cos.COSClient;
import com.qcloud.cos.ClientConfig;
import com.qcloud.cos.auth.BasicCOSCredentials;
import com.qcloud.cos.auth.COSCredentials;
import com.qcloud.cos.exception.CosClientException;
import com.qcloud.cos.exception.CosServiceException;
import com.qcloud.cos.model.PutObjectRequest;
import com.qcloud.cos.model.PutObjectResult;
import com.qcloud.cos.region.Region;
import lombok.Data;
import org.springframework.web.multipart.MultipartFile;import java.io.File;
import java.io.IOException;
import java.util.UUID;/*** @author * @date 2021/6/6 19:31* @role*/
@Data
public class QCloudCosUtils {//API密钥secretIdprivate String secretId;//API密钥secretKeyprivate String secretKey;//存储桶所属地域private String region;//存储桶空间名称private String bucketName;//存储桶访问域名private String path;//上传文件前缀路径(eg:/images/)private String prefix;/*** 上传File类型的文件** @param file* @return 上传文件在存储桶的链接*/public String upload(File file) {//生成唯一文件名String newFileName = generateUniqueName(file.getName());//文件在存储桶中的keyString key = prefix + newFileName;//声明客户端COSClient cosClient = null;try {//初始化用户身份信息(secretId,secretKey)COSCredentials cosCredentials = new BasicCOSCredentials(secretId, secretKey);//设置bucket的区域ClientConfig clientConfig = new ClientConfig(new Region(region));//生成cos客户端cosClient = new COSClient(cosCredentials, clientConfig);//创建存储对象的请求PutObjectRequest putObjectRequest = new PutObjectRequest(bucketName, key, file);//执行上传并返回结果信息PutObjectResult putObjectResult = cosClient.putObject(putObjectRequest);return path + key;} catch (CosClientException e) {e.printStackTrace();} finally {cosClient.shutdown();}return null;}/*** upload()重载方法** @param multipartFile* @return 上传文件在存储桶的链接*/public String upload(MultipartFile multipartFile) {System.out.println(multipartFile);//生成唯一文件名String newFileName = generateUniqueName(multipartFile.getOriginalFilename());//文件在存储桶中的keyString key = prefix + newFileName;//声明客户端COSClient cosClient = null;//准备将MultipartFile类型转为File类型File file = null;try {//生成临时文件file = File.createTempFile("temp", null);//将MultipartFile类型转为File类型multipartFile.transferTo(file);//初始化用户身份信息(secretId,secretKey)COSCredentials cosCredentials = new BasicCOSCredentials(secretId, secretKey);//设置bucket的区域ClientConfig clientConfig = new ClientConfig(new Region(region));//生成cos客户端cosClient = new COSClient(cosCredentials, clientConfig);//创建存储对象的请求PutObjectRequest putObjectRequest = new PutObjectRequest(bucketName, key, file);//执行上传并返回结果信息PutObjectResult putObjectResult = cosClient.putObject(putObjectRequest);return path + key;} catch (IOException e) {e.printStackTrace();} finally {cosClient.shutdown();}return null;}/*** 根据UUID生成唯一文件名** @param originalName* @return*/public String generateUniqueName(String originalName) {return UUID.randomUUID() + originalName.substring(originalName.lastIndexOf("."));}/*** 删除文件*/public boolean deleteFile(String fileName) {String key = prefix + fileName;COSClient cosclient = null;try {//初始化用户身份信息(secretId,secretKey)COSCredentials cosCredentials = new BasicCOSCredentials(secretId, secretKey);//设置bucket的区域ClientConfig clientConfig = new ClientConfig(new Region(region));// 生成cos客户端cosclient = new COSClient(cosCredentials, clientConfig);// 指定要删除的 bucket 和路径cosclient.deleteObject(bucketName, key);// 关闭客户端(关闭后台线程)cosclient.shutdown();}catch (CosClientException e) {e.printStackTrace();}return true;}
}
import org.springframework.boot.context.properties.ConfigurationProperties;
import org.springframework.context.annotation.Bean;
import org.springframework.context.annotation.Configuration;
import studio.banner.officialwebsite.util.QCloudCosUtils;
/*** 腾讯云对象存储*/
@Configuration
public class QCloudCosUtilsConfig {@ConfigurationProperties(prefix = "qcloud")@Beanpublic QCloudCosUtils qcloudCosUtils() {return new QCloudCosUtils();}
}
import io.swagger.annotations.Api;
import io.swagger.annotations.ApiImplicitParam;
import io.swagger.annotations.ApiOperation;
import org.slf4j.Logger;
import org.slf4j.LoggerFactory;
import org.springframework.beans.factory.annotation.Autowired;
import org.springframework.web.bind.annotation.*;
import org.springframework.web.multipart.MultipartFile;
import studio.banner.officialwebsite.entity.RespBean;
import studio.banner.officialwebsite.service.IFileUploadService;/*** @author * @date 2021/6/6 19:42* @role*/
@RestController
@Api(tags = "腾讯云上传接口", value = "TencentPhotoController")
public class TencentPhotoController {protected static final Logger logger = LoggerFactory.getLogger(TencentPhotoController.class);@Autowiredprivate IFileUploadService iFileUploadService;@PostMapping(value = "/upload")@ApiOperation(value = "腾讯云上传接口",notes = "上传图片不能为空",httpMethod = "POST")public RespBean upload(@RequestPart MultipartFile multipartFile) {String url = iFileUploadService.upload(multipartFile);return RespBean.ok("上传成功",url);}@DeleteMapping("delete")@ApiOperation(value = "腾讯云删除接口",httpMethod = "DELETE")@ApiImplicitParam(name = "fileName",value = "图片名",dataTypeClass = String.class)public RespBean delete(@RequestParam String  fileName) {if (iFileUploadService.delete(fileName)){return RespBean.ok("删除成功");}return RespBean.error("删除失败");}}