Conpot 是一个 ICS 蜜罐,目的是收集有关针对工业控制系统的对手动机和方法的情报。
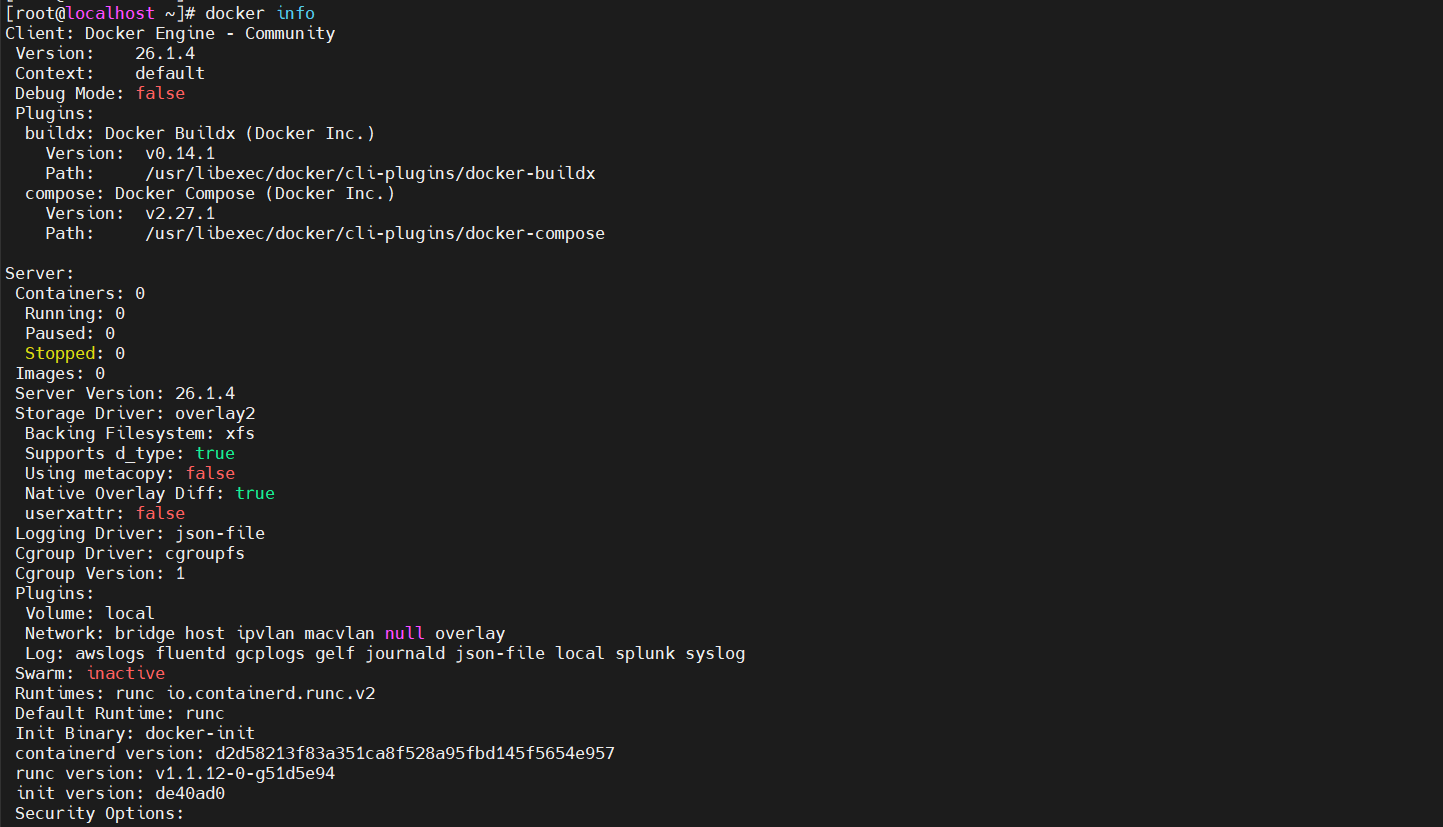
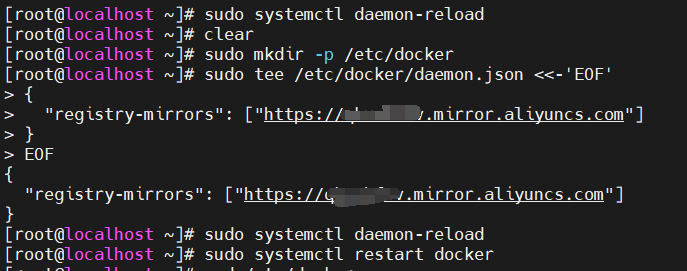
使用 Docker 快速安装
安装Docker
docker pull honeynet/conpot
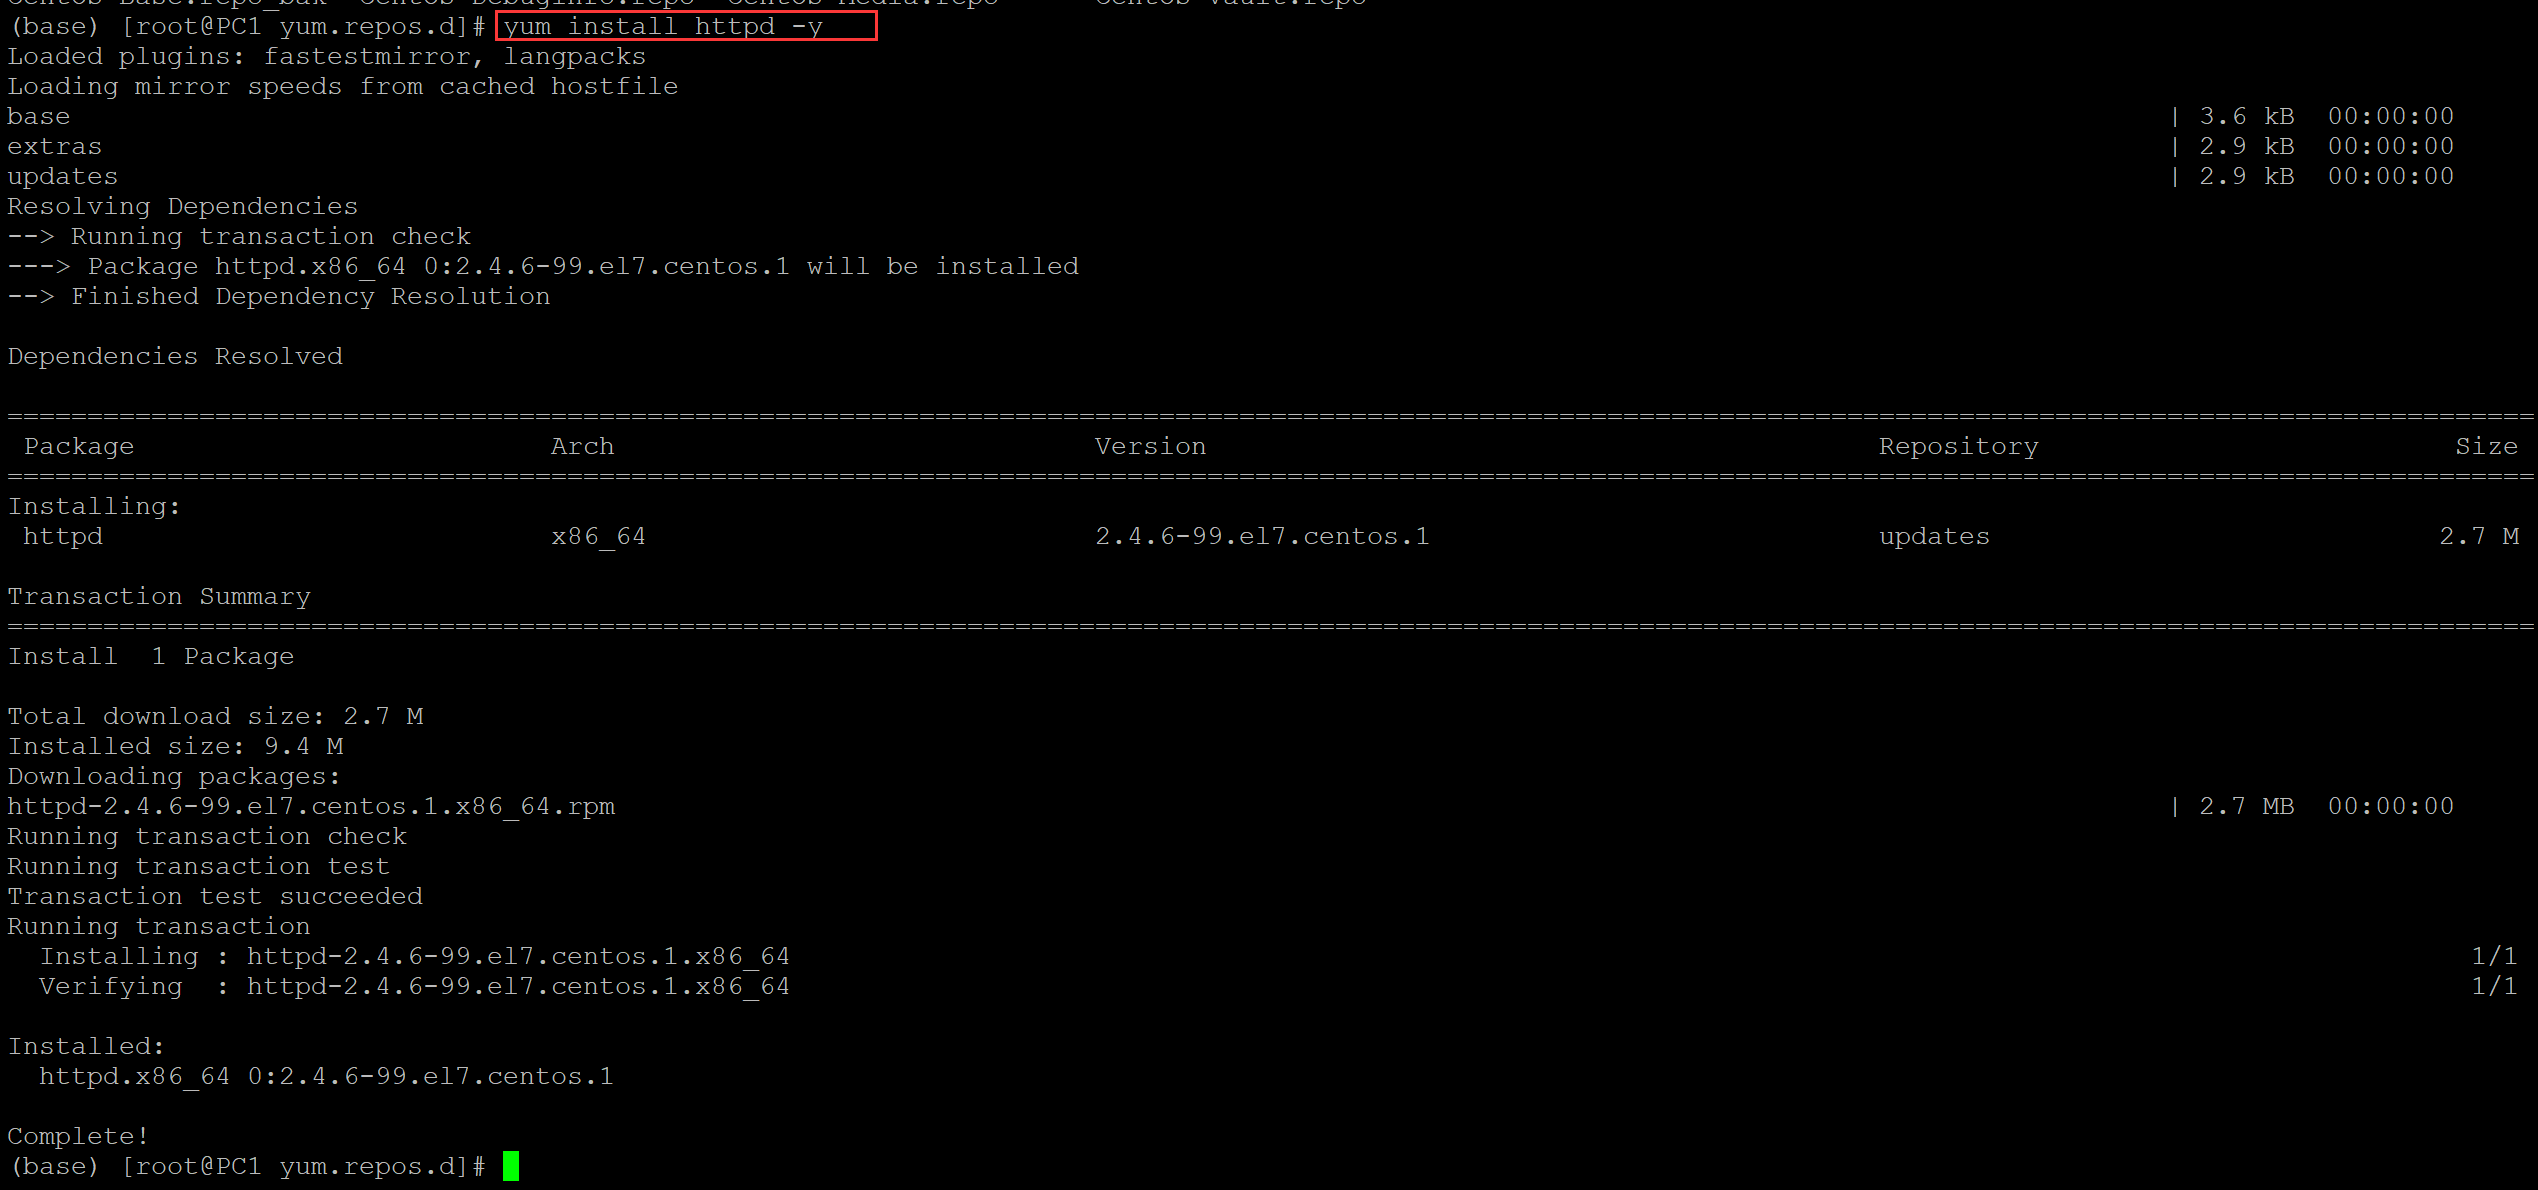
docker run -it -p 80:80 -p 102:102 -p 502:502 -p 161:161/udp --network=bridge honeynet/conpot:latest /bin/sh
conpot -f --template default
导航至http://MY_IP_ADDRESS确认设置。
从源代码构建docker镜像
安装Docker
使用以下命令克隆此仓库git clone https://github.com/mushorg/conpot.git
sudo make run-docker
导航至http://MY_IP_ADDRESS确认设置。
从源代码构建并使用 docker-compose 运行
安装docker-compose
使用以下命令 克隆此 repo git clone https://github.com/mushorg/conpot.gitcd conpot/docker
使用以下方式构建图像docker-compose build
测试一切是否正常运行docker-compose up
作为守护进程永久运行docker-compose up -d
示例输出
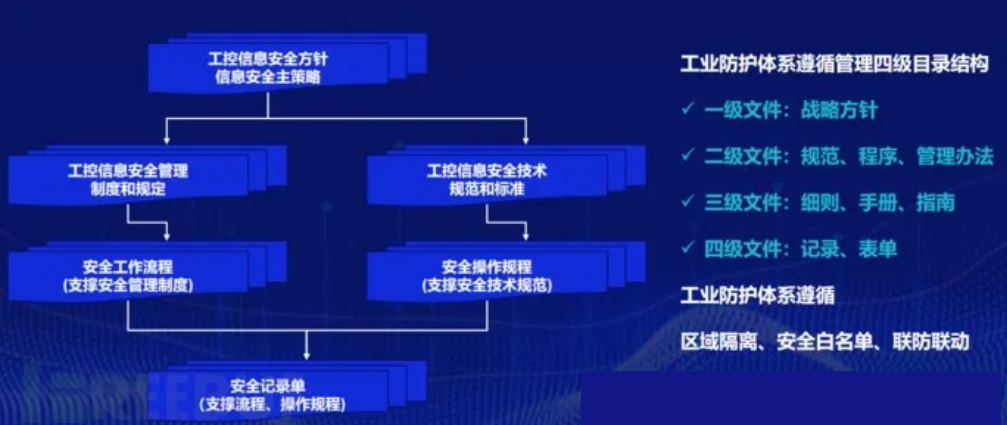
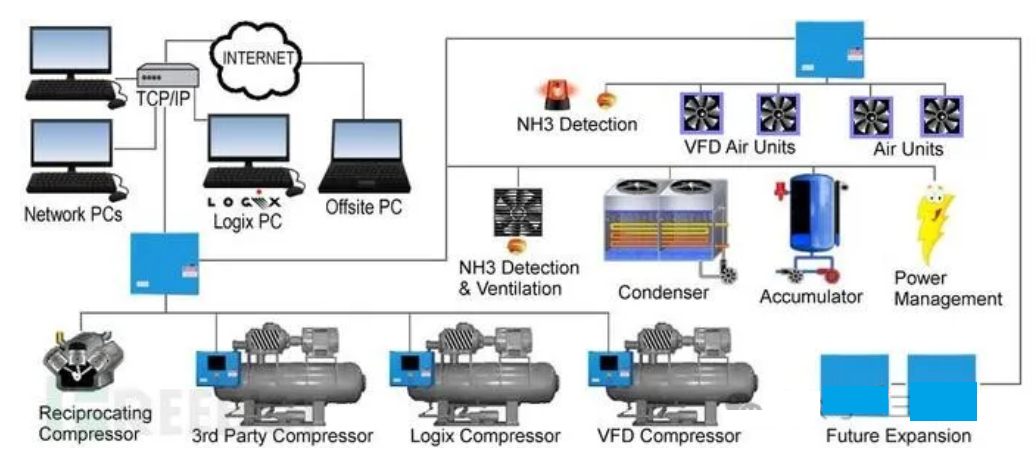
首先我们看一个典型的工业控制网络拓扑图:
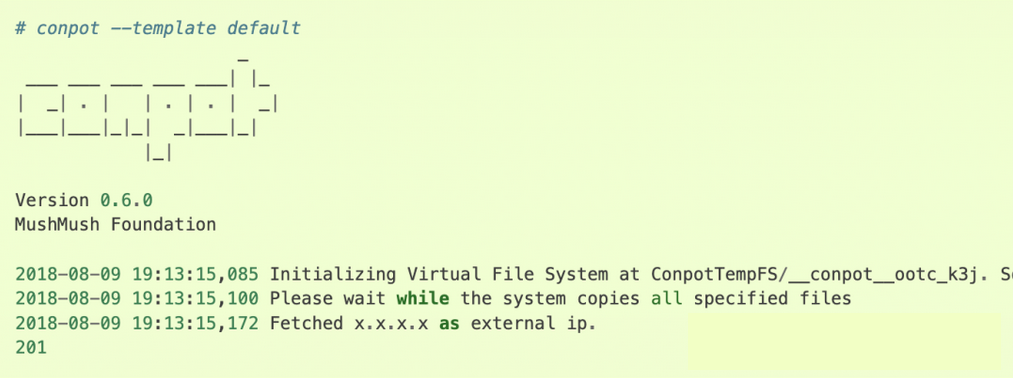
conpot启动指令在.local/bin目录下


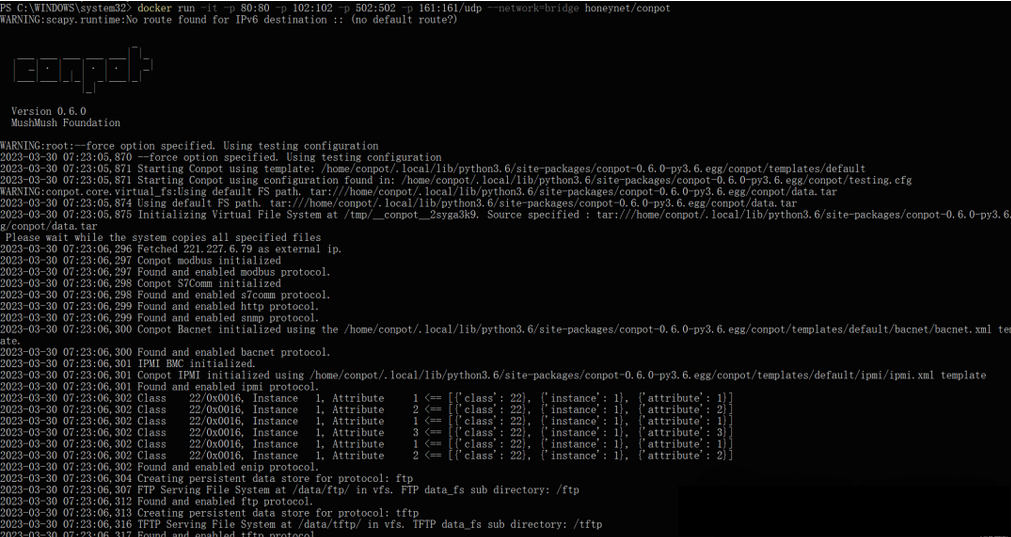
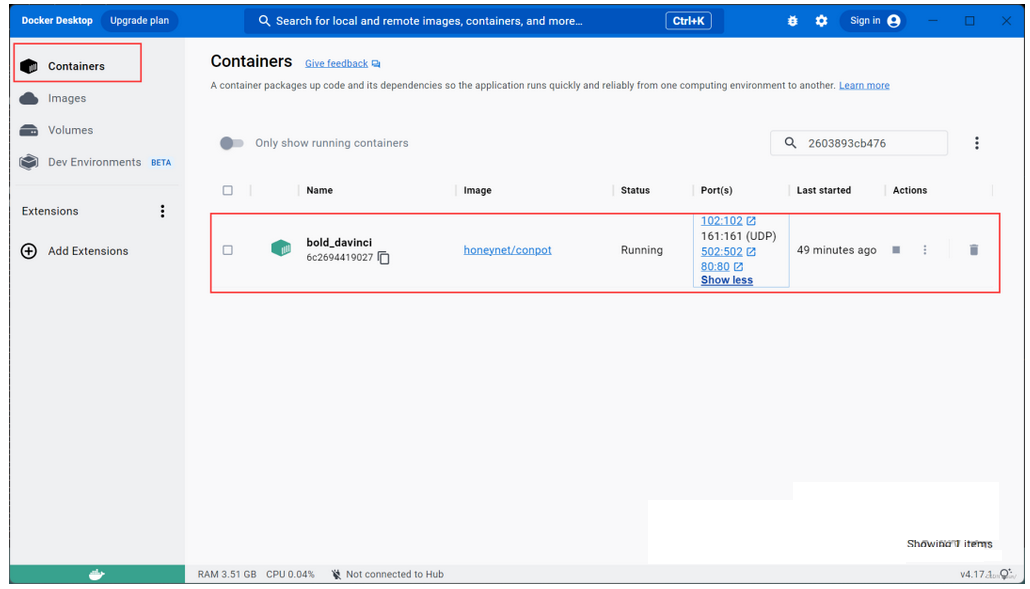
conpot附带了一个默认的配置文件, 它可以实现对安装有基本扩展模块的西门子S7-200 PLC的仿真. 这个默认仿真的攻击面包括: MODBUS, HTTP, SNMP and s7comm. 为了避免混乱, conpot的大部分配置是在XML文件中, 也有一些是保存在不同文件夹的templates文件夹下.
MOSBUS
配置文件的 <device_info /> 部分允许用户定义设备的信息并可以作为函数调用返回。
<slave /> 部分允许用户将每个从设备(slave)都定义在一个 <blocks /> 中。
二进制输出块: COILS , 二进制输入块: DISCRETE_INPUTS , 用户只需定义它们的起始地址和数据规模. ANALOG_INPUTS 以字节为单位保存数据.
<block name="a"><!-- COILS/DISCRETE_OUTPUTS aka. binary output, power on/power offHere we map modbus addresses 1 to 127 to S7-200 PLC Addresses Q0.0 to Q15.7 --><type>COILS</type><starting_address>1</starting_address><size>128</size><values><value><address>1</address><!-- Will be parsed with eval() --><content>[random.randint(0,1) for b in range(0,128)]</content></value></values></block>
SNMP
在配置文件的 <snmp /> 部分, 你可以用 <symbol> 和一个name属性定义一个信息管理库(MIB) .
<symbol name="sysDescr"><value>Siemens, SIMATIC, S7-200</value>
</symbol>
HTTP
在配置文件的<http>部分, 用户可以配置conpot的web server的特性, 以及用相应的header和behaviour来控制每个网页和资源的访问特性. 还可以控制相应的错误代码和错误页面的传输方式以及何时传输.
全局 http 的配置:
<global><config><!-- what protocol shall we use by default? --><entity name="protocol_version">HTTP/1.1</entity><!-- if we find any date header to be delivered, should we update it to a real value? --><entity name="update_header_date">true</entity><!-- should we disable the HTTP HEAD method? --><entity name="disable_method_head">false</entity><!-- should we disable the HTTP TRACE method? --><entity name="disable_method_trace">false</entity><!-- should we disable the HTTP OPTIONS method? --><entity name="disable_method_options">false</entity><!-- TARPIT: how much latency should we introduce to any response by default? --><entity name="tarpit">0</entity></config><!-- these headers will be sent with each response --><headers><!-- this date header will be updated, if enabled above --><entity name="Date">Sat, 28 Apr 1984 07:30:00 GMT</entity></headers></global>
进阶
既然考虑进行大规模的部署,像我们刚才做的镜像那样那样直接输出到屏幕显然是不合理的, Conpot 提供了多种日志收集的途径, Conpot 在 conpot.cfg 文件中配置了默认日志输出形式,用户可以通过修改 conpot.cfg 文件来自定义日志收集的配置。
[json]
enabled = False
filename = /var/log/conpot.json[sqlite]
enabled = False[mysql]
enabled = False
device = /tmp/mysql.sock
host = localhost
port = 3306
db = conpot
username = conpot
passphrase = conpot
socket = tcp        ; tcp (sends to host:port), dev (sends to mysql device/socket file)[syslog]
enabled = False
device = /dev/log
host = localhost
port = 514
facility = local0
socket = dev        ; udp (sends to host:port), dev (sends to device)[hpfriends]
enabled = False
host = hpfriends.honeycloud.net
port = 20000
ident = 3Ykf9Znv
secret = 4nFRhpm44QkG9cvD
channels = ["conpot.events", ][taxii]
enabled = False
host = taxiitest.mitre.org
port = 80
inbox_path = /services/inbox/default/
use_https = False
可以看到,在 Conpot 中,我们可以使用 json 、 sqlite 、 mysql 、 syslog 、 hpfriends 和 taxii 等几种方式输出访问日志。
这样的话,可以用我前面分享的ELK日志审计平台,如果您有专业的日志审计设备也可以外发,或者存储在mysql里查询。
更多内容请查阅:
https://github.com/mushorg/conpot
http://plcscan.org/blog/tools/conpot/
原创 三沐数安
