-
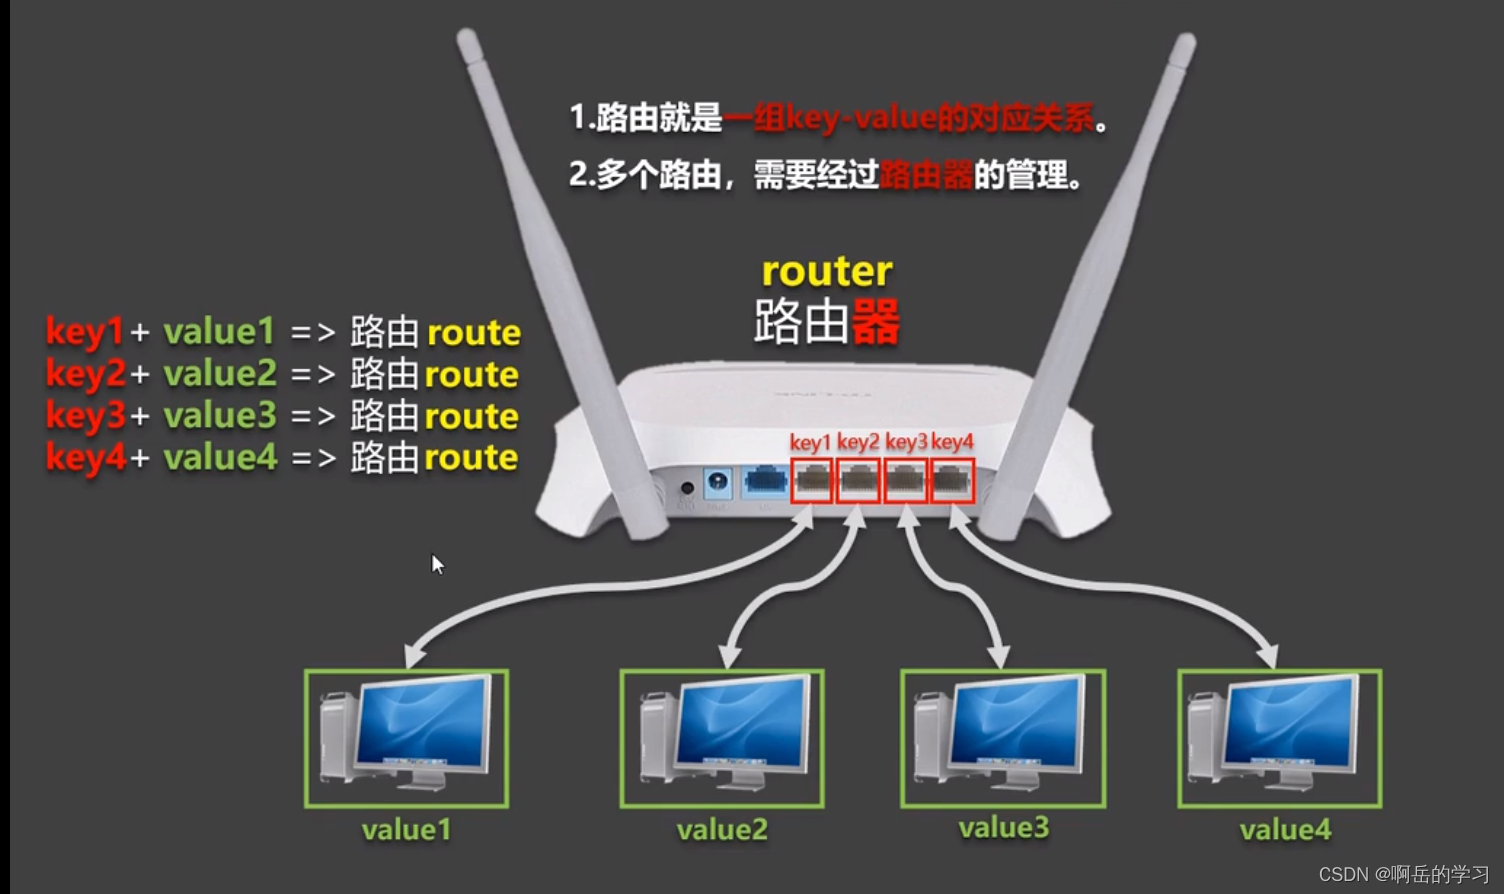
什么是路由?
- 一个路由就是一组映射关系(key - value)
- key 为路径,value 可能是 function 或 component
2、安装\引入\基础使用
只有vue-router3,才能应用于vue2;vue-router4可以应用于vue3中
这里我们安装vue-router3:npm i vue-router@3
引入vue-router:在入口js中引入:import VueRouter from 'vue-router'
vue.use(VueRouter)
多级路由
即是由多个路由相互嵌套而形成的
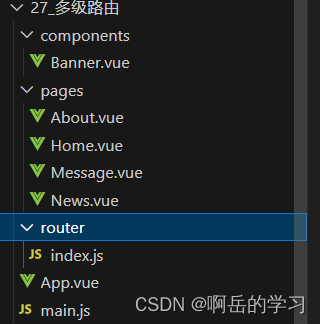
Banner作为title直接在App.vue中实现
然后是About和Home作为路由组件在App.vue中。
message和news继而继续嵌套在home中
main.js
import Vue from 'vue'
import App from './App.vue'//引入VueRouter
import VueRouter from 'vue-router'//引入路由器
import router from './router'Vue.config.productionTip = false//应用插件
Vue.use(VueRouter)new Vue({el:"#app",render: h => h(App),router
})
App.vue
<template><div><div class="row"><Banner/></div><div class="row"><div class="col-xs-2 col-xs-offset-2"><div class="list-group"><!-- 原始html中我们使用a标签实现页面跳转 --><!-- <a class="list-group-item active" href="./about.html">About</a><a class="list-group-item" href="./home.html">Home</a> --><!-- Vue中借助router-link标签实现路由的切换 --><router-link class="list-group-item" active-class="active" to="/about"> 			About</router-link><router-link class="list-group-item" active-class="active" to="/home">Home</router-link></div></div><div class="col-xs-6"><div class="panel"><div class="panel-body"><!-- 指定组件的呈现位置 --><router-view></router-view></div></div></div></div></div>
</template><script>
import Banner from './components/Banner.vue'export default {name:'App',components:{Banner,}}
</script>
router/index.js
//该文件专门应用于创建整个应用的路由器
import VueRouter from 'vue-router'//引入组件
import About from '../pages/About'
import Home from '../pages/Home'
import News from '../pages/News'
import Message from '../pages/Message'const router = new VueRouter({routes:[{path:'/about',component:About},{path:'/home',component:Home,children:[{path:'news',component:News,},{path:'message',component:Message,}]}]
})export default router
Banner.vue
<template><div class="col-xs-offset-2 col-xs-8"><div class="page-header"><h2>Vue Router Demo</h2></div></div>
</template><script>
export default {name:'Banner'
}
</script><style></style>
About.vue
<template><h2>我是About的内容</h2>
</template><script>
export default {name:'About'}
</script>
Home
<template><div><h2>Home组件内容</h2><div><ul class="nav nav-tabs"><li><router-link class="list-group-item" active-class="active" to="/home/news">News</router-link></li><li><router-link class="list-group-item " active-class="active" to="/home/message">Message</router-link></li></ul><ul><router-view></router-view></ul></div></div></template><script>export default {name:'Home'}
</script>
message
<template><div><div><ul><li><a href="/message1">message001</a> </li><li><a href="/message2">message002</a> </li><li><a href="/message/3">message003</a> </li></ul></div></div>
</template><script>
export default {name:'Mesage',
}
</script><style></style>news
<template><ul><li>news001</li><li>news002</li><li>news003</li></ul>
</template><script>
export default {name:'News',
}
</script><style></style>
query的传参
若是有很多的嵌套的情况下,一直如上嵌套是不现实的,所以可以通过传参的方法,将需要传递的参数直接带到下一个页面中
下例即是在message下继续嵌套

index.js(引入继续嵌套的detail)
//该文件专门应用于创建整个应用的路由器
import VueRouter from 'vue-router'//引入组件
import About from '../pages/About'
import Home from '../pages/Home'
import News from '../pages/News'
import Message from '../pages/Message'
import Detail from '../pages/Detail'const router = new VueRouter({routes:[{path:'/about',component:About},{path:'/home',component:Home,children:[{path:'news',component:News,},{path:'message',component:Message,children:[{path:'detail',component:Detail,}]}]}]
})export default router
message(传递query参数)
<template><div><div><ul><li v-for="m in messageList" :key="m.id"><!-- 跳转路由并携带query参数,to的字符串写法 --><!-- <router-link :to="`/home/message/detail?id=${m.id}&title=${m.title}`">{{m.title}}</router-link> --><!-- 跳转路由并携带query参数,to的对象写法 --><router-link :to="{path:'/home/message/detail',query:{id:m.id,title:m.title}}">{{m.title}}</router-link></li></ul><hr><router-view></router-view></div></div>
</template><script>
export default {name:'Mesage',data(){return{messageList:[{id:'001',title:'消息001'},{id:'002',title:'消息002'},{id:'003',title:'消息003'},]}}
}
</script><style></style>detail(接收参数)
<template><ul><li>消息编号:{{$route.query.id}}</li><li>消息标题:{{$route.query.title}}</li></ul>
</template><script>
export default {name:'Detail',mounted(){console.log(this.$route)}}
</script><style></style>
replace
类似于无痕浏览,即当前的router-link标签若加上了这个,则当前对该标签的操作是不可追回的
App。vue
<template><div><div class="row"><Banner/></div><div class="row"><div class="col-xs-2 col-xs-offset-2"><div class="list-group"><!-- 原始html中我们使用a标签实现页面跳转 --><!-- <a class="list-group-item active" href="./about.html">About</a><a class="list-group-item" href="./home.html">Home</a> --><!-- Vue中借助router-link标签实现路由的切换 --><router-link replace class="list-group-item" active-class="active" to="/about"> 			About</router-link><router-link replace class="list-group-item" active-class="active" to="/home">Home</router-link></div></div><div class="col-xs-6"><div class="panel"><div class="panel-body"><!-- 指定组件的呈现位置 --><router-view></router-view></div></div></div></div></div>
</template><script>
import Banner from './components/Banner.vue'export default {name:'App',components:{Banner,}}
</script>
activated和deactivated
这是路由组件中两个独有的生命周期钩子,用于捕获路由组件的生命周期状态
- 具体使用:
activated路由组件被激活时触发deactivated路由组件失活时触发
News
<template><ul><li>news001 <input type="text"></li><li>news002 <input type="text"></li><li>news003 <input type="text"></li></ul>
</template><script>
export default {name:'News',data(){return{opacity:1}},activated(){console.log('News组件被激活了')},deactivated(){console.log('News组件失活了')}
}
</script>
路由守卫
例子:在淘宝中,若是不经过登录,则是无法跳转到个人中心页面,即使点击个人中心,也是不能的,这就是路由守卫
前置首位

index.js
//该文件专门用于创建整个应用的路由器
import VueRouter from "vue-router";
//引入组件
import Home from '../pages/Home'
import About from '../pages/About'
import News from '../pages/News'
import Message from '../pages/Message'
import Detail from '../pages/Detail'//创建并暴露一个路由器
const router = new VueRouter({routes:[{name:'guanyu',path:'/about',component:About},{name:'zhuye',path:'/home',component:Home,children:[{name:'xinwen',path:'news',component:News,meta:{isAuth:true}},{name:'xiaoxi',path:'message',component:Message,meta:{isAuth:true},children:[{name:'xiangqing',path:'detail',component:Detail,props($route){return {id:$route.query.id,title:$route.query.title,}}}]}]}]
})//全局前置路由守卫--初始化时被调用,每次路由切换之前被调用
router.beforeEach((to,from,next)=>{console.log(to,from)if(to.meta.isAuth){  //判断是否需要鉴权if(localStorage.getItem('school')==='atguigu'){next()}else{alert('学校名不对,无权限查看')}}else{next()}
})export default router
全局守卫
对路由组件权限的控制
index.js
//该文件专门用于创建整个应用的路由器
import VueRouter from "vue-router";
//引入组件
import Home from '../pages/Home'
import About from '../pages/About'
import News from '../pages/News'
import Message from '../pages/Message'
import Detail from '../pages/Detail'//创建并暴露一个路由器
const router = new VueRouter({routes:[{name:'guanyu',path:'/about',component:About,meta:{title:'关于'},},{name:'zhuye',path:'/home',component:Home,meta:{title:'主页'},children:[{name:'xinwen',path:'news',component:News,meta:{isAuth:true,title:'新闻'}},{name:'xiaoxi',path:'message',component:Message,meta:{isAuth:true,title:'消息'},children:[{name:'xiangqing',path:'detail',component:Detail,meta:{isAuth:true,title:'详情'},props($route){return {id:$route.query.id,title:$route.query.title,}}}]}]}]
})//全局前置路由守卫--初始化时被调用,每次路由切换之前被调用
router.beforeEach((to,from,next)=>{console.log('前置路由守卫',to,from)if(to.meta.isAuth){  //判断是否需要鉴权if(localStorage.getItem('school')==='atguigu'){next()}else{alert('学校名不对,无权限查看')}}else{next()}
})//全局后置路由守卫--初始化时被调用,每次路由切换之后被调用
router.afterEach((to,from)=>{console.log('后置路由守卫',to,from)document.title=to.meta.title
})export default router
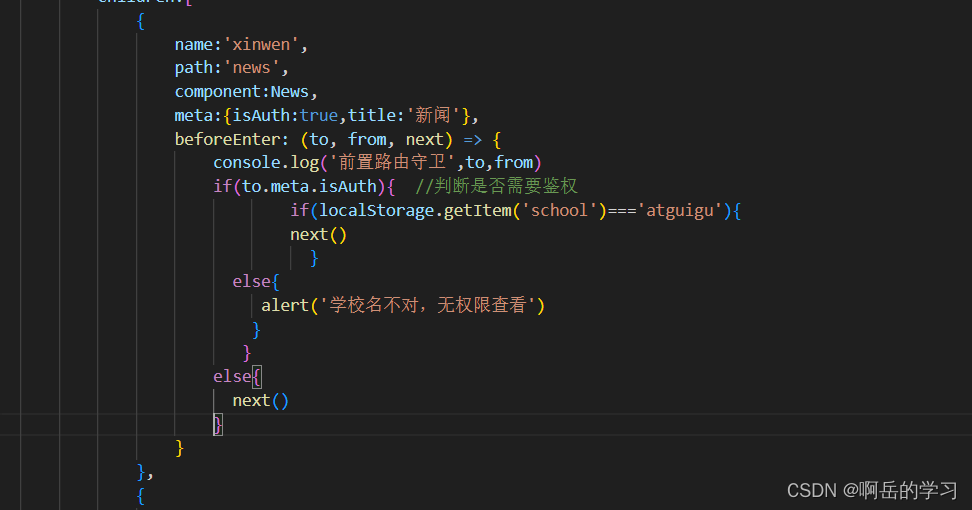
独享路由守卫,针对于特别需求坐单独的路由守卫
index.js
//该文件专门用于创建整个应用的路由器
import VueRouter from "vue-router";
//引入组件
import Home from '../pages/Home'
import About from '../pages/About'
import News from '../pages/News'
import Message from '../pages/Message'
import Detail from '../pages/Detail'//创建并暴露一个路由器
const router = new VueRouter({routes:[{name:'guanyu',path:'/about',component:About,meta:{title:'关于'},},{name:'zhuye',path:'/home',component:Home,meta:{title:'主页'},children:[{name:'xinwen',path:'news',component:News,meta:{isAuth:true,title:'新闻'},beforeEnter: (to, from, next) => {console.log('前置路由守卫',to,from)if(to.meta.isAuth){  //判断是否需要鉴权if(localStorage.getItem('school')==='atguigu'){next()}else{alert('学校名不对,无权限查看')}}else{next()}}},{name:'xiaoxi',path:'message',component:Message,meta:{isAuth:true,title:'消息'},children:[{name:'xiangqing',path:'detail',component:Detail,meta:{isAuth:true,title:'详情'},props($route){return {id:$route.query.id,title:$route.query.title,}}}]}]}]
})// //全局前置路由守卫--初始化时被调用,每次路由切换之前被调用
// router.beforeEach((to,from,next)=>{
//  console.log('前置路由守卫',to,from)
//  if(to.meta.isAuth){  //判断是否需要鉴权
//     if(localStorage.getItem('school')==='atguigu'){
//         next()
//      }
//      else{
//         alert('学校名不对,无权限查看')
//      }
//  }
//  else{
//     next()
//  }
// })// //全局后置路由守卫--初始化时被调用,每次路由切换之后被调用
// router.afterEach((to,from)=>{
//     console.log('后置路由守卫',to,from)
//     document.title=to.meta.title
// })export default router