Vue3.3指北
- 1、Vue2和Vue3
- 1.1、 Vue2 选项式 API vs Vue3 组合式API
- 1.2、Vue3的优势
- 2、组合式API - setup
- 2.1、setup选项
- 2.2、setup中写代码的特点
- 2.3、`<script setup>`语法糖
- 2.4、props和context
- 3、组合式API - reactive和ref函数
- 3.1、reactive
- 3.2、ref
- 3.3、reactive 对比 ref
- 4、组合式API - computed
- 5、组合式API - watch
- 5.1、侦听单个数据
- 5.2、侦听多个数据
- 5.3、immediate
- 5.4、deep
- 6、组合式API - watchEffect
- 6.1、基本使用
- 6.2、watchEffect的其他参数
- 6.2.1、stop停止侦听
- 6.2.2、onInvalidate消除副作用
- 7、组合式API - 父子通信
- 7.1、父传子
- 7.2、子传父
- 8、组合式API - 模版引用
- 8.1、获取真实dom对象
- 8.2、defineExpose
- 9、组合式API - provide和inject
- 9.1、provide
- 9.2、inject
- 9.3、跨层传递数据
- 9.4、跨层传递方法
- 10、Vue3.3 新特性-defineOptions
- 11、Vue3.3新特性-defineModel
- 12、高阶API - mixin
- 13、高阶API - 自定义指令
- 13.1、自定义指令语法
- 13.1.1、自定义指令配置项
- 13.1.2、使用自定义指令
- 13.1.3、自定义指令配置项使用
- 13.1.4、自定义指令__指令的值
- 14、高阶API - teleport传送门
视频参考教程: 2021年Vue3.0全家桶全系列精讲
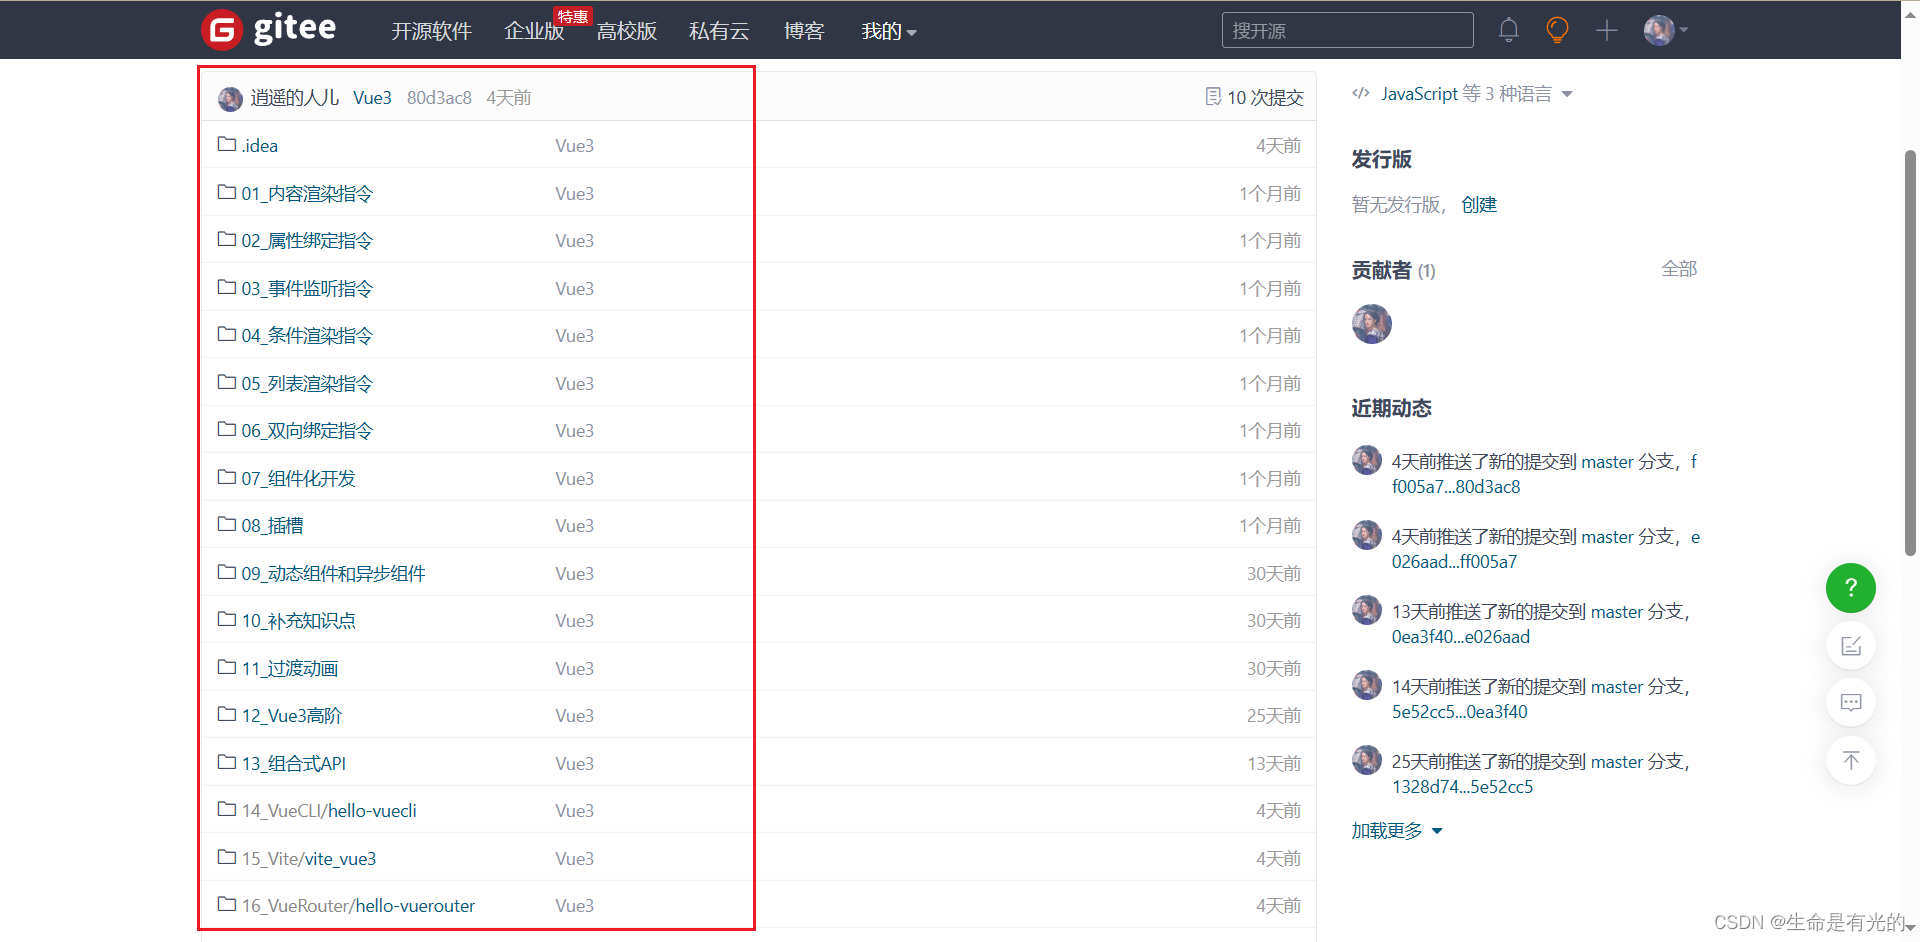
随笔记源码: 逍遥的人儿 / KuangStudyVue3
1、Vue2和Vue3
1.1、 Vue2 选项式 API vs Vue3 组合式API
<!--选项式API-->
<script>
export default {data(){return {count:0}},methods:{addCount(){this.count++;}}
}
</script>
<!--组合式API-->
<script setup>
import { ref } from 'vue'
const count = ref(0)
const addCount = ()=> count.value++
</script>
组合式特点:
- 代码量变少
- 分散式维护变成集中式维护
1.2、Vue3的优势

2、组合式API - setup
2.1、setup选项
- 写法
<script>export default {setup(){},beforeCreate(){}}
</script>
- 执行时机
在beforeCreate钩子之前执行

2.2、setup中写代码的特点
- 在
setup函数中写的数据和方法需要在末尾以对象的方式return,才能给模版template使用
<script>export default {setup(){const message = 'this is message'const logMessage = ()=>{console.log(message)}// 必须return才可以return {message,logMessage}}}
</script>
2.3、<script setup>语法糖
script标签添加
setup标记,不需要再写导出语句,默认会添加导出语句
<script setup>const message = 'this is message'const logMessage = ()=>{console.log(message)}
</script>
示例:我们在模板里面应用 setup() 函数里面的东西
<script>// 1.创建Vue的实例对象const app = Vue.createApp({setup(props,context) {const message = 'this is message';const logMessage = ()=>{console.log(message);};return {message,logMessage}},// 我们在模板里面应用 setup() 函数里面的东西template: `<h1>{{message}}</h1><button @click="logMessage">点击触发</button>`});app.mount('#app');
</script>
2.4、props和context
setup里接收的参数是props和context
// 声明时props和setup同级,可以通过以下方式对父组件传递的参数在props中声明
props:{msg:String,name:String
},
context上下文包括attrs、emit、slotsattrs:接收在父组件传递过来的,并且没有在props中声明的参数emit:子组件对父组件发送事件slots:插槽
在vue2中,子对父发送事件采用this.$emit对父组件发送事件,在vue3中子组件对父组件发送事件采用context.emit发送事件
import { ref } from 'vue';export default {props: {message: String},setup(props, context) {const count = ref(0);// 使用propsconsole.log(props.message);// 使用contextconsole.log(context.attrs);console.log(context.slots);console.log(context.emit);return {count};}
};
在上面的示例中,我们使用了props和context参数来获取组件的属性、插槽和触发事件的方法。
需要注意的是,
setup()函数在组件初始化期间只会执行一次,并且在data、computed等选项之前执行。
3、组合式API - reactive和ref函数
3.1、reactive
- 接受对象类型数据的参数传入并返回一个响应式的对象
<script setup>// 导入import { reactive } from 'vue'// 接收对象类型const state = reactive({msg:'this is msg'})const setSate = ()=>{// 修改数据更新视图state.msg = 'this is new msg'}
</script><template>{{ state.msg }}<button @click="setState">change msg</button>
</template>
3.2、ref
- 接收简单类型或者对象类型的数据传入并返回一个响应式的对象
- 让基础类型的数据具备响应式(有点像
v-model双向绑定数据的感觉)
- 让基础类型的数据具备响应式(有点像
<script setup>// 导入import { ref } from 'vue'// 执行函数 传入参数 变量接收const count = ref(0)const setCount = ()=>{// 修改数据更新视图必须加上.valuecount.value++}
</script><template><button @click="setCount">点击增加</button>
</template>
Tips:
- 需要注意的是使用
ref参数类型修改数据必须加上.value
3.3、reactive 对比 ref
相同点:
- 都是用来生成响应式数据
不同点
reactive不能处理简单类型的数据- ref参数类型支持更好,但是必须通过
.value做访问修改 - ref函数内部的实现依赖于reactive函数
在实际工作中的推荐
- 推荐使用
ref函数,减少记忆负担
4、组合式API - computed
计算属性基本思想和Vue2保持一致,组合式API下的计算属性只是修改了API写法
- computed()方法返回值是个计算属性ref对象,在模板中使用也是会自动解包的
- 它的参数是一个回调函数,也就是箭头函数
<script setup>
// 导入
import {ref, computed } from 'vue'
// 原始数据
const count = ref(0)
// 计算属性
const doubleCount = computed(()=>count.value * 2)// 原始数据
const list = ref([1,2,3,4,5,6,7,8])
// 计算属性list
const filterList = computed(item=>item > 2)
</script>
5、组合式API - watch
- 侦听一个或者多个数据的变化,数据变化时执行回调函数
- 三个参数
- 第一个参数是:选择要监听的属性选择要监听的属性
- 第二个参数是:设置的回调函数。即监听到变化时应该执行的函数
- 第三个参数是配置项
immediate控制立刻执行deep开启深度侦听
5.1、侦听单个数据
<script setup>// 1. 导入watchimport { ref, watch } from 'vue'const count = ref(0)// 2. 调用watch 侦听变化watch(count, (newValue, oldValue)=>{console.log(`count发生了变化,老值为${oldValue},新值为${newValue}`)})
</script>
5.2、侦听多个数据
- 侦听多个数据,第一个参数可以改写成数组的写法
<script setup>// 1. 导入watchimport { ref, watch } from 'vue'const count = ref(0)const name = ref('cp')// 2. 调用watch 侦听变化watch([count, name], ([newCount, newName],[oldCount,oldName])=>{console.log(`count或者name变化了,[newCount, newName],[oldCount,oldName])})
</script>
5.3、immediate
在侦听器创建时立即出发回调,响应式数据变化之后继续执行回调
<script setup>// 1. 导入watchimport { ref, watch } from 'vue'const count = ref(0)// 2. 调用watch 侦听变化watch(count, (newValue, oldValue)=>{console.log(`count发生了变化,老值为${oldValue},新值为${newValue}`)},{immediate: true})
</script>
5.4、deep
- 通过watch监听的
ref对象默认是浅层侦听的,直接修改嵌套的对象属性不会触发回调执行,需要开启deep
<script setup>// 1. 导入watchimport { ref, watch } from 'vue'const state = ref({ count: 0 })// 2. 监听对象statewatch(state, ()=>{console.log('数据变化了')})const changeStateByCount = ()=>{// 直接修改不会引发回调执行state.value.count++}
</script><script setup>// 1. 导入watchimport { ref, watch } from 'vue'const state = ref({ count: 0 })// 2. 监听对象state 并开启deepwatch(state, ()=>{console.log('数据变化了')},{deep:true})const changeStateByCount = ()=>{// 此时修改可以触发回调state.value.count++}
</script>
6、组合式API - watchEffect
watchEffect 也是一个帧听器,是一个副作用函数。 它会监听引用数据类型的所有属性,不需要具体到某个属性,一旦运行就会立即监听,组件卸载的时候会停止监听。
6.1、基本使用
<template><div><h2>{{ counter }}</h2><button @click="addCounter">+1</button></div>
</template><script >
import { ref, watchEffect } from 'vue';export default{setup() {const counter = ref(100)const addCounter = () => counter.value++watchEffect(() => {console.log("counter:", counter.value);})return {counter,addCounter}}
}</script>
watchEffect会默认执行一次,当有变量发生变化,就会执行侦听
6.2、watchEffect的其他参数
watchEffect会返回一个返回值,该返回值是一个函数,在满足条件的时候触发返回值函数。我们可以利用这个返回值做一些操作
6.2.1、stop停止侦听
这里我们想要实现计数器增加到15的时候停止侦听:
<template><div><h2>{{ counter }}</h2><button @click="addCounter"> +1 </button></div>
</template><script >
import { ref, watchEffect } from 'vue';export default{setup() {const counter = ref(10);const addCounter = () => {counter.value++;if(counter.value >= 15){stop();}};const stop = watchEffect(() => {console.log("counter:", counter.value);});return {counter,addCounter};}
}</script>

stop()接收watchEffect的返回值,在手动触发计数器到15之后不再侦听变量的改变。
6.2.2、onInvalidate消除副作用
我们做一个假设,假设我们需要根据counter的值去触发对应的网络请求,但是在请求数据的过程中,我们再次触发方法改变了counter的值,我们该如何做才能让每次请求回来的都是正确的数据呢?
我们也可以这么想,也就是我们只要改变了counter的值,就需要清除上一次的请求,重新执行一次请求。
watchEffect中有一个参数onInvalidate 可以作为消除副作用,它会返回一个函数
<template><div><h2>{{ counter }}</h2><button @click="addCounter">+1</button></div>
</template><script >
import { ref, watchEffect } from 'vue';export default{setup() {const counter = ref(10)const addCounter = () => {counter.value++}watchEffect( onInvalidate => {onInvalidate(() => {console.log("onInvalidate");})console.log("counter:", counter.value);})return {counter,addCounter}}
}</script>

7、组合式API - 父子通信
7.1、父传子
如果是setup函数的形式,props 必须以 props 选项的方式声明,props 对象会作为 setup() 函数的第一个参数被传入
- 在vue3中,只要props这个参数存在,我们就可以直接mustache中使用父组件传递的参数
基本思想
- 父组件中给子组件绑定属性
- 子组件内部通过props选项接收数据
父组件App.vue:
<script setup>
// 引入子组件
import sonComVue from './son-com.vue';
</script><template><!--1.绑定属性 message--><sonComVue message="this is app message" />
</template>
子组件son-com.vue:
<script setup>// 2.通过 defineProps 接收子组件传递的数据const props = defineProps({message: String})</script><template><!--使用mustache语法直接使用父组件传递的参数-->  {{message}}
</template>
在使用 <script setup> 的单文件组件中,props 可以使用 defineProps() 宏来声明

7.2、子传父
基本思想
- 父组件中给子组件标签通过@绑定事件
- 子组件内部通过 emit 方法触发事件
父组件App.vue:
<script setup>
// 引入子组件
import sonComVue from './son-com.vue';
const getMessage = (msg) => {console.log(msg);
}
</script><template><!--1.绑定自定义事件--><sonComVue @get-message="getMessage" />
</template>
子组件son-com.vue:
<script setup>
// 2.通过 defineEmits 生成 emit 方法
const emit = defineEmits(['get-message']);const sendMsg = () => {// 3.触发自定义事件,并传递参数emit('get-message','this is son msg');
}</script><template><button @click="sendMsg">sendMsg</button>
</template>

8、组合式API - 模版引用
概念:通过 ref标识 获取真实的 dom对象或者组件实例对象
8.1、获取真实dom对象
实现步骤:
- 调用ref函数生成一个ref对象
- 通过ref标识绑定ref对象到标签
<script setup>
import  {ref} from 'vue'// 1.调用 ref 函数得到 ref 对象
const h1Ref = ref(null);
</script><template><!-- 2.通过ref标识绑定 ref 对象 --><h1 ref="hrRef">我是dom标签1</h1>
</template>
可以直接拿到真实dom:<h1>我是dom标签1</h1>
注意:
- 标签中
ref的值要和变量名一致- 使用ref函数声明数据时,参数是null
8.2、defineExpose
默认情况下在 <script setup>语法糖下组件内部的属性和方法是不开放给父组件访问的,可以通过defineExpose编译宏指定哪些属性和方法容许访问
- 说明:指定
testMessage属性可以被访问到
原代码:
<script setup>
import  {ref} from 'vue'const testMessage = ref('this is test msg');
</script>
改进:
<script setup>
import  {ref} from 'vue'const testMessage = ref('this is test msg');
defineExpose({testMessage
})
</script>
9、组合式API - provide和inject
-
通常,当我们需要将数据从父组件传递到子组件时,我们使用
props。 -
想象一下这样的结构:你有一些深嵌套的组件,而你只需要来自深嵌套子组件中父组件的某些内容。在这种情况下,你仍然需要将 prop 传递到整个组件链中,这可能会很烦人。
-
对于这种情况,我们可以使用
provide和inject对。 -
顶层组件向任意的底层组件传递数据和方法,实现跨层组件通信
- 父组件有一个
provide选项来提供数据,子组件有一个inject选项来开始使用这个数据。
- 父组件有一个
9.1、provide
provide() 接受两个参数
- 第一个参数是要注入的
key,可以是一个字符串或者一个symbol - 第二个参数是要注入的值
9.2、inject
inject 有两个参数:
- 第一个参数是接收注入的
key - 第二个参数是可选的,即在没有匹配到 key 时使用的默认值
9.3、跨层传递数据
实现步骤
- 顶层组件通过
provide函数提供数据- 底层组件通过
inject函数接收数据
父组件:
<script setup lang="ts">
import { ref, provide } from 'vue'
import ChildComponent from '@/views/articles/ChildComponent.vue'// 提供响应式的值
const count = ref(0)
provide('count', count)// 提供静态值
provide('num', 1)</script><template><ChildComponent></ChildComponent>
</template>
子组件:
<script setup lang="ts">
import { inject } from 'vue'// 注入响应式的值
const count = inject('count')// 注入普通值
const num = inject('num')// 注入不含默认值的静态值
const other = inject('other')// 注入一个值,若为空则使用提供的默认值
const otherDefault = inject('otherDefault', 'default')</script><template><div>count:{{ count }}</div><div>num:{{ num }}</div><div>other:{{ other }}</div><div>otherDefault:{{ otherDefault }}</div>
</template>
9.4、跨层传递方法
- 顶层组件可以向底层组件传递方法,底层组件调用方法修改顶层组件的数据
父组件
const setCount = () => {count.value++;
}provide('setCount-key',setCount);
子组件:
const setCount = inject('setCount-key');
这样会出现一个问题,底层组件会修改顶层组件的数据,这样不好,我们还是希望底层组件只是访问而不能修改,所以可以给提供的值加上readonly只读,然后提供出去:
// 提供响应式的值
const count = ref(0)
provide('count', readonly(count));
10、Vue3.3 新特性-defineOptions
背景说明:
有 <script setup> 之前,如果要定义 props, emits 可以轻而易举地添加一个与 setup 平级的属性。 但是用了 <script setup> 后,就没法这么干了 setup 属性已经没有了,自然无法添加与其平级的属性。
为了解决这一问题,引入了 defineProps 与 defineEmits 这两个宏。但这只解决了 props 与 emits 这两个属性。如果我们要定义组件的 name 或其他自定义的属性,还是得回到最原始的用法——再添加一个普通的 <script> 标签。这样就会存在两个 <script> 标签。让人无法接受。
所以在 Vue 3.3 中s新引入了 defineOptions 宏。顾名思义,主要是用来定义 Options API 的选项。可以用 defineOptions 定义任意的选项, props, emits, expose, slots 除外(因为这些可以使用 defineXXX 来做到)
<script setup>
defineOptions({name: 'Foo',inheritAttrs: false,// ... 更多自定义属性
})
</script>
11、Vue3.3新特性-defineModel
<script setup>
const modelValue = defineModel()
modelValue.value++
</script>
生效需要配置 vite.config.js
import { fileURLToPath, URL } from 'node:url'import { defineConfig } from 'vite'
import vue from '@vitejs/plugin-vue'// https://vitejs.dev/config/
export default defineConfig({plugins: [vue({script: {defineModel: true}}),],resolve: {alias: {'@': fileURLToPath(new URL('./src', import.meta.url))}}
})
12、高阶API - mixin
混入 (mixins)定义了一部分可复用的方法或者计算属性。混入对象可以包含任意组件选项。当组件使用混入对象时,所有混入对象的选项将被混入该组件本身的选项。
示例:
// 定义混入对象
const myMixin = {
created() {this.hello()
},
methods: {hello() {console.log('欢迎来到混入实例-RUNOOB!')}
}
}// 定义一个应用,使用混入
const app = Vue.createApp({
mixins: [myMixin]
})app.mount('#app') // => "欢迎来到混入实例-RUNOOB!"
- 将组件的公共逻辑或者配置提取出来,哪个组件需要用到时,直接将提取的这部分混入到组件内部即可。这样既可以减少代码冗余度,也可以让后期维护起来更加容易。
- 如下代码:我们可以定义一个 mixin 混入对象,将 data 和 methods 进行复用
<div id="app"></div><script src="../js/vue.js"></script>
<script>// 定义一个mixin混入对象const myMixin = {data(){return {message: '你好Vue3!',}},methods: {hello() {alert('Hello');}},}// 1.创建Vue的实例对象const app = Vue.createApp({// 混入mixins: [myMixin],template: `<div><h1>{{message}}</h1><button @click="hello">打个招呼</button></div>`});app.mount('#app');
</script>
- 引入 mixin 的方法也非常简单,直接使用 vue 提供的
mixins属性
Tips:
实例中的 data、methods之类的选项优先级高于 mixin 中定义的
- 如果组件自己里面有 data、methods 等属性,但是依然使用了 mixin 属性,此时组件只会用自己的 data、methods 属性
对于生命周期函数,先执行 mixin 中的,再执行实例中的
13、高阶API - 自定义指令
- 内置指令:v-html、v-if、v-bind、v-on… 这都是Vue给咱们内置的一些指令,可以直接使用
- 自定义指令:同时Vue也支持让开发者,自己注册一些指令。这些指令被称为自定义指令
自己定义的指令,可以封装一些DOM操作,扩展额外的功能
13.1、自定义指令语法
- 全局注册
//在main.js中
Vue.directive('指令名', {"inserted" (el) {// 可以对 el 标签,扩展额外功能el.focus()}
})
- 局部注册
//在Vue组件的配置项中
directives: {"指令名": {inserted () {// 可以对 el 标签,扩展额外功能el.focus()}}
}
13.1.1、自定义指令配置项
Vue2的配置项介绍:
-
bind: 指令绑定到元素后调用的钩子。只发生一次 -
inserted:元素插入父DOM后调用的钩子 -
update:当元素更新,但子元素尚未更新时,将调用此钩子 -
componentUpdated:一旦组件和子级被更新,就会调用这个钩子 -
unbind:一旦指令被移除,就会调用这个钩子。也只调用一次。
Vue3的配置项介绍:
created:在元素的 attribute 或事件侦听器应用之前调用beforeMount:指令绑定到元素后调用的钩子。只发生一次mounted: 元素插入父DOM后调用的钩子beforeUpdate:在元素本身更新之前调用updated:一旦组件和子级被更新,就会调用这个钩子beforeUnmount:将在卸载元素之前调用unmounted:一旦指令被移除,就会调用这个钩子。也只调用一次。
最终的API如下:
const myDirective = {// 在绑定元素的 attribute 前// 或事件监听器应用前调用created(el, binding, vnode, prevVnode) {// 下面会介绍各个参数的细节},// 在元素被插入到 DOM 前调用beforeMount(el, binding, vnode, prevVnode) {},// 在绑定元素的父组件// 及他自己的所有子节点都挂载完成后调用mounted(el, binding, vnode, prevVnode) {},// 绑定元素的父组件更新前调用beforeUpdate(el, binding, vnode, prevVnode) {},// 在绑定元素的父组件// 及他自己的所有子节点都更新后调用updated(el, binding, vnode, prevVnode) {},// 绑定元素的父组件卸载前调用beforeUnmount(el, binding, vnode, prevVnode) {},// 绑定元素的父组件卸载后调用unmounted(el, binding, vnode, prevVnode) {}
}
参数如下:
el:指令绑定到的元素。这可以用于直接操作 DOMbinding:一个对象,包含以下属性value:传递给指令的值。例如在v-my-directive="1 + 1"中,值是2。oldValue:之前的值,仅在beforeUpdate和updated中可用。无论值是否更改,它都可用arg:传递给指令的参数 (如果有的话)。例如在v-my-directive:foo中,参数是"foo"。modifiers:一个包含修饰符的对象 (如果有的话)。例如在v-my-directive.foo.bar中,修饰符对象是{ foo: true, bar: true }。instance:使用该指令的组件实例。dir:指令的定义对象
vnode:代表绑定元素的底层 VNodeprevNode:代表之前的渲染中指令所绑定元素的 VNode。仅在beforeUpdate和updated钩子中可用。
13.1.2、使用自定义指令
使用指令:例如我们想进入网页输入框自动聚焦
- 在使用指令的时候,一定要先注册,再使用,否则会报错
- 使用指令语法: v-指令名。如:
<input type="text" v-focus/> - 注册指令时不用加v-前缀,但使用时一定要加v-前缀
自定义全局指令(用的比较多):
<script>// 1.创建Vue的实例对象const app = Vue.createApp({data(){return {message: '你好Vue3!',}},template:`<!--使用自定义指令 v-focus--><input placeholder="请输入姓名" v-focus>`});// 自定义全局指令// 第一个参数是指令的名字,第二个参数是指令的操作app.directive('focus',{// el:把 focus 指令作用到哪个元素上mounted(el) {el.focus();}})app.mount('#app');</script>
自定义局部指令:
<script>// 自定义局部指令const myDirective = {focus: {mounted(el){el.focus();}}}// 1.创建Vue的实例对象const app = Vue.createApp({data(){return {message: '你好Vue3!',}},// 挂载局部指令directives: myDirective,template:`<!--使用自定义指令 v-focus--><input placeholder="请输入姓名" v-focus>`});app.mount('#app');
</script>
13.1.3、自定义指令配置项使用
<script>// 自定义局部指令const myDirective = {focus: {created(){console.log("created()");},beforeMount(){console.log("beforeMount()");},mounted(el){el.focus();console.log("mounted()");},beforeUpdate(){console.log("beforeUpdate()");},updated(){console.log("updated()");},beforeUnmount(){console.log("beforeUnmount()");},unmounted(){console.log("unmounted()");},}};// 1.创建Vue的实例对象const app = Vue.createApp({data(){return {isShow: true,}},// 挂载局部指令directives: myDirective,template: `<div v-show="isShow"><input type="text" v-focus></div>`});app.mount('#app');</script>
13.1.4、自定义指令__指令的值
- 绑定指令时,可以通过“等号”的形式为指令 绑定 具体的参数值
<div v-color="color">我是内容</div>
- 通过 binding.value 可以拿到指令值,指令值修改会 触发 update 函数
directives: {color: {inserted (el, binding) {el.style.color = binding.value},update (el, binding) {el.style.color = binding.value}}
}
14、高阶API - teleport传送门
<Teleport> 是一个内置组件,它可以将一个组件内部的一部分模板“传送”到该组件的 DOM 结构外层的位置去。
- 假如我们现在有个
button,点击后会将一个蒙版盖在class='box'的div盒子上
<script>// 1.创建Vue的实例对象const app = Vue.createApp({data(){return {message: '你好Vue3!',isShow: false,}},methods: {btnClick(){this.isShow = !this.isShow;}},template: `<div class="box"><button @click="btnClick">蒙版</button><div class="mask" v-show="isShow">{{message}}</div>`});app.mount('#app');
</script>

- 假如我们想点击
button后会将一个蒙版盖在body上,使用teleport标签
<script>// 1.创建Vue的实例对象const app = Vue.createApp({data(){return {message: '你好Vue3!',isShow: false,}},methods: {btnClick(){this.isShow = !this.isShow;}},template: `<div class="box"><button @click="btnClick">蒙版</button><!--<div class="mask" v-show="isShow">{{message}}</div>--><!-- 将蒙版效果传送给 body--><teleport to="body"><div class="mask" v-show="isShow">{{message}}</div></teleport></div>`});app.mount('#app');
</script>

如果想传送到其他元素
<!-- 将蒙版效果传送给 id 为 box 的元素 -->
<teleport to="#box"><div class="mask" v-show="isShow">{{message}}</div>
</teleport>
